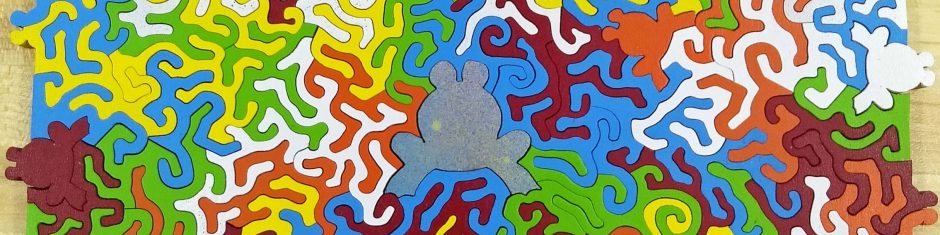
It is possible to cut a lot of things into a jigsaw puzzle. This is an example of one from the fall of 2020. The customer contacted me and wanted something a little different. He bought a marquetry piece from an online store/auction and wanted it cut into a jigsaw puzzle. I asked some questions and decided the project was doable by me. The customer mailed it to me. This is what I received.

It was a beautiful piece. It did have some significant scratches in the surface. I used a drill with a cotton wheel and buffing compound to get rid of most of them. I almost felt guilty cutting it up once it was all polished. It did pose some challenges, however. For one thing, at 5/8″, it was a little thick. The second issue was that the brown and white triangle sides were tapered from 5/8″ to about 3/8″. To deal with them, I just cut them off! I use a straight piece of scrap wood when cutting edges to try and make them a straight line. You can see this in the below picture. I am not always successful at being straight, but it helps! You can also see this is at the beginning of the project, as the saw is nice and clean. The table is also gleaming, as I just polished it up with wax to make the wood slide easier.

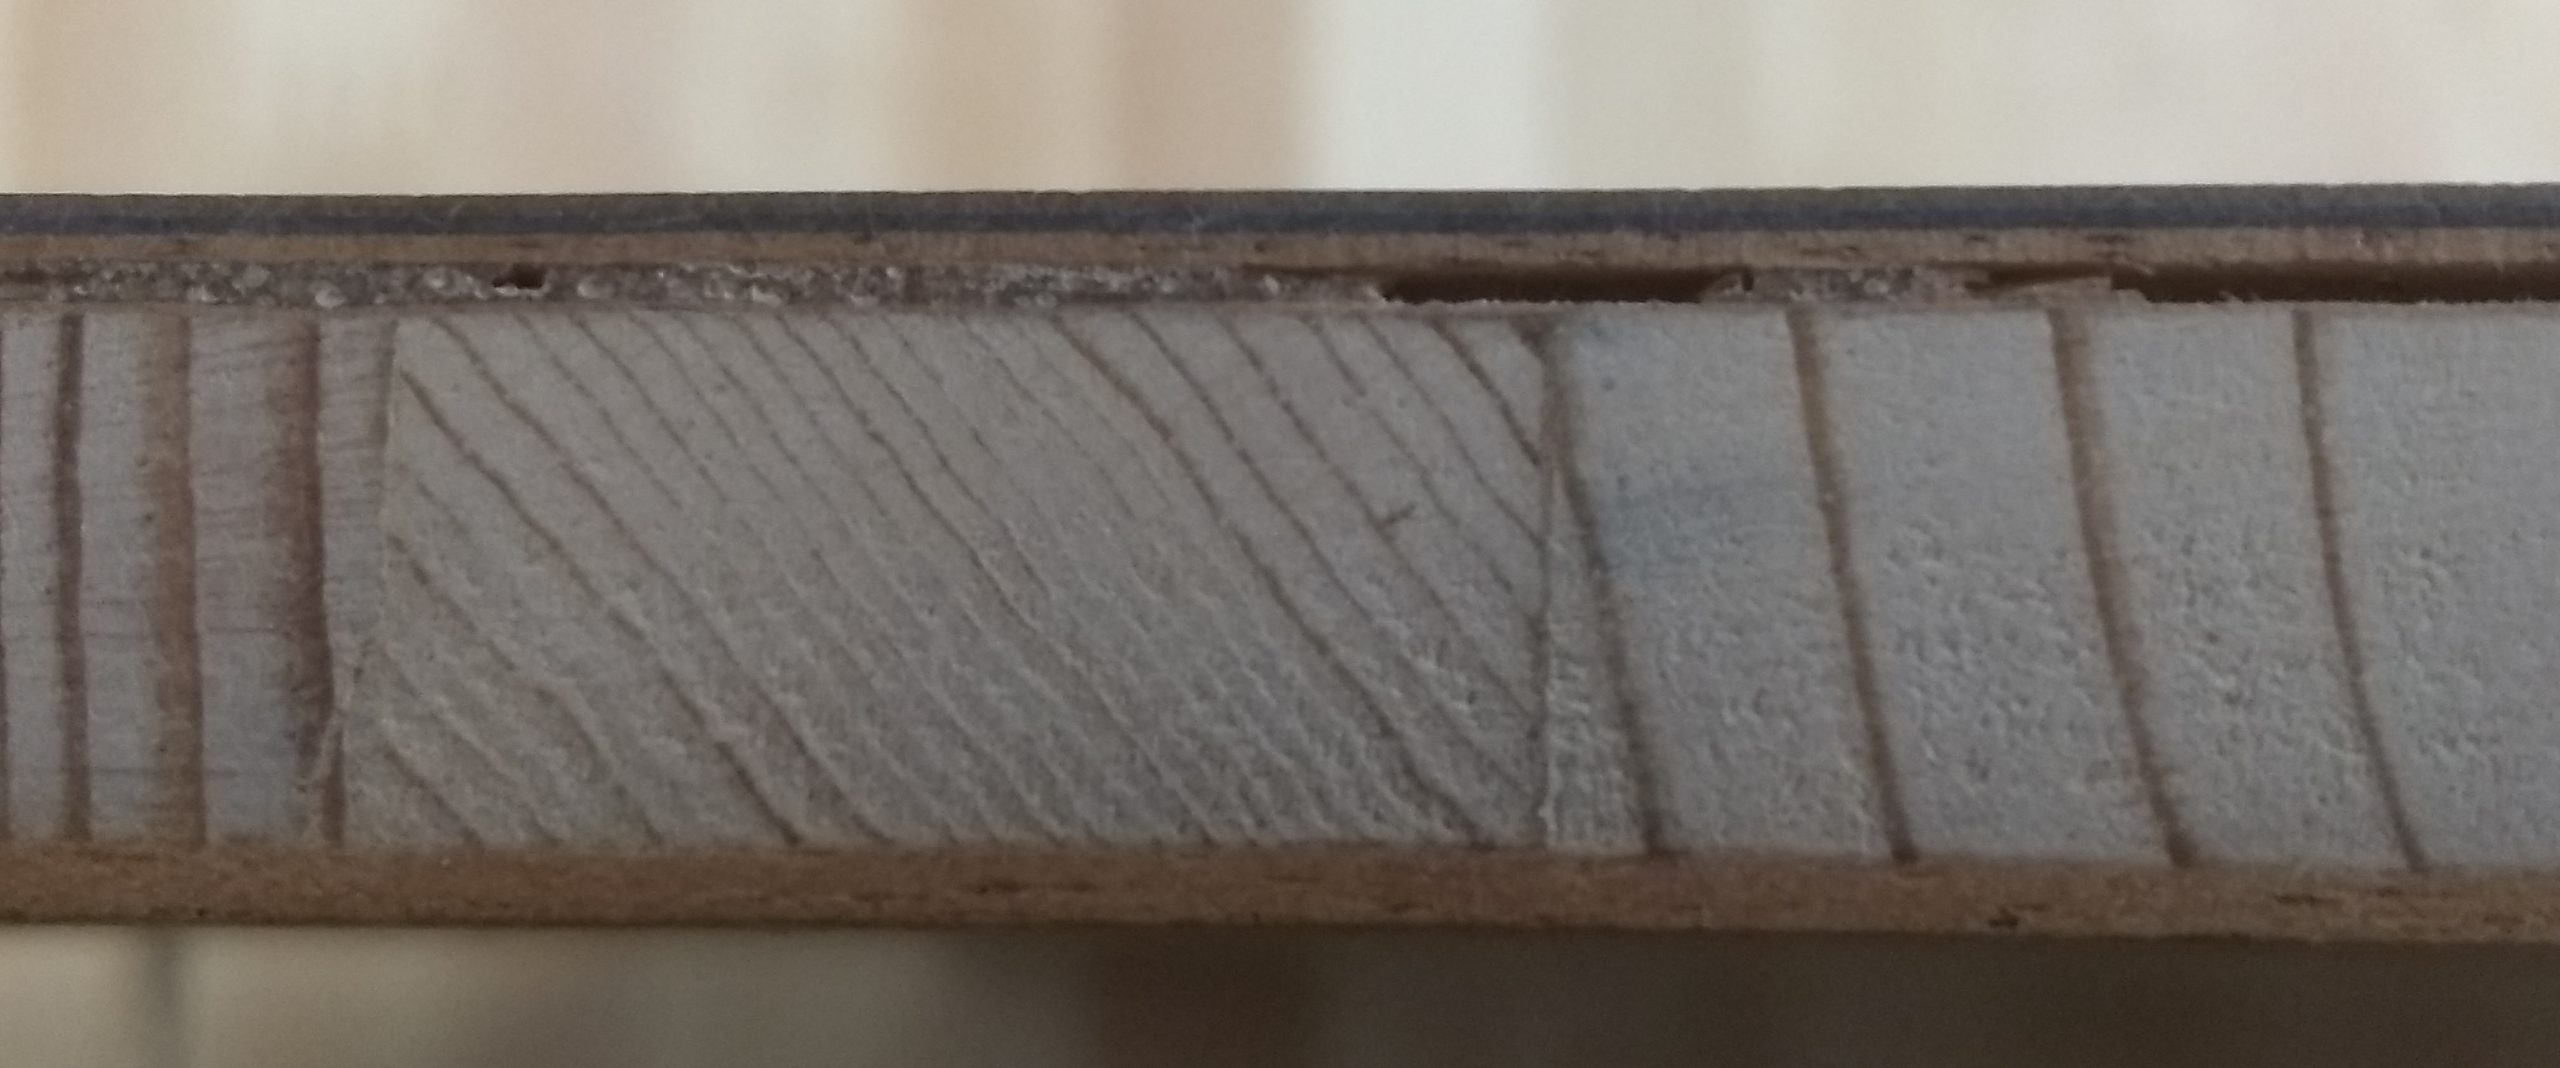
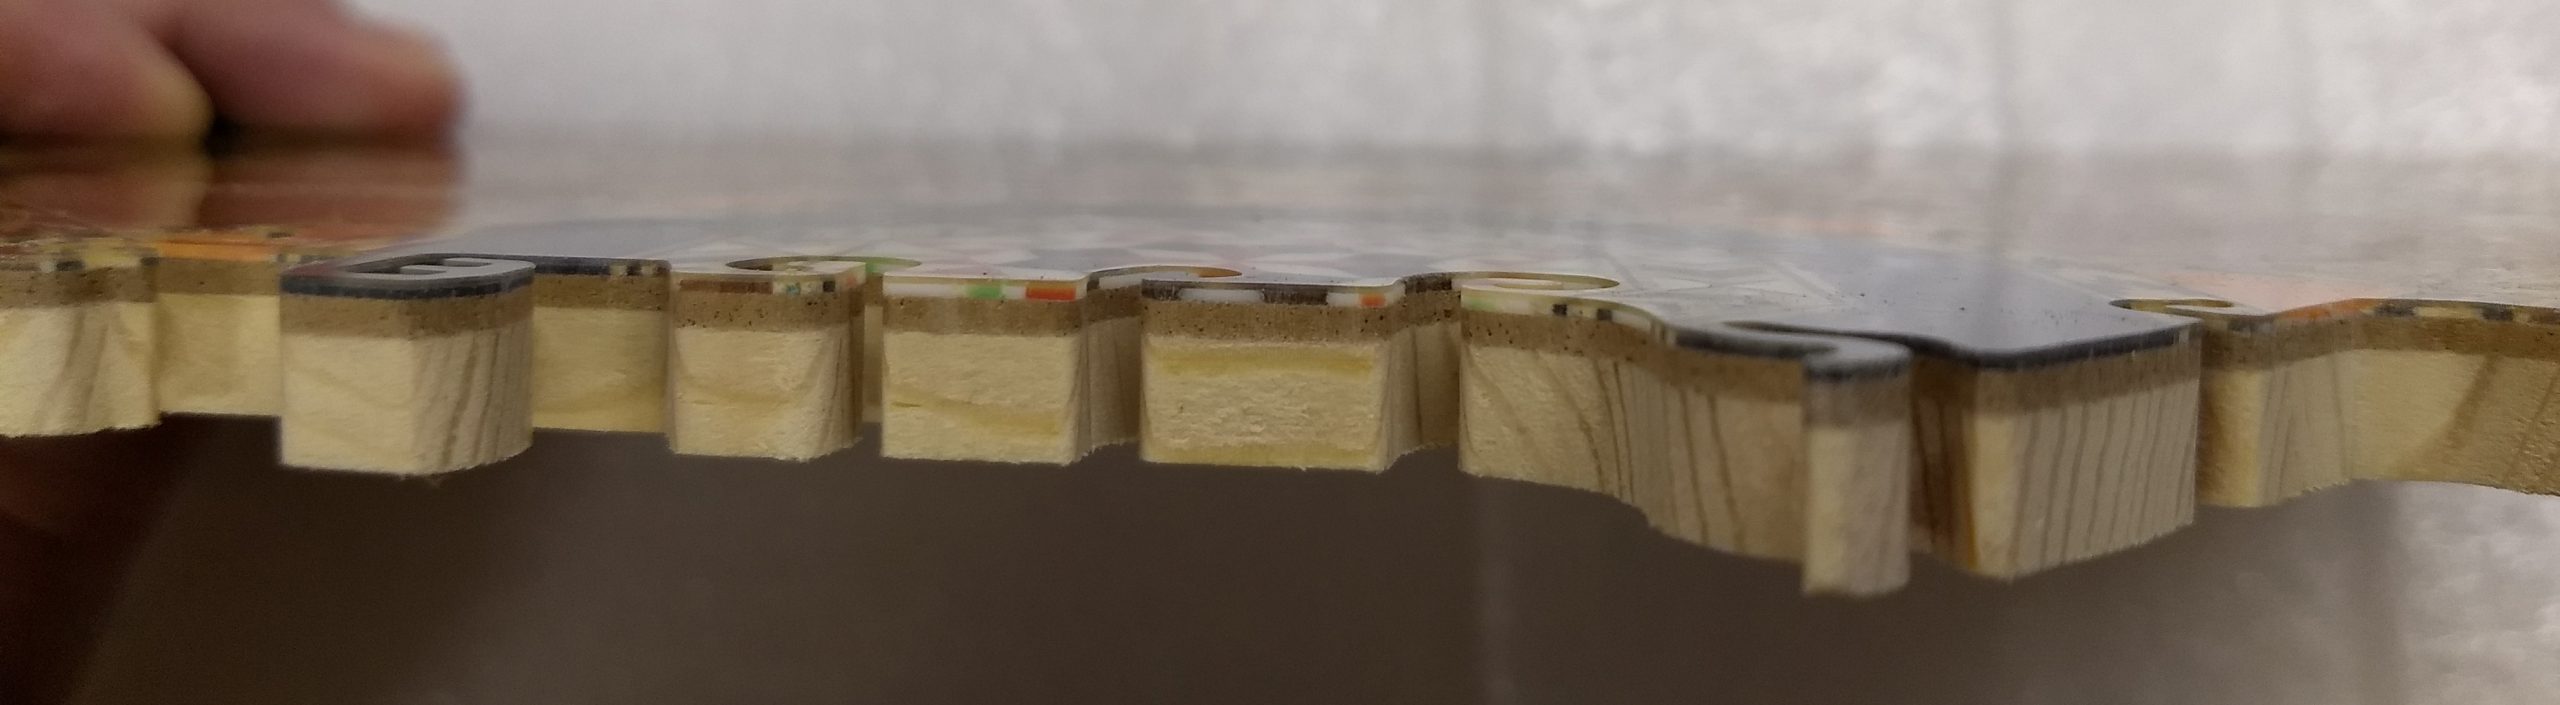
Cutting the edges off revealed that the core material was made of solid lumber strips. It also revealed there were some gaps between the core and the design. You can see in the below picture that the core is sandwiched between two layers of some composite material, then there is the layer with the design, and then on top is a layer of epoxy or acrylic.
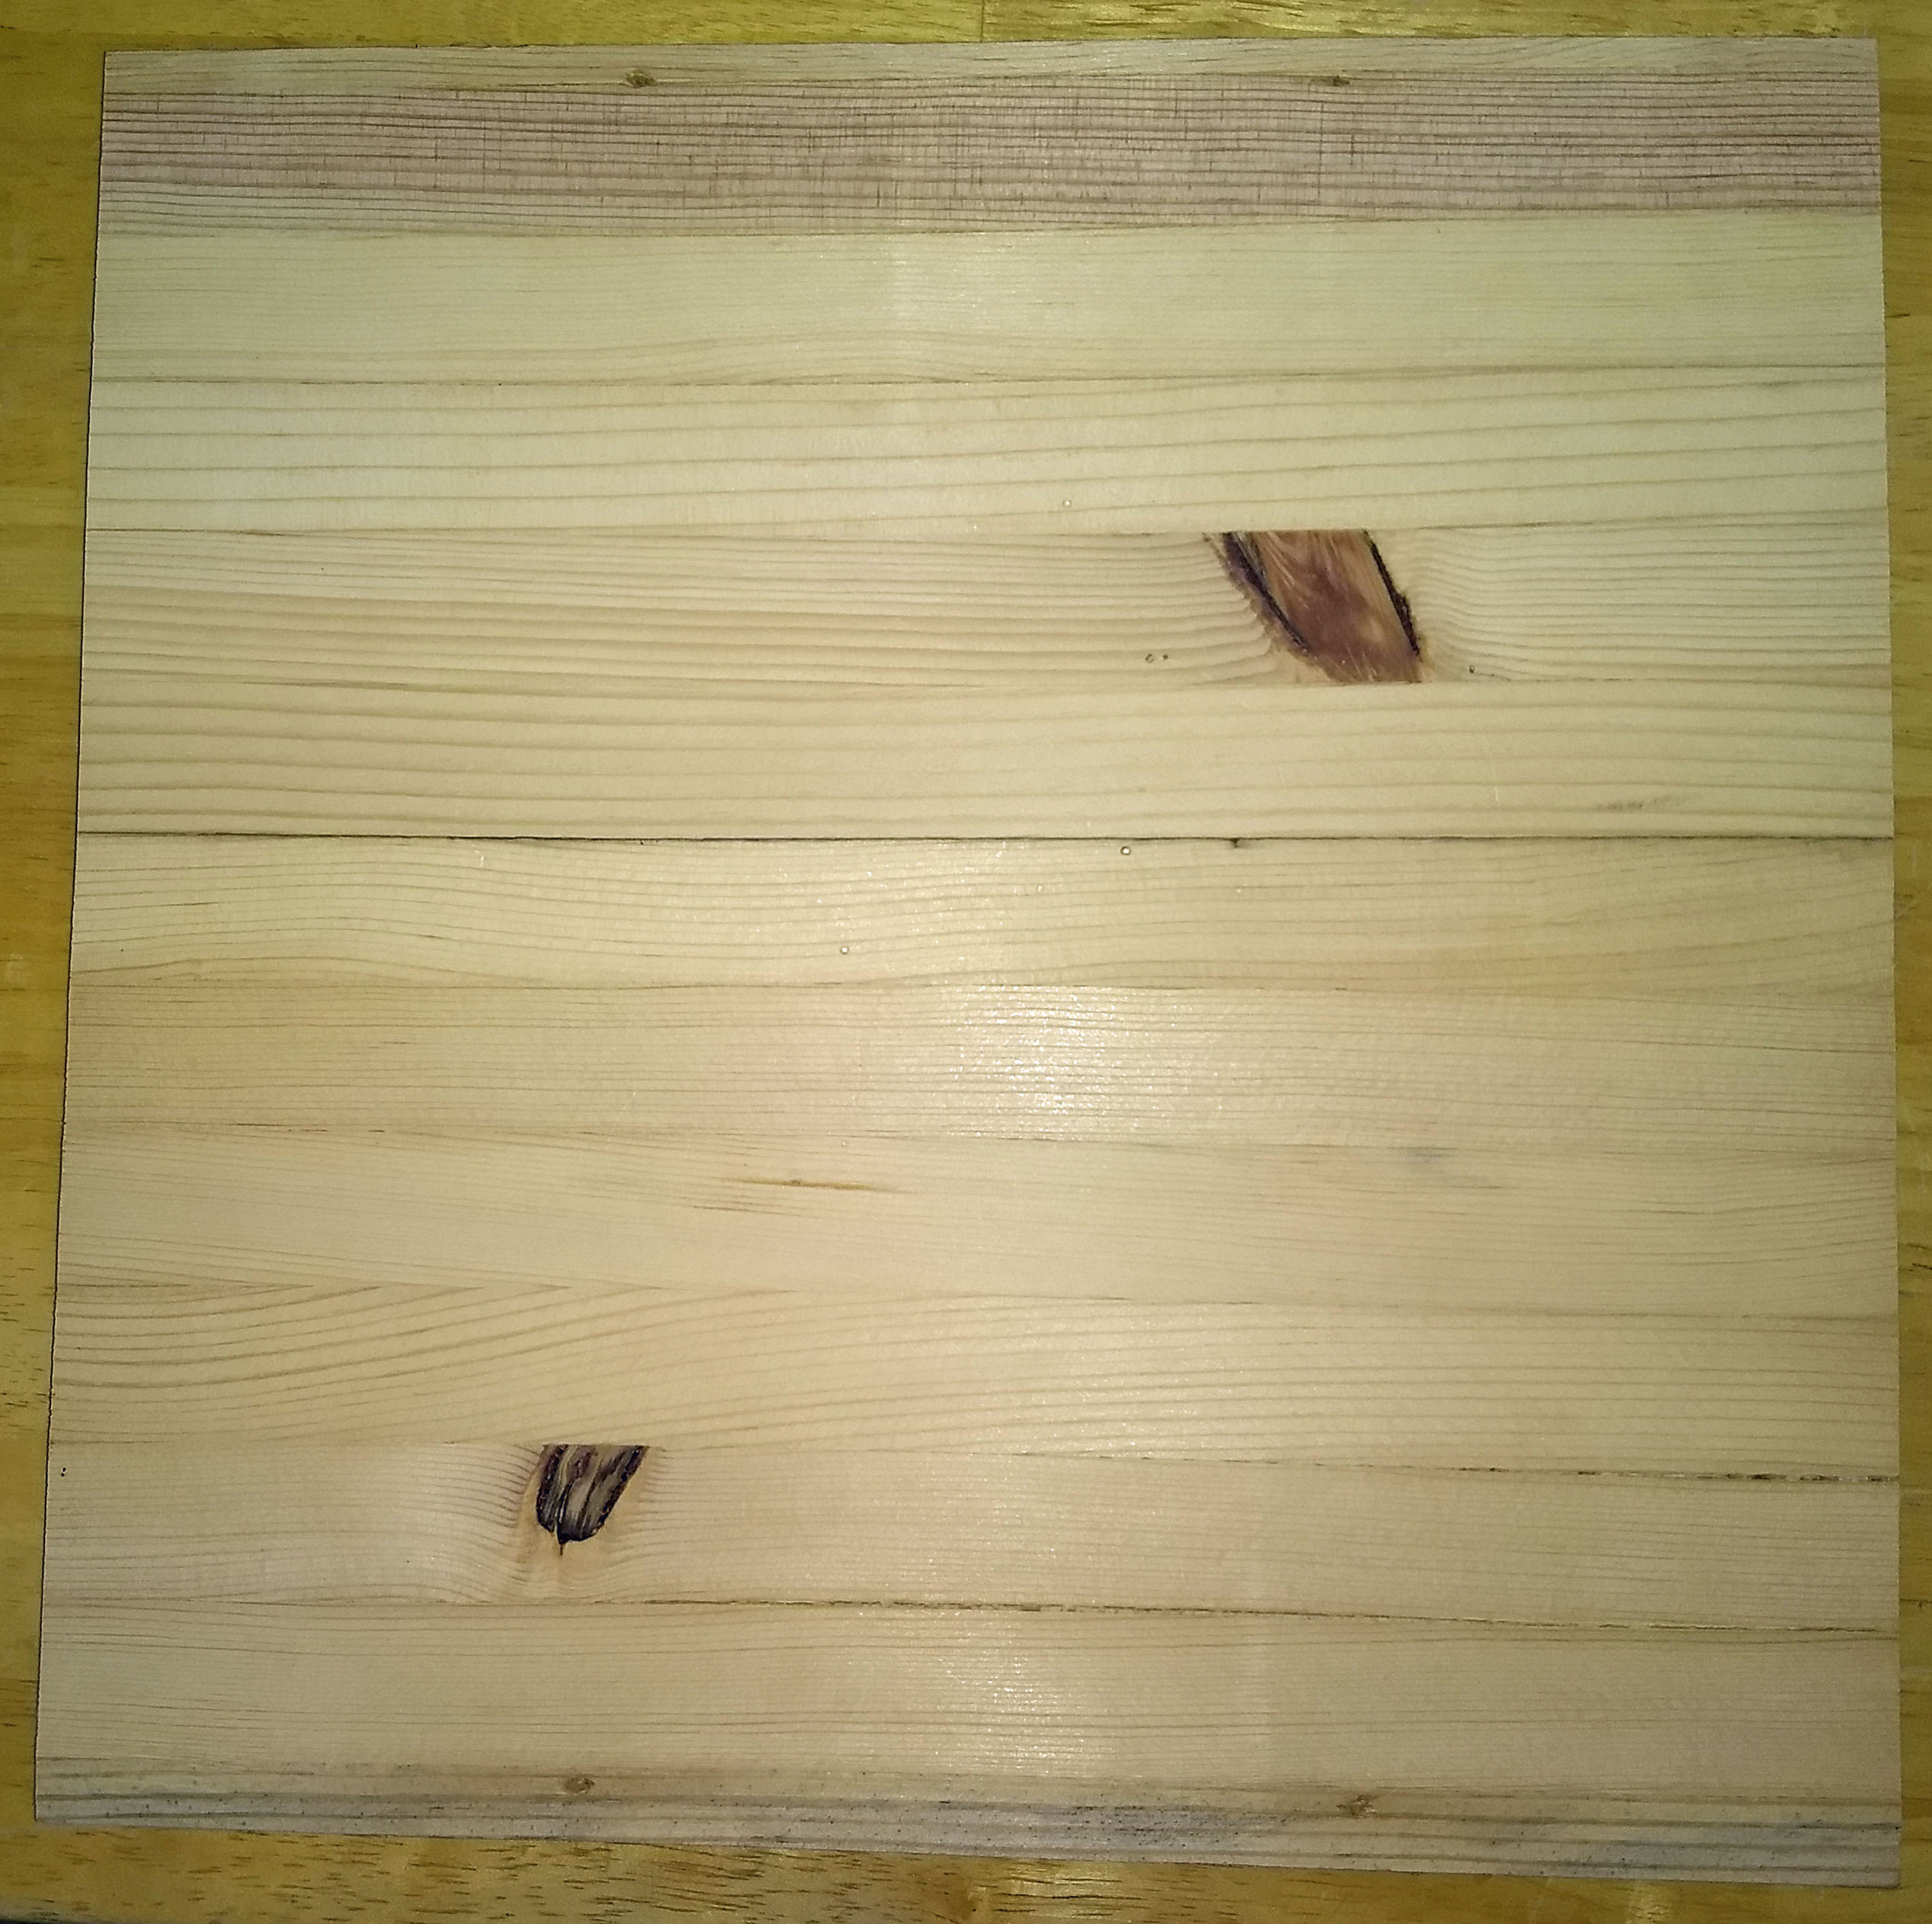
Next, I decided to sand about 1/4″ off the bottom to get to roughly 3/8″ thick. This revealed a couple of other issues. You can see a couple of knots and also some shaky looking glue lines. At this point, I was concerned the project was too weakened and perhaps not worth pursuing. The reason I use plywood in my puzzles is because the multiple cross layers provide good strength for the fragile puzzle pieces.
Corresponding with the customer, he wanted me to proceed with the project. It was an experiment for both of us, so push on through to see what happens. The photo below is a side view after I have made some piece cuts.
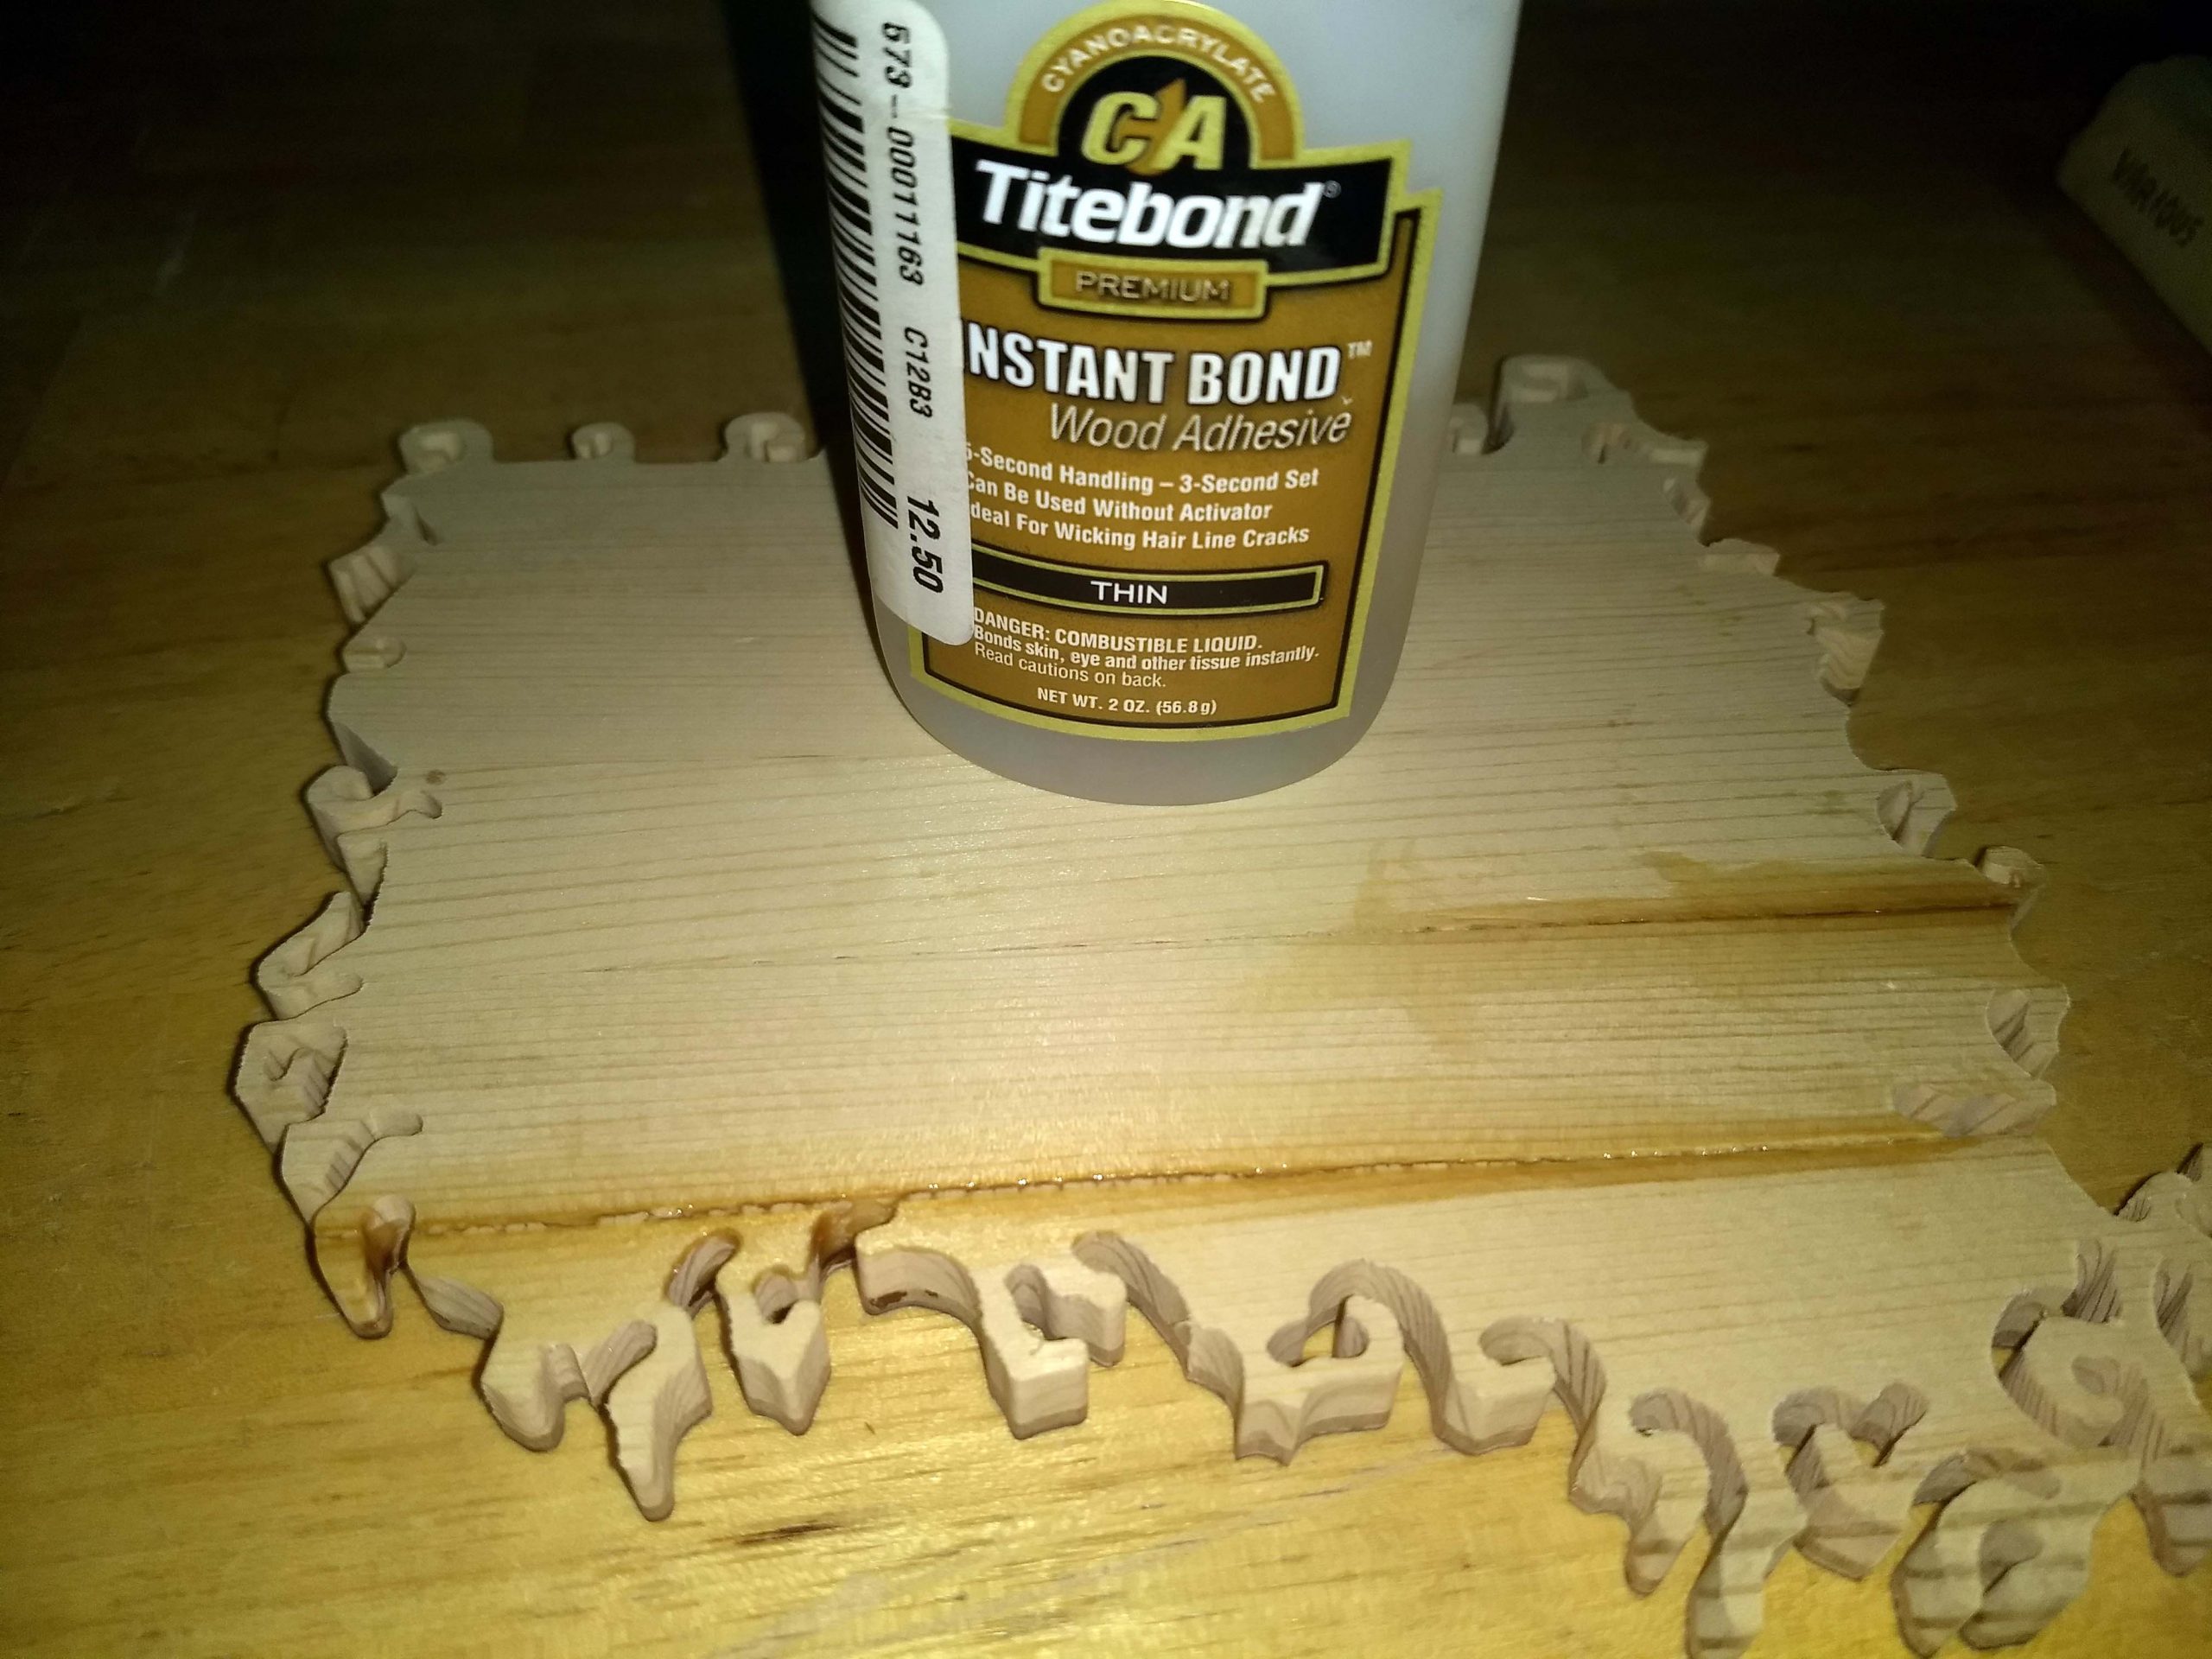
Somewhere in here, I had to deal with the failing glue lines and the knots. Some of the wood around the knots was lost. I was able to soak the glue lines with CA glue, which mostly worked. I did have some tips break off on some of the glue lines.
After that, it went remarkably well.
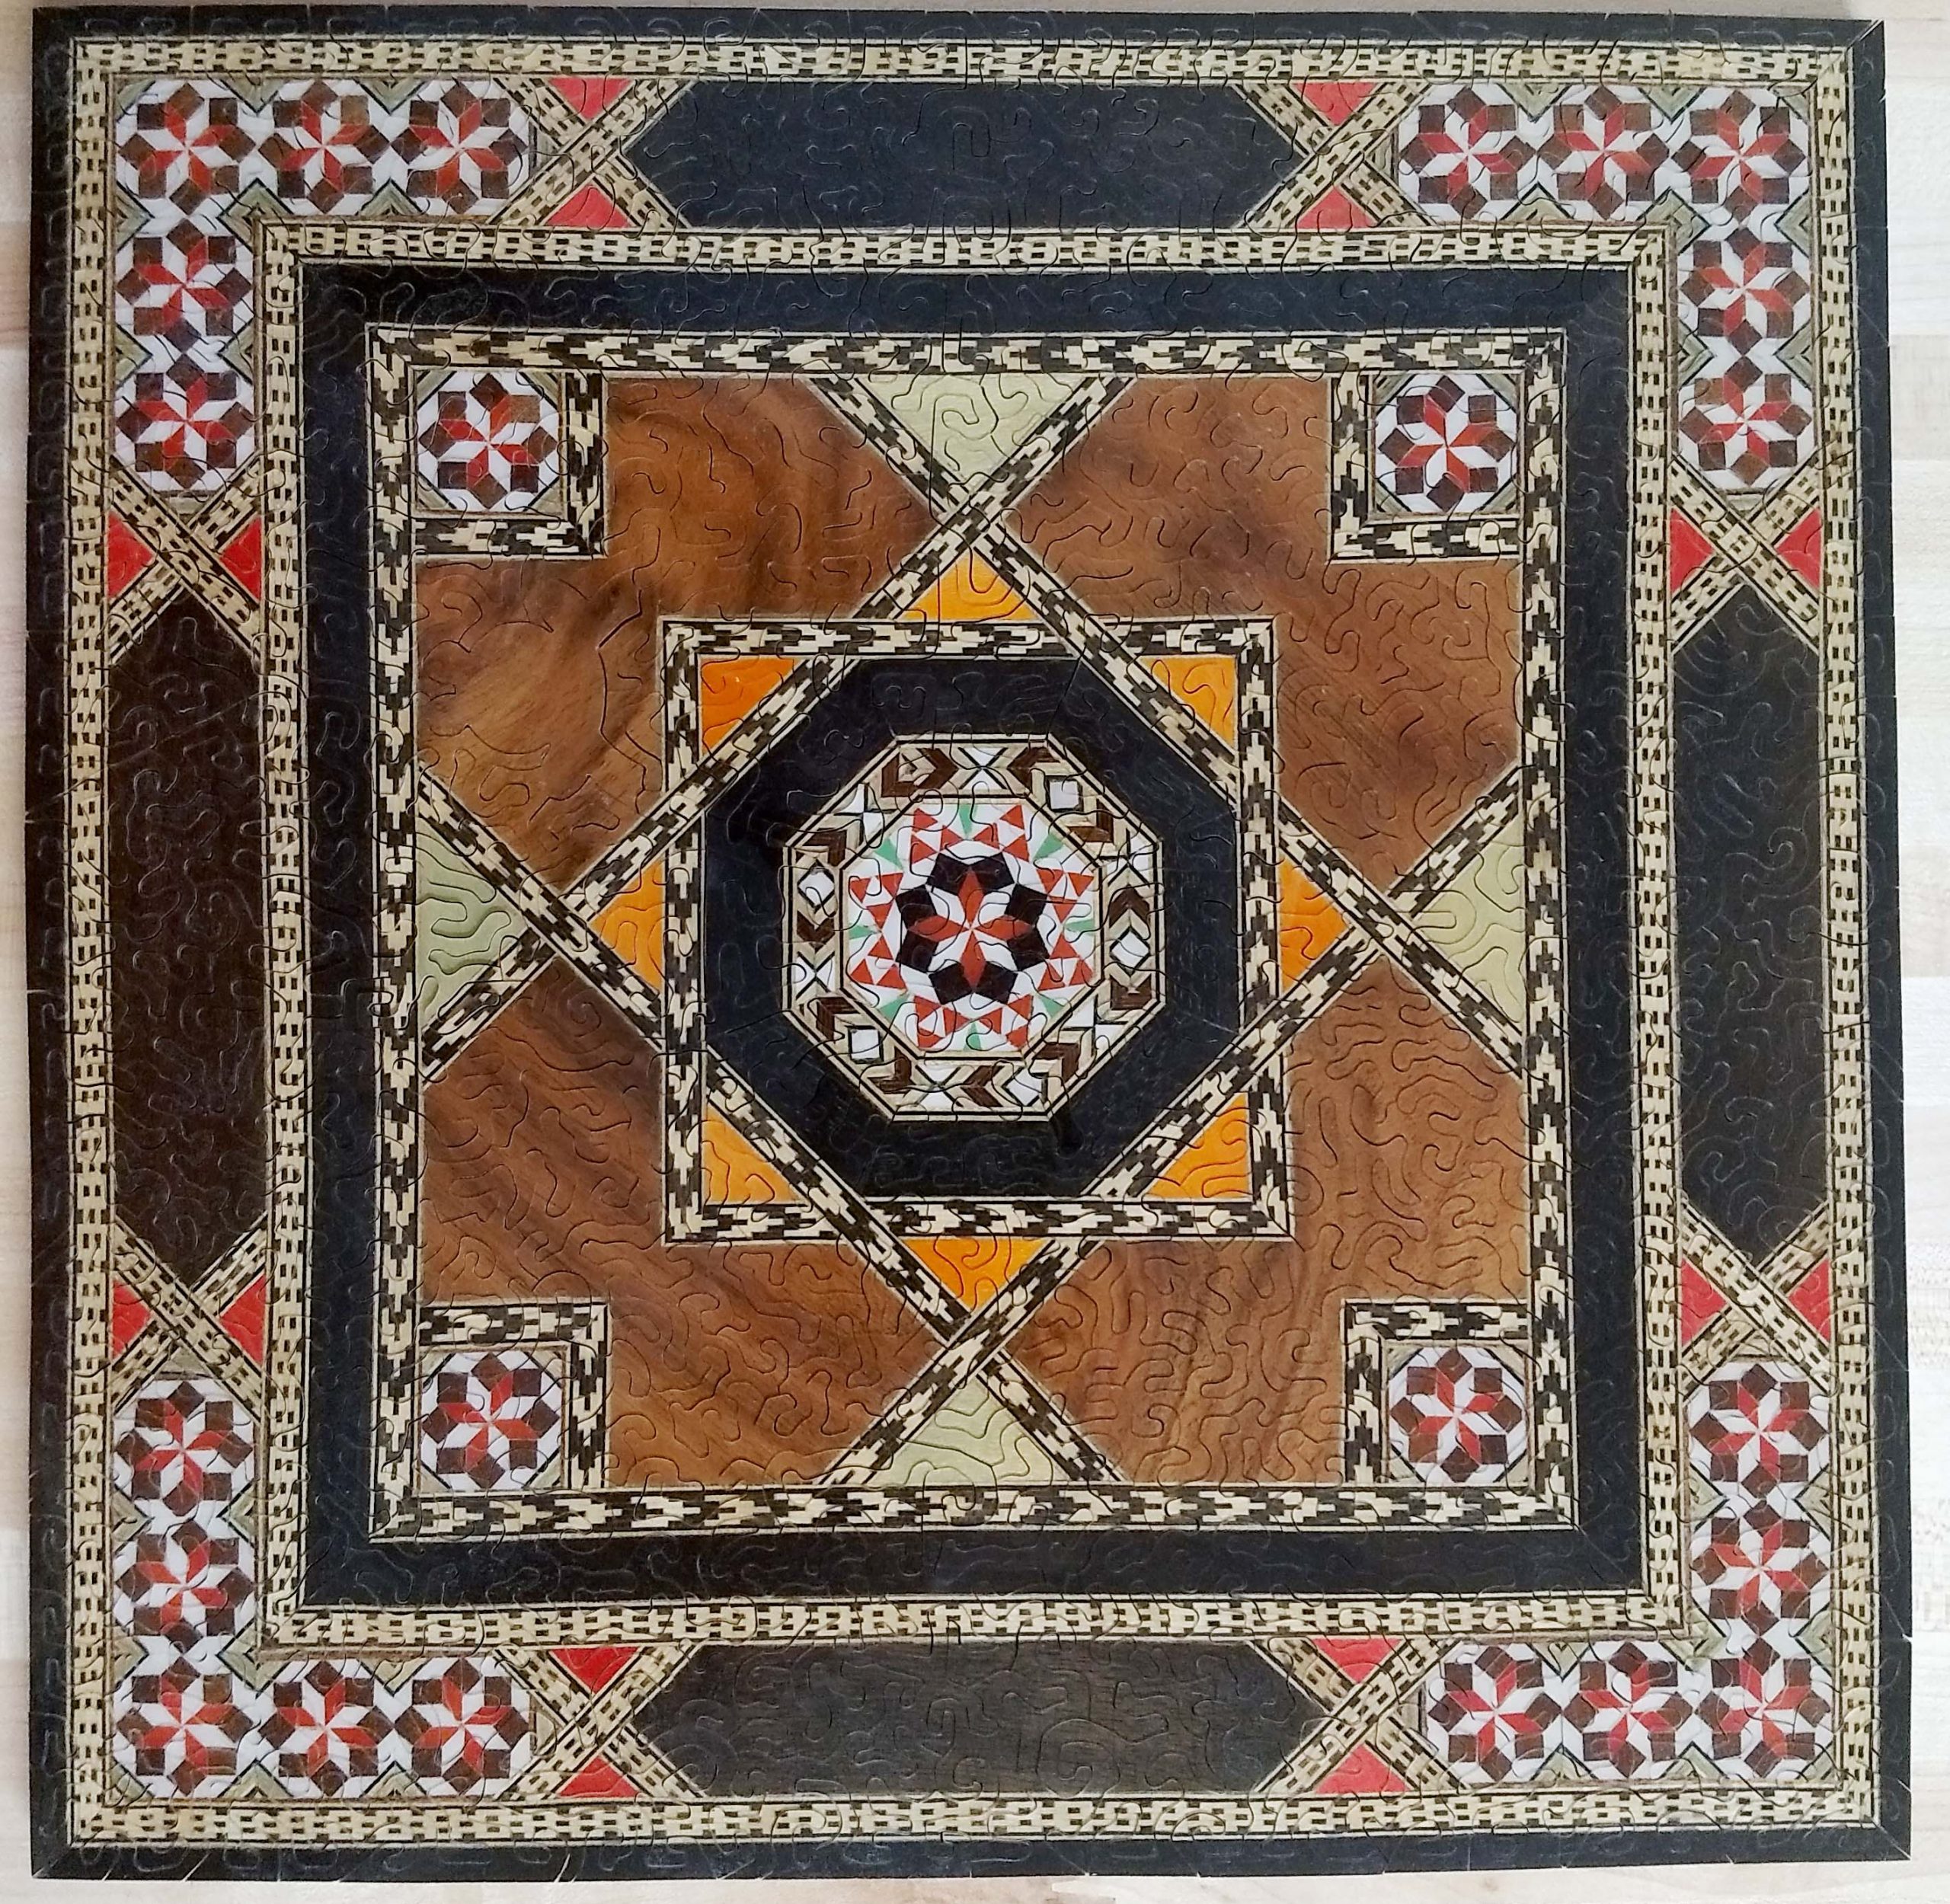

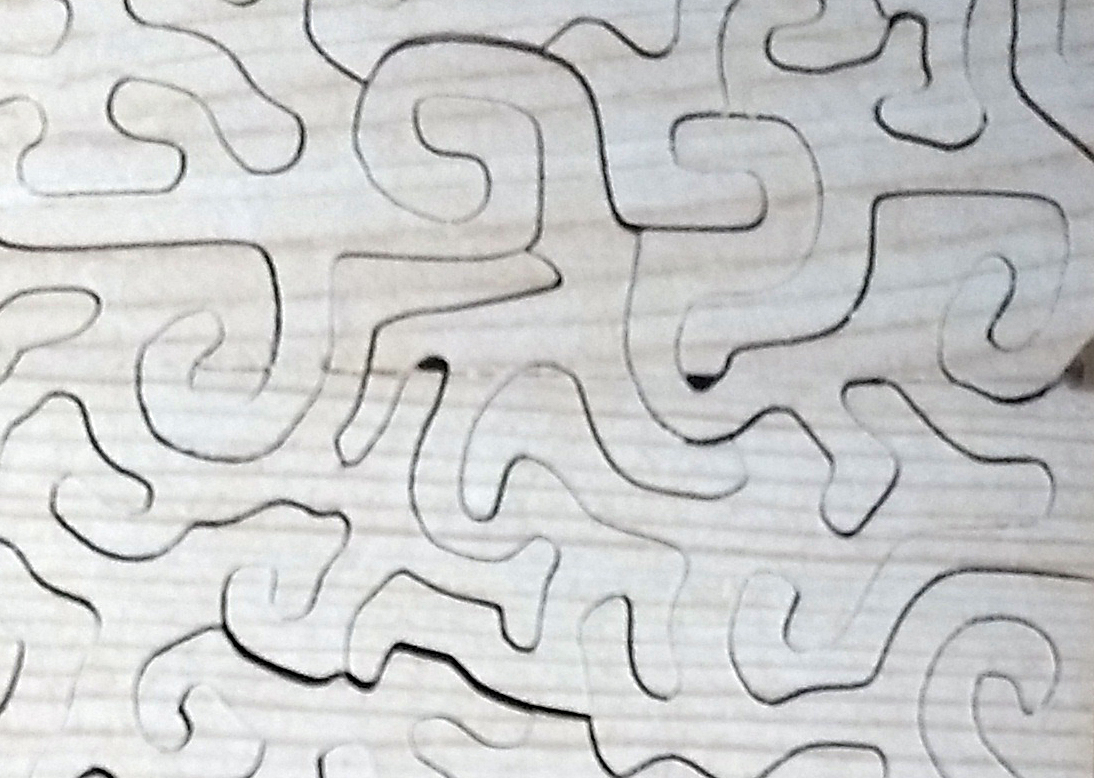
Final finished size was 10 3/4 x 10 3/4 with 308 pieces. That works out to about 2.6 pieces per square inch.
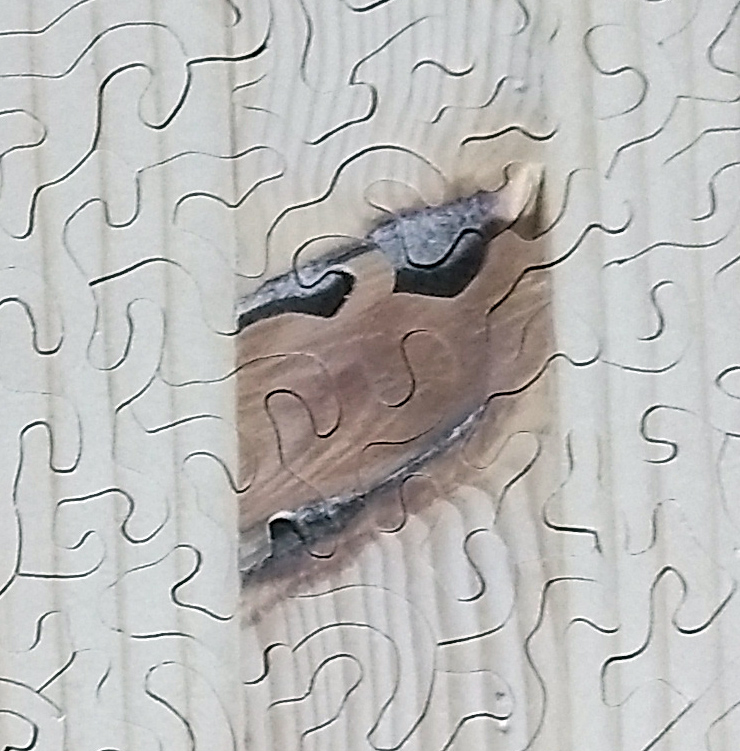
I had one piece break off while cutting the puzzle. The glue line was basically dissolved under a location where the inlay pieces met. It did break but was very easy to repair before shipping it to the customer. The repair was not even noticeable because it happened at a color change point.
I was very concerned of how it would stand up to shipping. The last time I went to my local post office, I could hear a computerized voice calling out numbers that sounded like a bingo game. One of the employees in the back was tossing packages in response to the voice into rolling bins from 15 to 20 feet away. If you think your packages are treated gently, think again. The puzzle did arrive with 15 pieces that broke off.
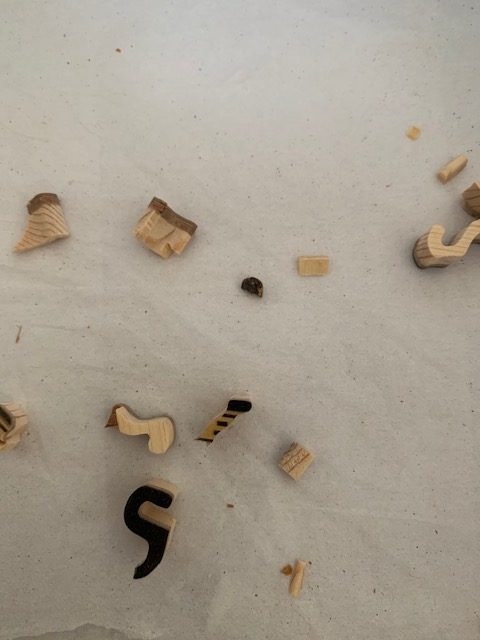
Customer was able to repair the damage himself and was overall very happy with the puzzle. In fact, he ended up sending me two additional marquetry projects later that year.
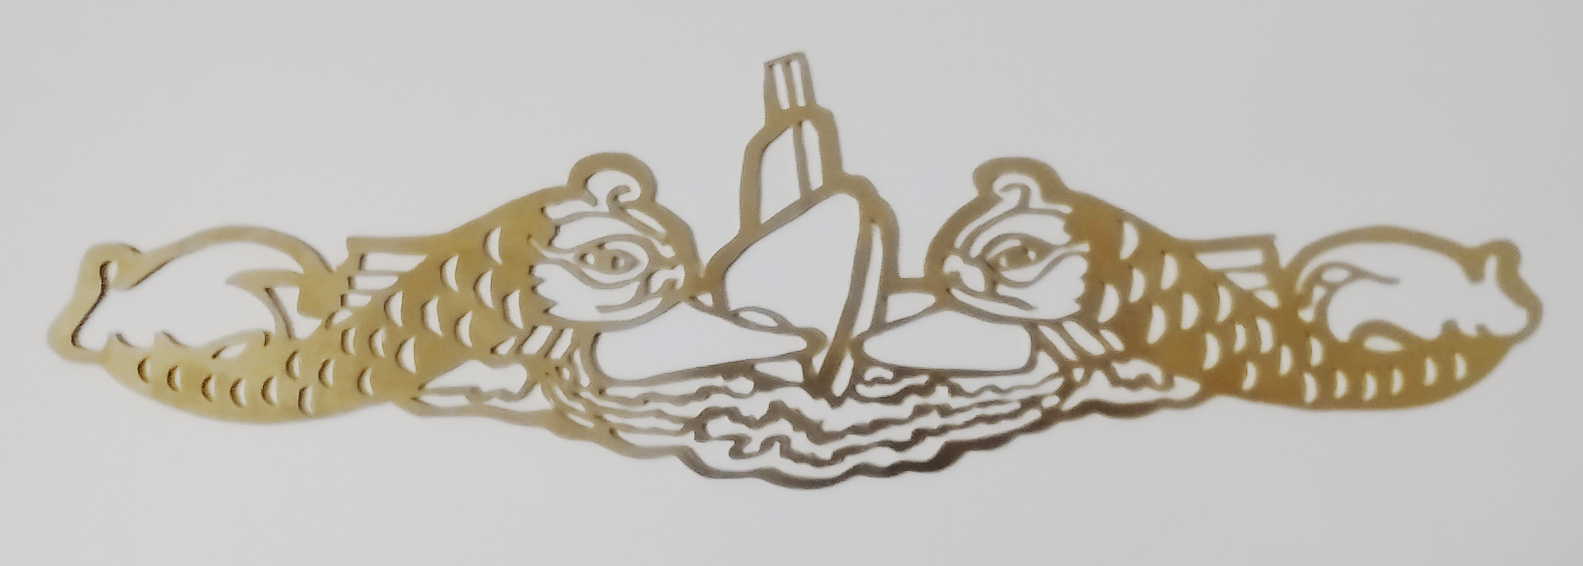
Interested in trying something different? Drop me an email, and we can discuss it. Although not a puzzle, I have cut sheet brass on the saw. I am not sure I am ready for a brass jigsaw puzzle, but who knows?