I had a wild idea to apply shellac to the backsides of puzzles before cutting them. Why shellac? Well, for one, it does not really stink up the basement like other finishes do. The solvent is alcohol. Shellac is made with ground up flakes of shellac and almost pure alcohol. There is really no obnoxious smell coming off of that Everclear!! Another reason was that I figured that with the finish already on the back of the wood, there would be less splintering after cutting. And third, I just love the look of shellac on cherry. (Edit: I did not want to apply the shellac after cutting because it would likely run down between the pieces and glue them all back together. And, unlike an oil finish like I show below, I did not want to hand apply shellac to individual pieces.)
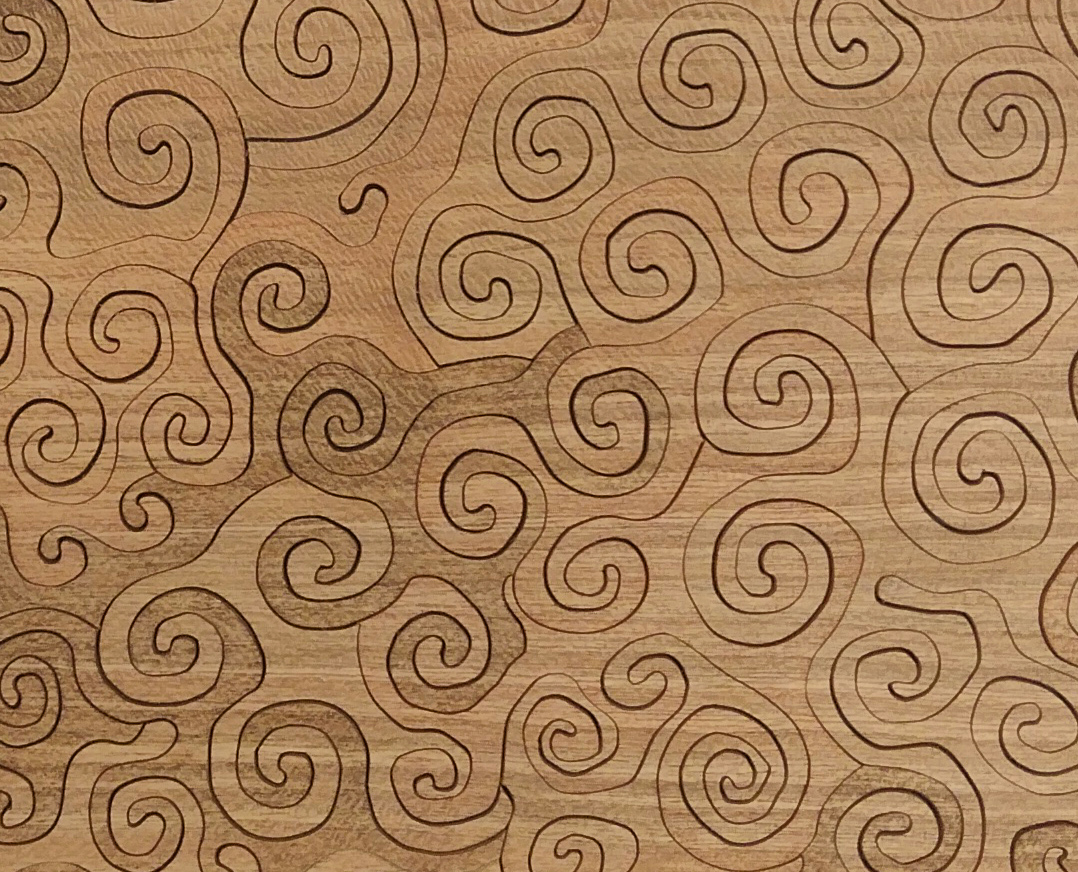
I decided to try this out. So, I grabbed a small piece of left-over cherry plywood. I started applying thin coats of shellac to the backside of the wood. On this side of the wood, the cherry ply is plain sawn, so it has a lot of beautiful figure. While waiting for one coat to dry, I did a little reading to learn more about shellac. I saw a comment that it was not a good finish for a dinner table, as a hot coffee cup or pot will melt it. It turns out that a dried shellac finish will soften at about 150 degrees. This is a problem for me, as I use a dry mount press to mount my photos. This process operates at about 180 degrees. So, no go on the shellac. I decided to go ahead and finish with this experiment anyway and applied 6 coats of shellac to the back.
Next, I took the board down to the shop to do some cutting. At first, I tried to cut with the shellac face down on the scroll saw table. It turns out the shellac was just a little soft, and it made it harder to move the wood around while cutting it. Maybe I should have waited an entire week to give it more cure time? It did prove to be relatively splinter free, though. No fuzzy wood whiskers after cutting!
I ended up flipping the board over so the shellac was up. Then, I just decided to practice my scrolling cuts. This picture is with the shellac side up. (Edit: the pieces in this picture that seem a little fuzzy on the edges are the ones that were cut with the shellac side down. There was no splintering, but the sawdust kind of hung onto the wood. It was easily cleaned off with a soft rag when done cutting.)
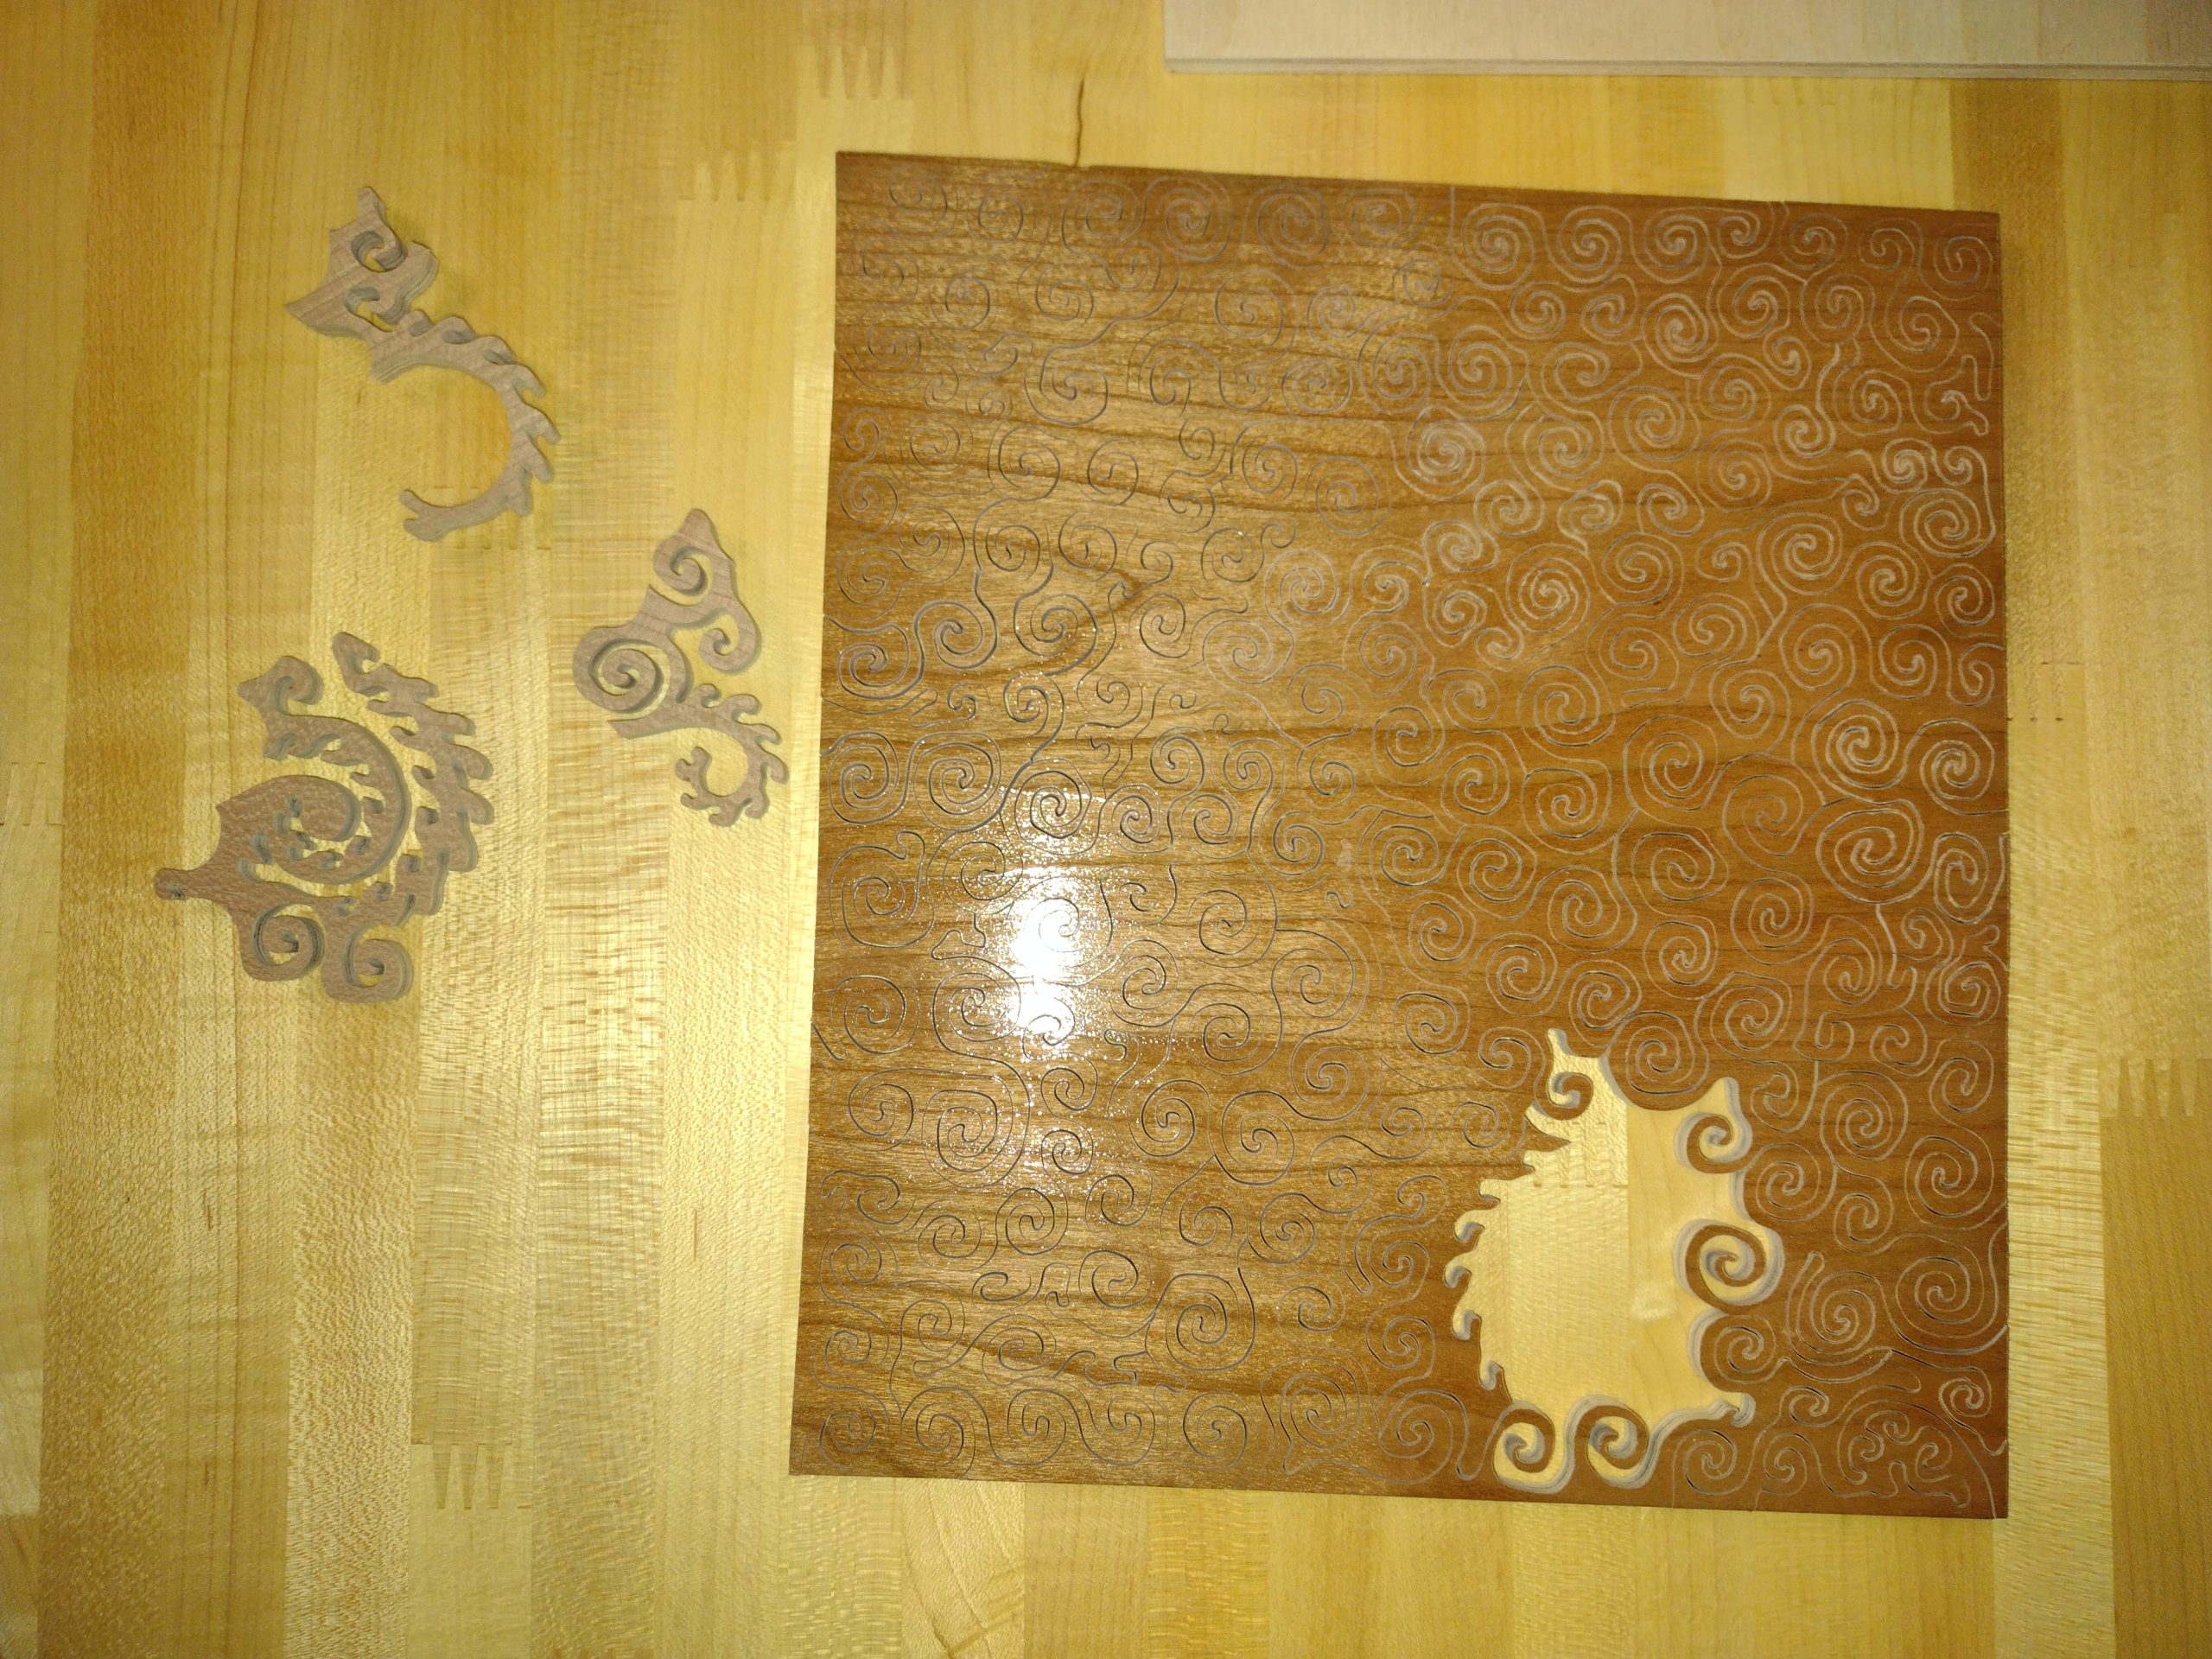
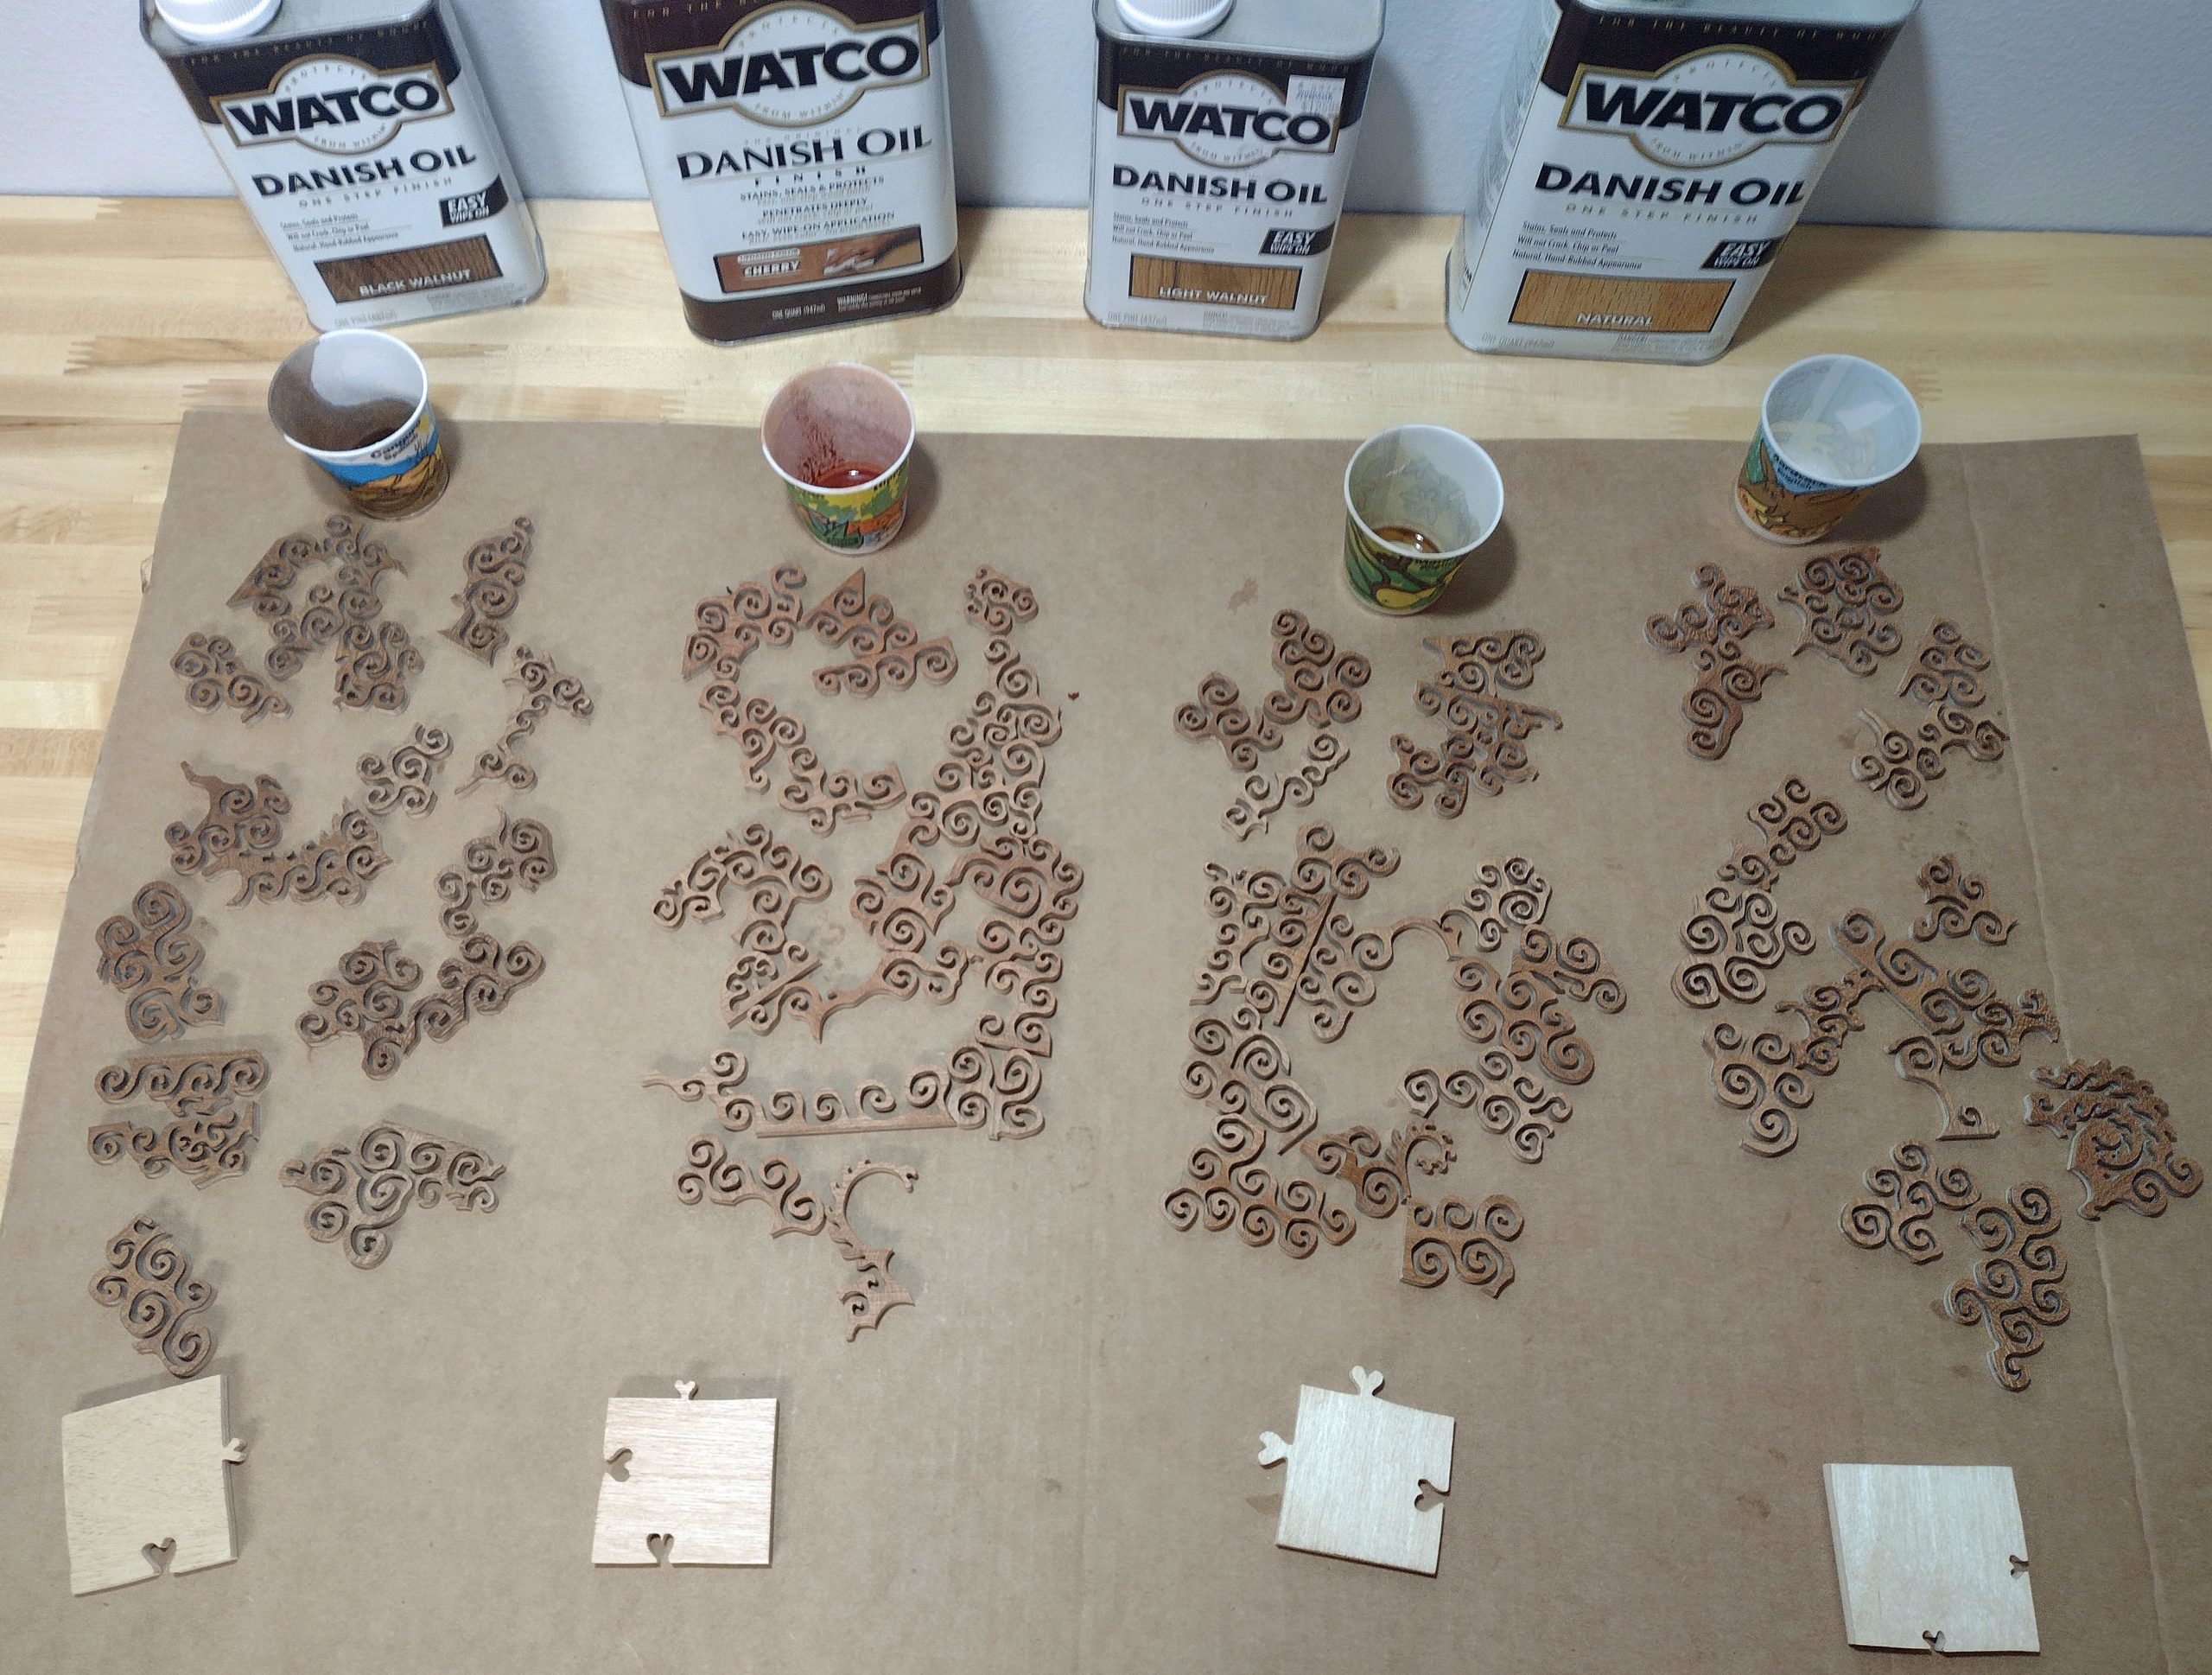
After cutting, I decided to use four different tints of Danish oil on the other side. Here, the cherry ply is quarter sawn, so is not quite as interesting visually. Cherry is already a dark wood, so the impact of the tints is very subtle. The four pieces of Baltic Birch in the picture below were also tinted for a comparison.
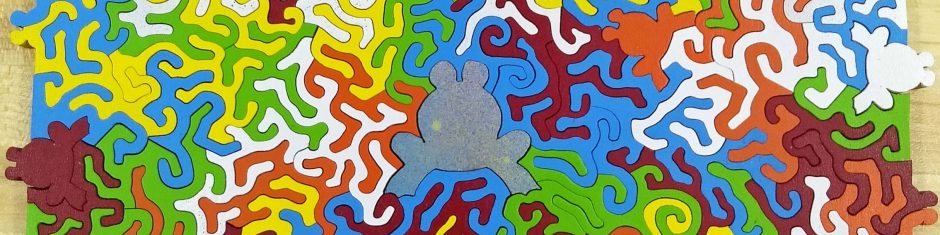
Here is the finished front side of the puzzle.
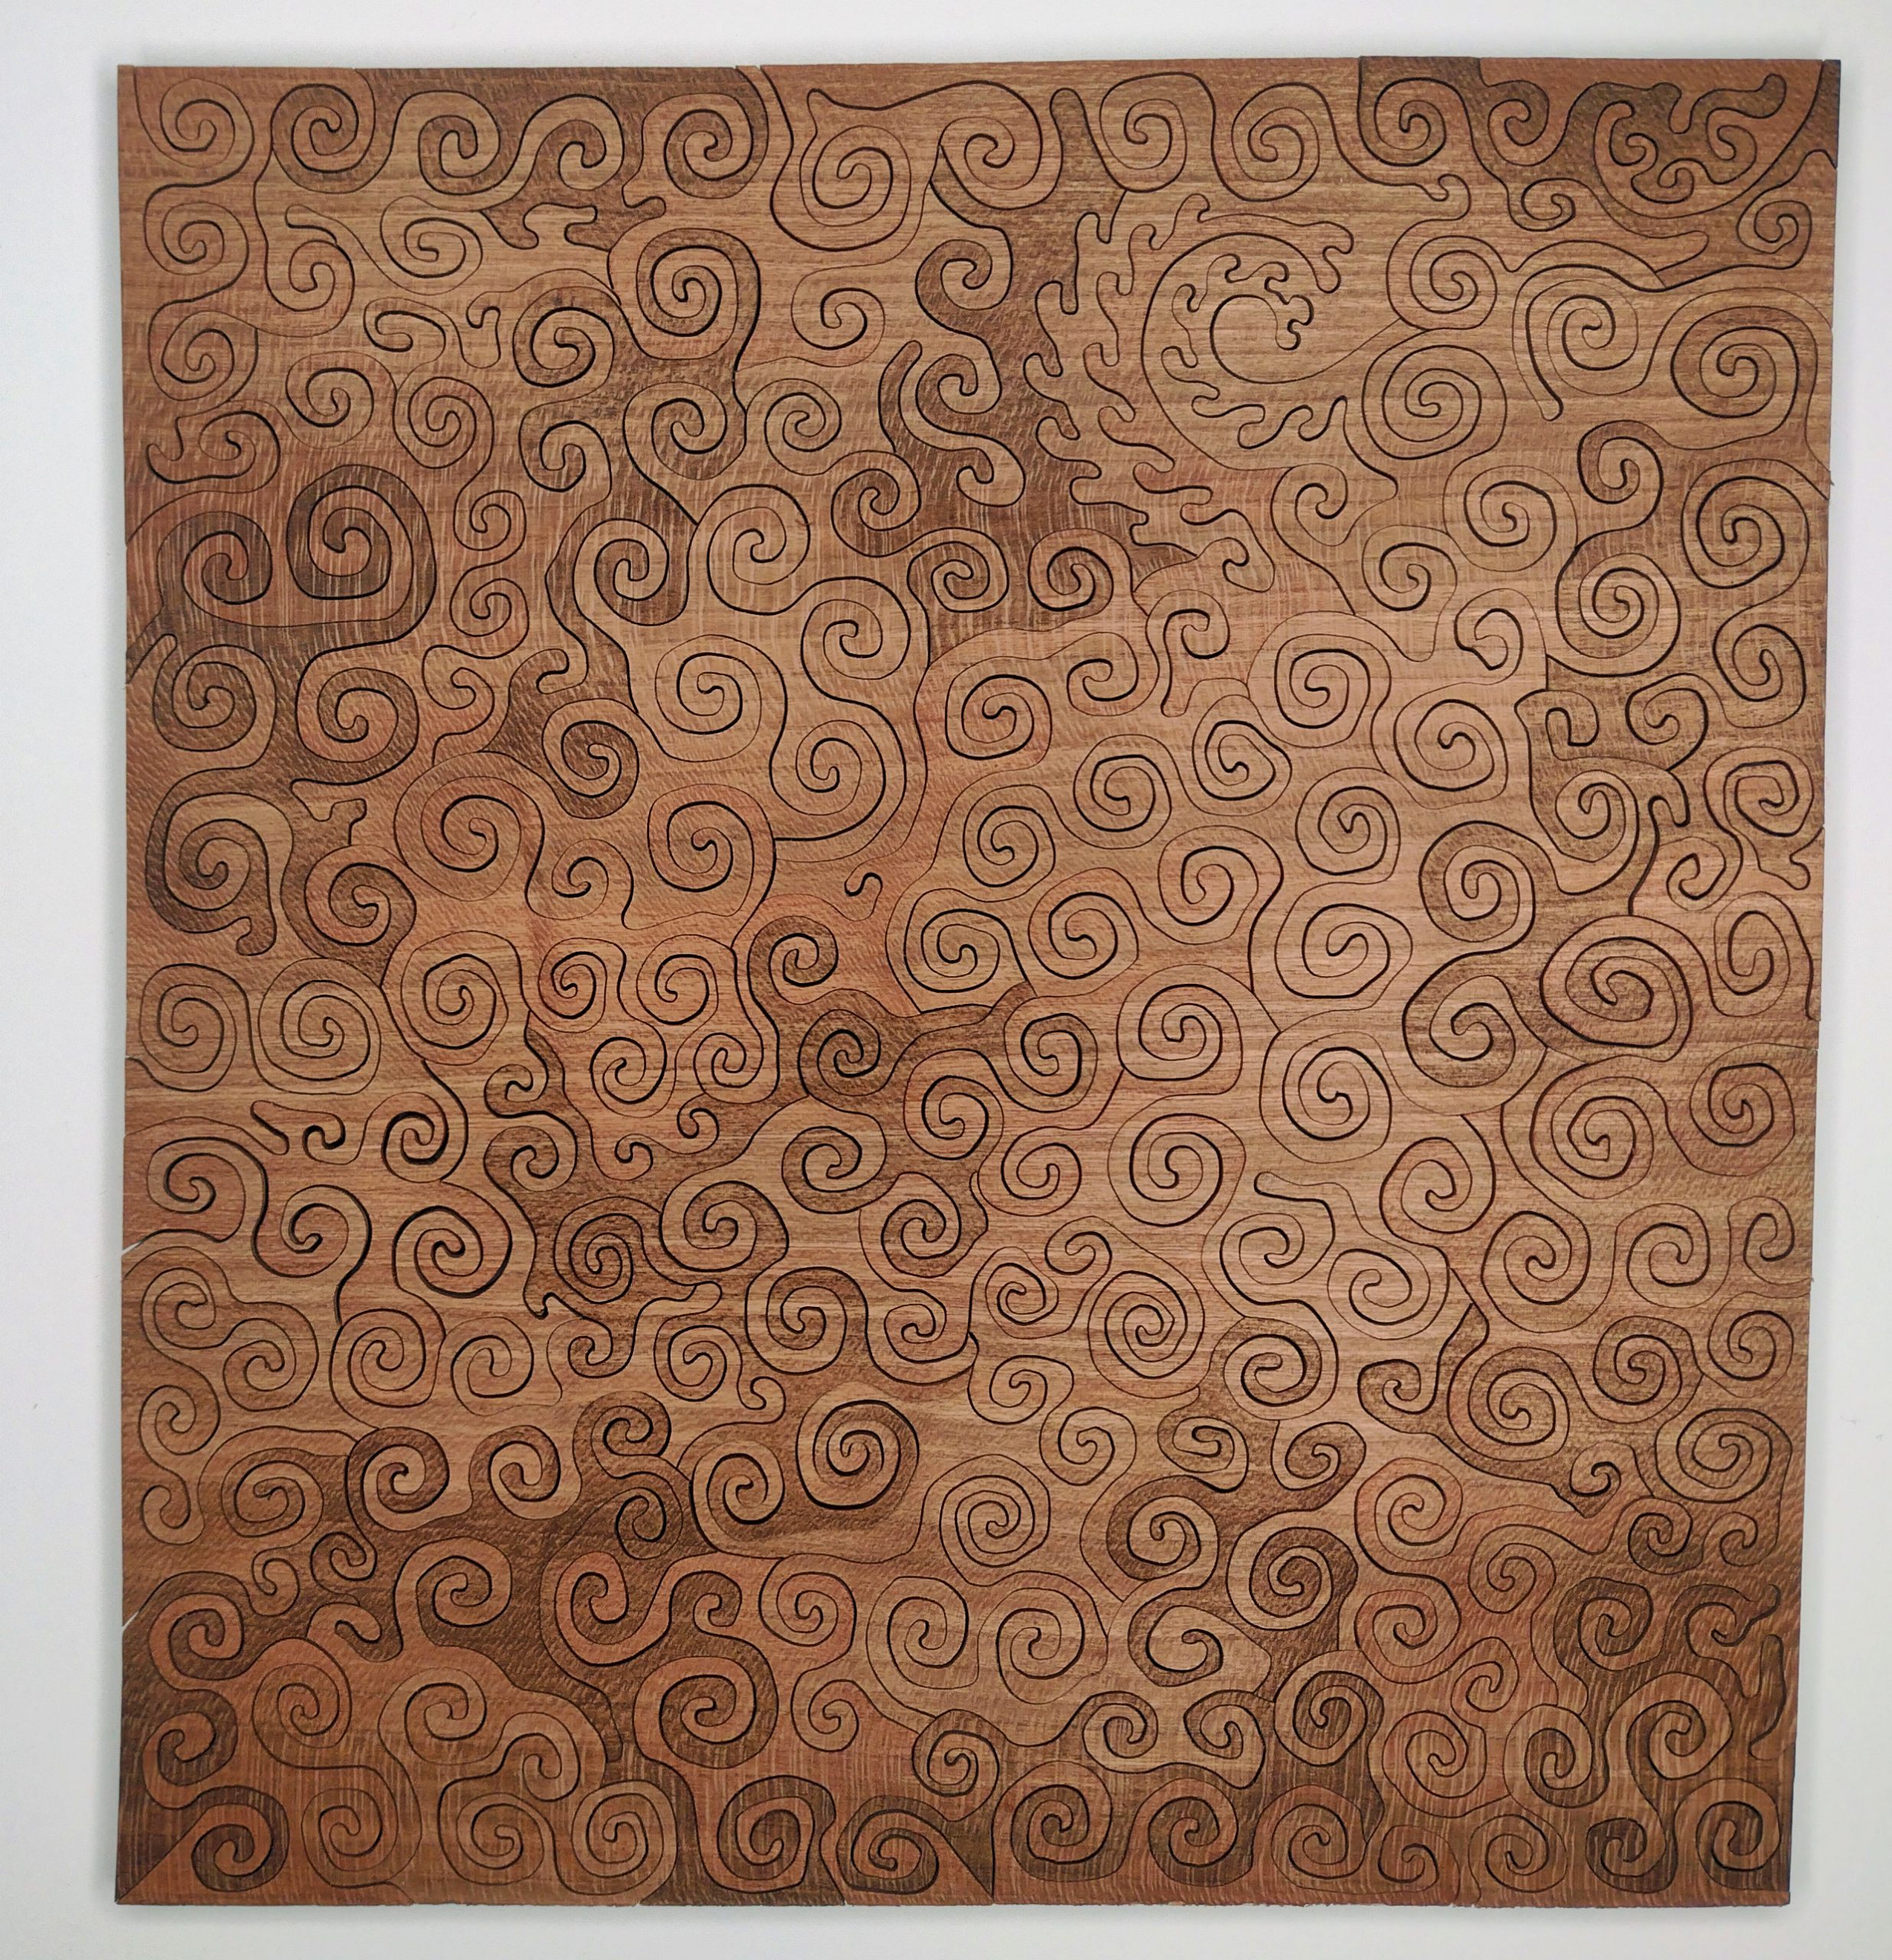
This is actually a beautiful puzzle and my cell phone photos do not do it justice.
This puzzle is 7.5″ by 8.375″ and has 72 pieces to it. It is made from 1/4″ cherry Appleply. After applying the finish and allowing drying time, I had to reassemble the puzzle to take pictures. For such a relatively small puzzle, it took me 90 minutes!
So, the shellac idea is kind of a bust. It does reduce the fuzzy whiskers when done with cutting but is really impractical for what I wanted. I did make a cool puzzle out of it, though. This will be listed on my Etsy store. I wonder how long it will last? (Edit: 36 minutes. Much faster than I hoped for!)
Happy Puzzling,
Bob