This is a continuation of my last blog post. This project is taking longer than expected. I have cut seven of the different wood samples. I will post my findings of these seven, as I am not sure how long it will take me to get to the rest of them.
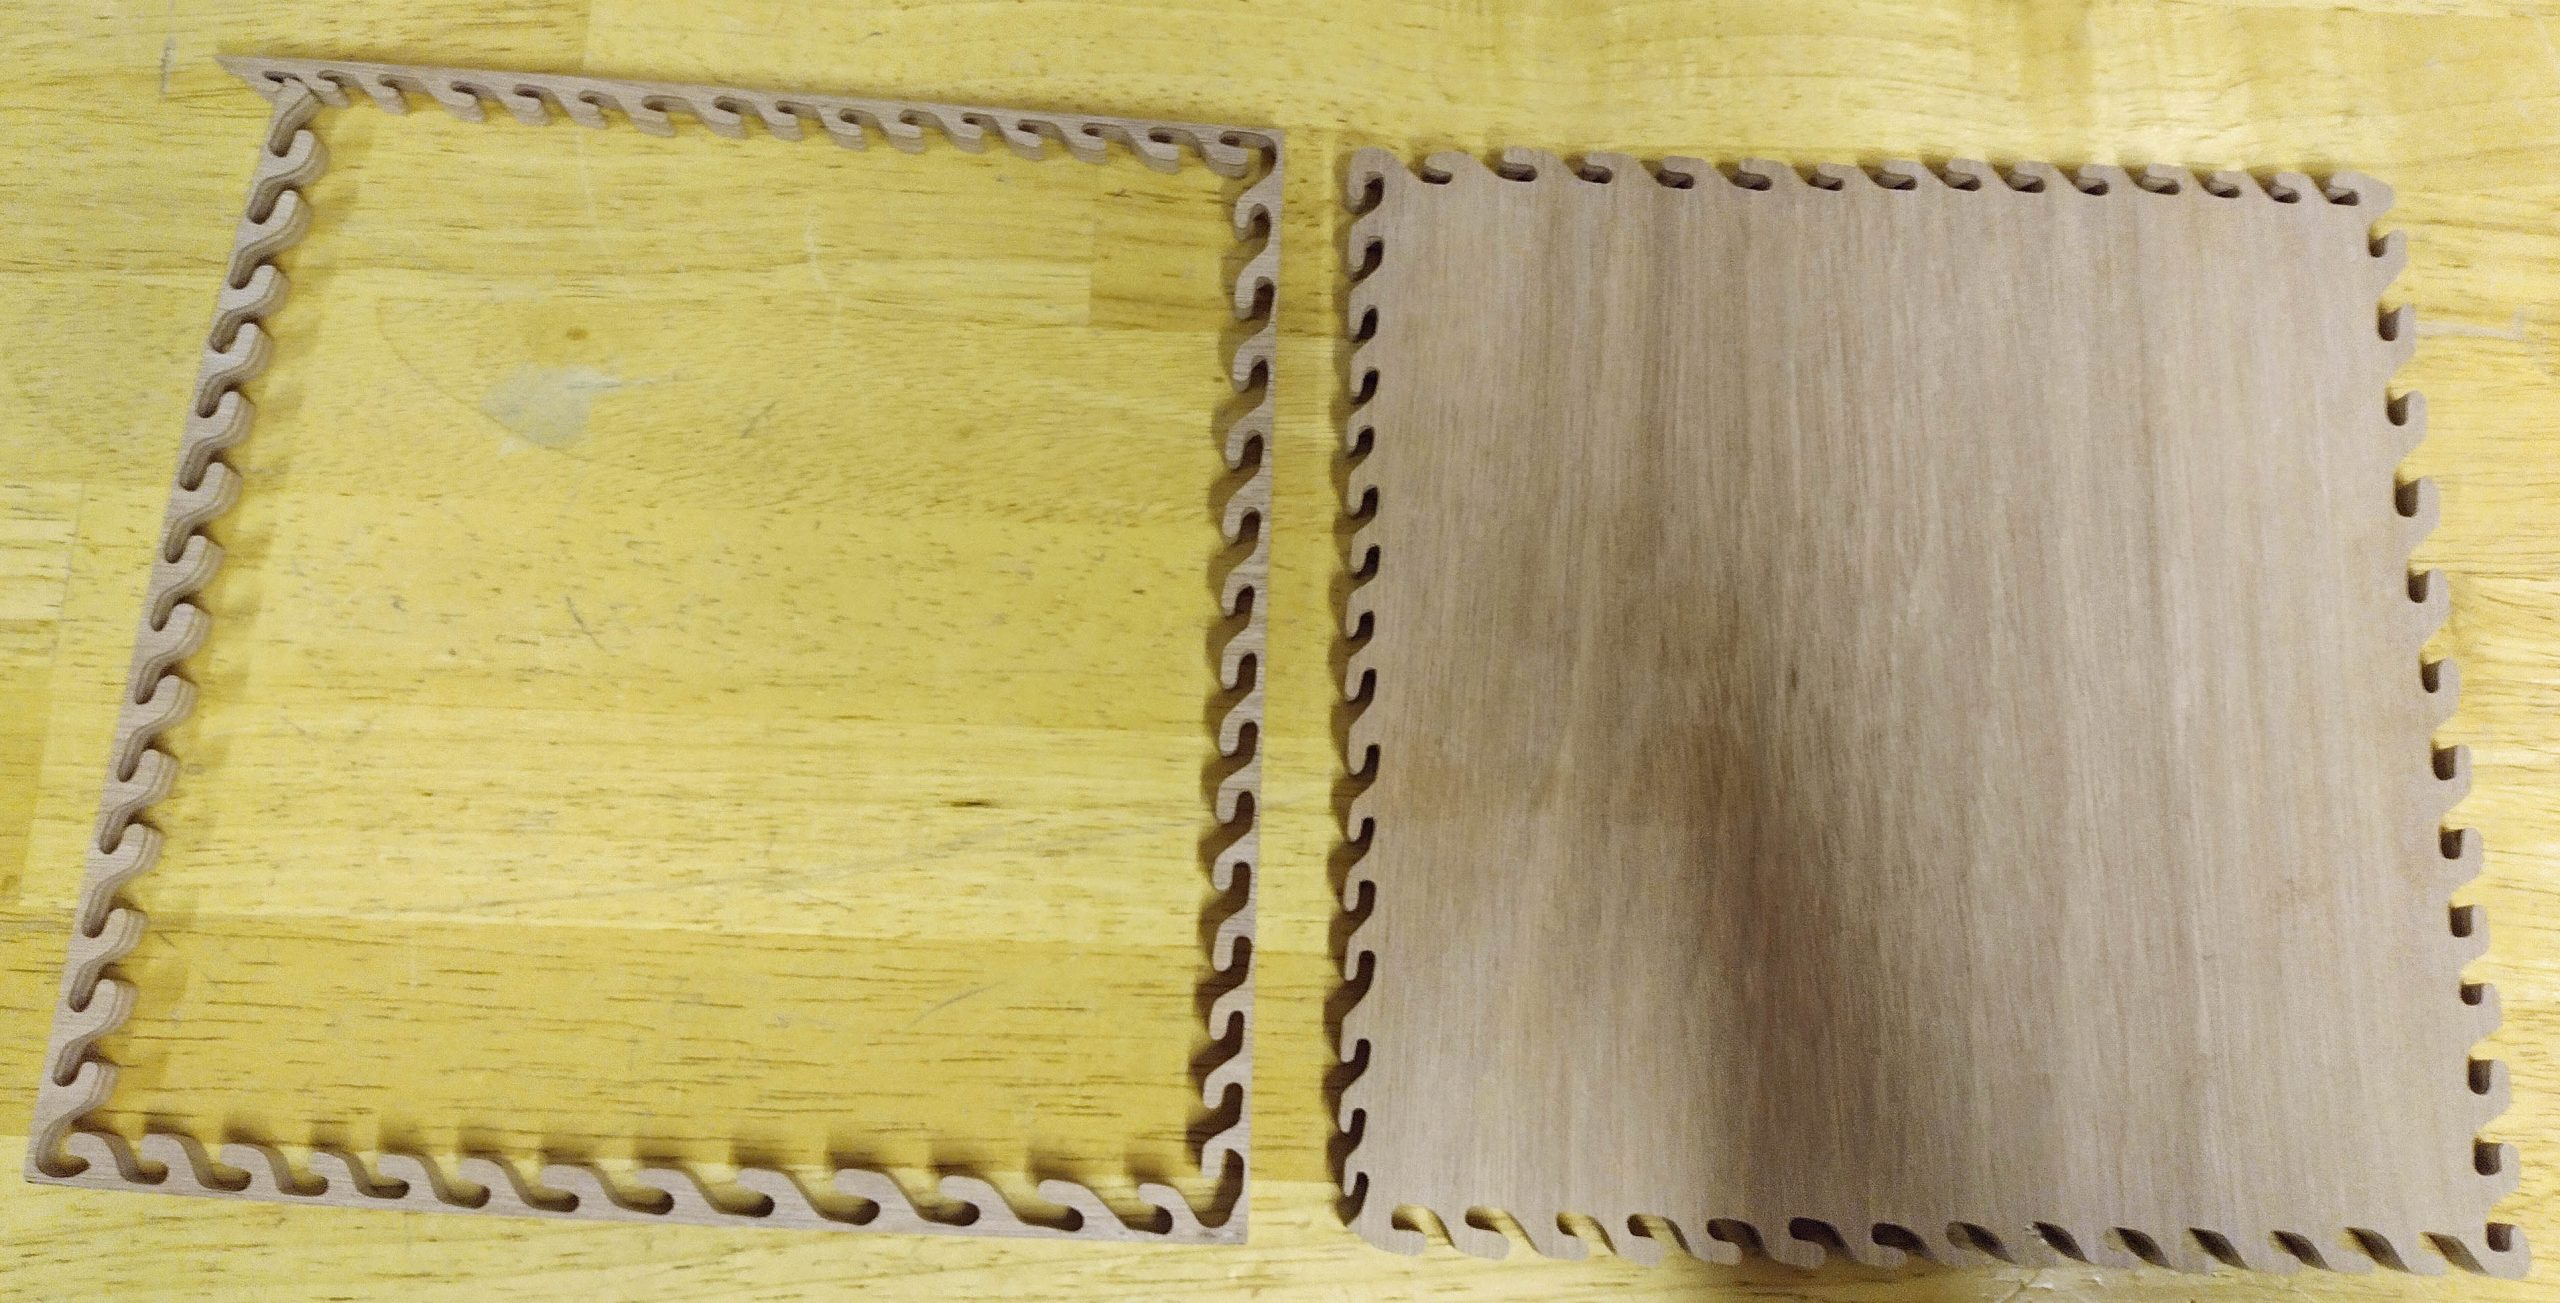
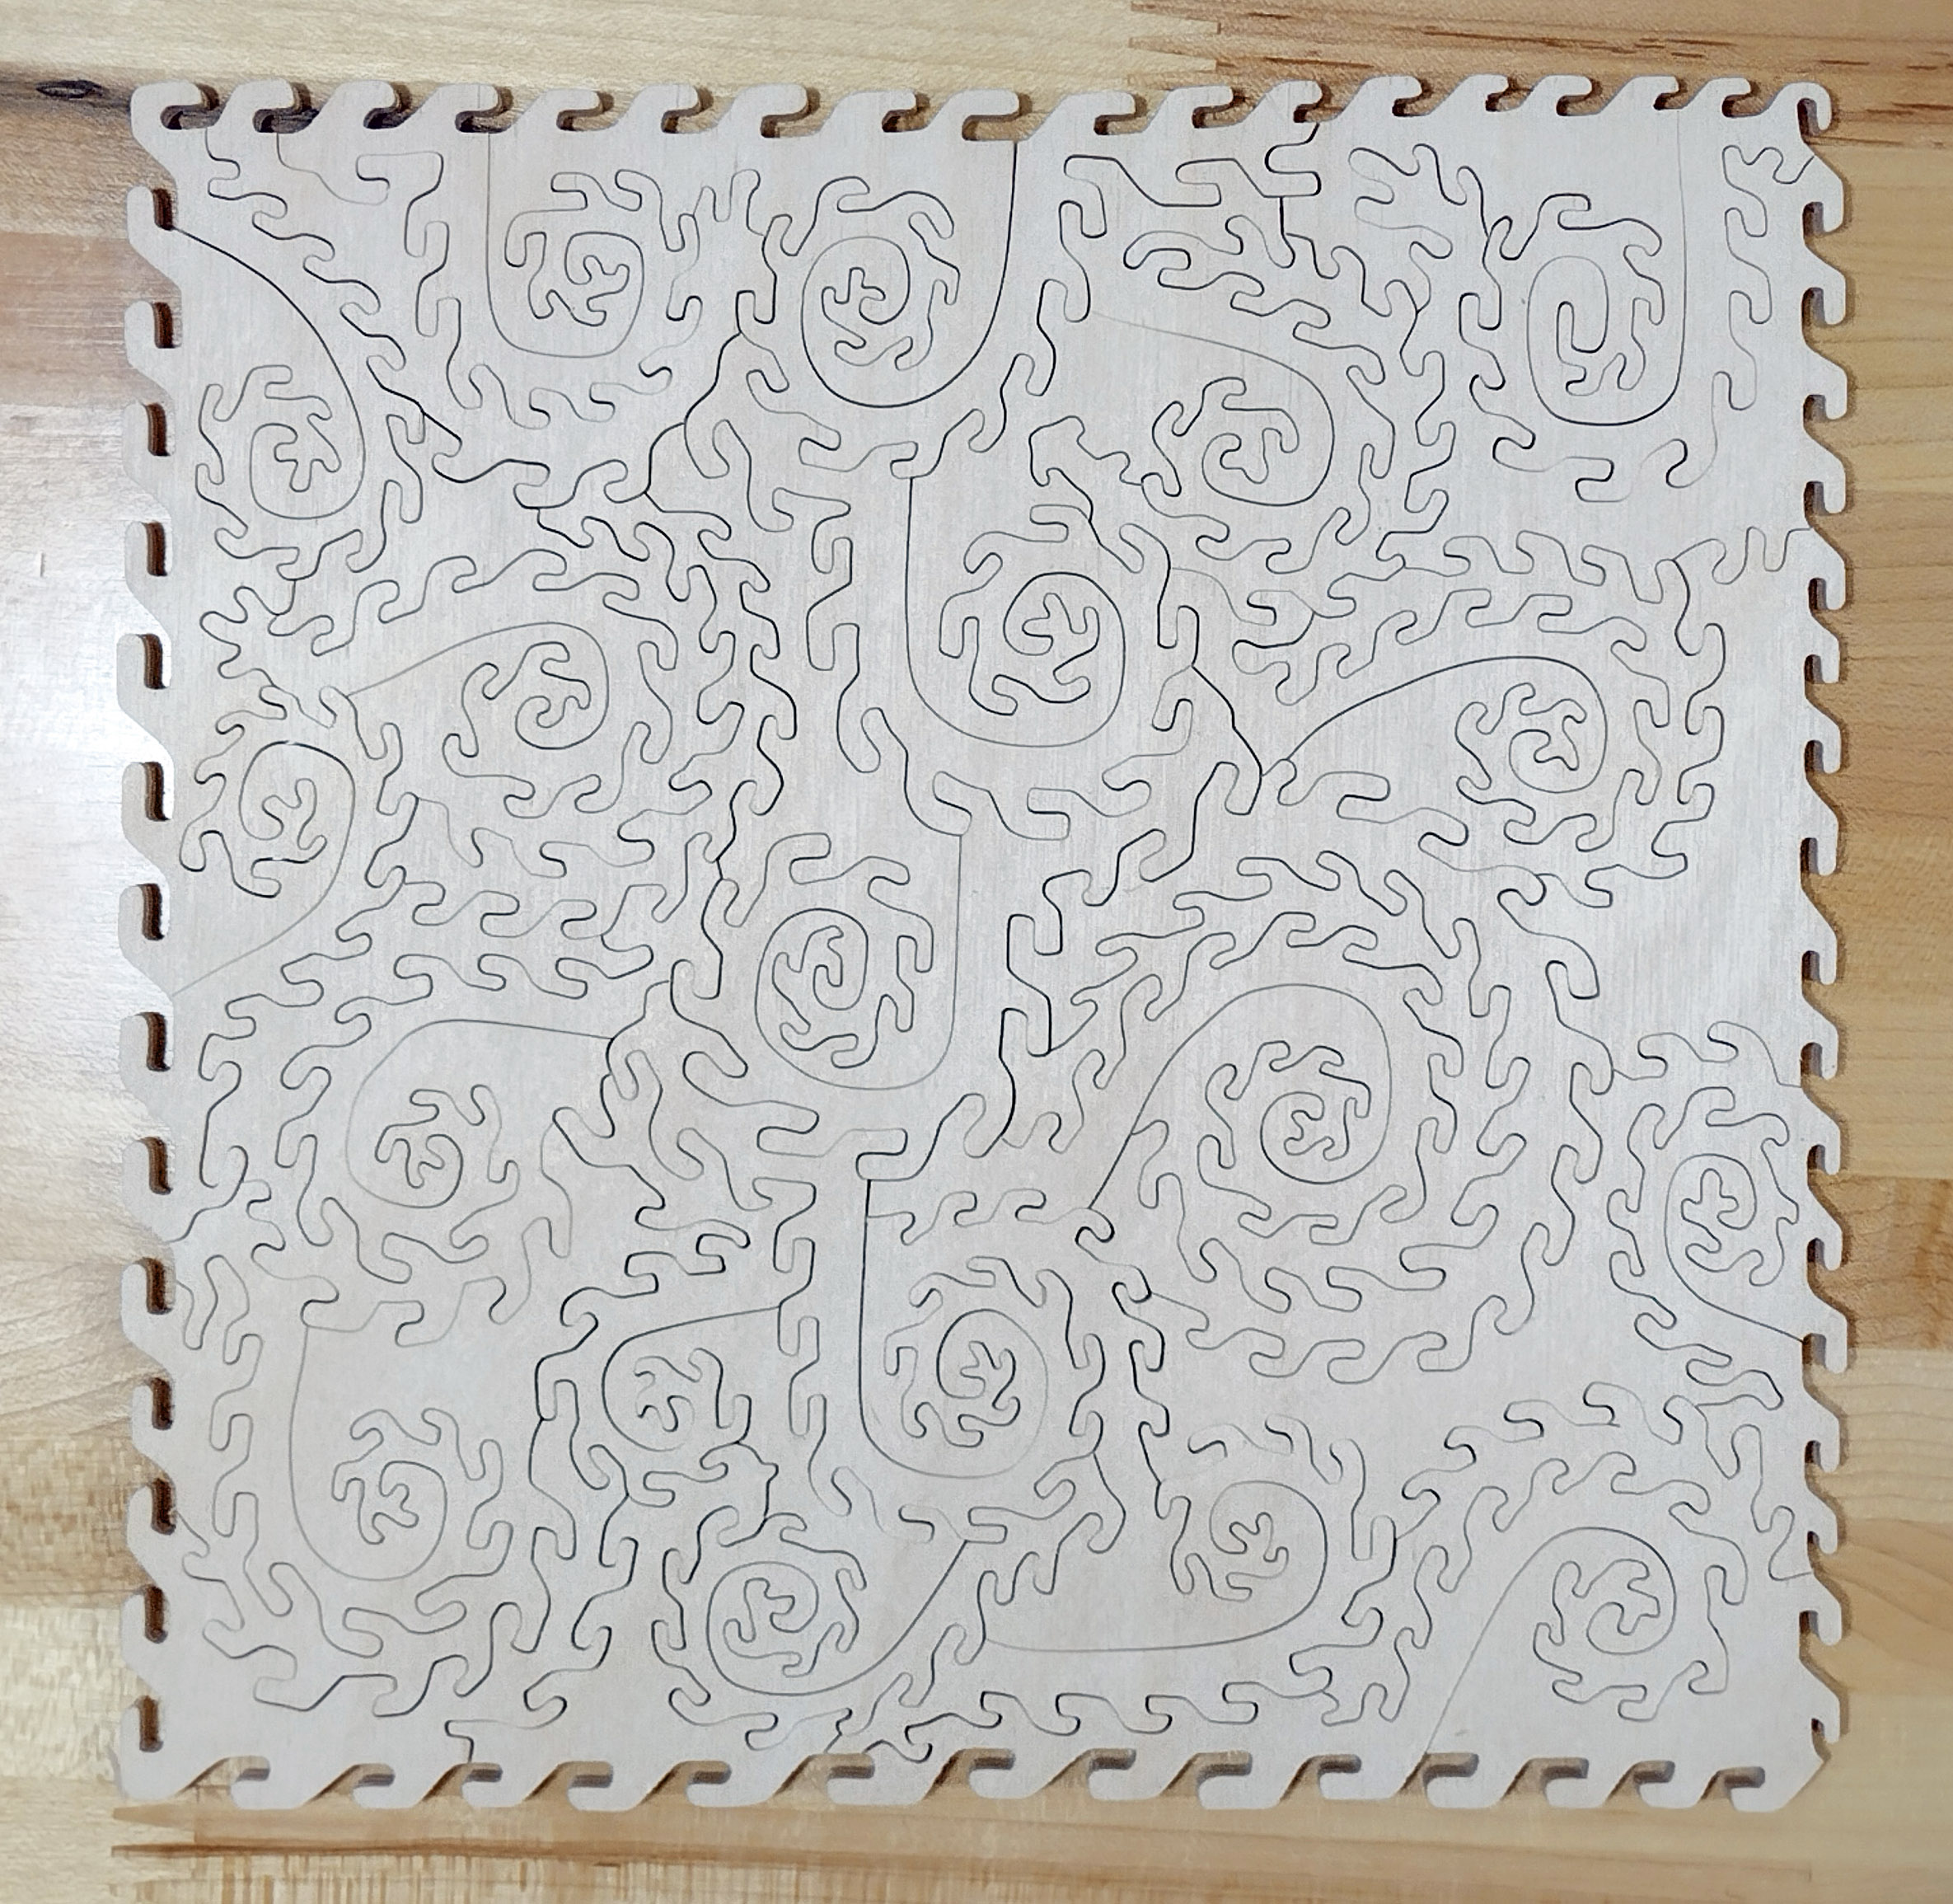
I decided to make these test puzzles as close to the same as possible. So, I cut them all using the same saw, the same brand, size, and style of sawblades, and the same puzzle piece style. These are all 8″ x 8″ blanks (except for one I will discuss when I get to it). I cut the puzzles using my DeWalt scroll saw with Pegas 2/0R MGT blades. I cut them in what I call the dragon tail piece style. They all seven have roughly 40 pieces (except for the smaller one).
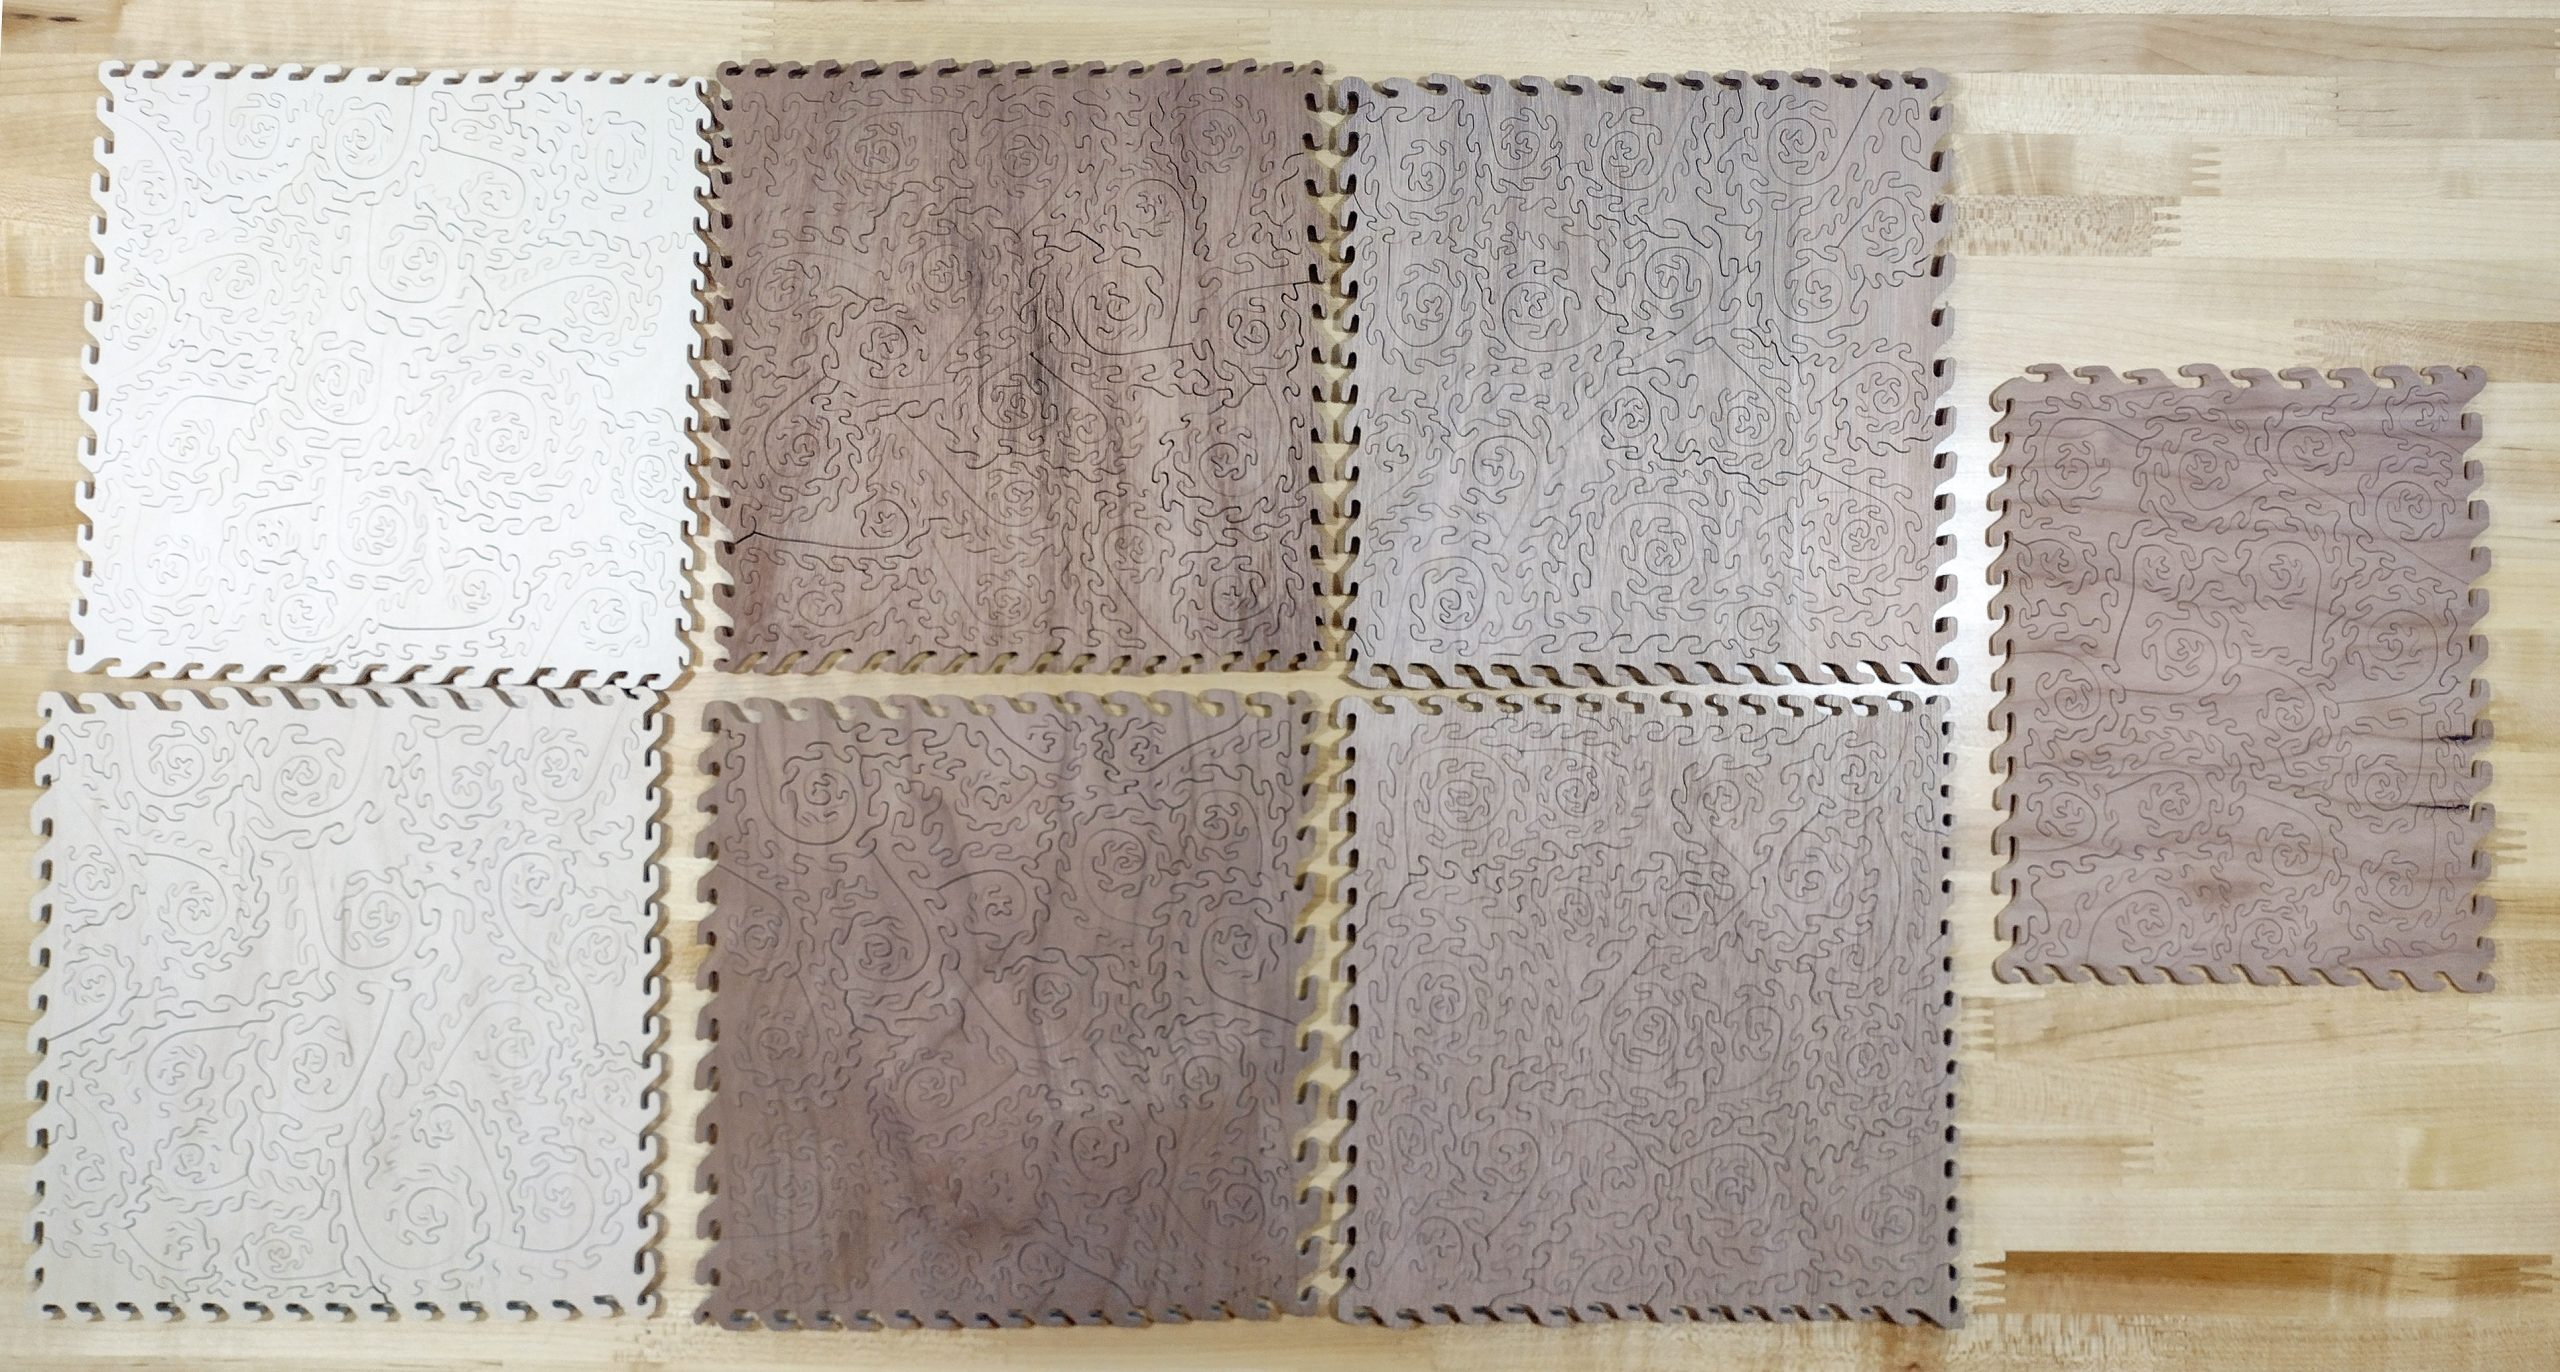
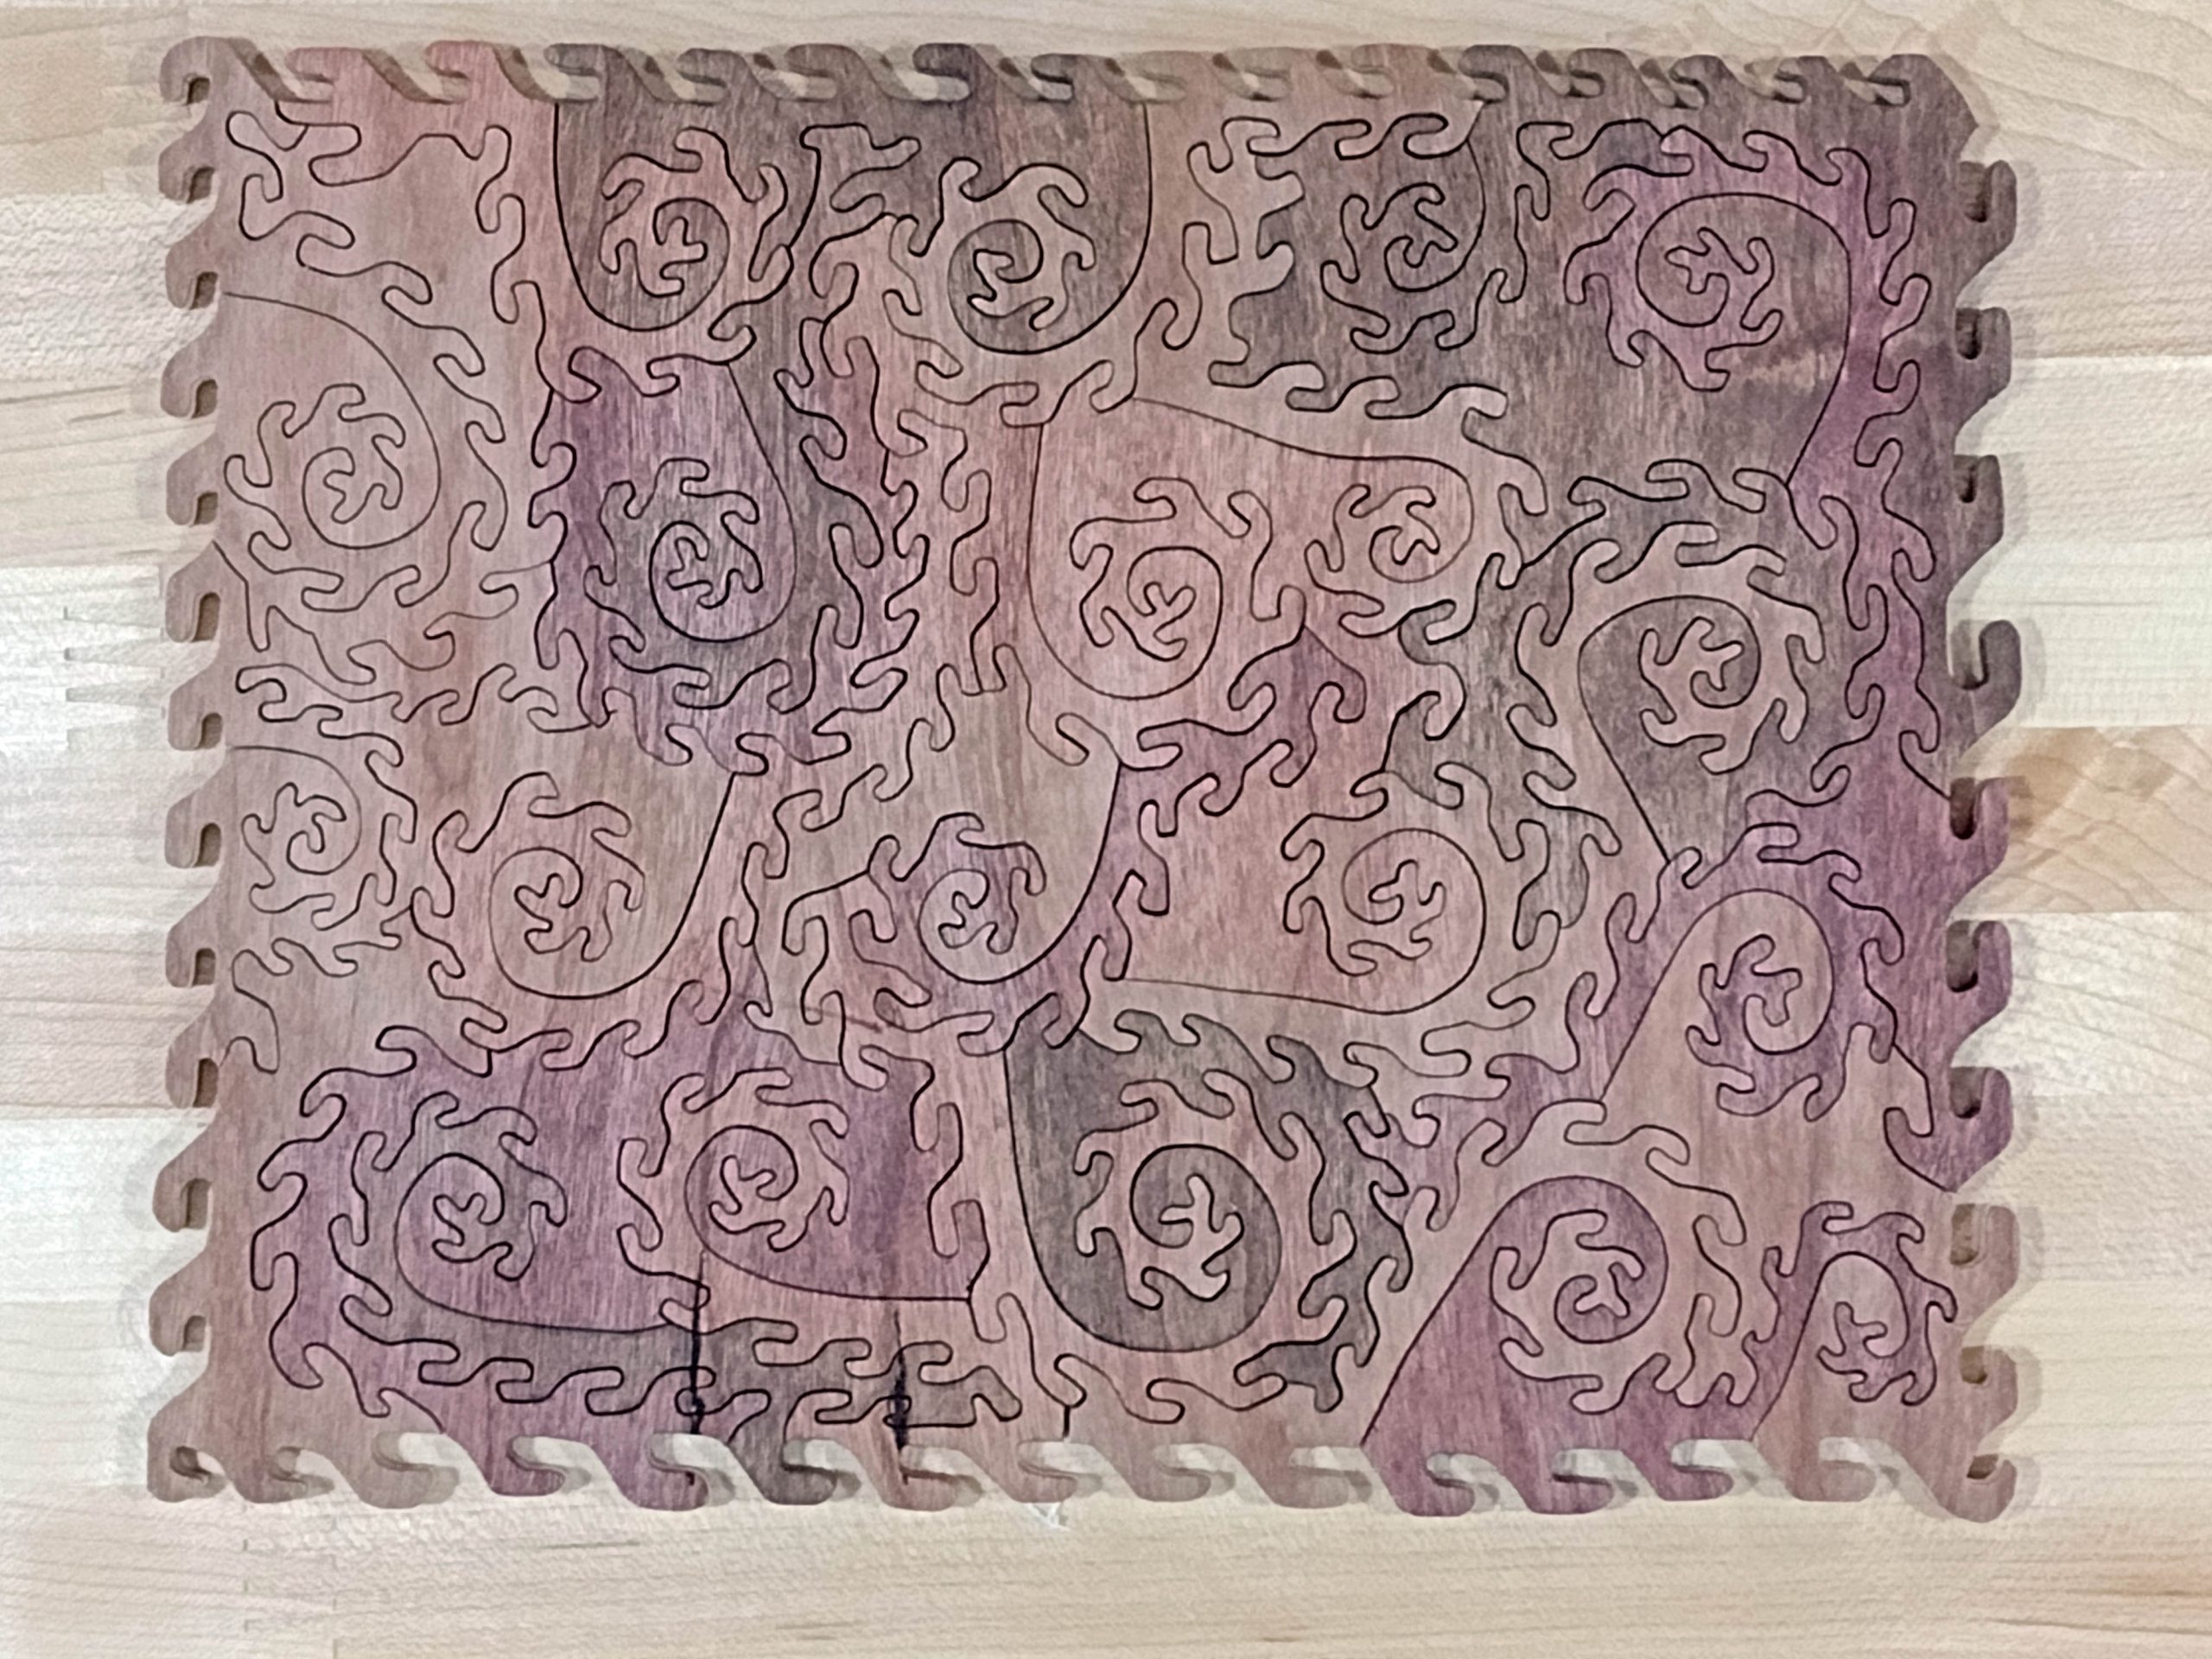
The samples I have managed to cut at this point are the five varieties from the Boulter sample pack, a piece of cherry Appleply, and the piece of MDF core with maple face veneer. I also cut additional puzzles from the extra sapele, okoume, and meranti blanks. These three additional puzzles are not the dragon tails style of puzzle piece.
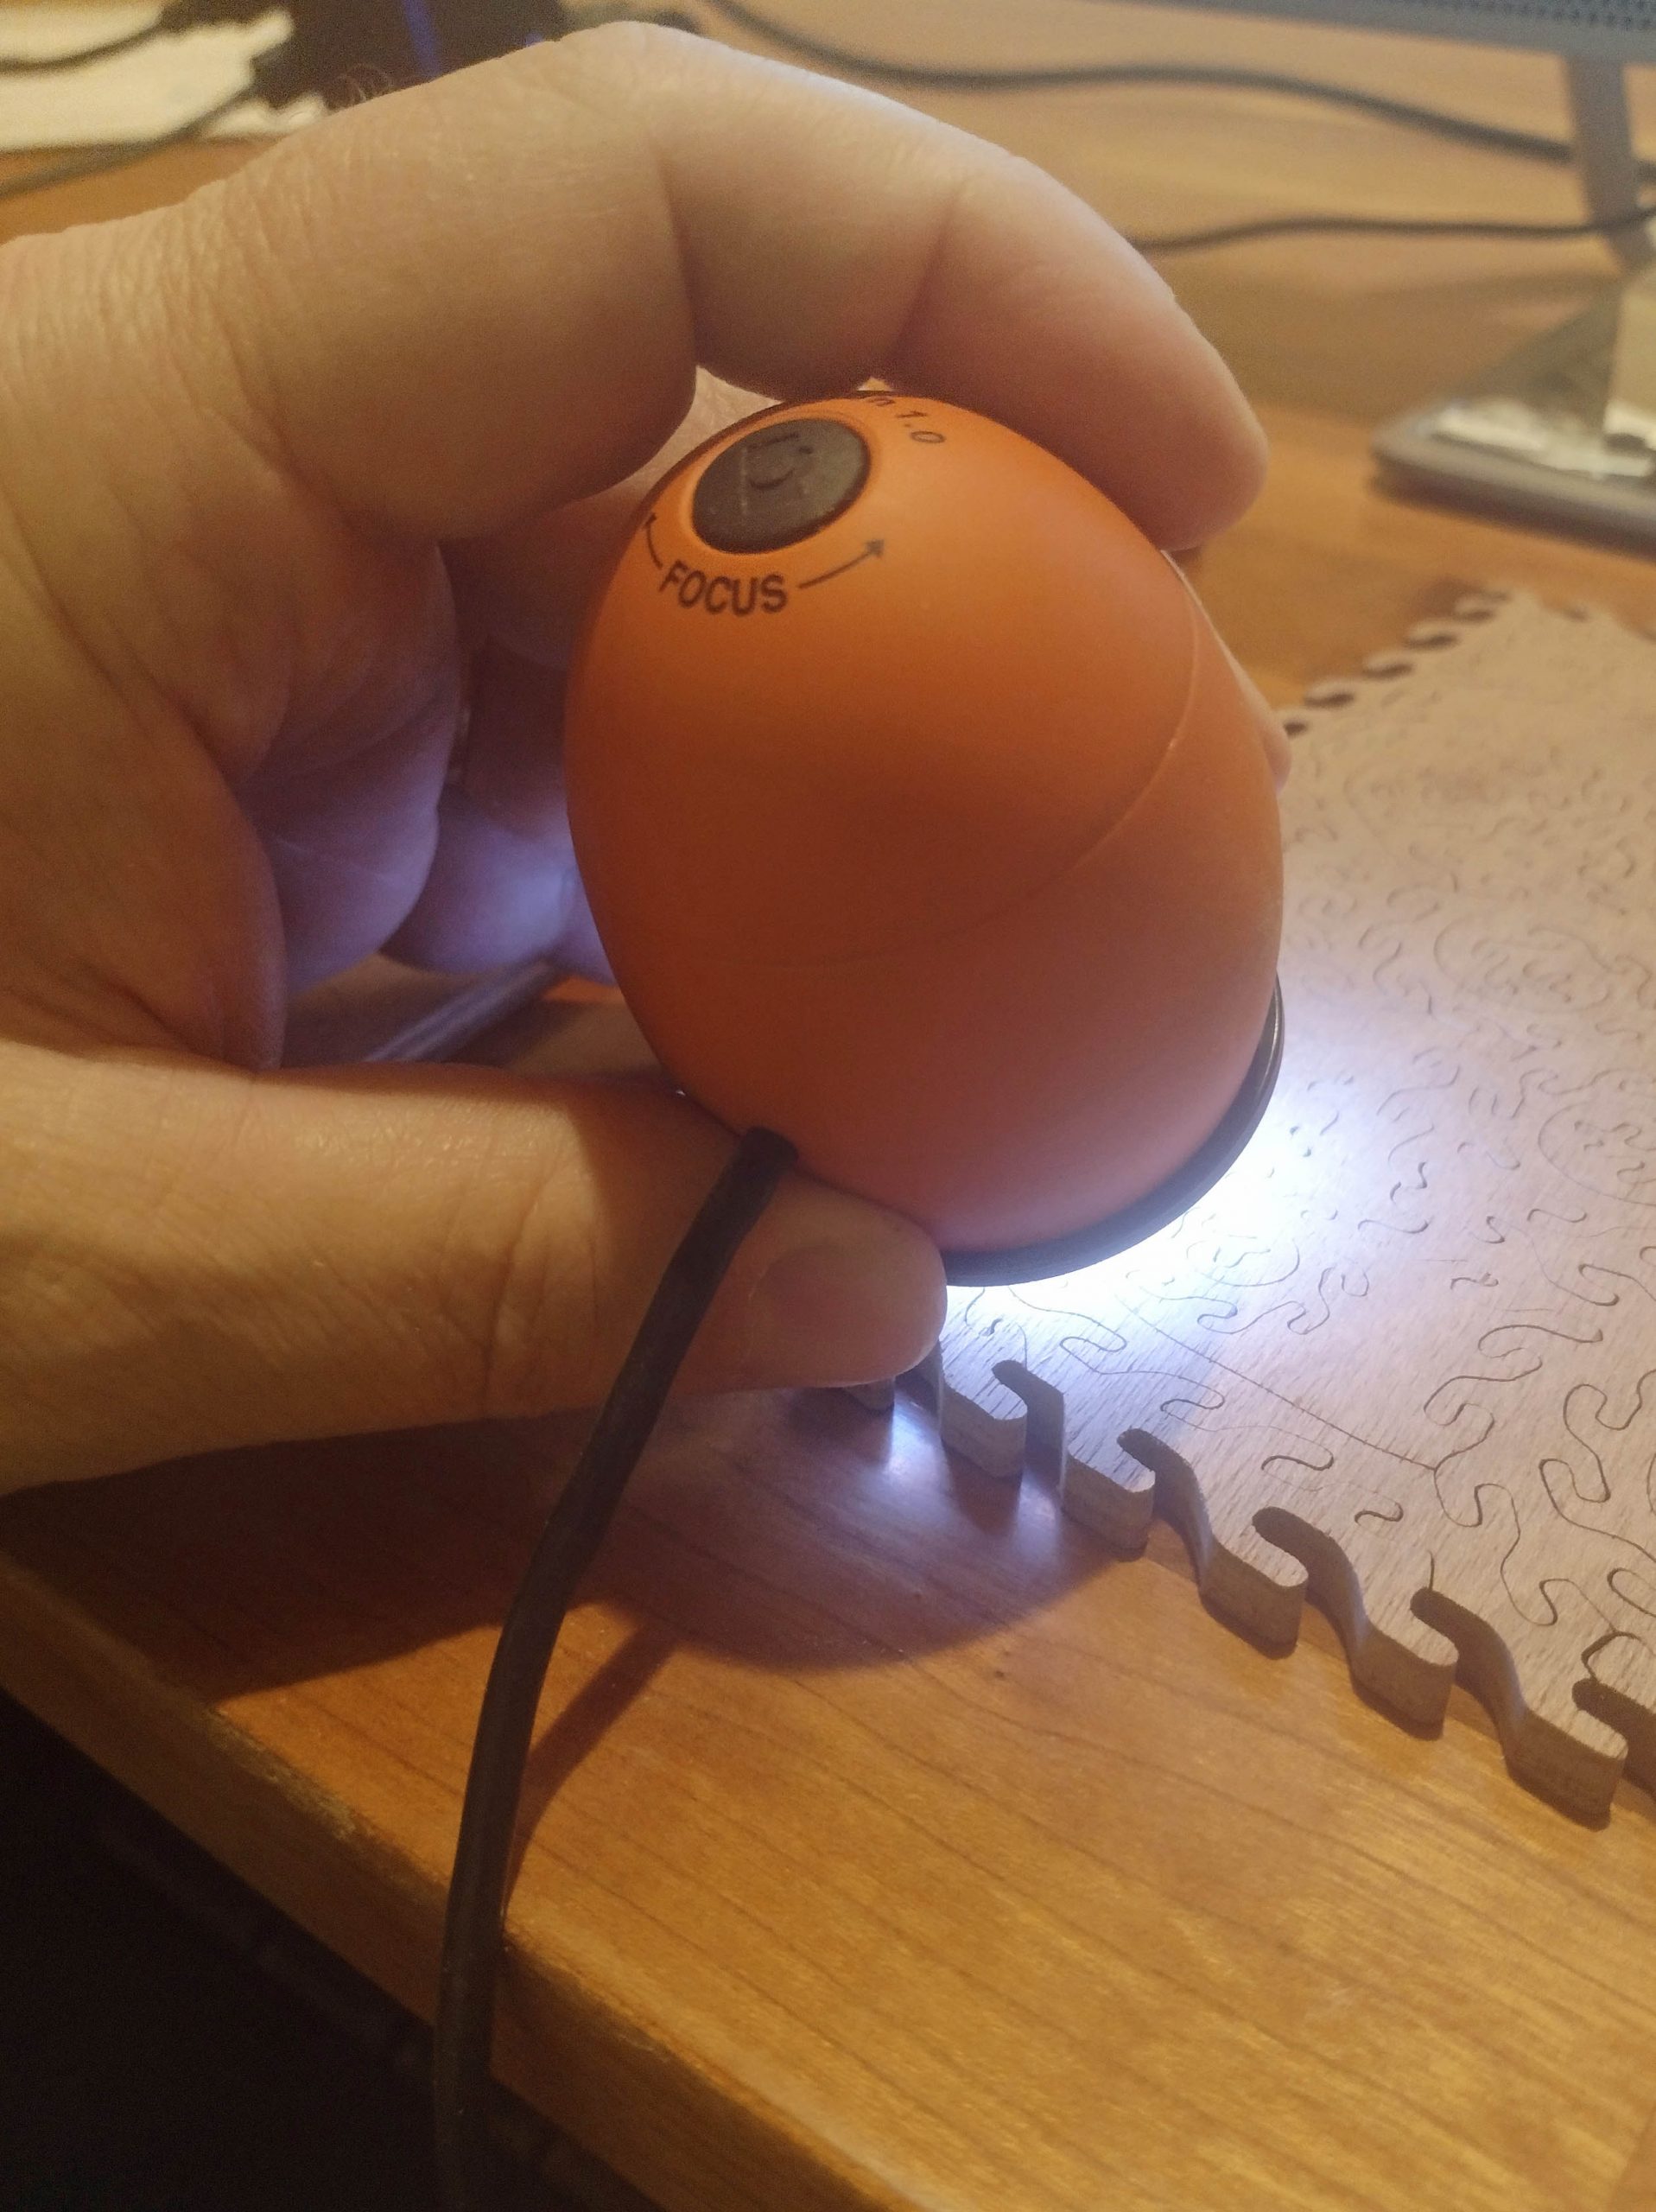
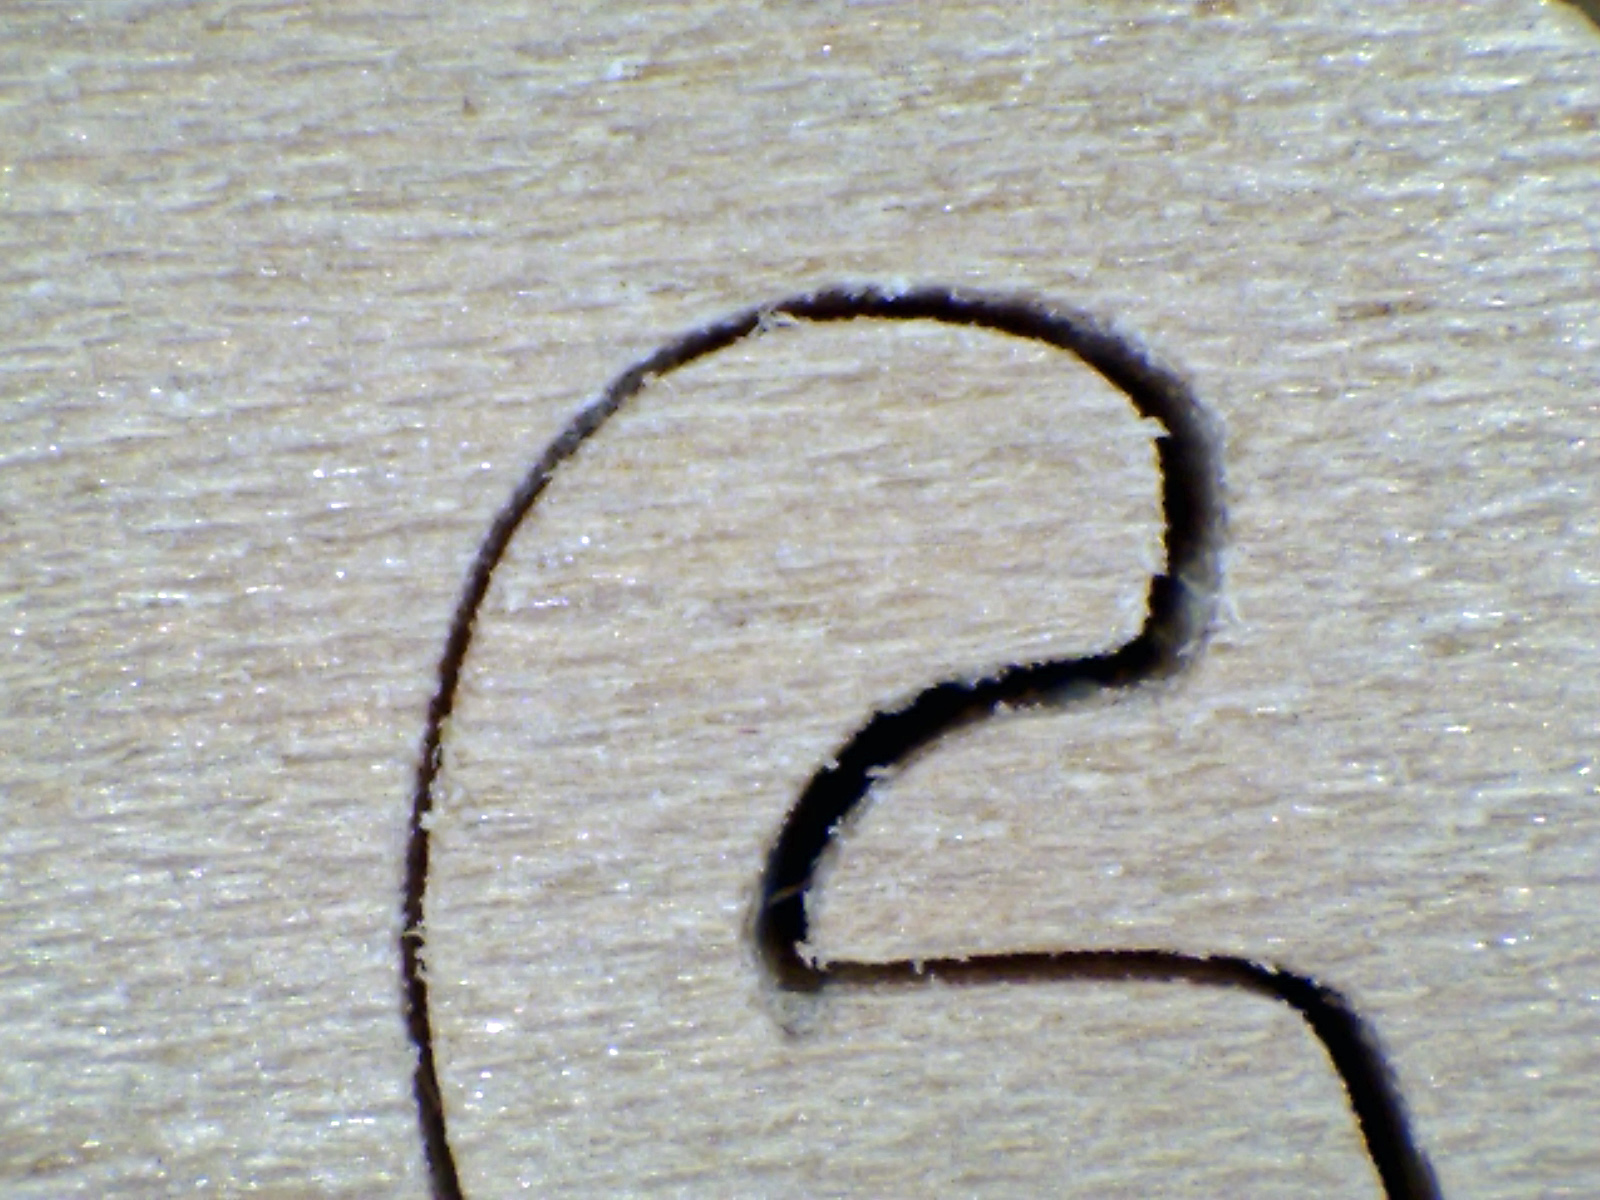
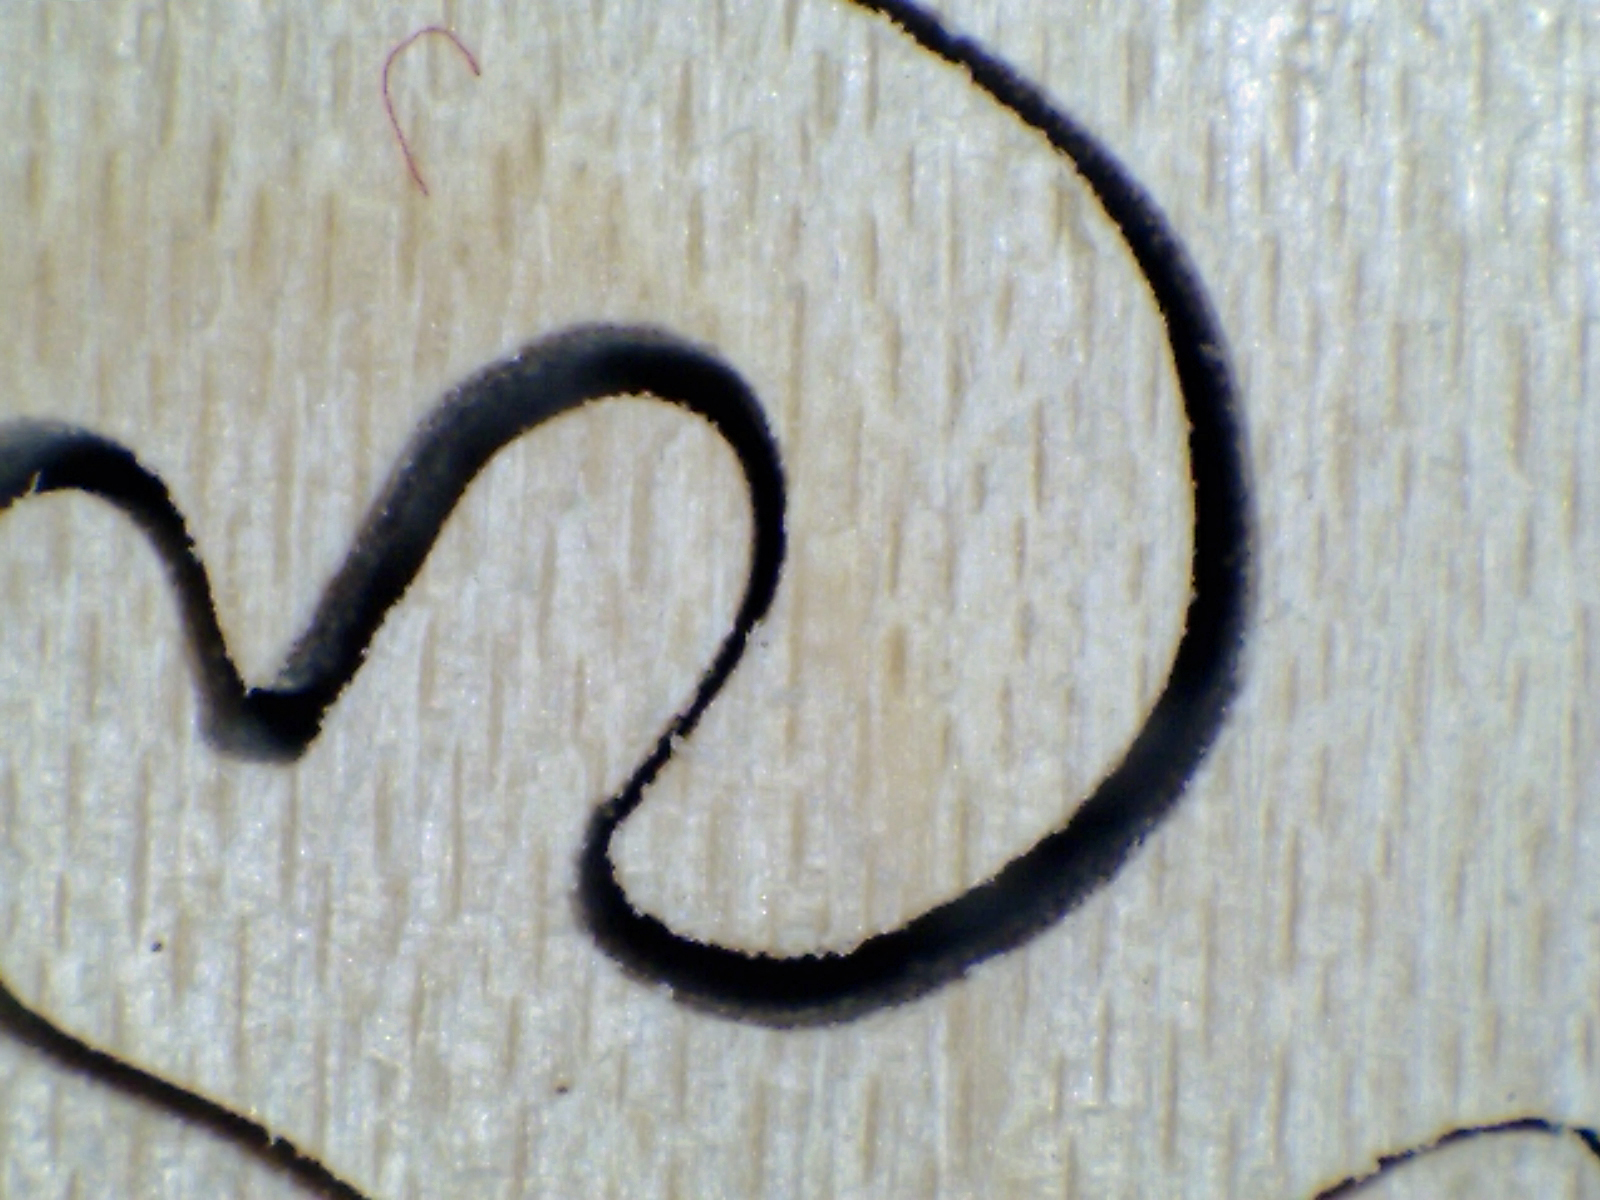
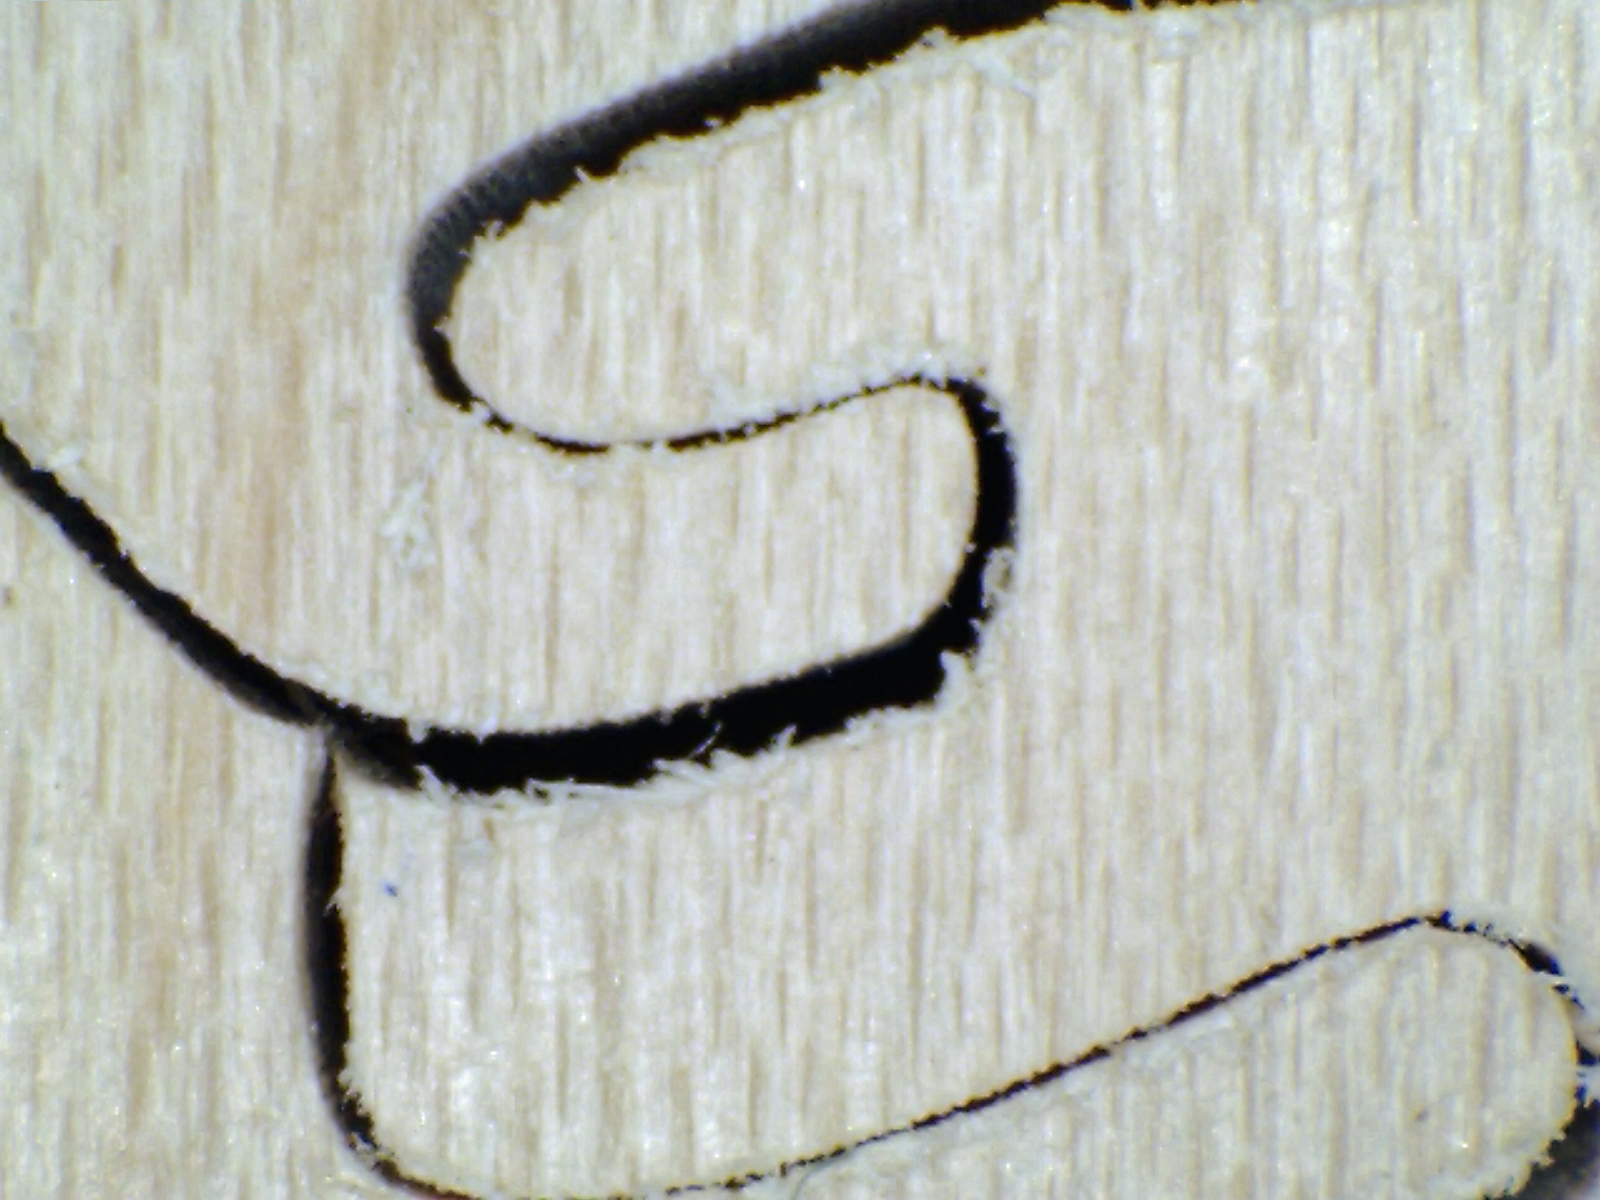
I share below my experiences with these woods. As always, these are my personal experiences. Others may disagree with me, which is fine. Some of the pictures you will see are greatly magnified to better show what I have learned. I took these magnified pictures with a Carson xOrb Digital Viewer which magnifies 68X on a 27″ monitor. They do not look as drastic in real life as some of these photos might indicate!
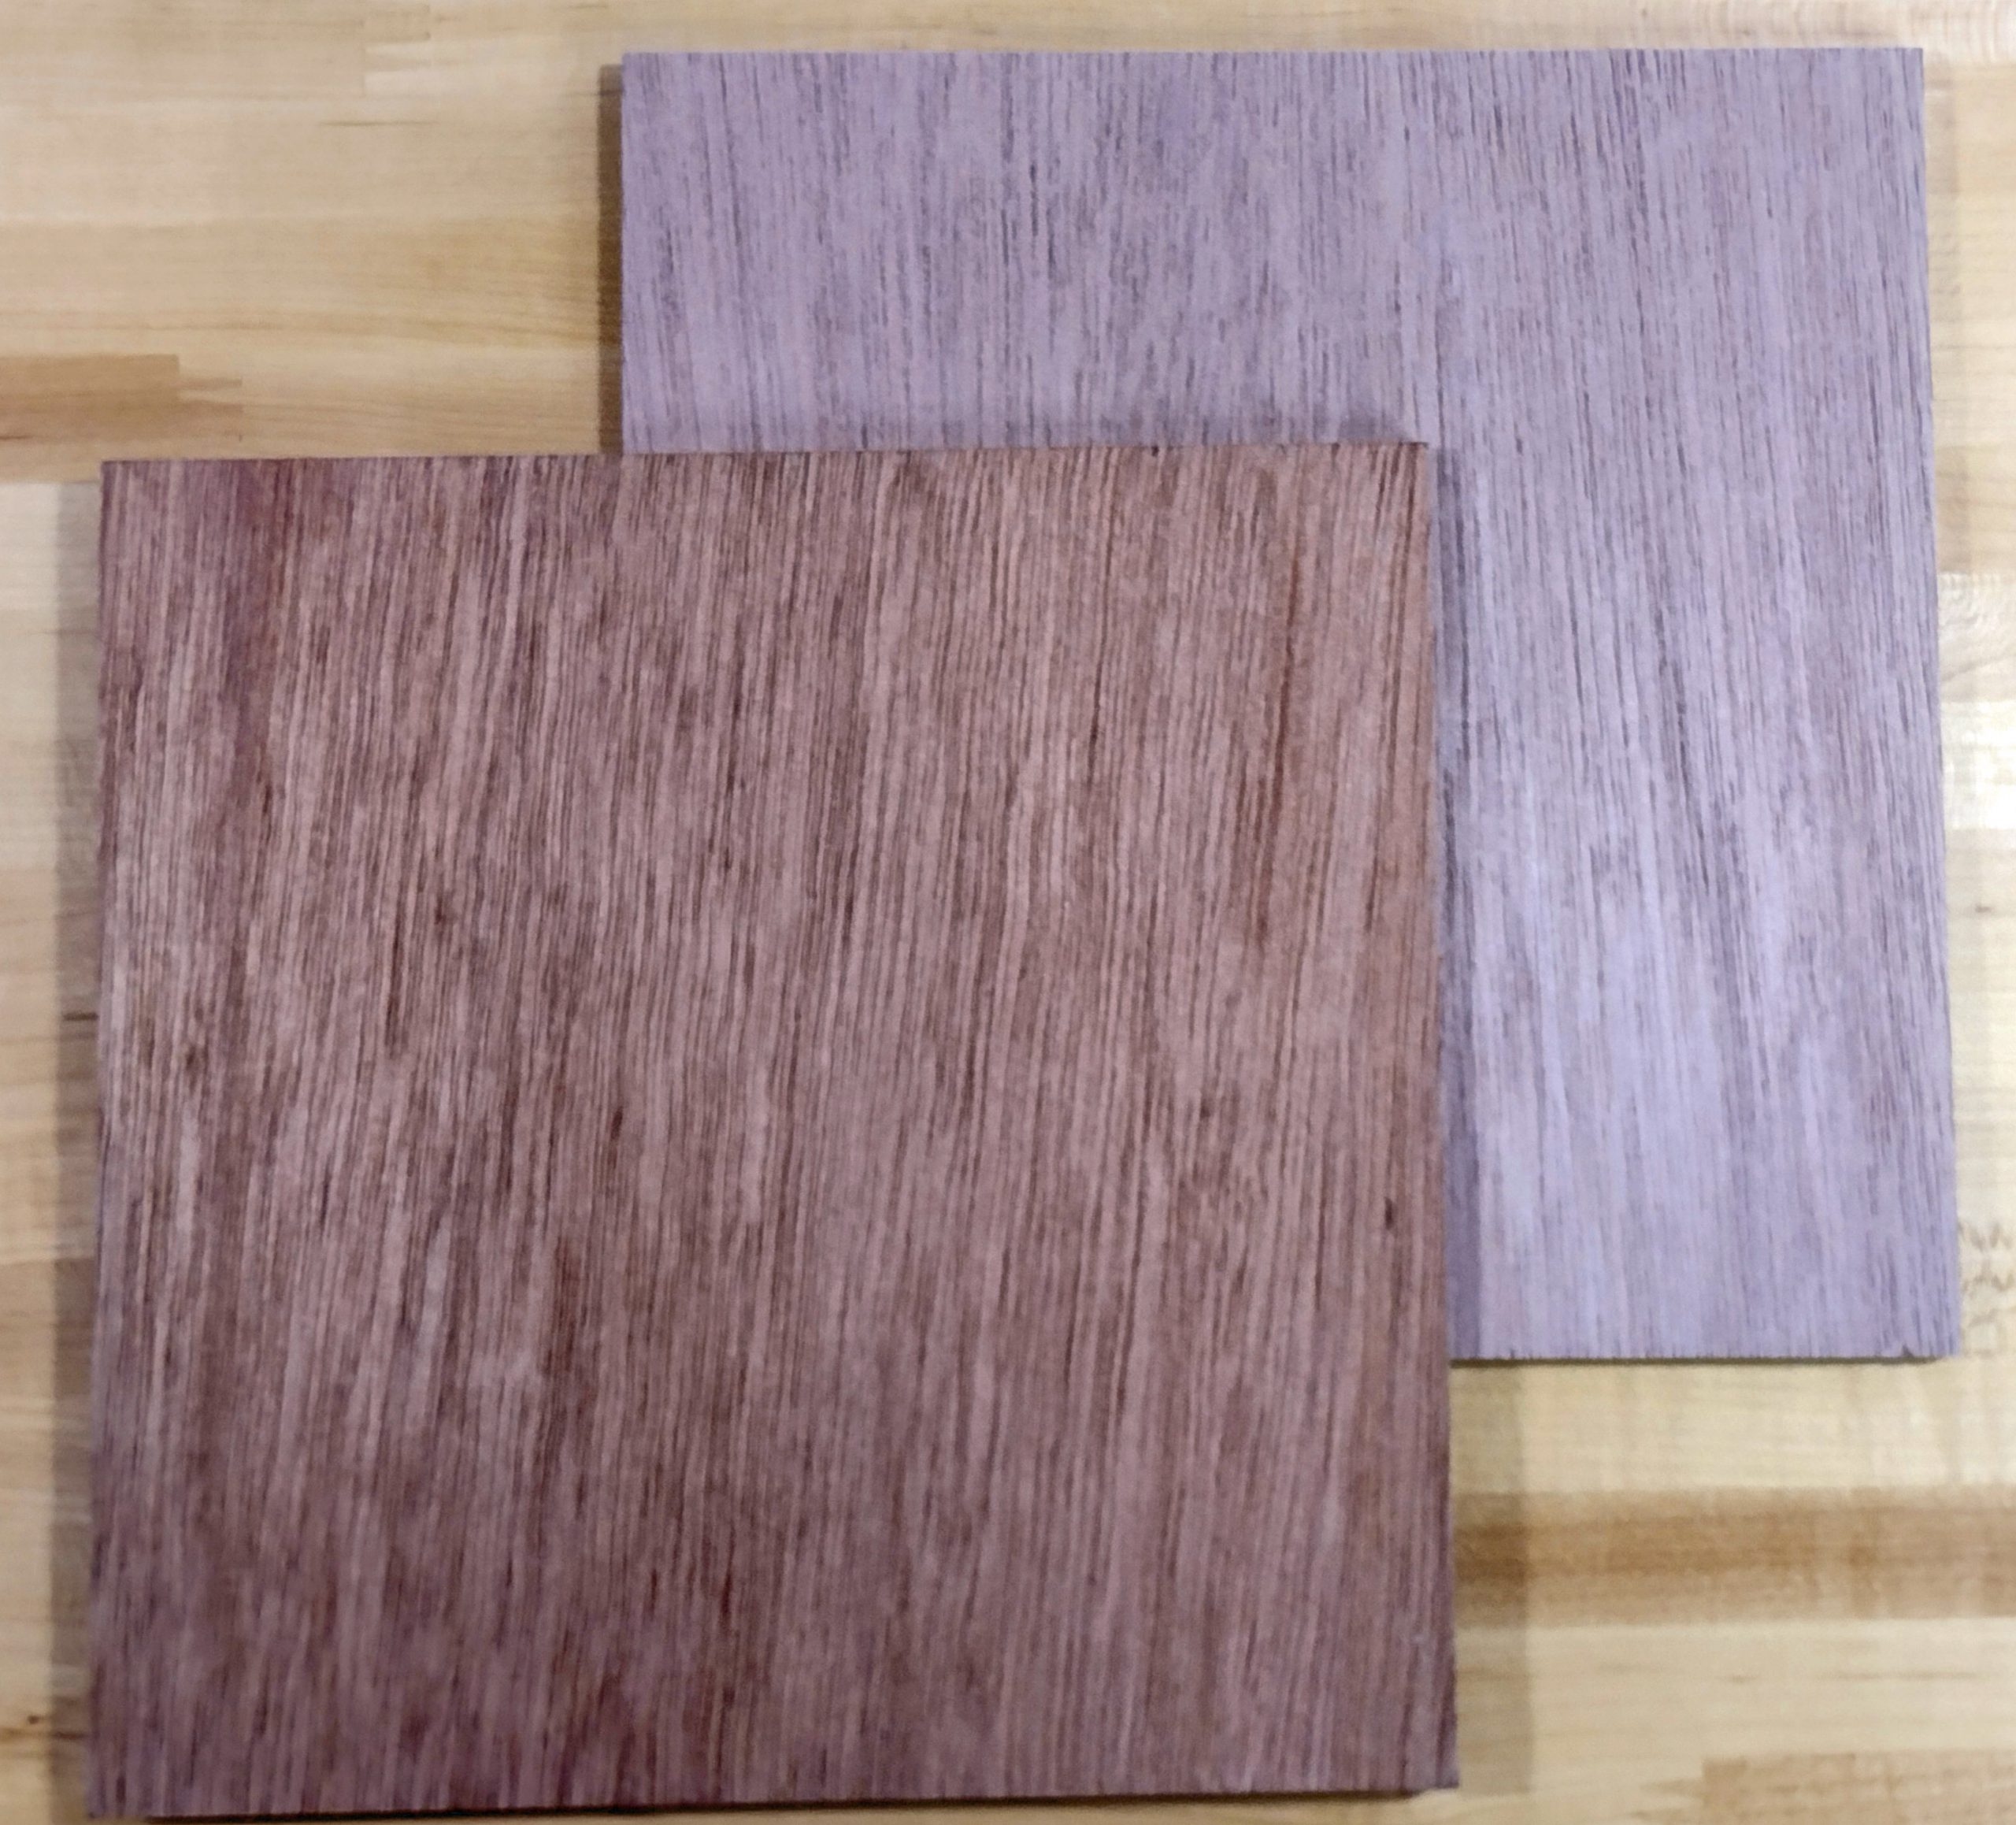
Meranti
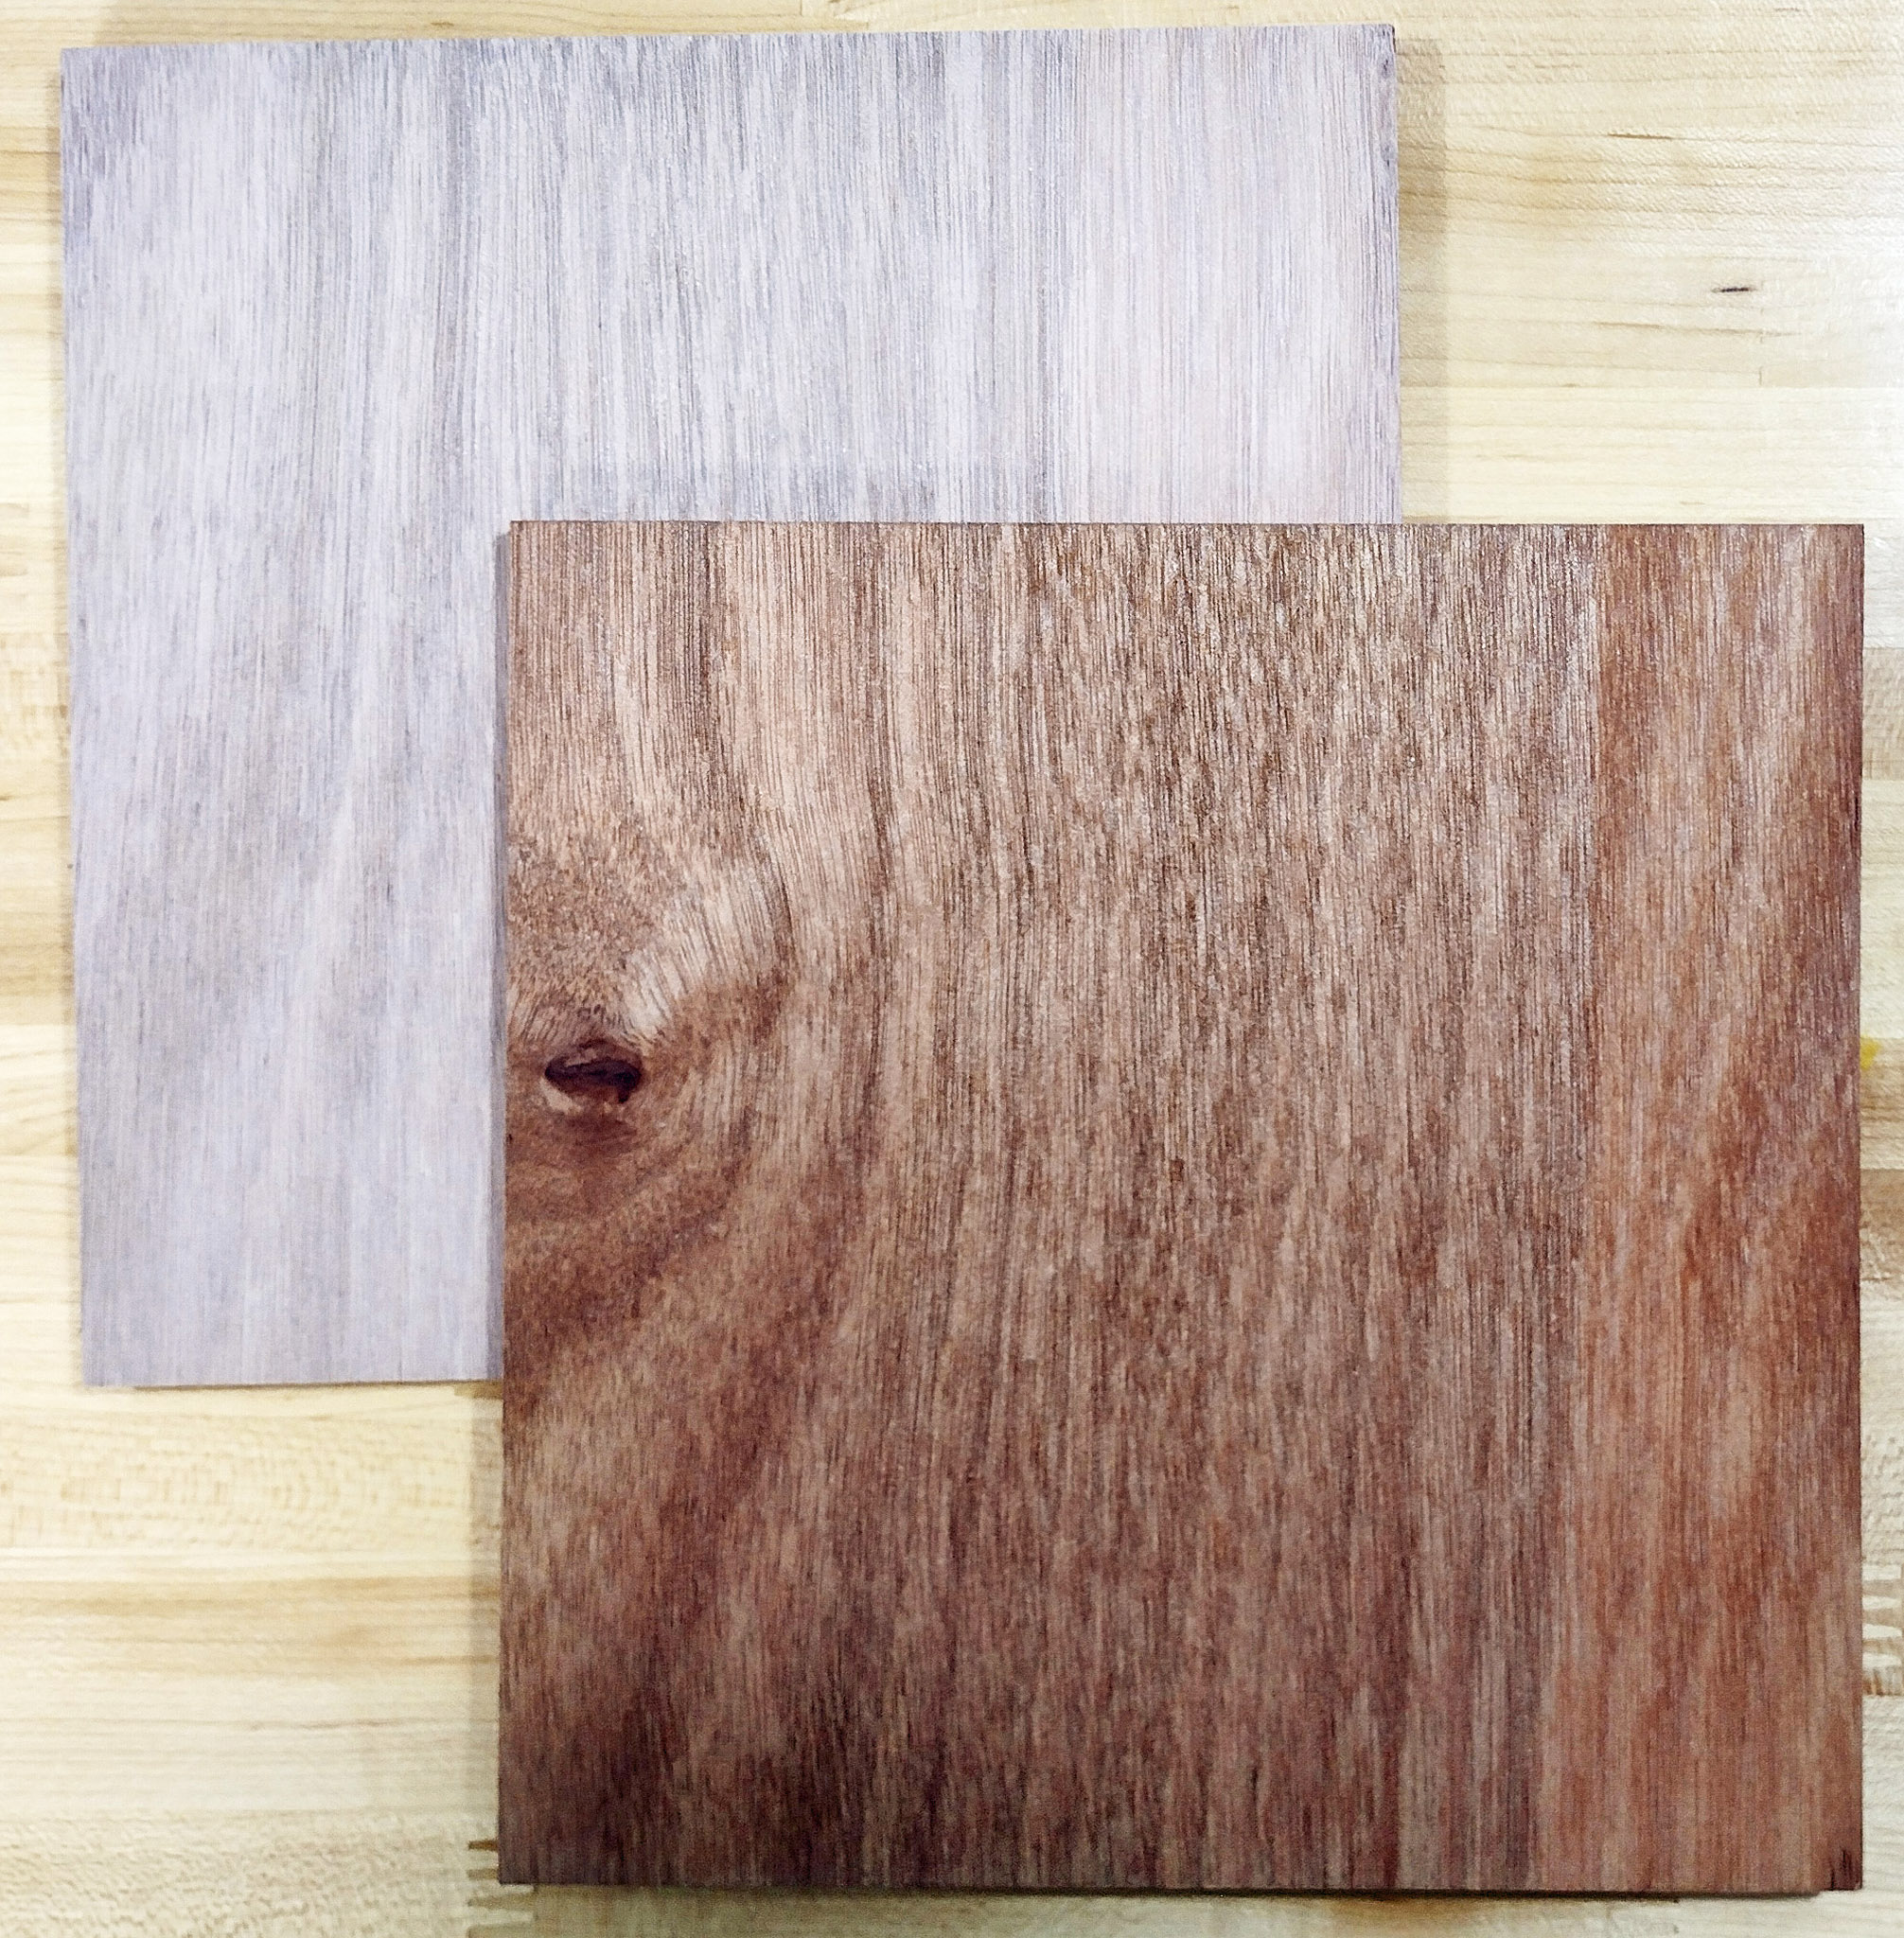
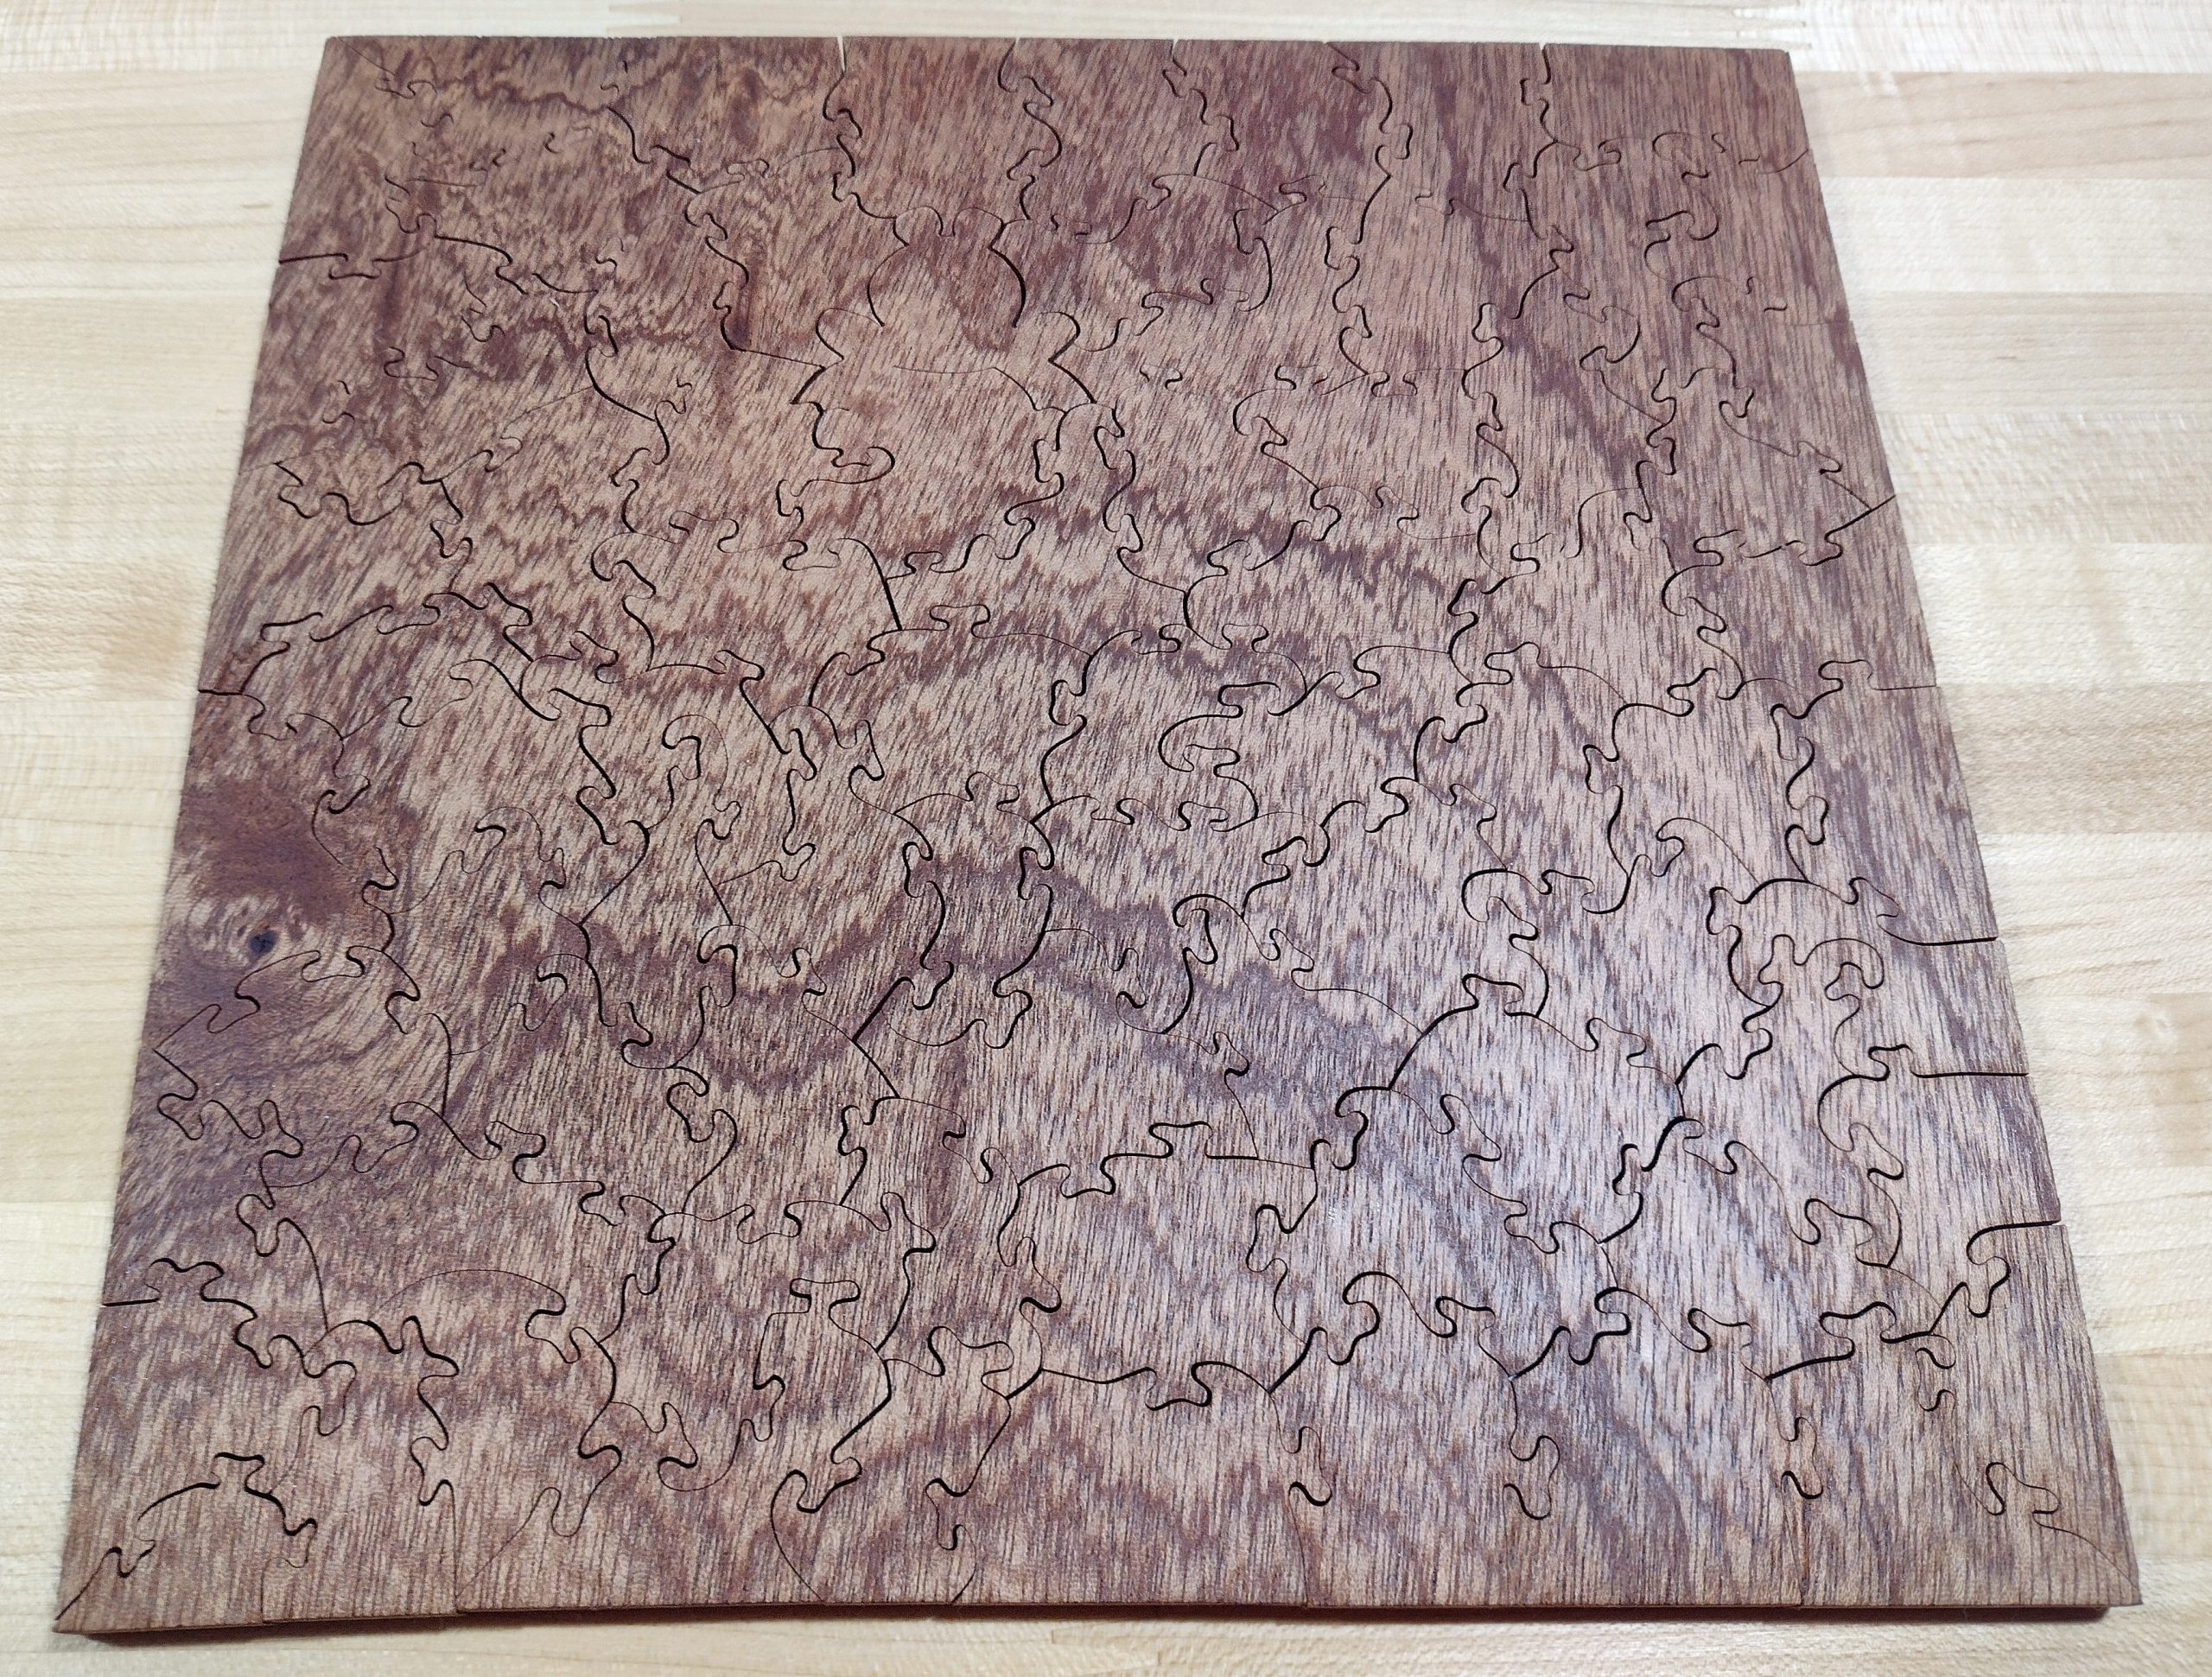
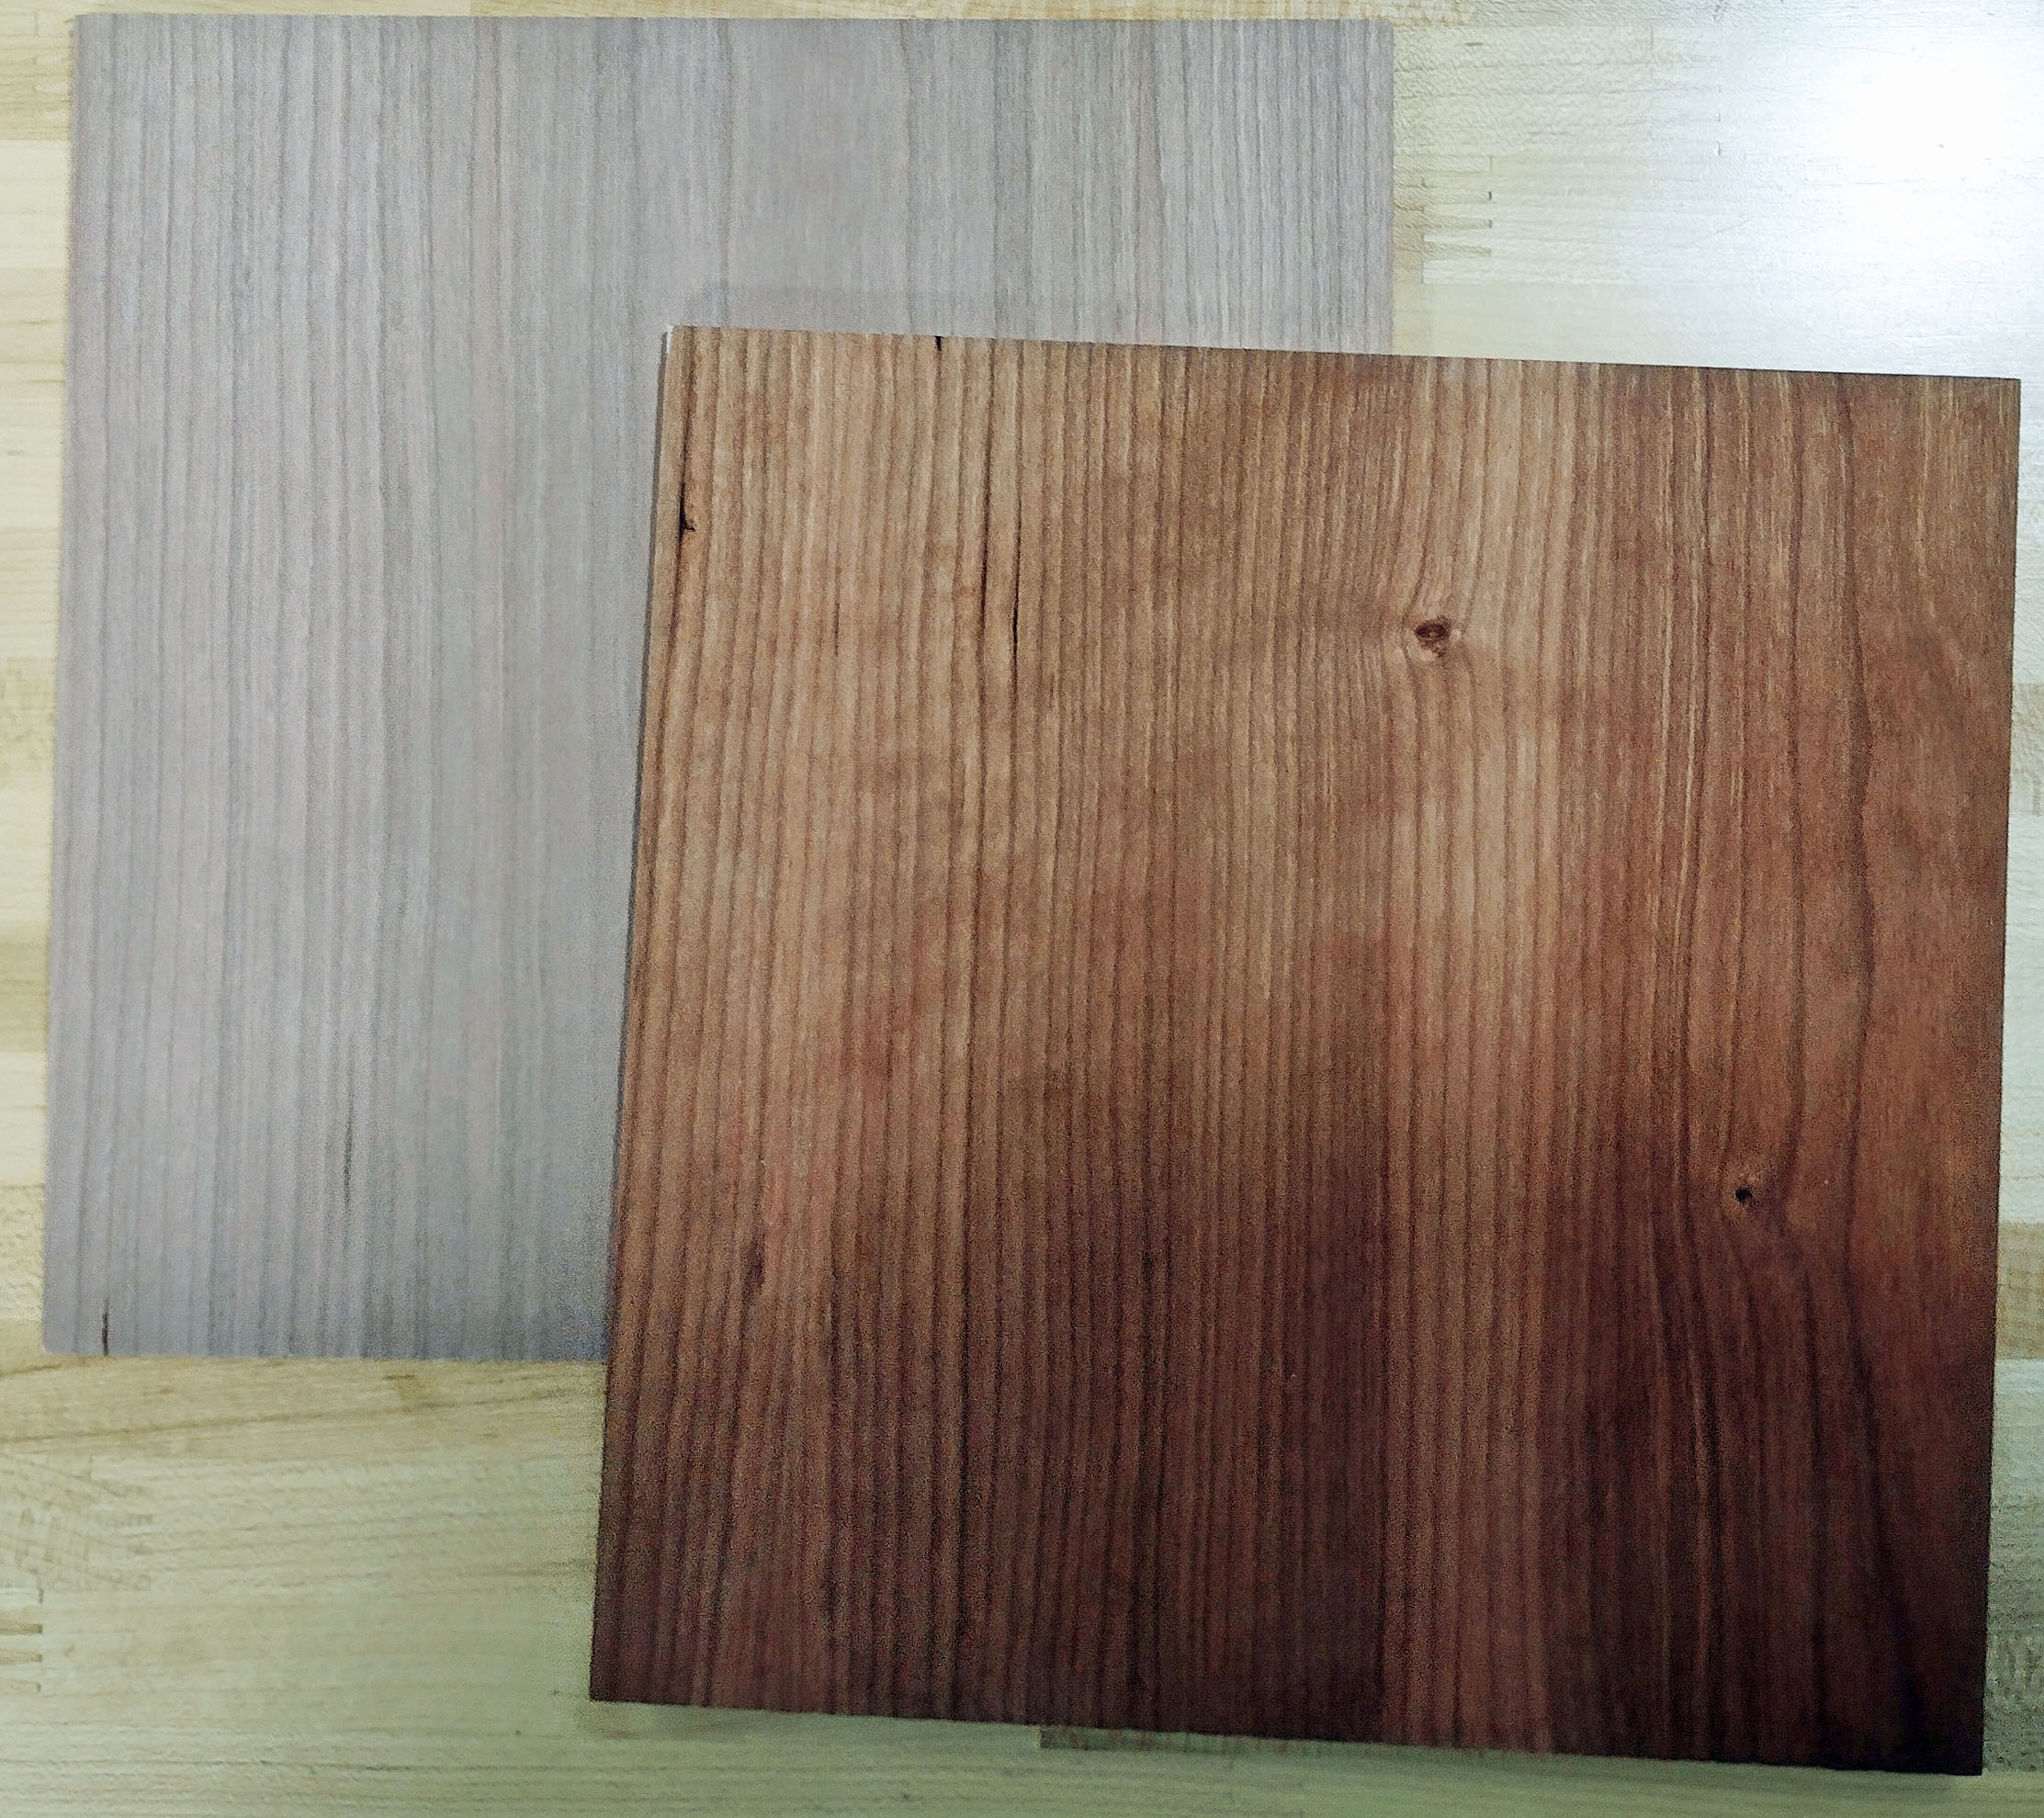
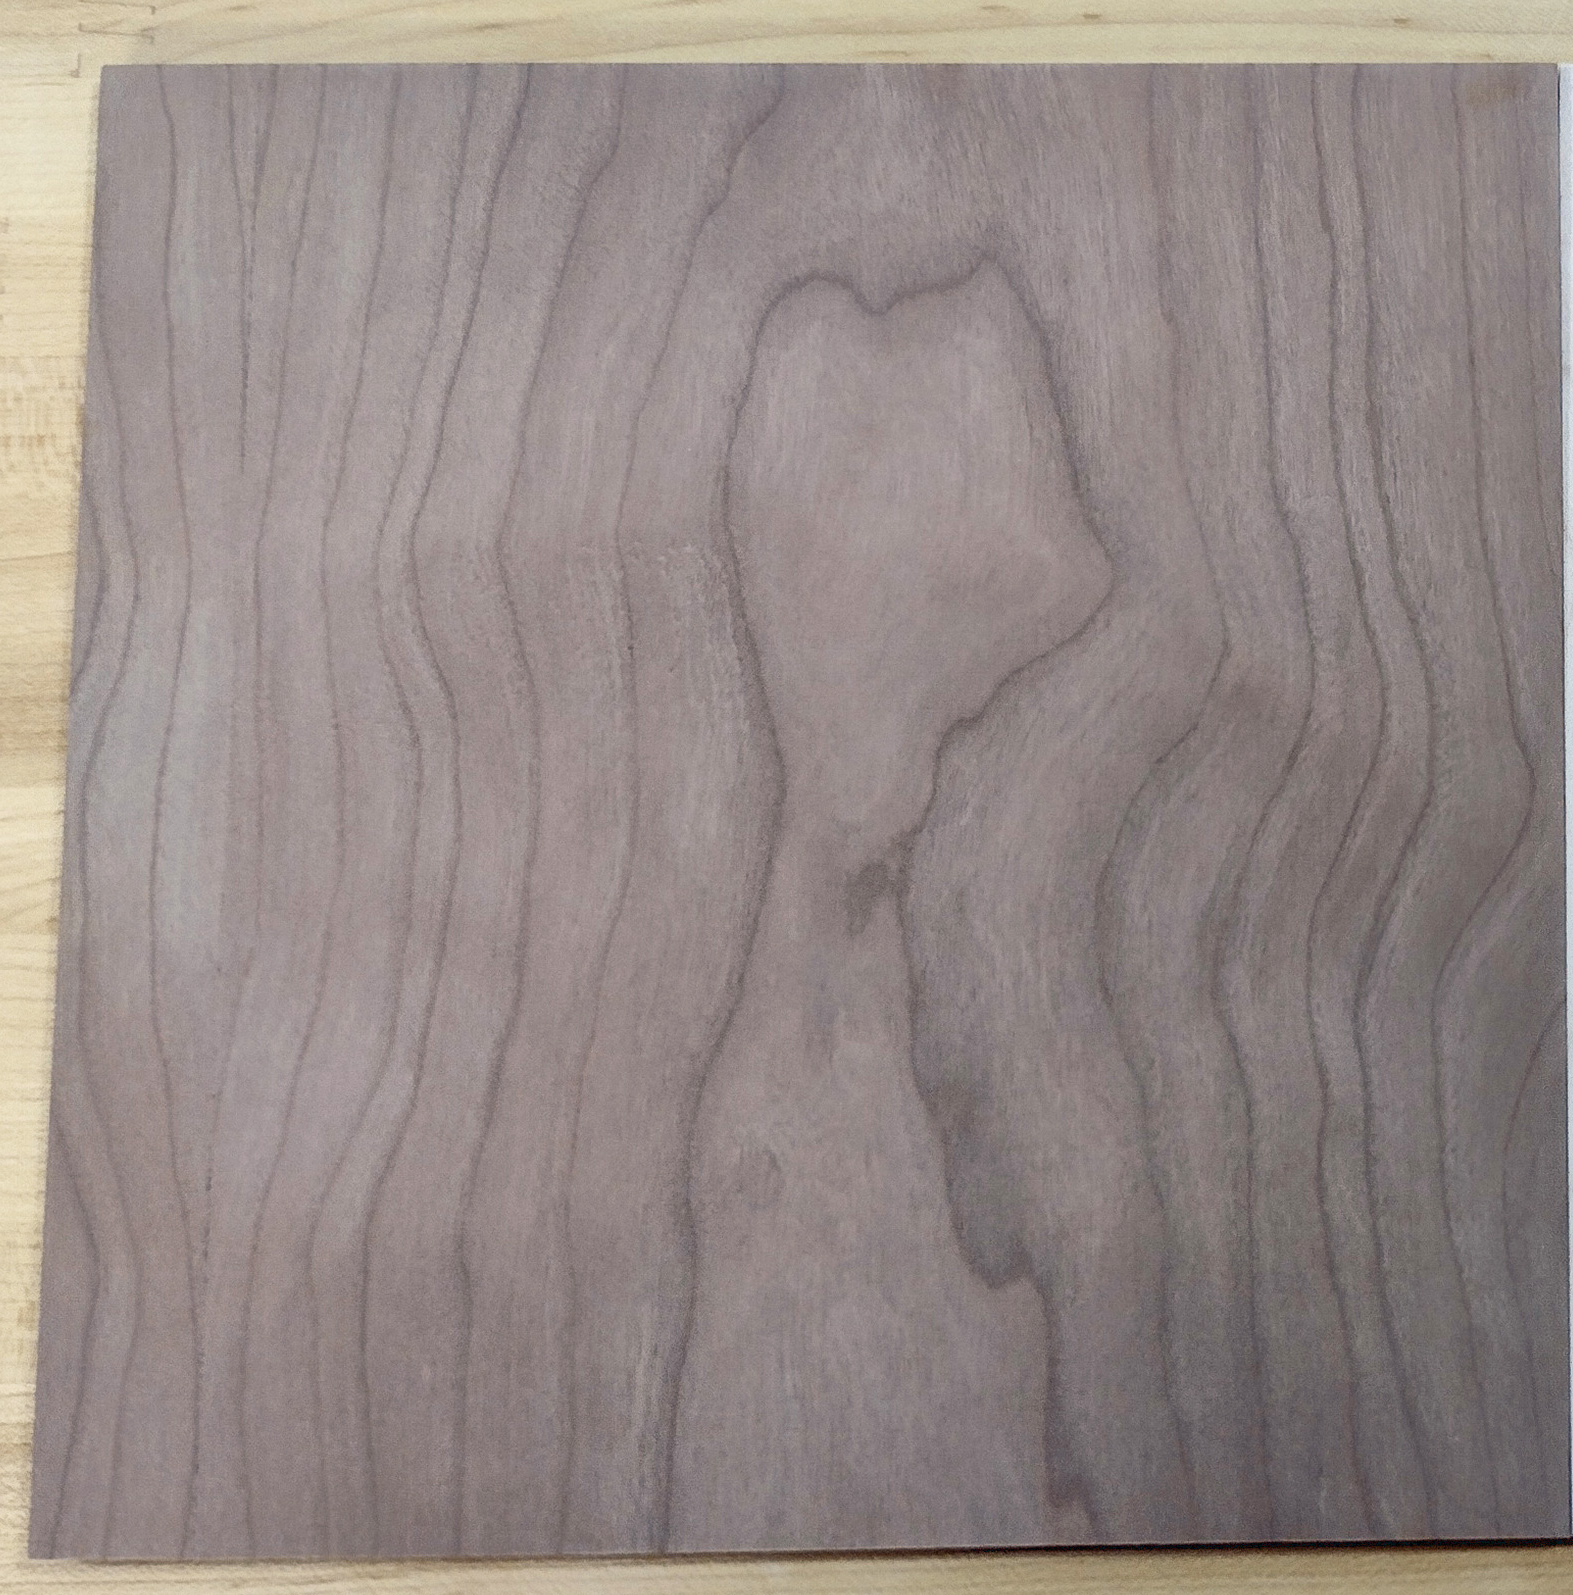
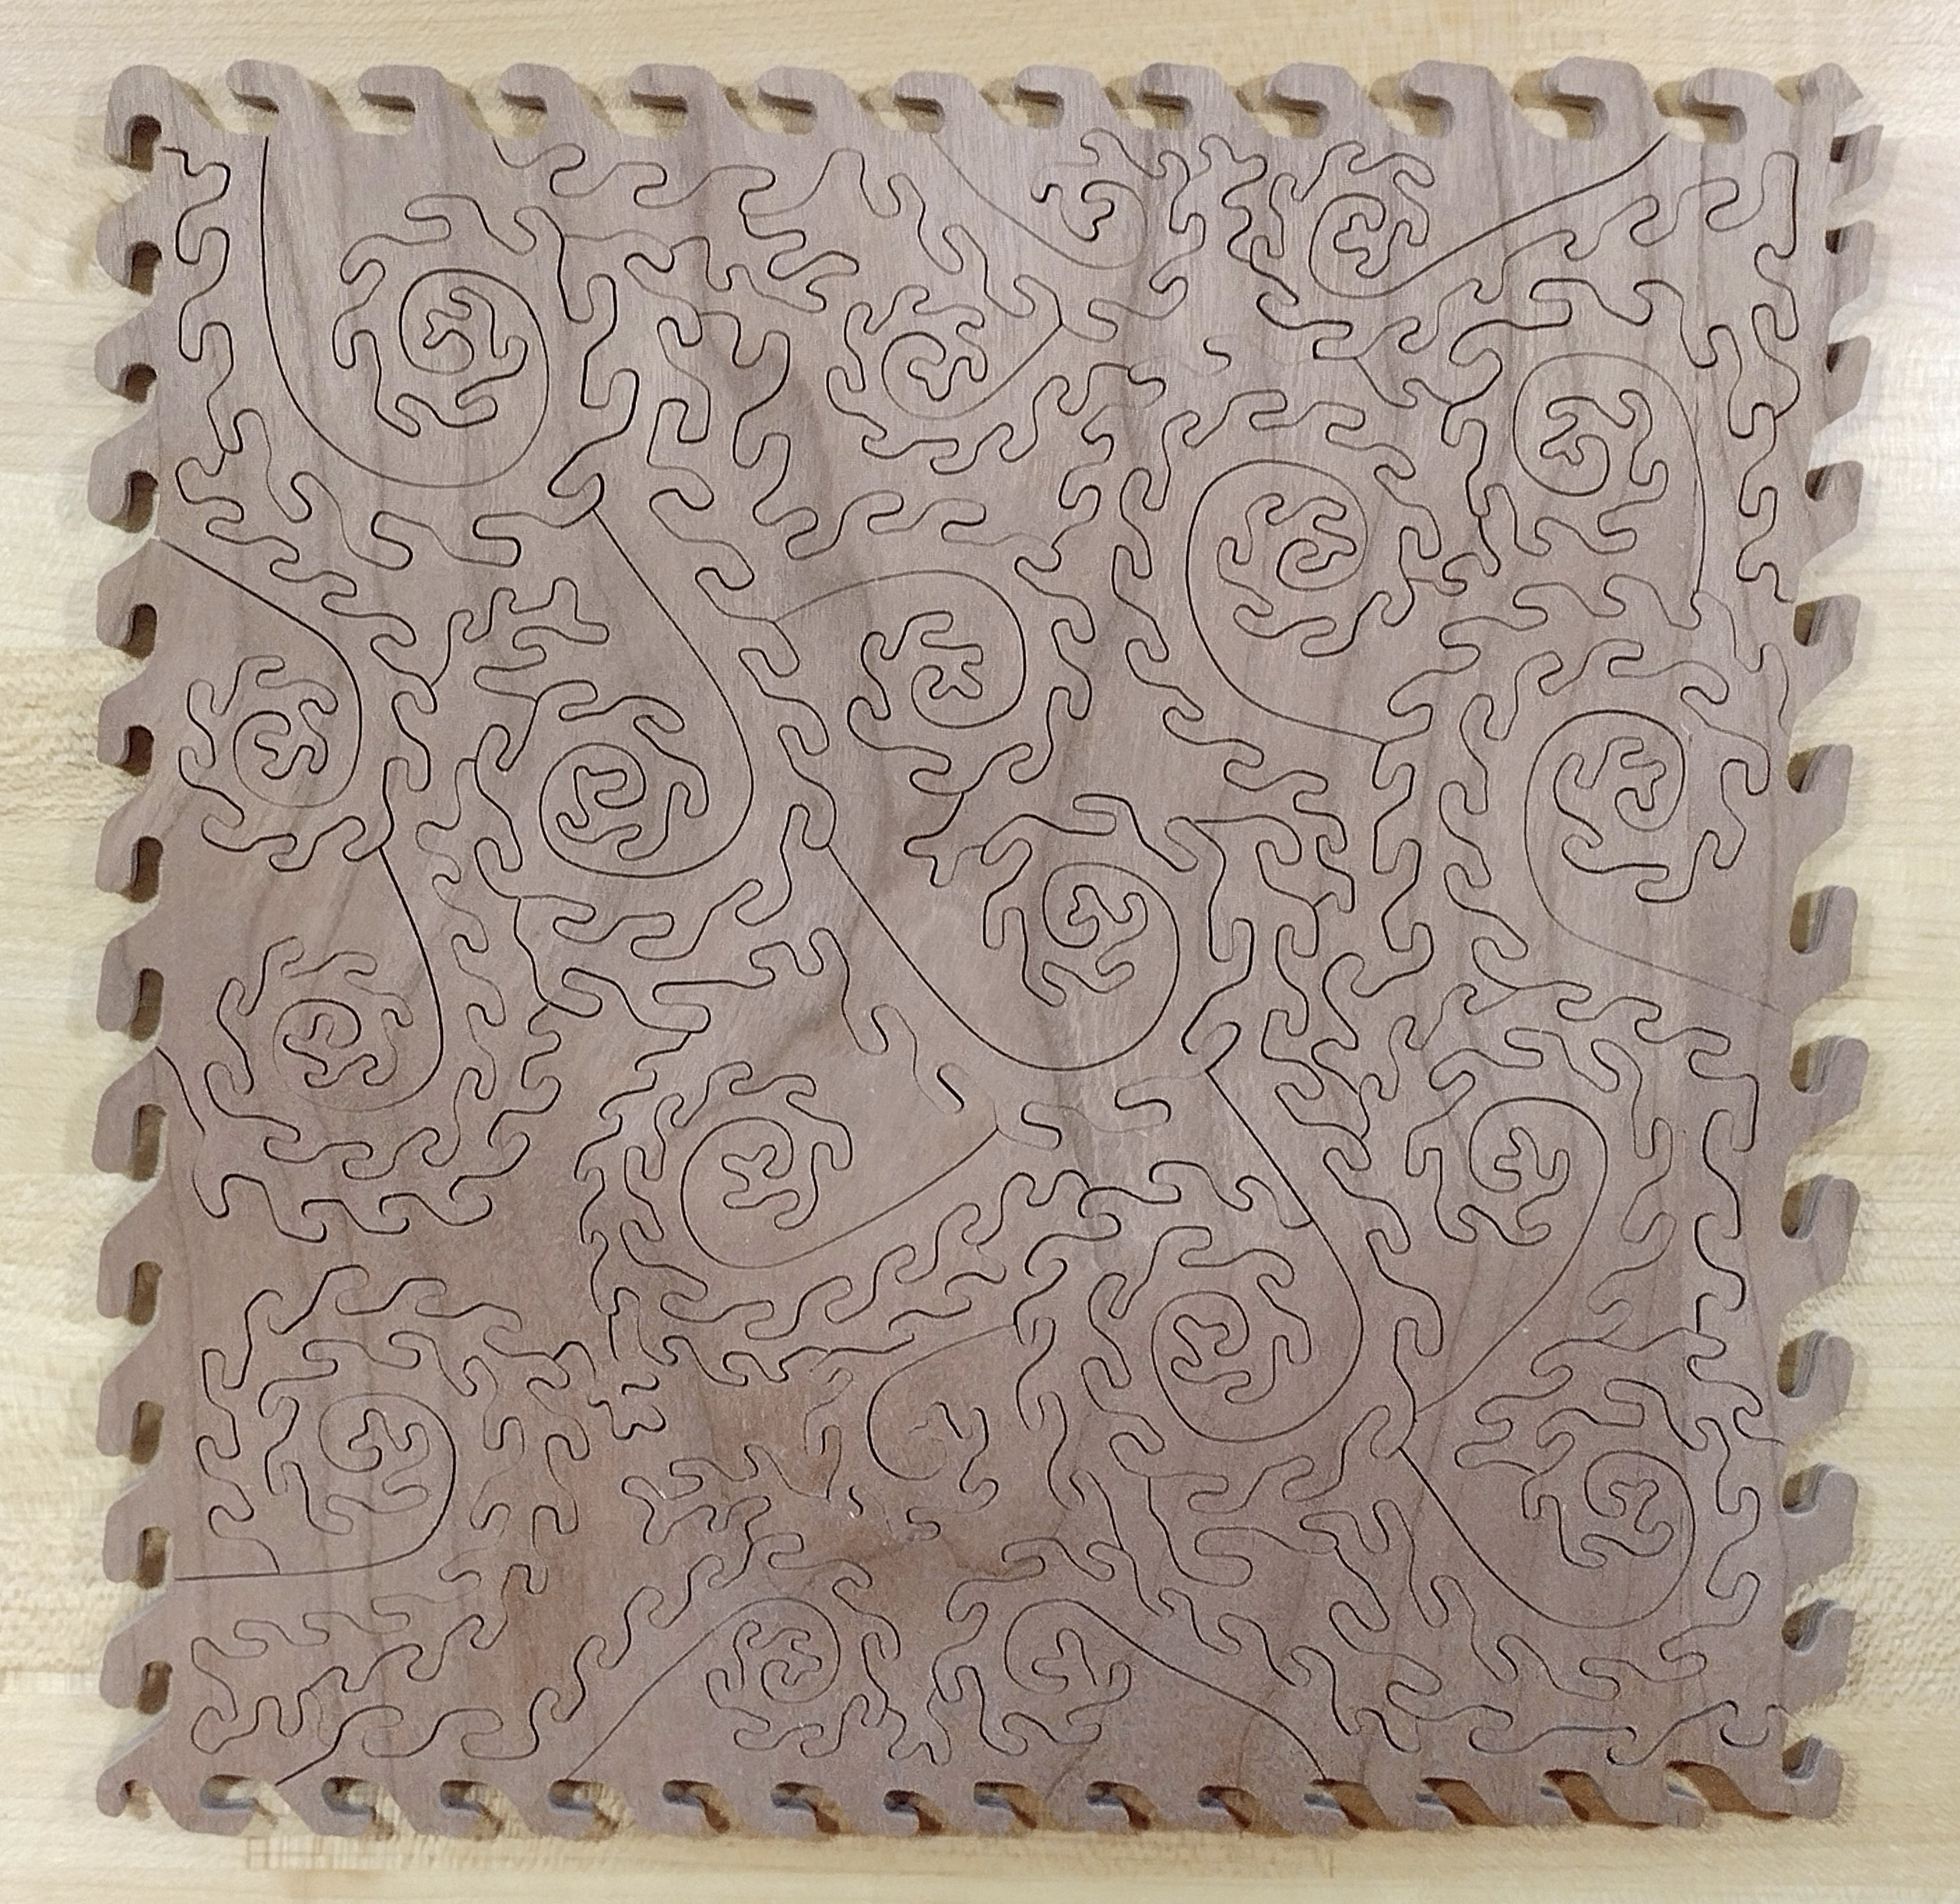
I started with the meranti. It intrigued me due to its rather neutral look. It is not bland like Baltic birch but has a very consistent looking grain structure. It was lighter than some of the other woods. The piece on top in the below picture has Danish oil on it to bring out the grain.
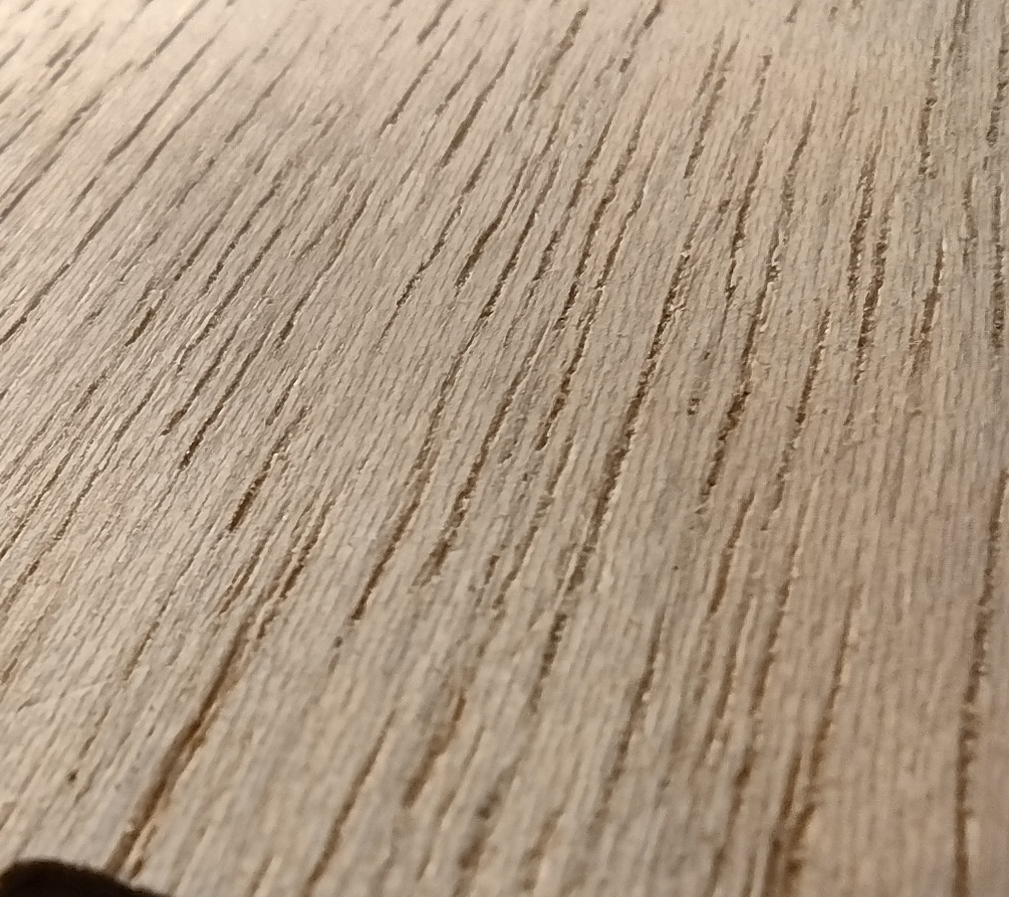
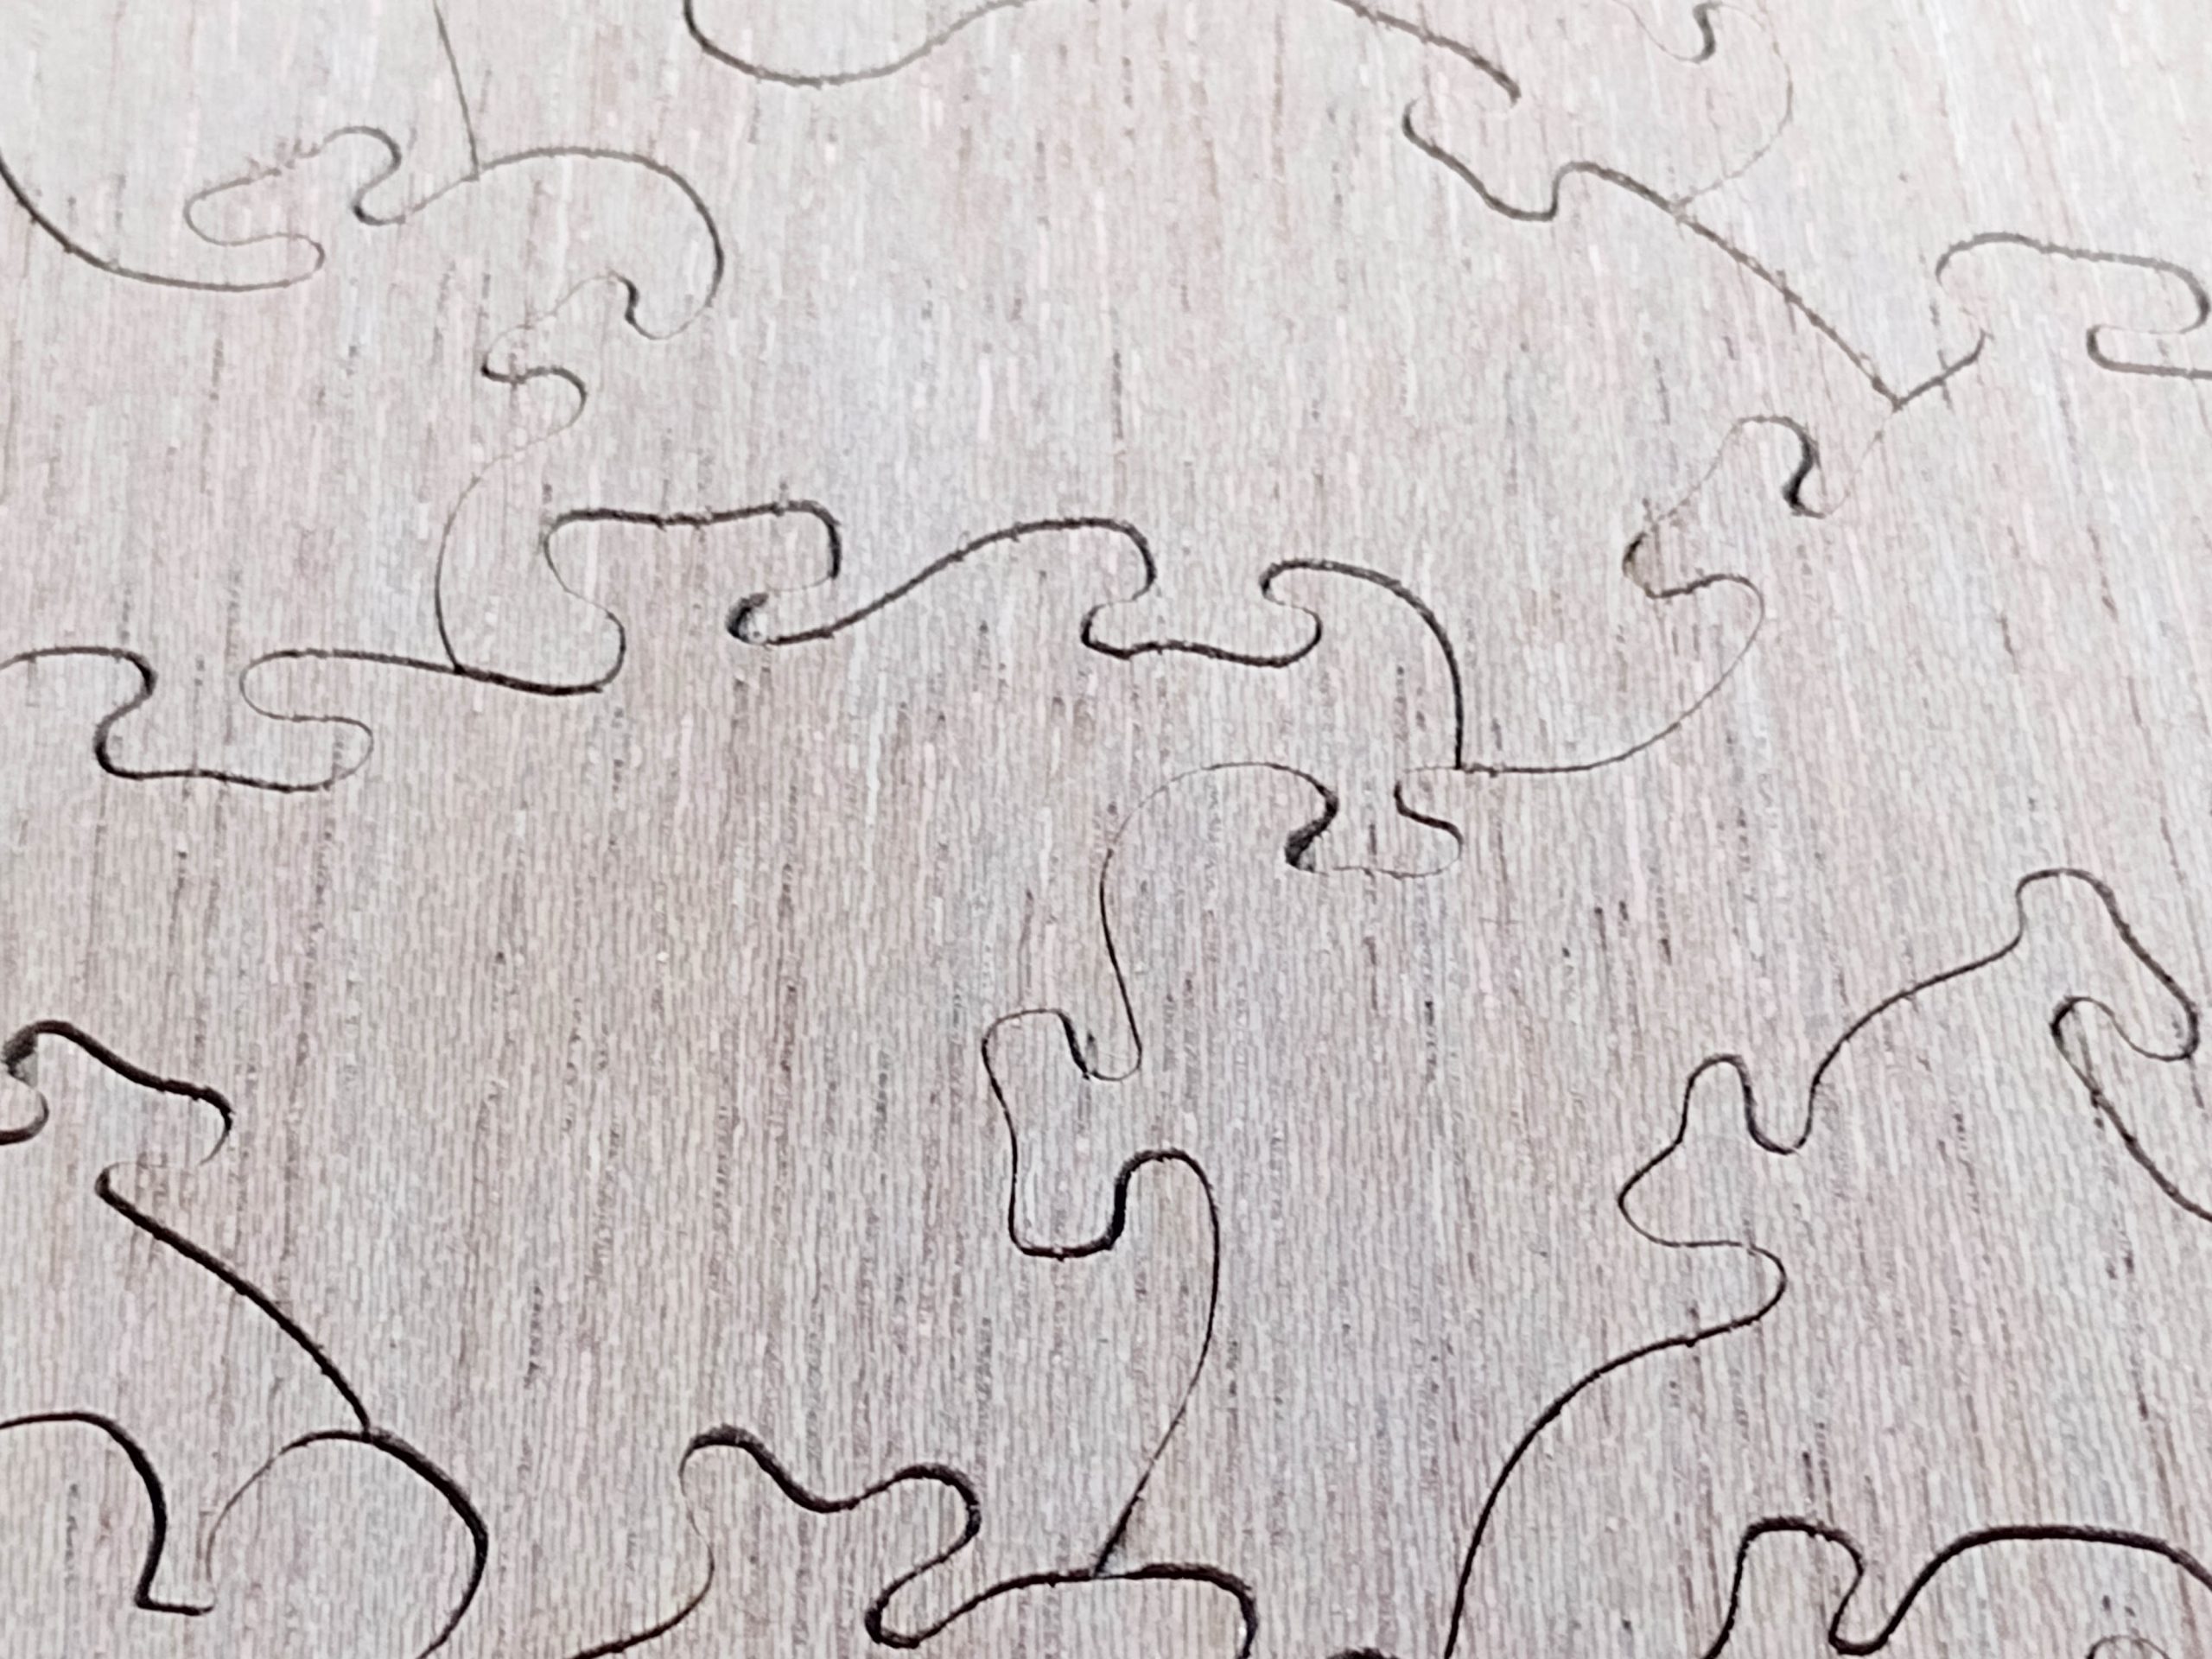
I did discover that the surface was what a wood worker would call an “open grain”, which means it was rather porous. Open grain woods do not typically take stains very evenly. Even uncut and sanded, this surface was rough looking. This photo taken with my cell phone while I was sitting at the saw shows the open cell structure of the meranti wood.
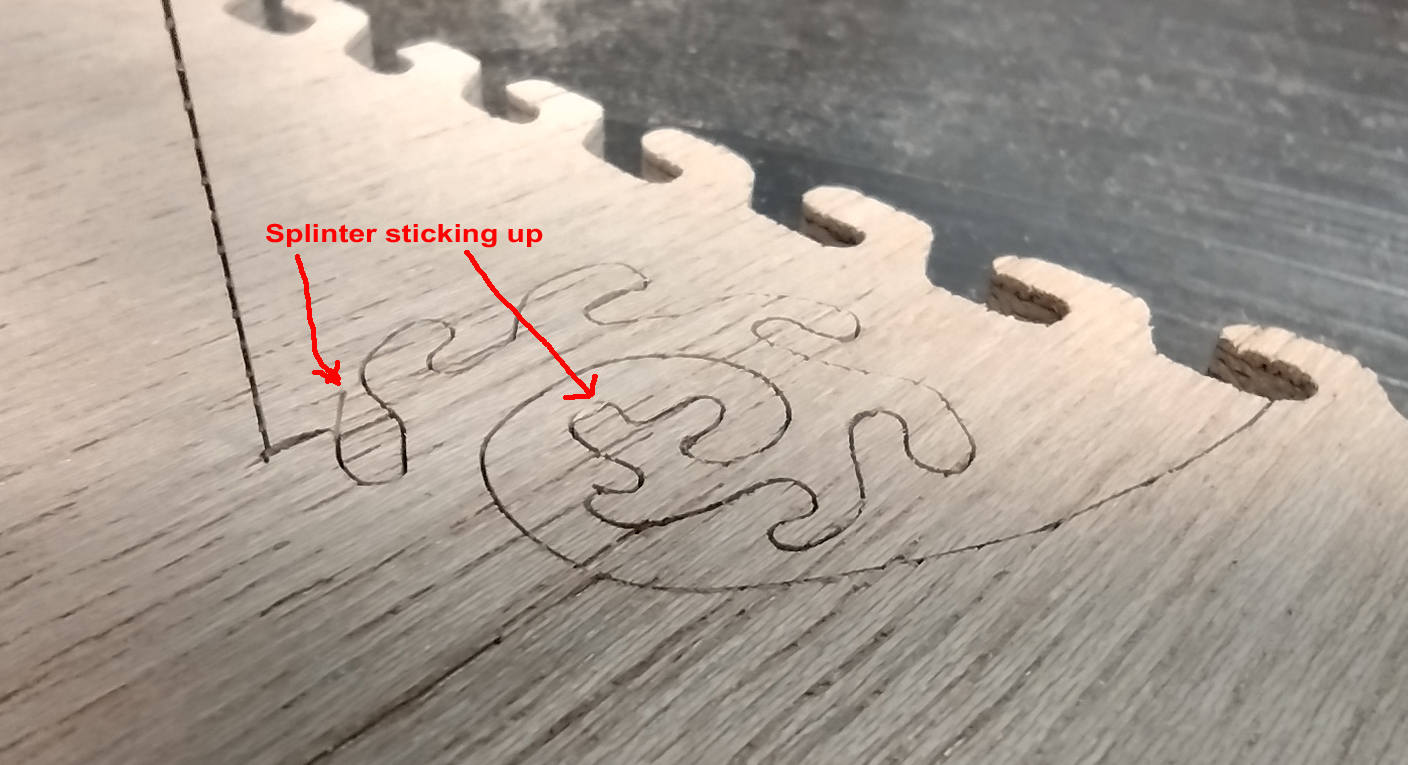
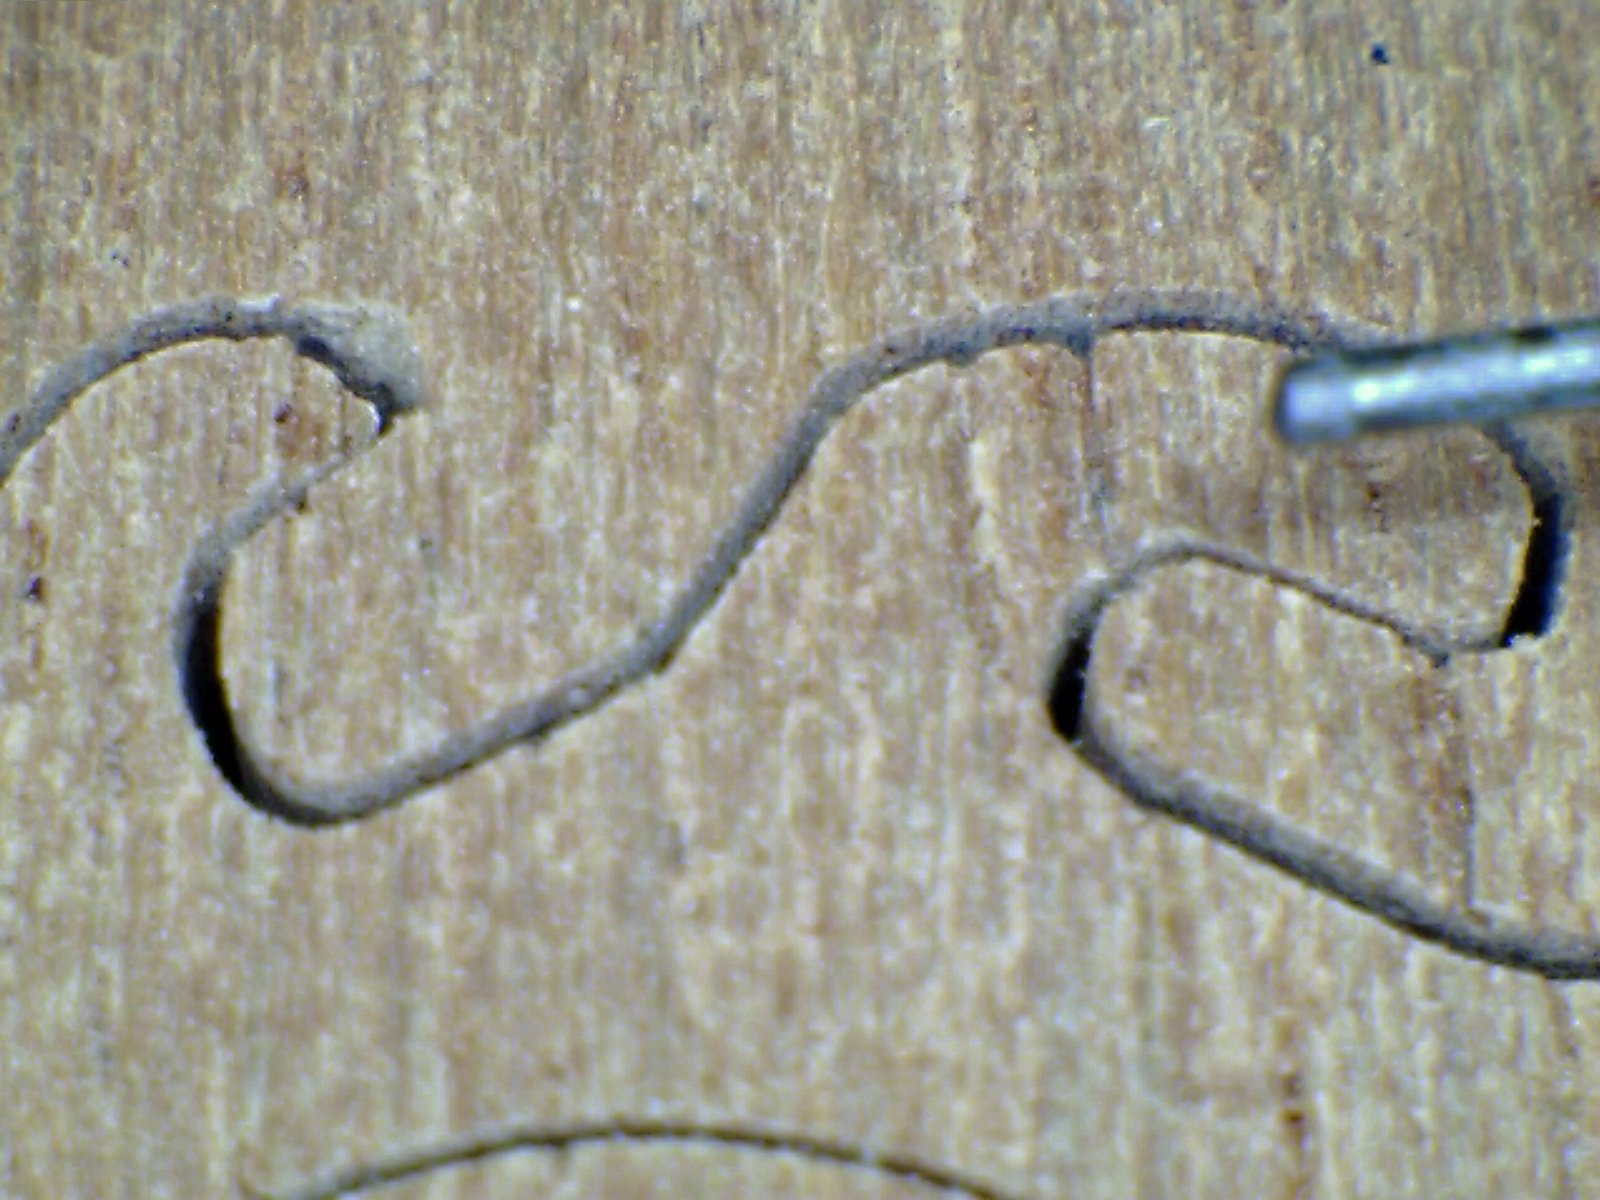
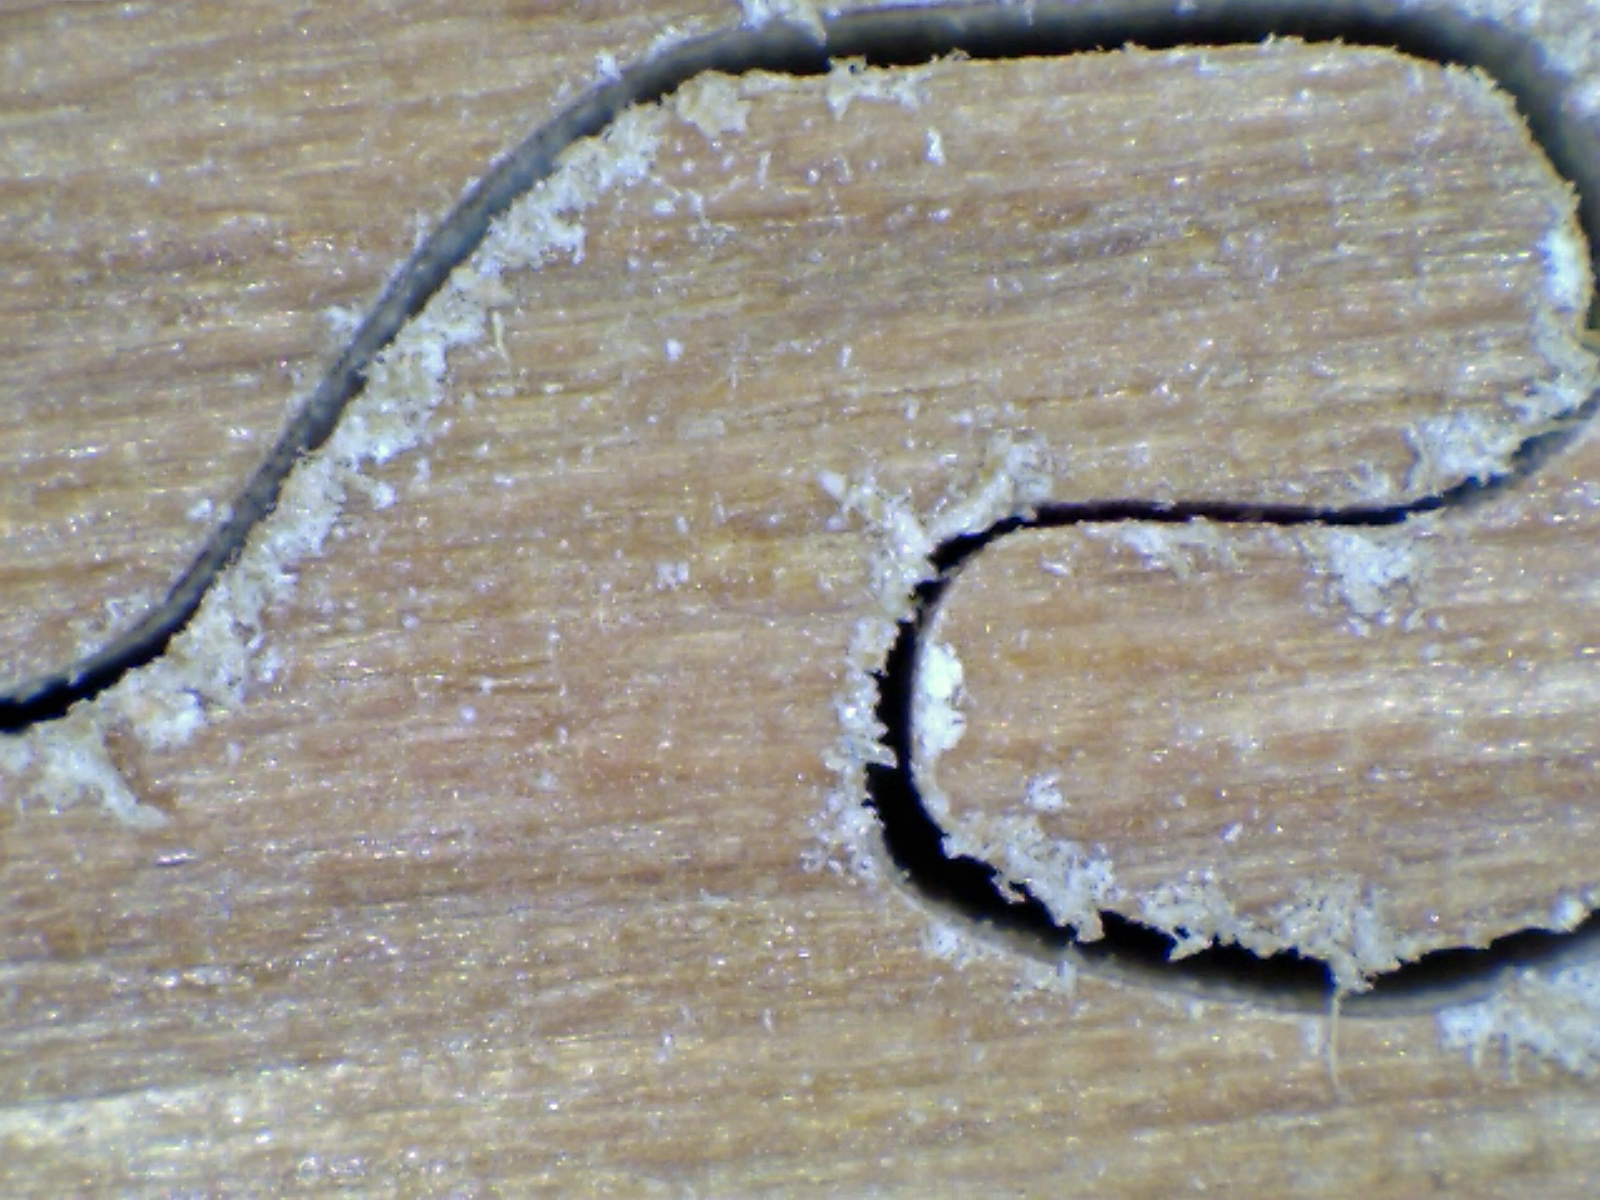
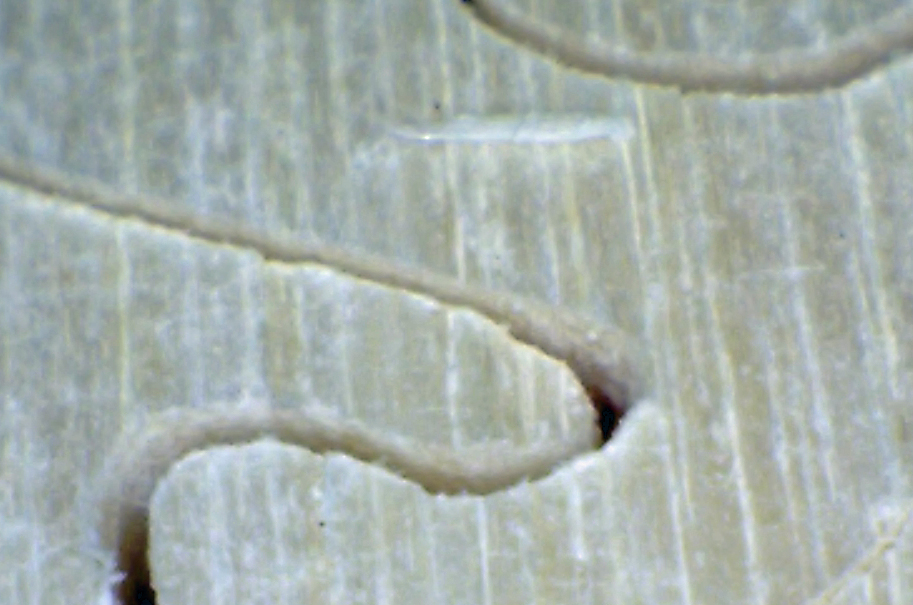
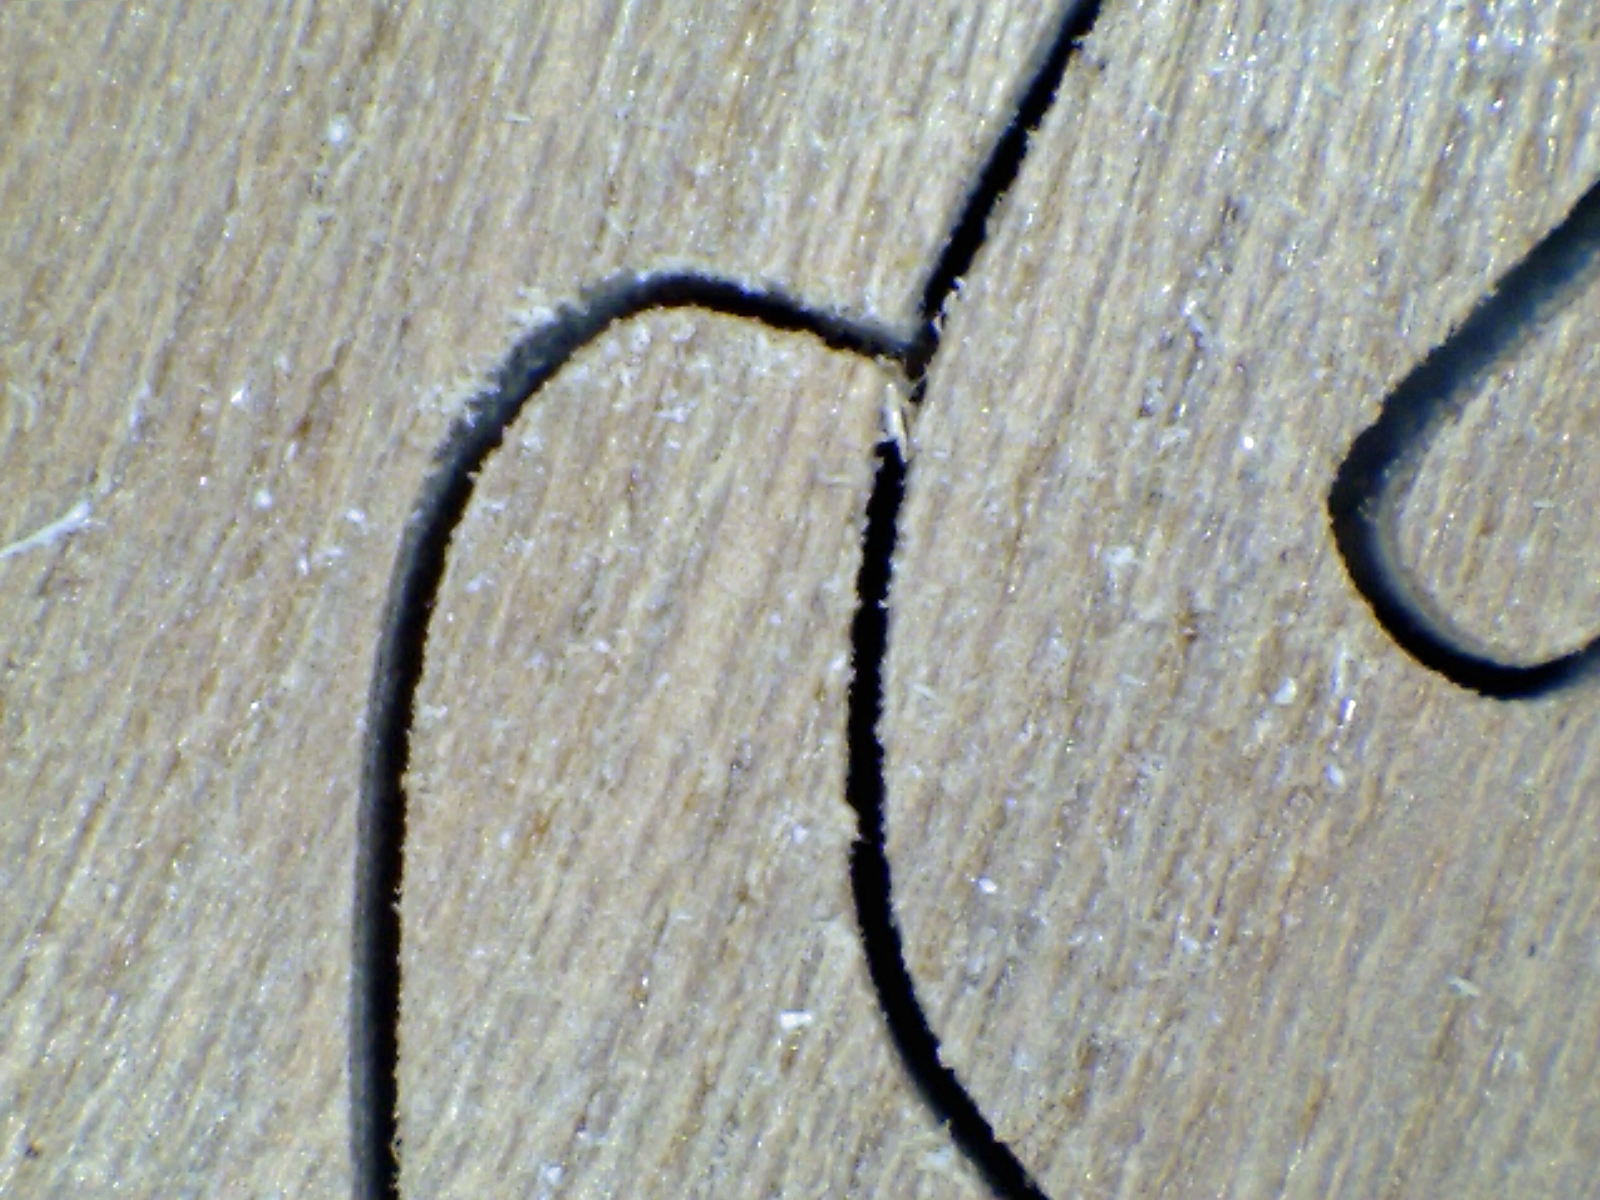
I found this wood to splinter rather easily. I could see pieces flaking off along the grain as I was cutting it. This was on the top surface as I cut, which is where the teeth of the blade are pressing down into the wood. You often have splintering on the bottom side, but this was happening on the top side. The below photo was taken with my cell phone camera while cutting. This was the worst of all the woods tested for this.
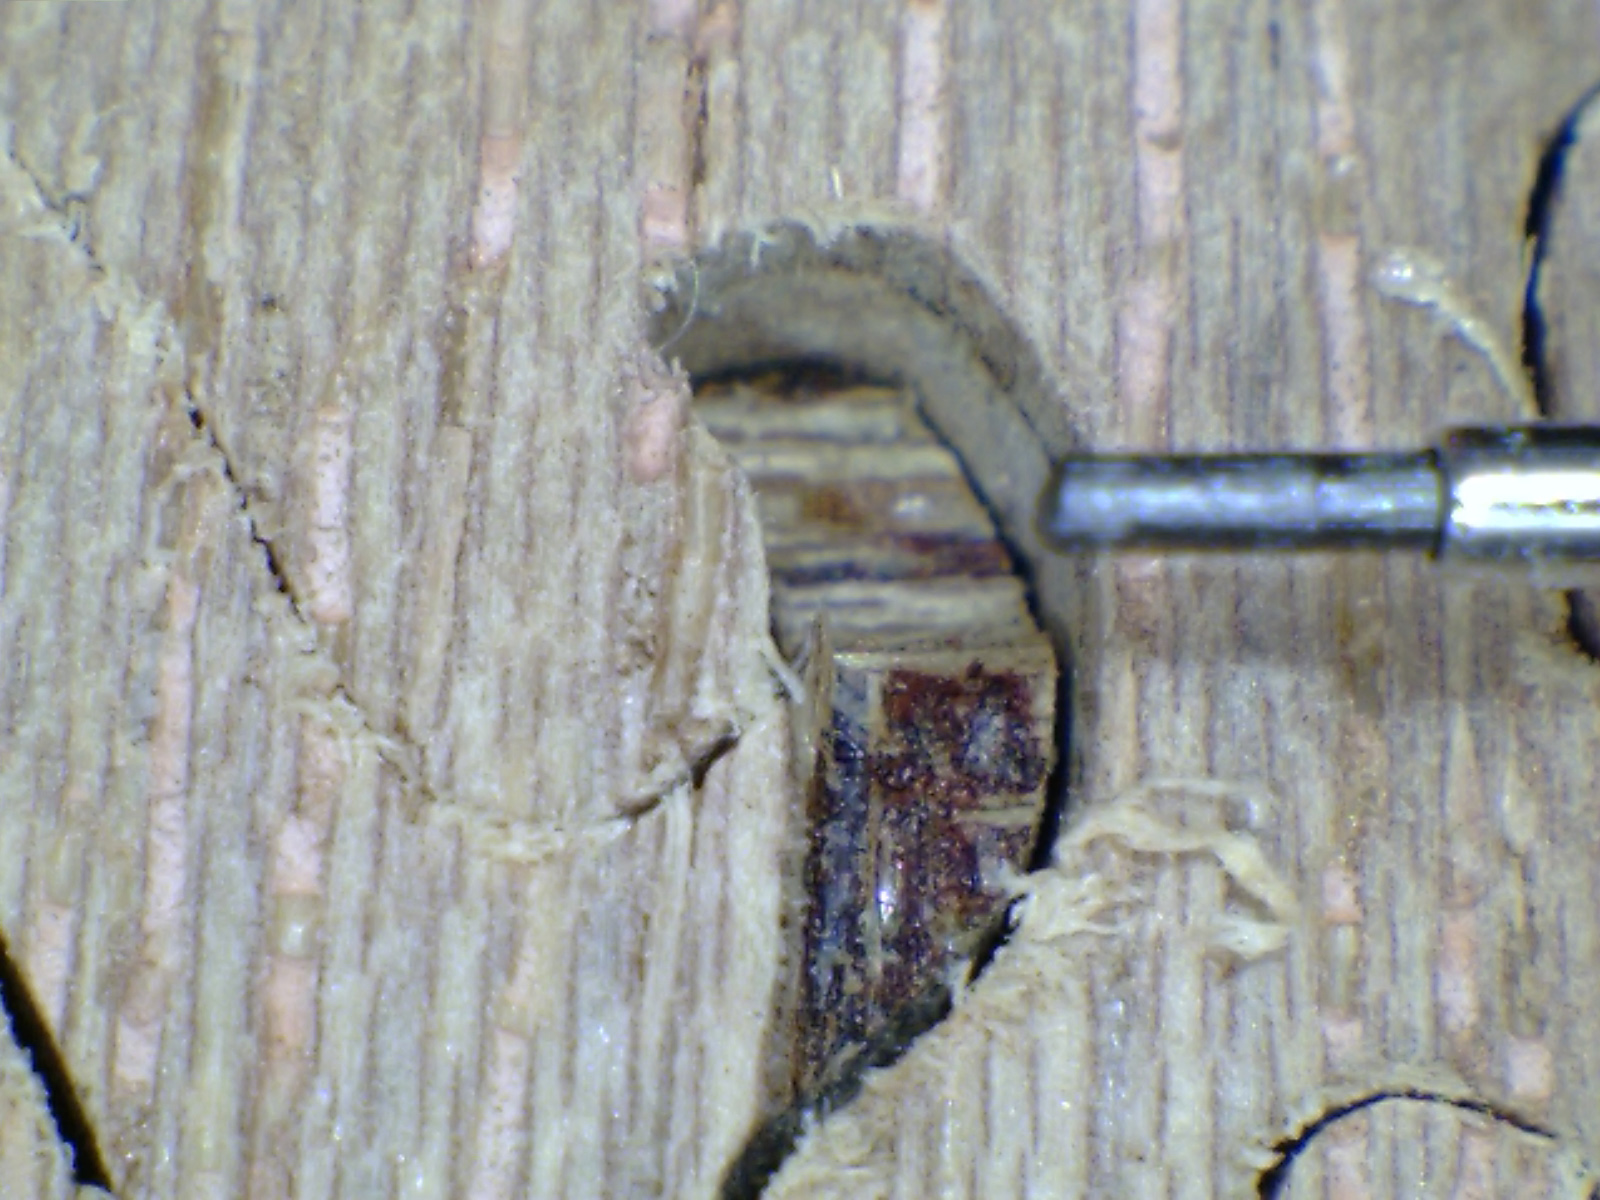
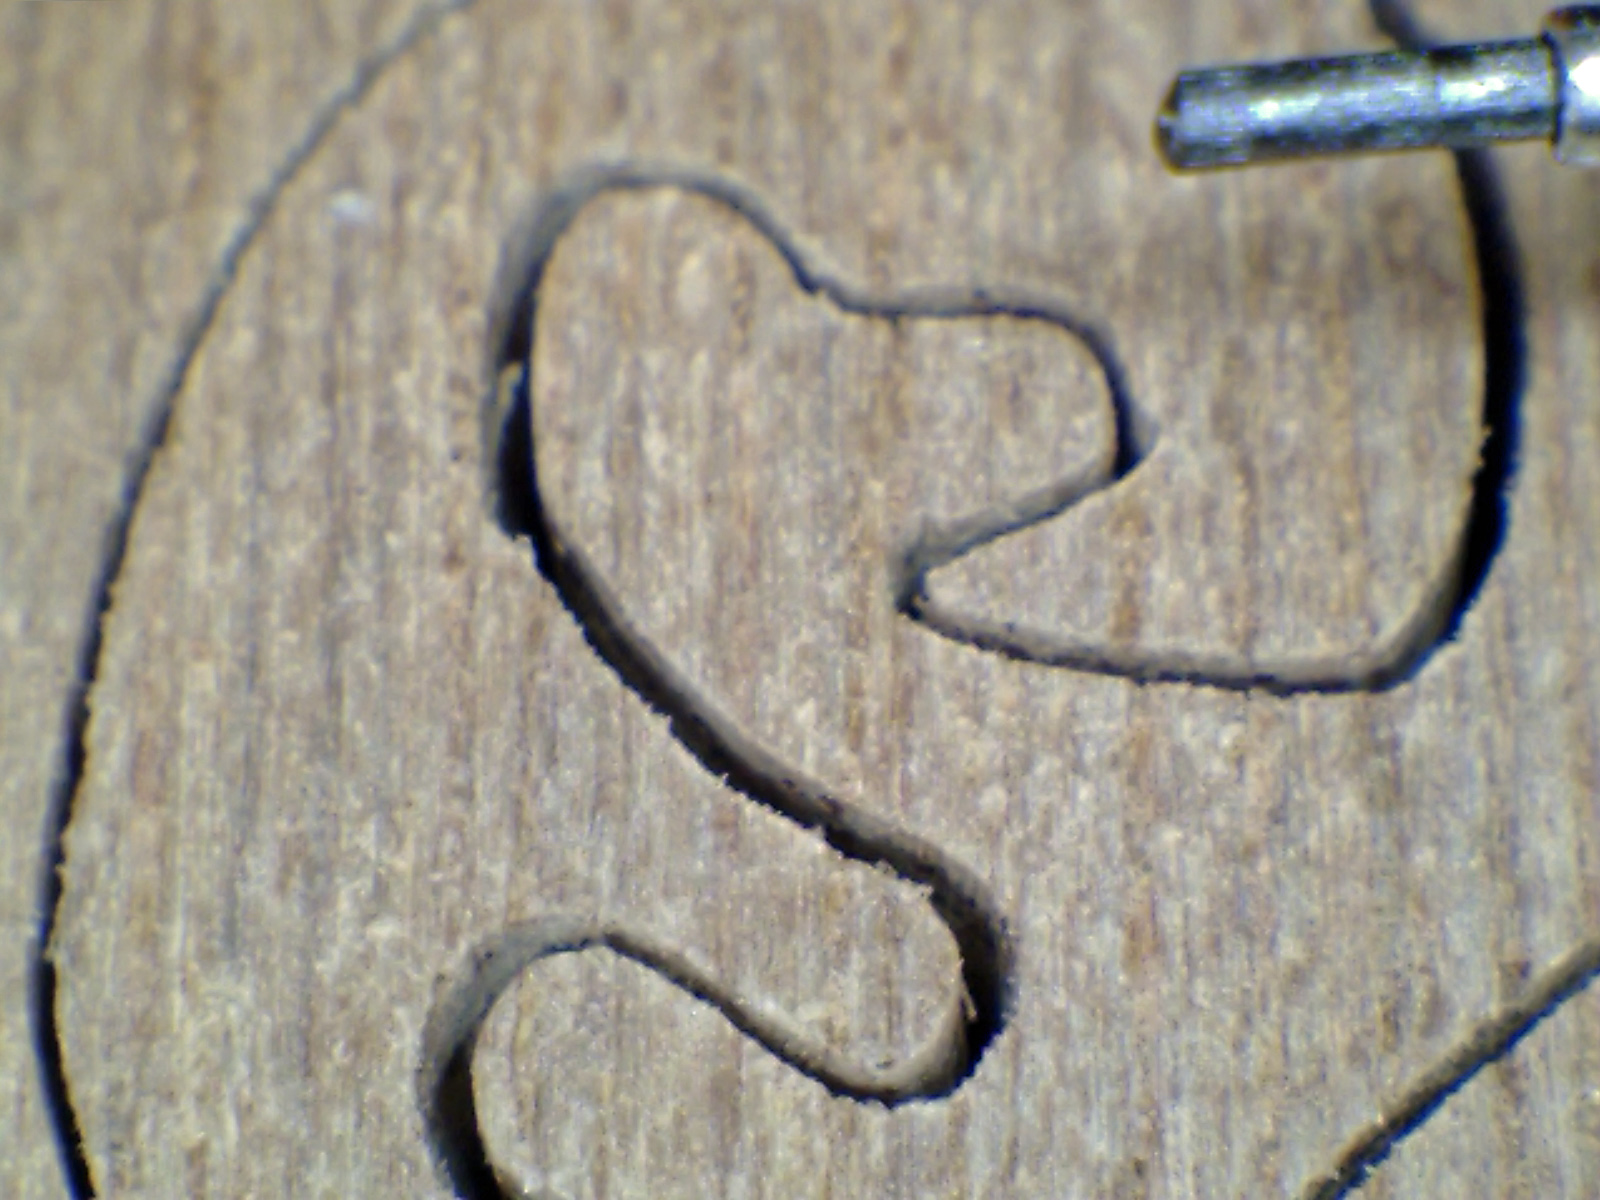
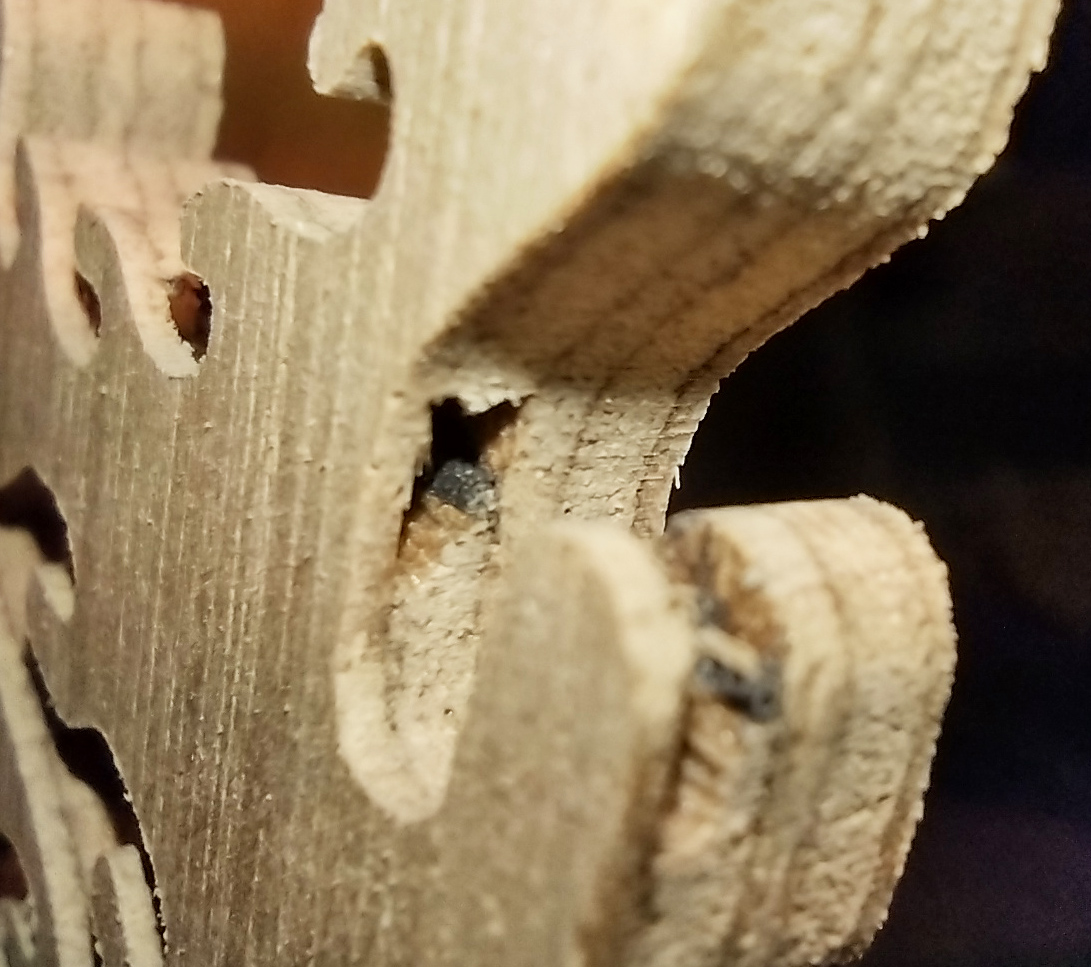
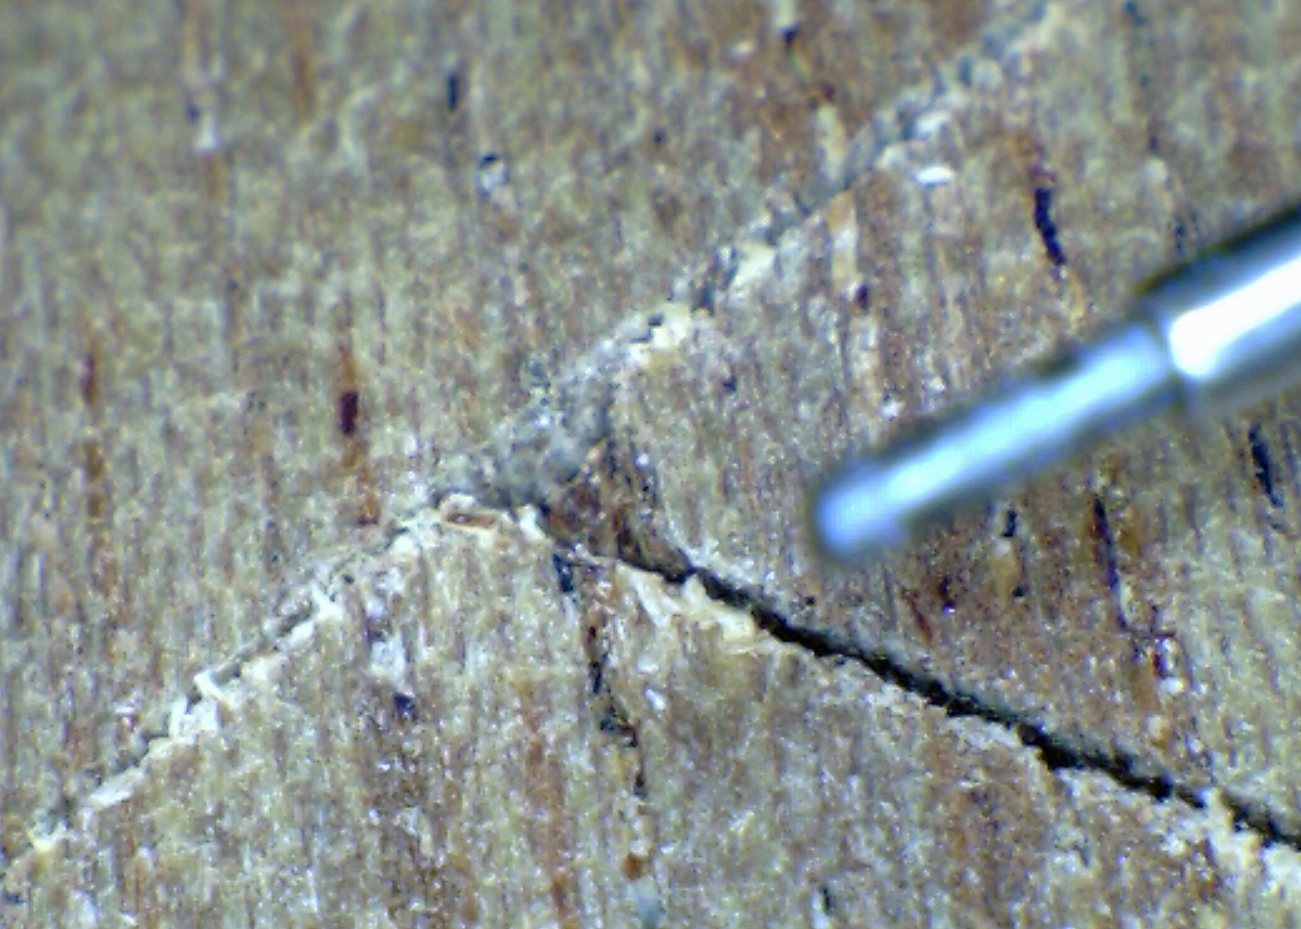
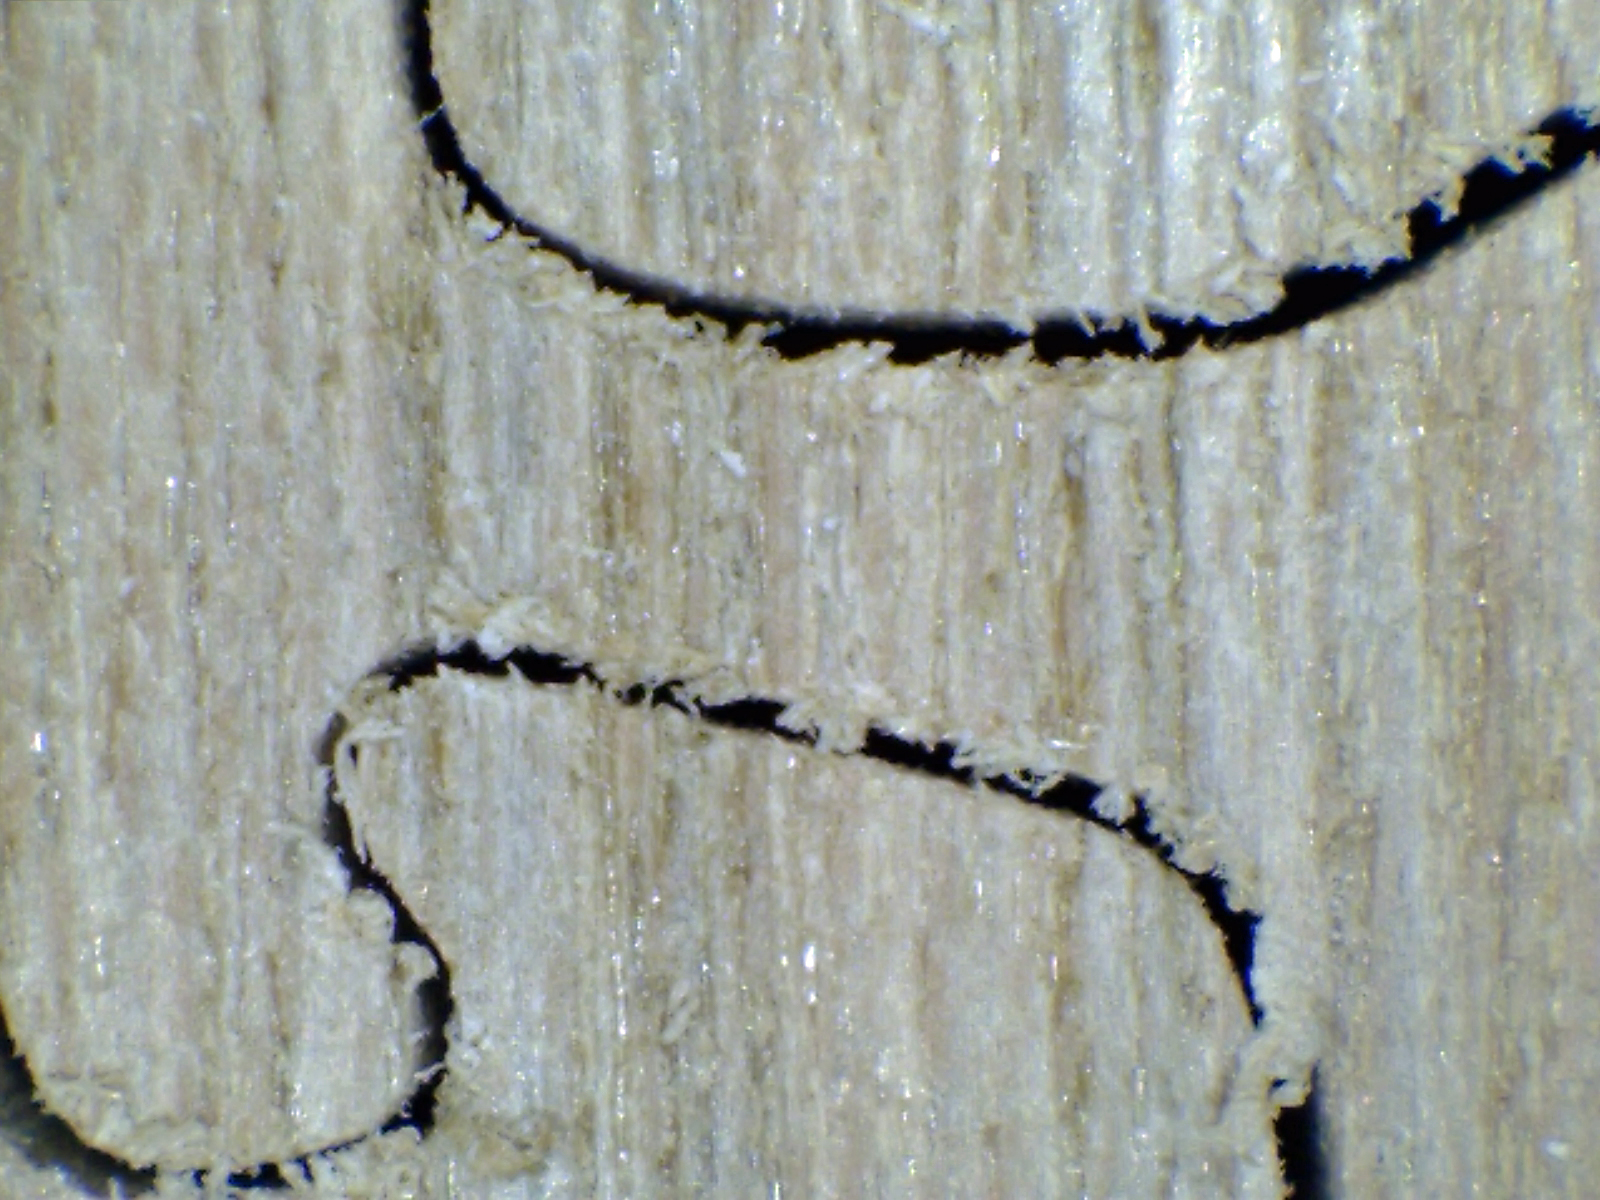
The backside was much worse, with entire pieces being torn out. The picture below shows the worst incidence of this with a .5 mm mechanical pencil for comparison. Photo taken with zOrb.
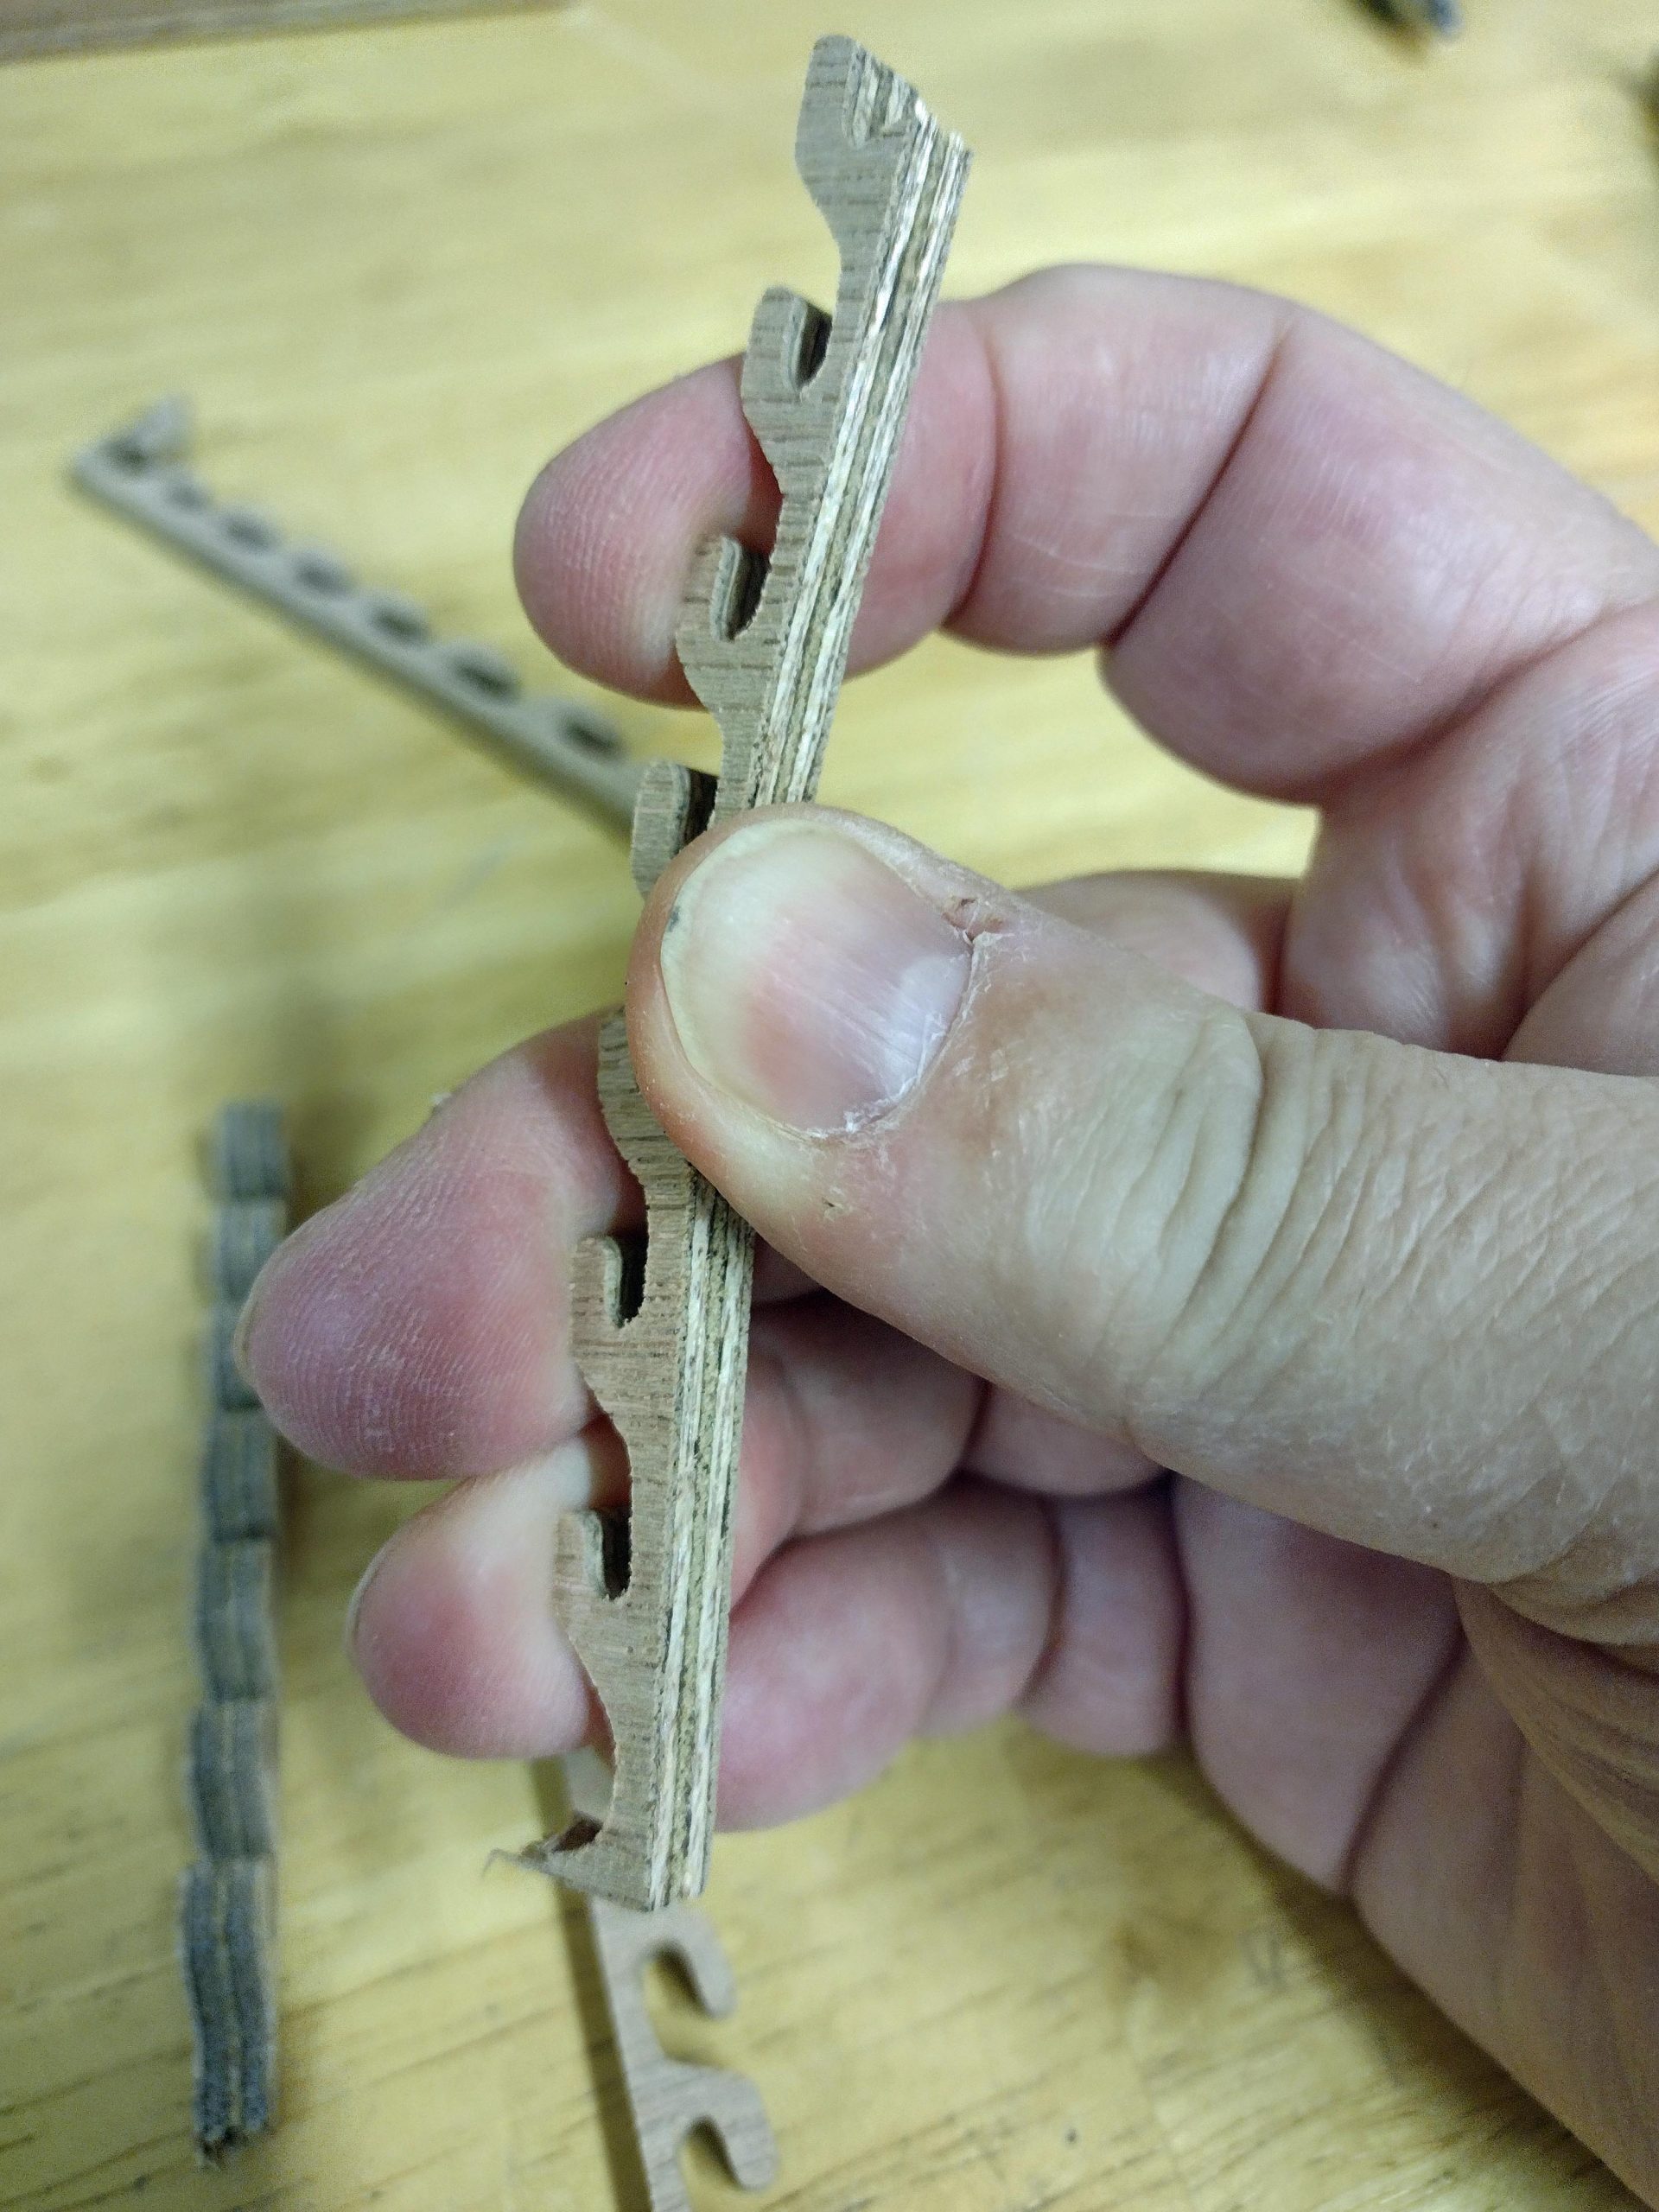
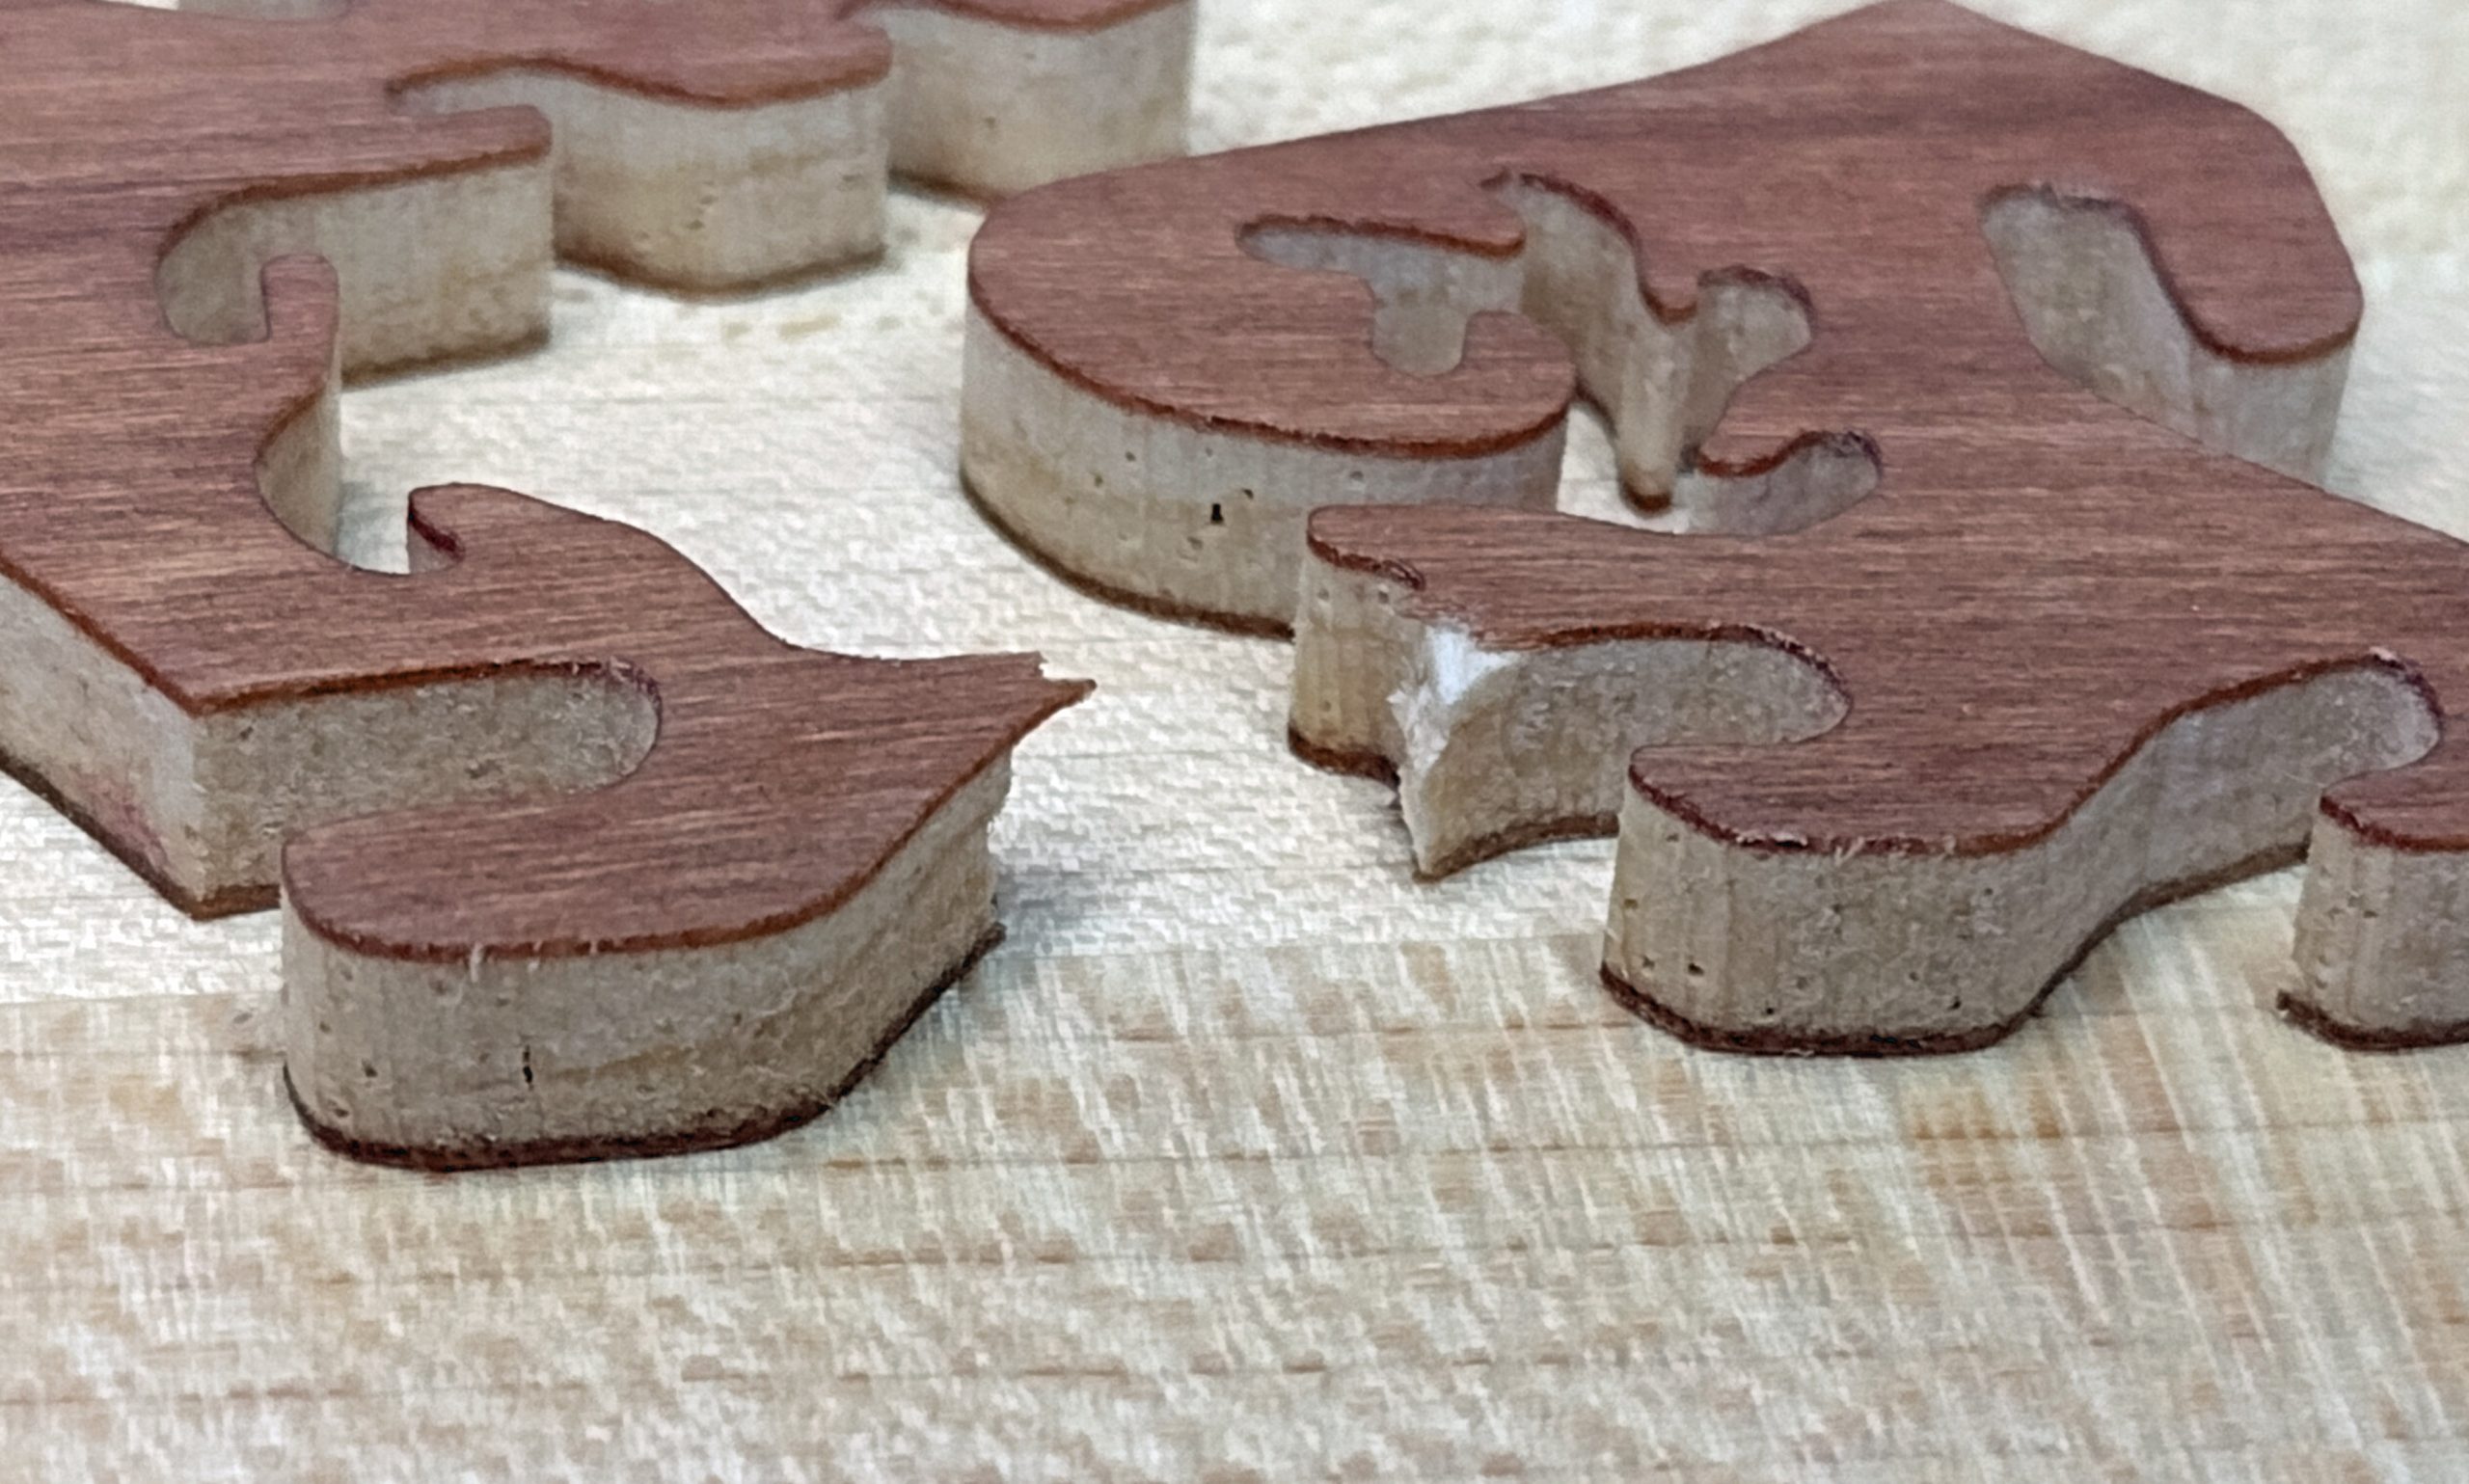
Of the seven varieties discussed here, I feel this was the second weakest as far as structural strength. The first thing cut with these puzzles is the edge all around the puzzle. I tested all of the edge debris, and this was the second easiest to break. This was obviously not scientific with gauges and meters and such, but I did this to all seven plywood varieties using several pieces of debris from each puzzle.
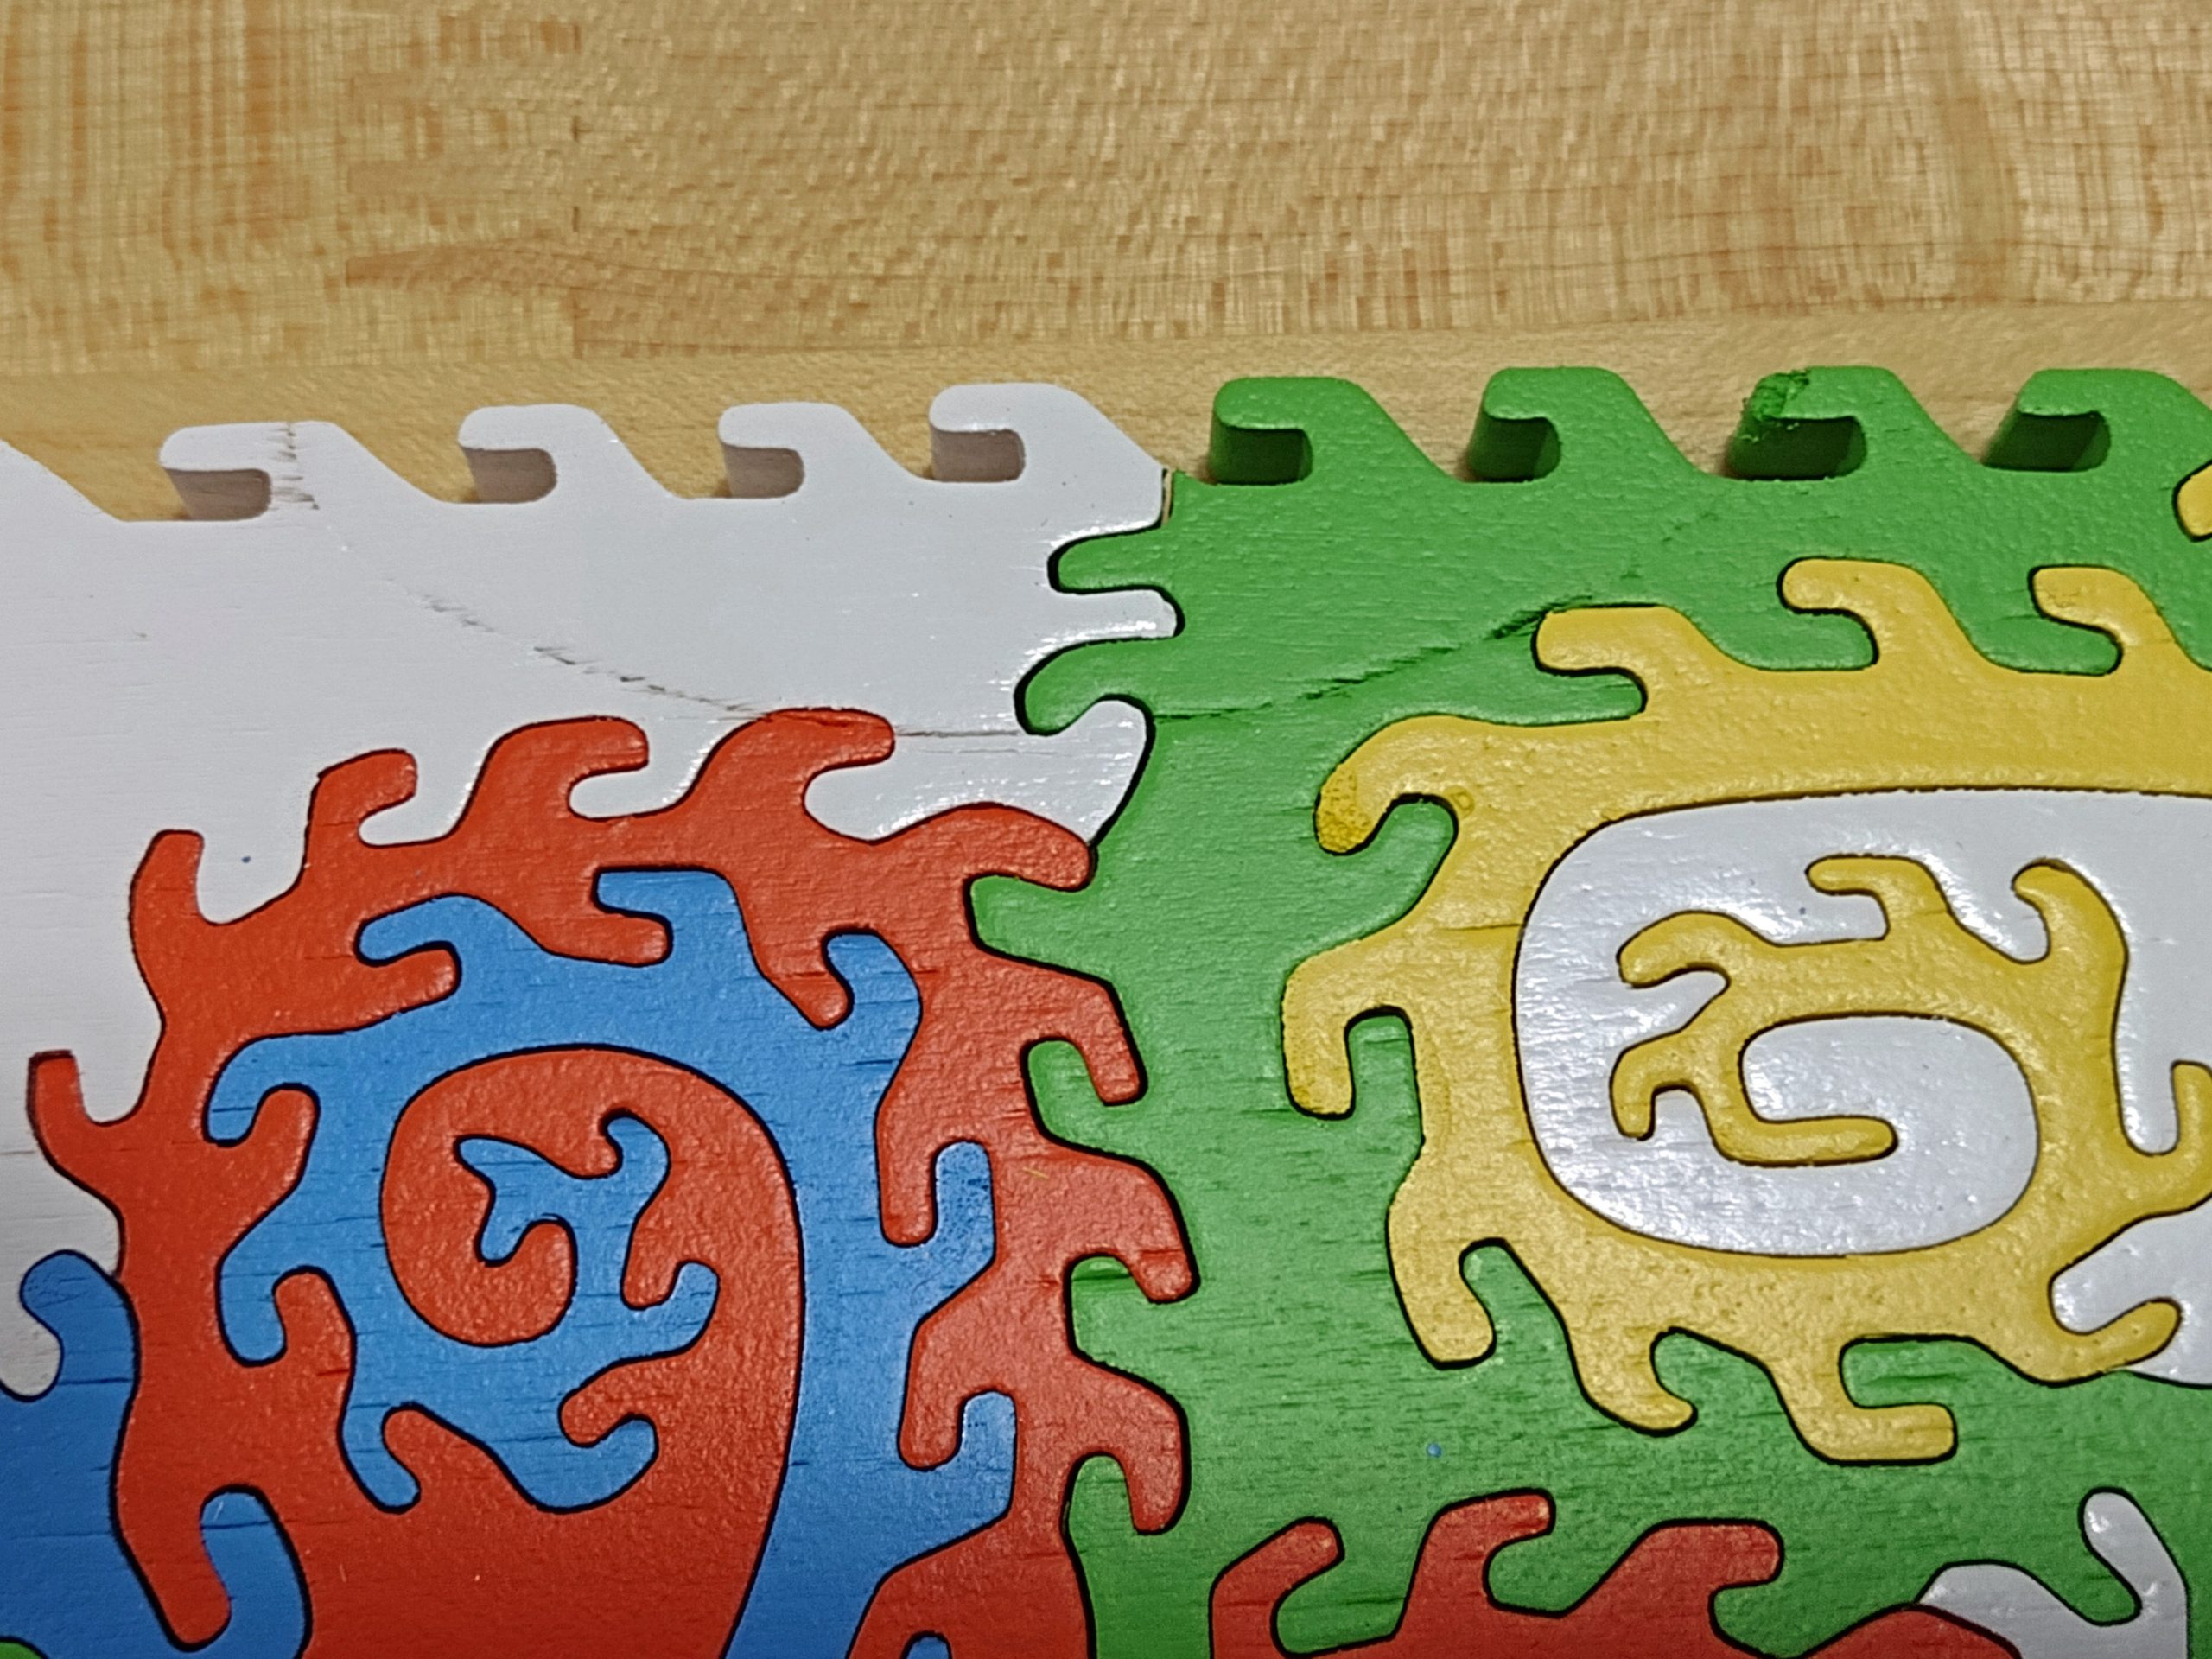
This puzzle I opted to finish with acrylic spray paint. You can see how the grain structure did not allow for a very smooth surface. I do not think this hurts the puzzle but gives it maybe a rustic appearance.
Here is a closeup of the paint.

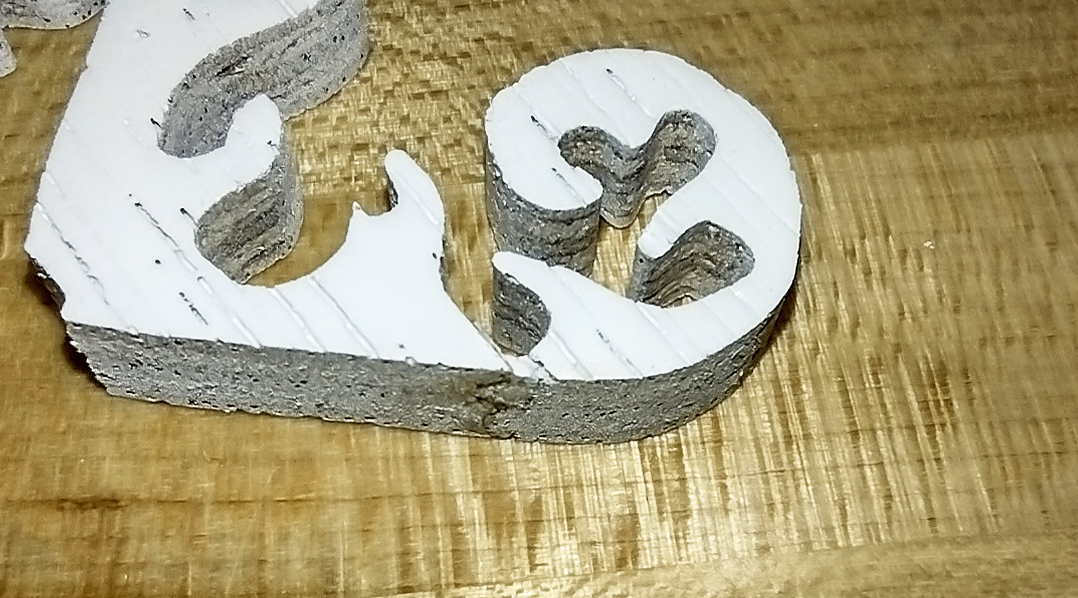
Also, the weakness of the wood was proven when removing the pieces from the sacrificial cardboard used while painting. One of the pieces broke! You can see it in the below picture as well as the above picture. I have glued it back together. It is probably stronger than it was but will always be a little weak. I will be listing this puzzle for sale on Etsy but will point out the broken and mended piece. It will be shipped with the adjacent piece inserted for support.
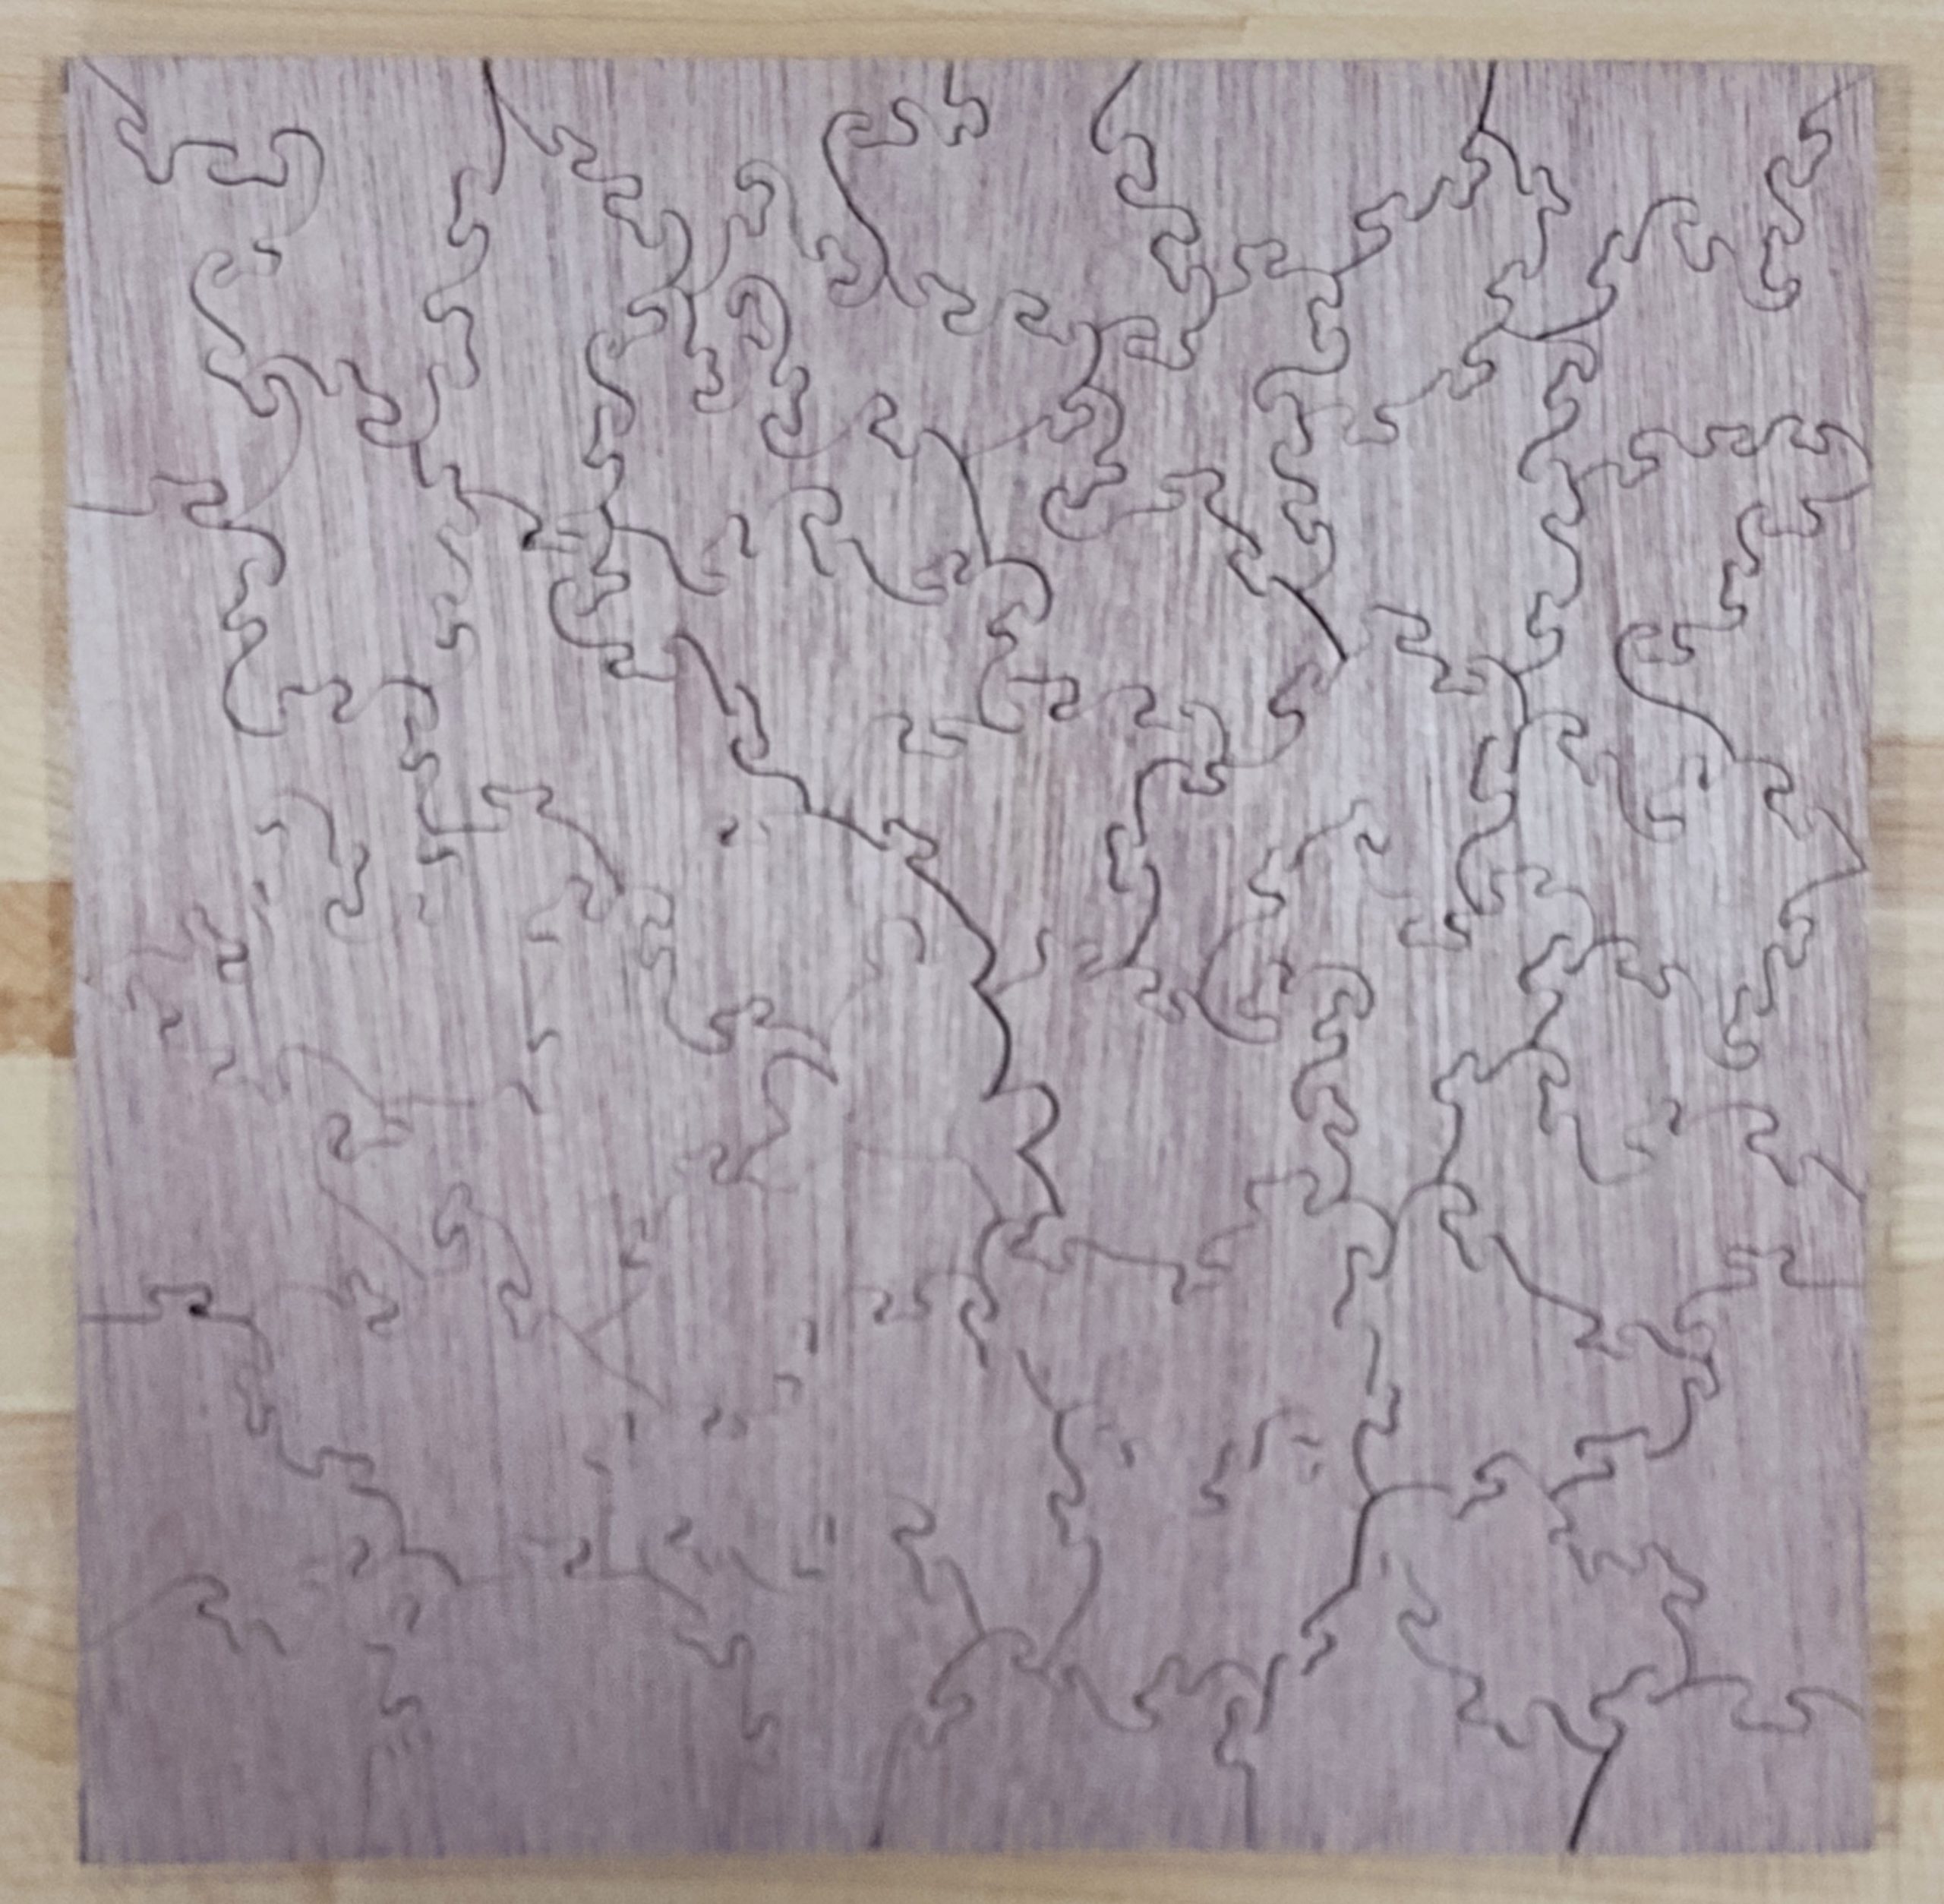
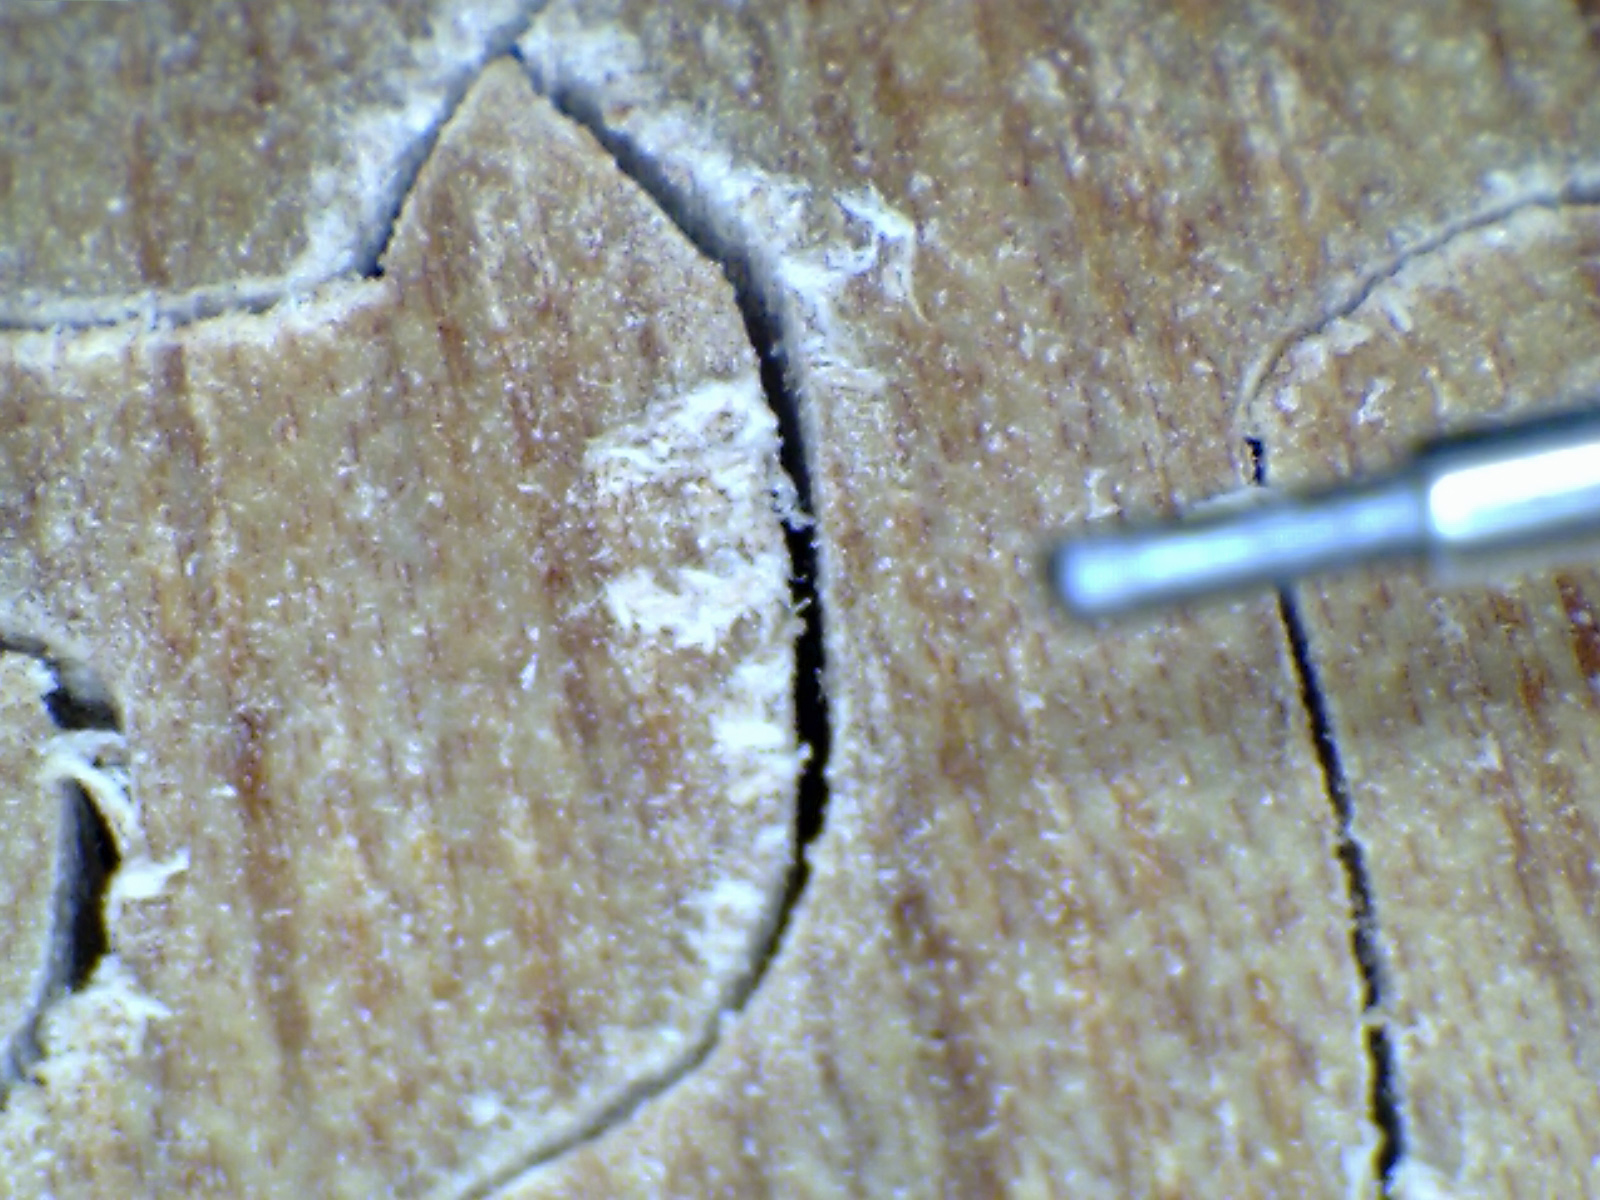
I was disappointed with the other puzzle I cut from this as well. The below picture is a little out of focus, but you can see all of the tear out from the bottom.
Here is a closeup some of the tear out.
I find this to be unacceptable. I have not made up my mind on what I will do with this puzzle. I have done nothing to finish it yet. It may just go in the kindling pile.
I personally will not buy any more meranti plywood for making puzzles.
Okoume
Next was the okoume. At 7mm, this was the thickest of the Boulter samples. The piece on top in the below picture has Danish oil on it to bring out the grain.
This wood was subject to a lot less splintering than the meranti was.

Here is a close up of the worst spot I could find on the top, with a .5mm pencil lead for comparison.
The bottom side was fuzzy, like most wood is after being cut with a saw.
Below is a picture of the edge cut done at the beginning of any my dragon tails puzzles. For this wood comparison test, I was breaking these in multiple locations to get a feel for the strength of the plywood. The okoume was as good as any of them.
I did find one location with a small void.
Here is the finished and painted puzzle. This puzzle will be listed on Etsy.

You can see the grain structure through the paint on the okoume as well, but it is much less severe than the meranti or the sapelle. Here is a close up.

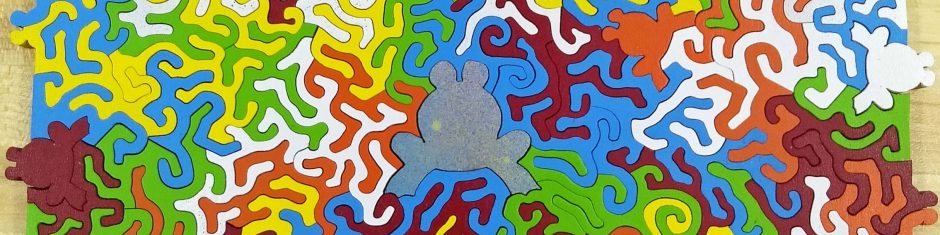
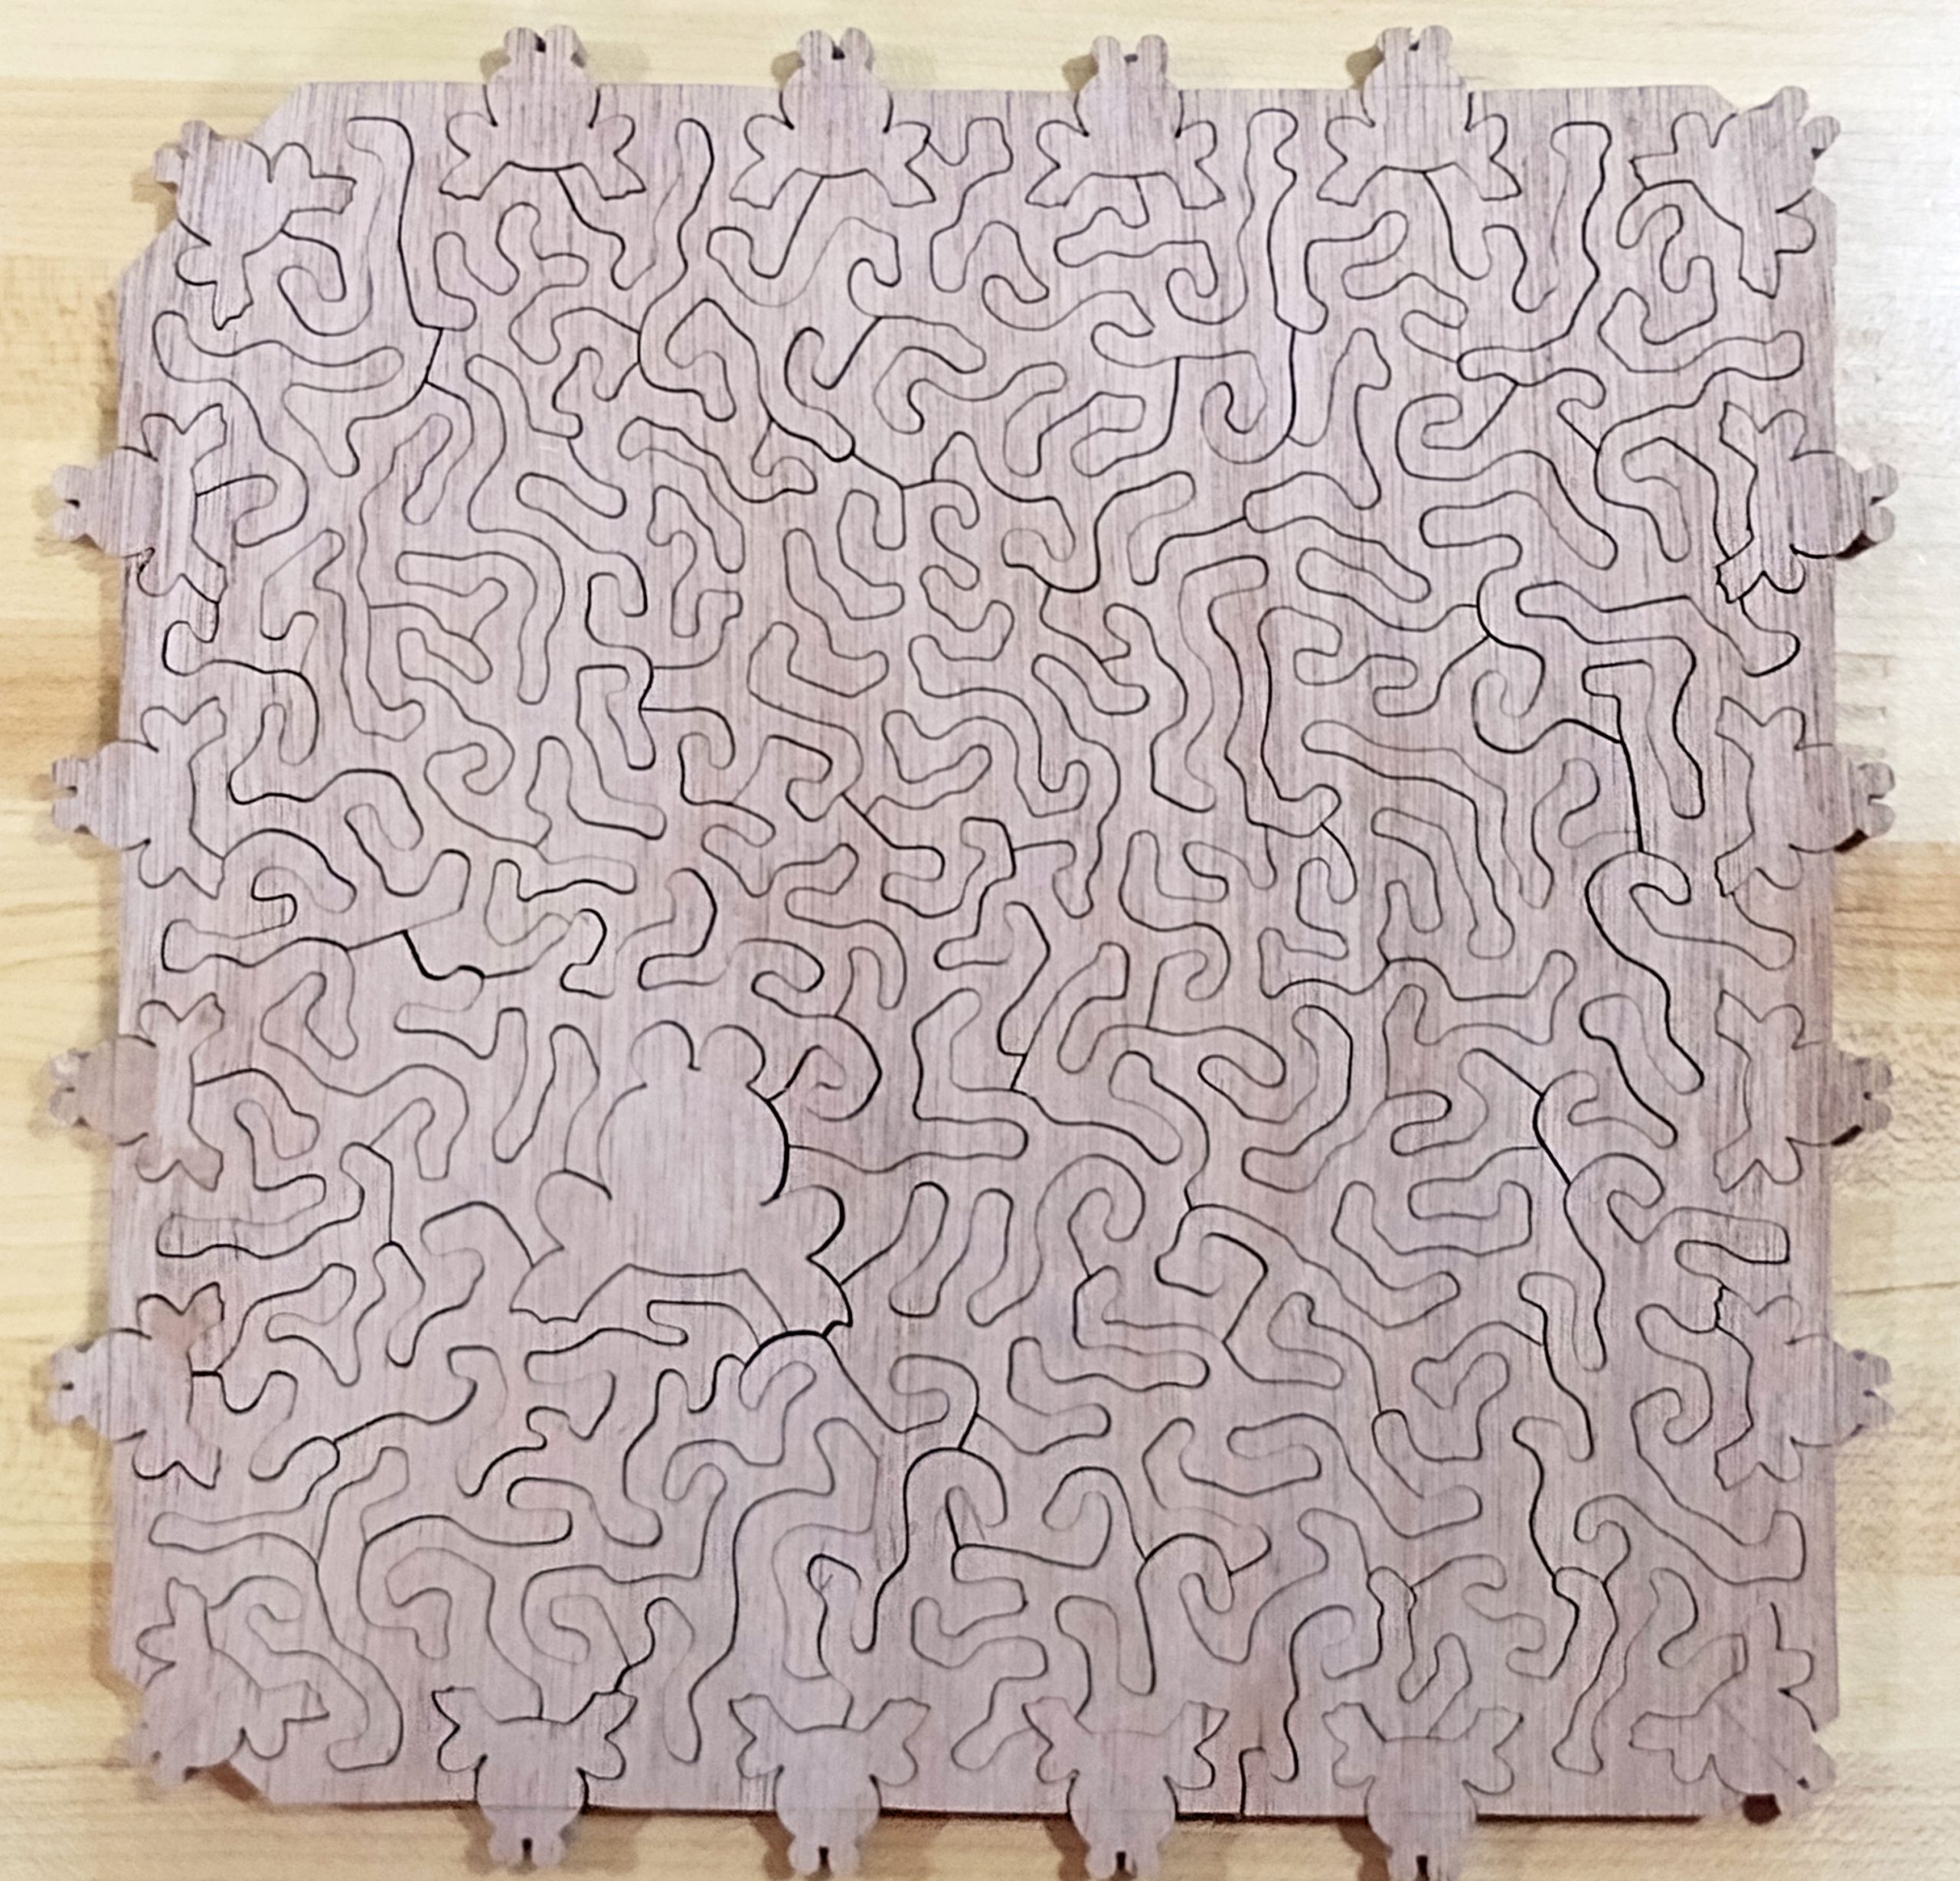
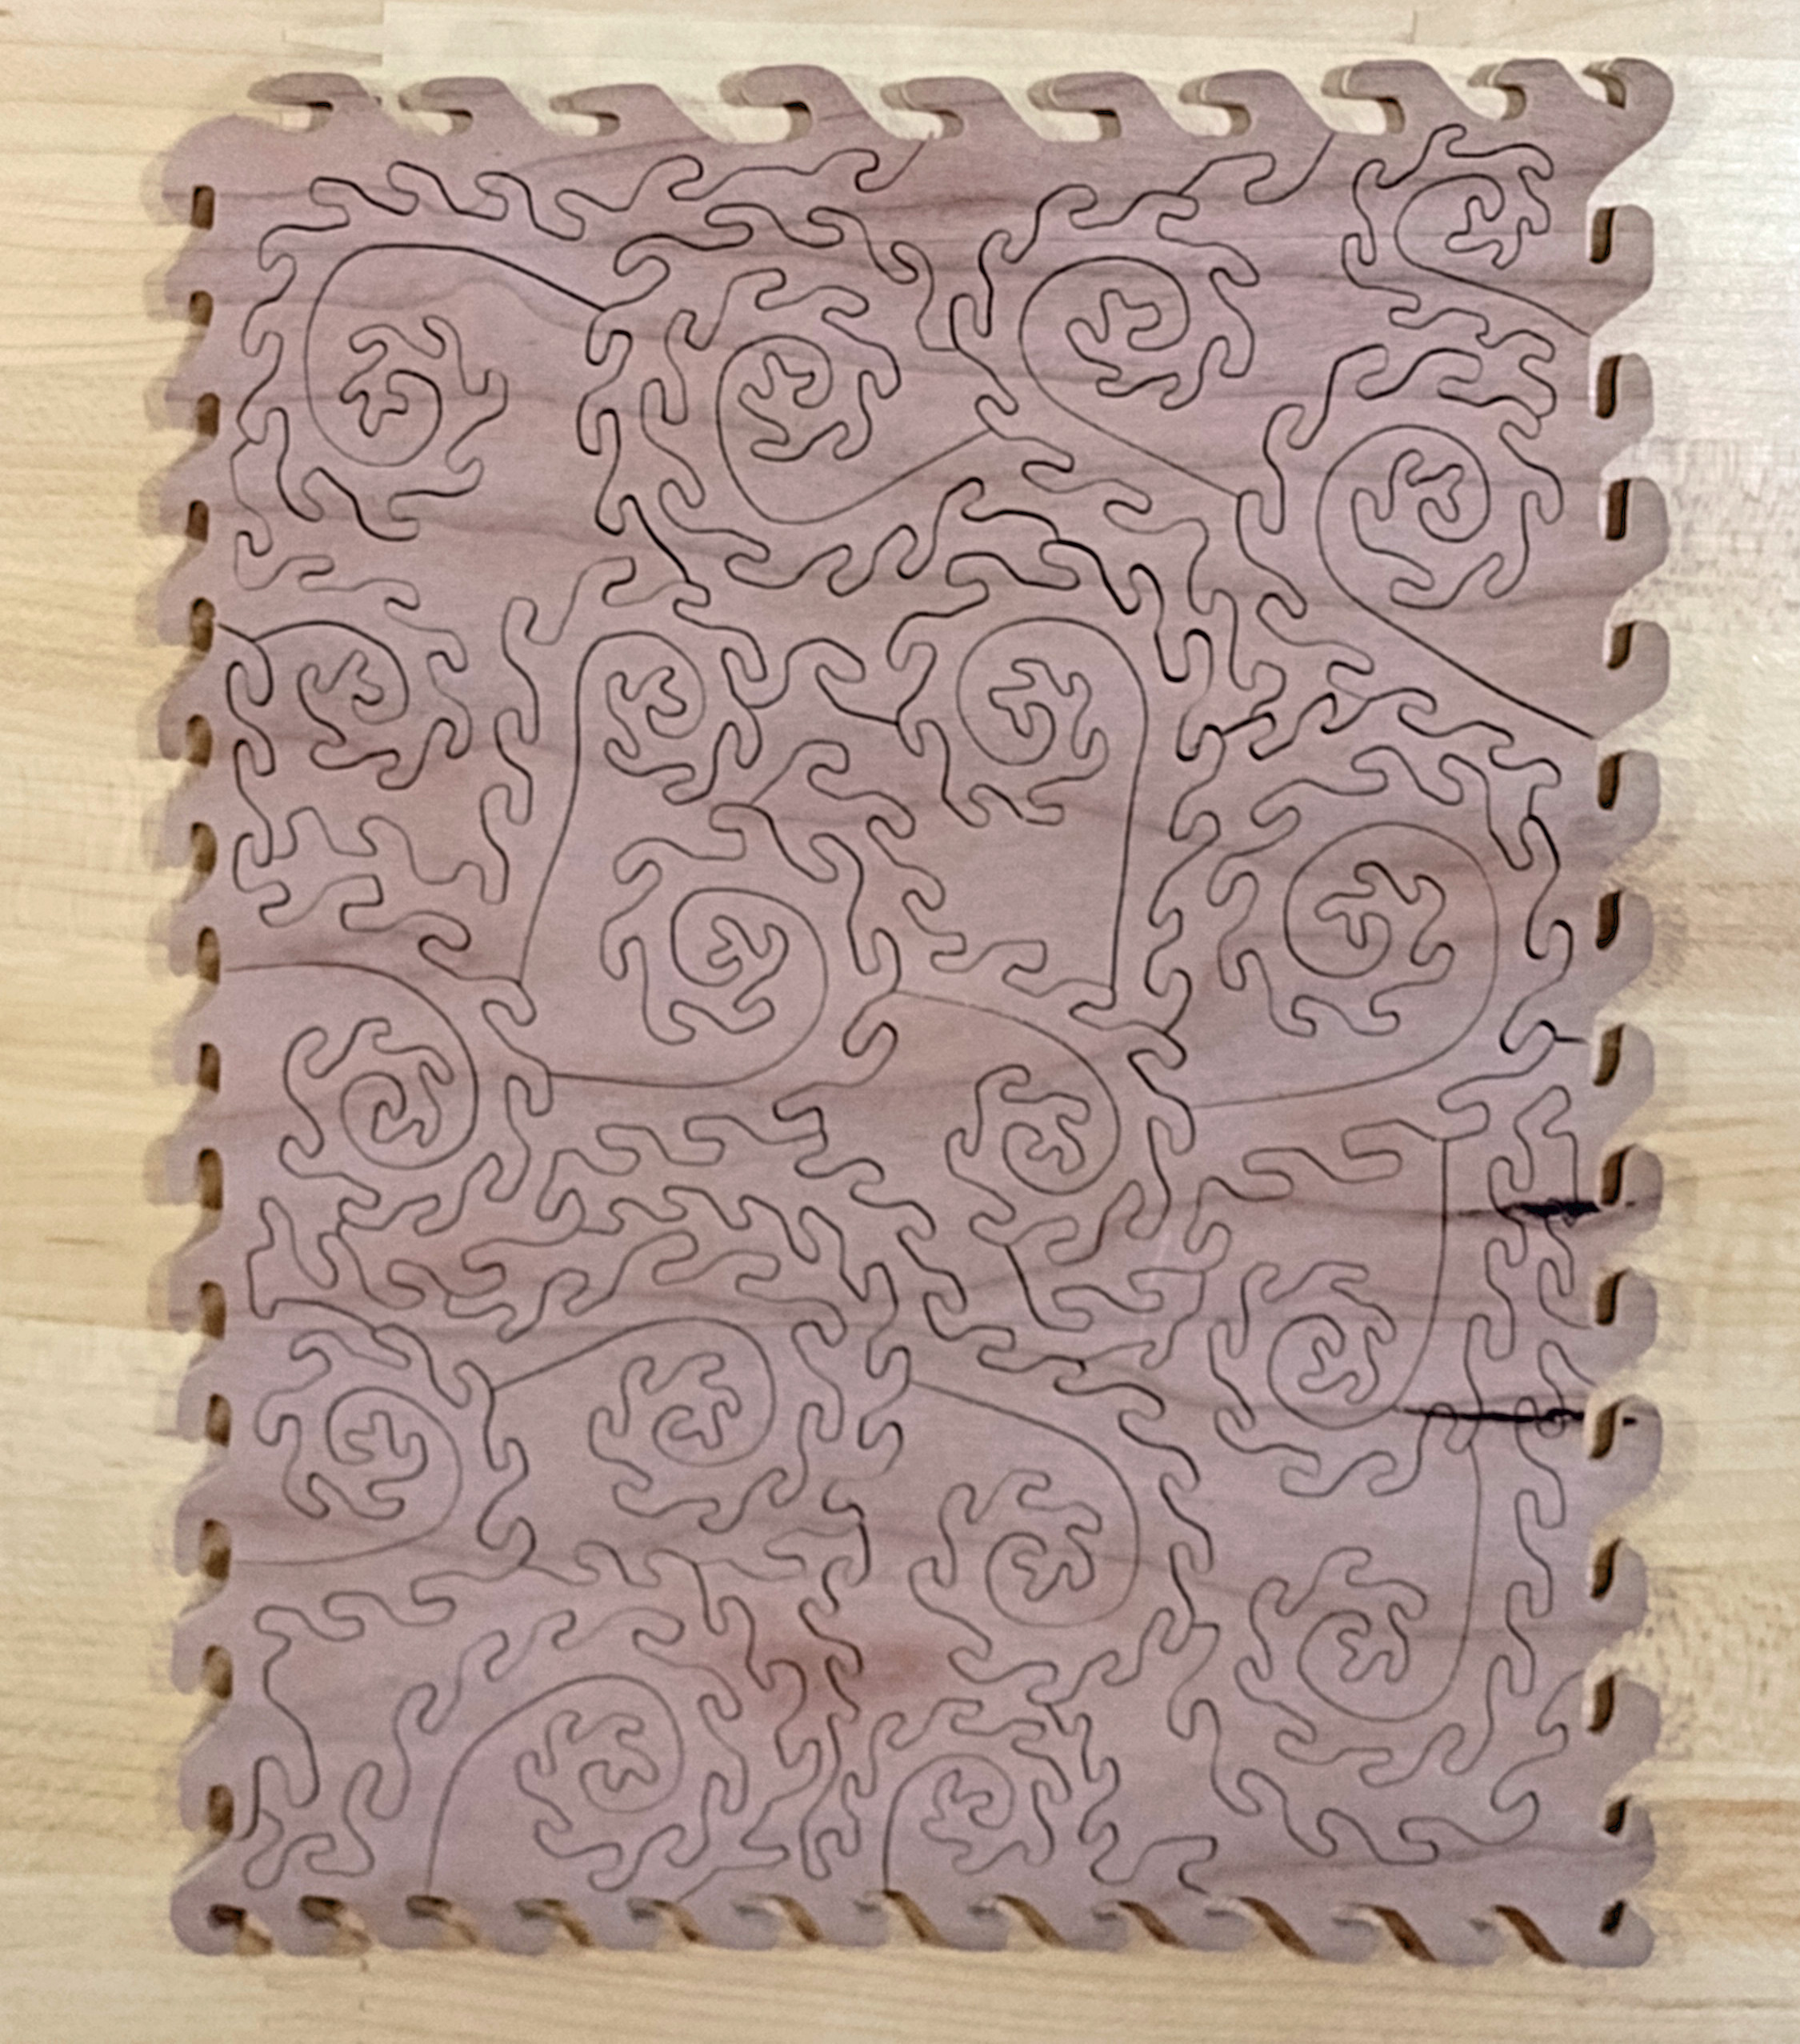
I did a second puzzle with the okoume. It was cut in my usual piece style, but with a small frog border.
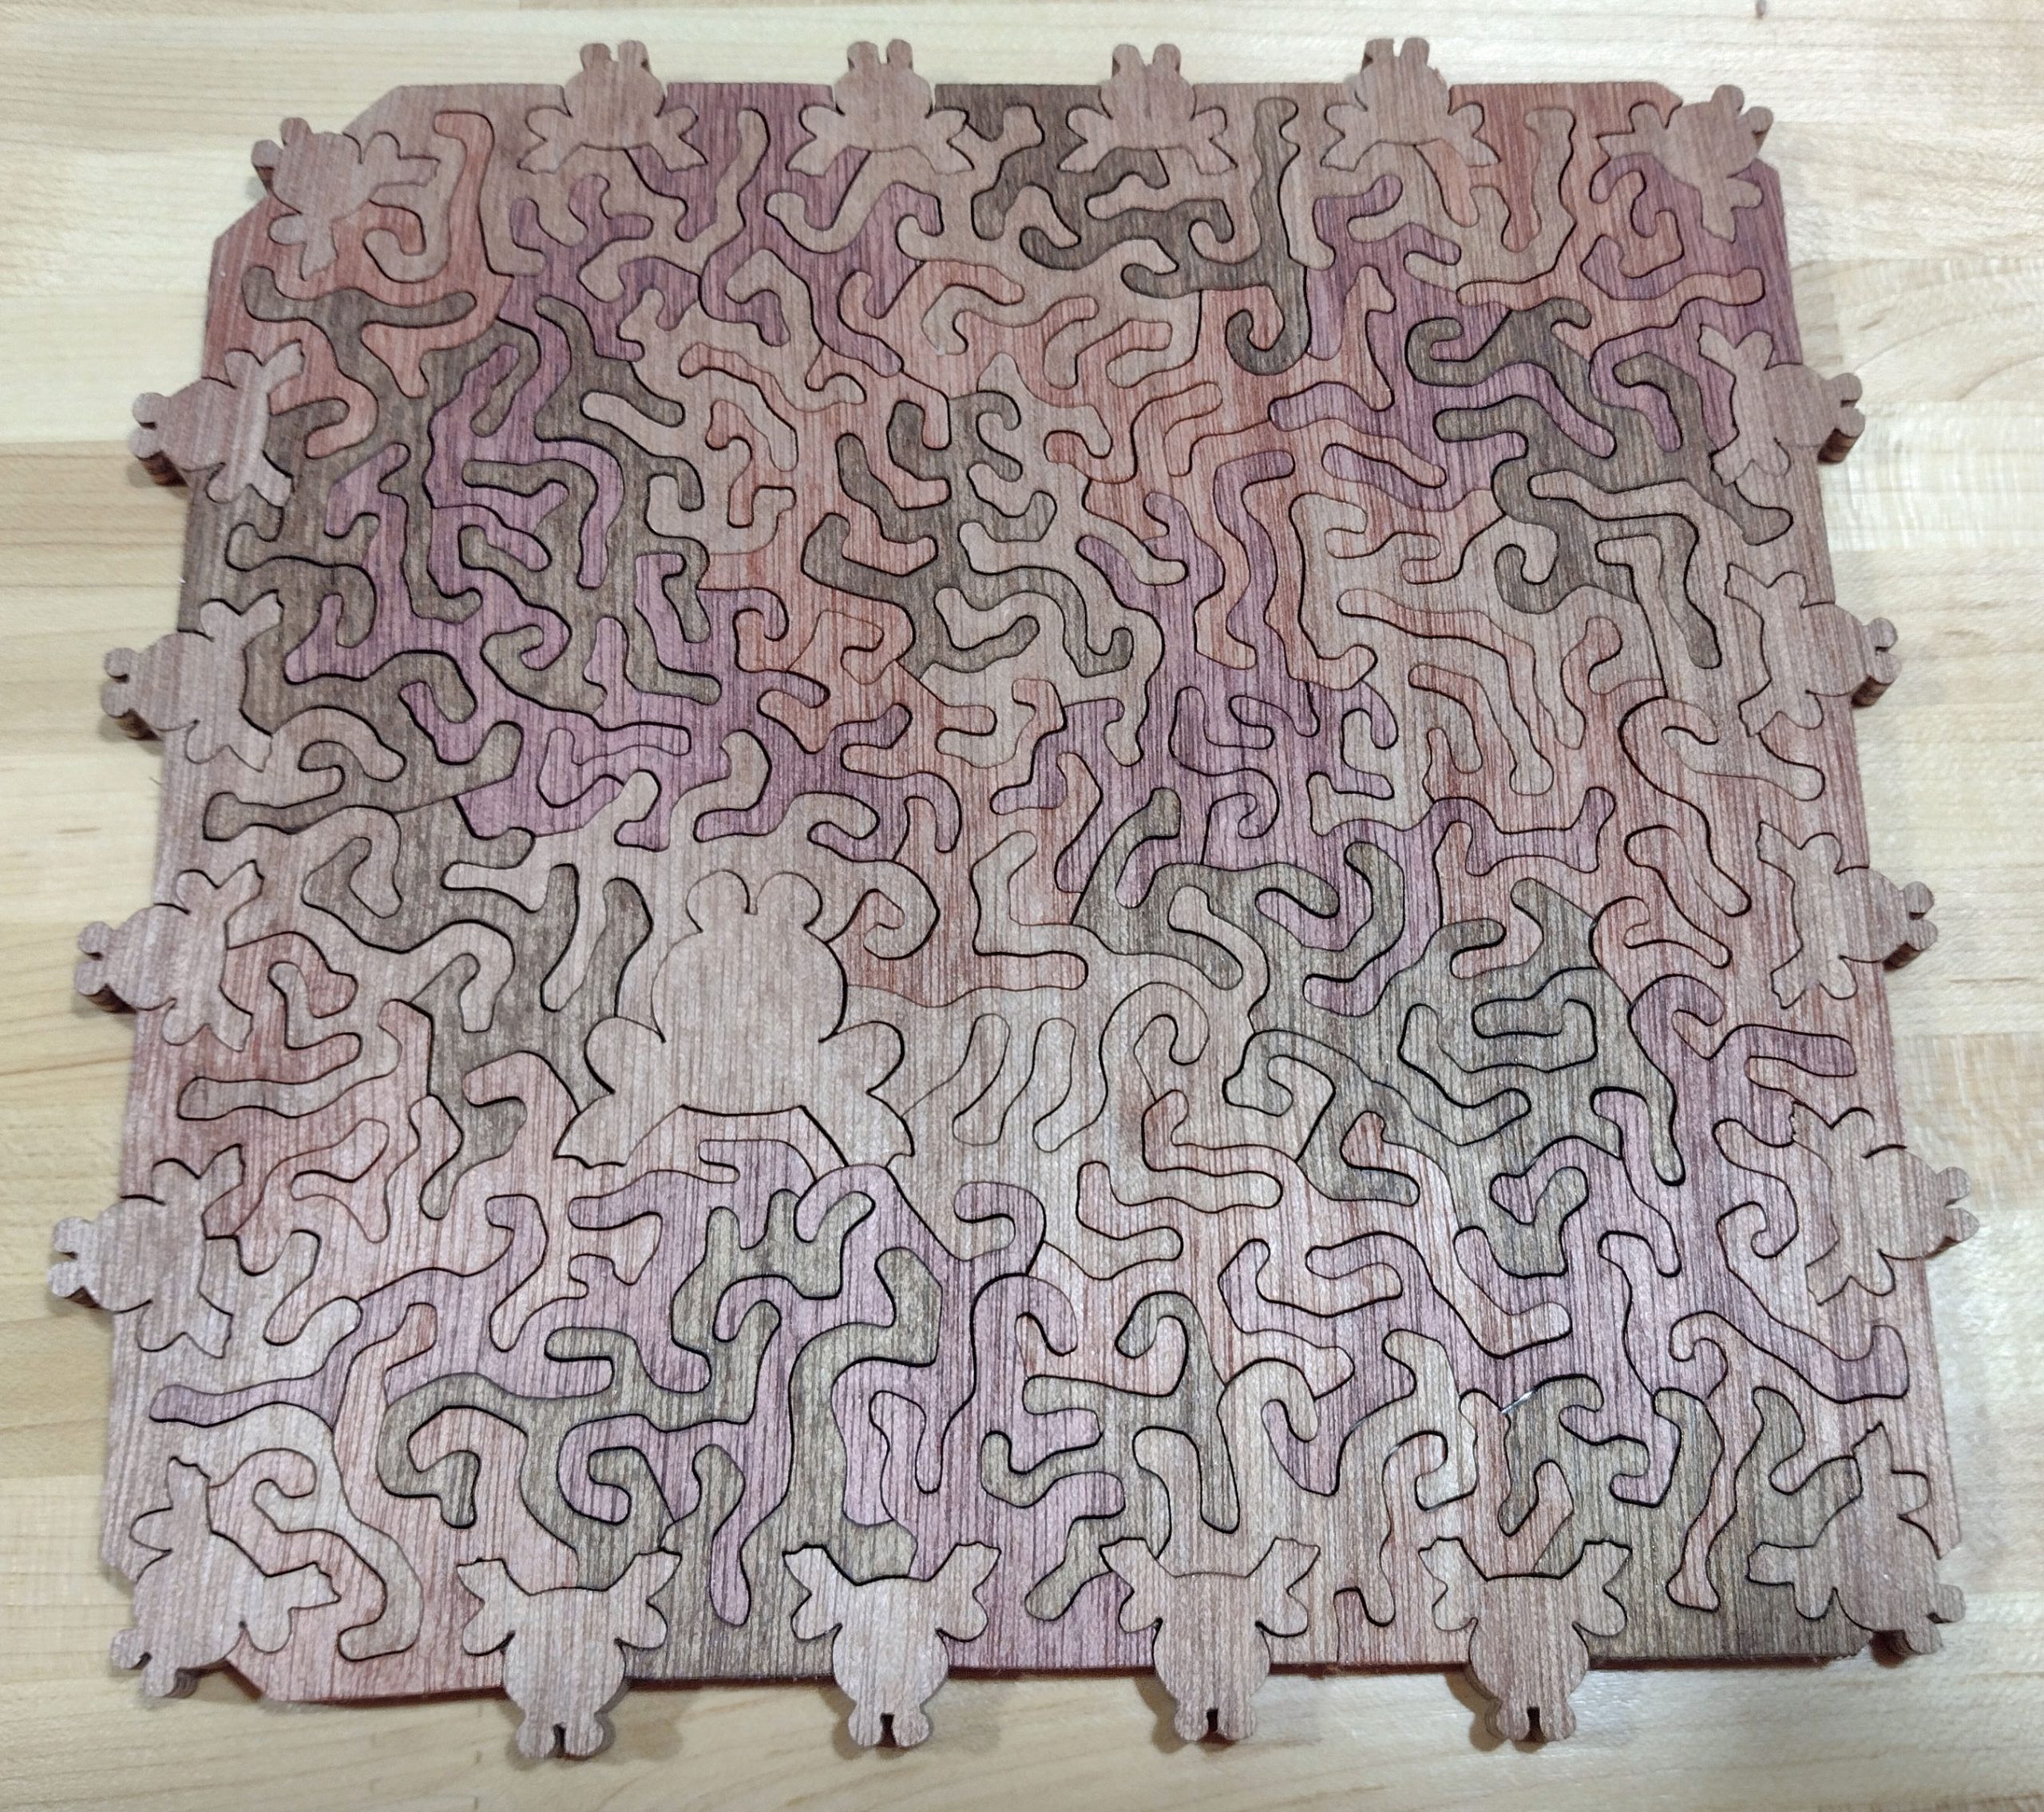
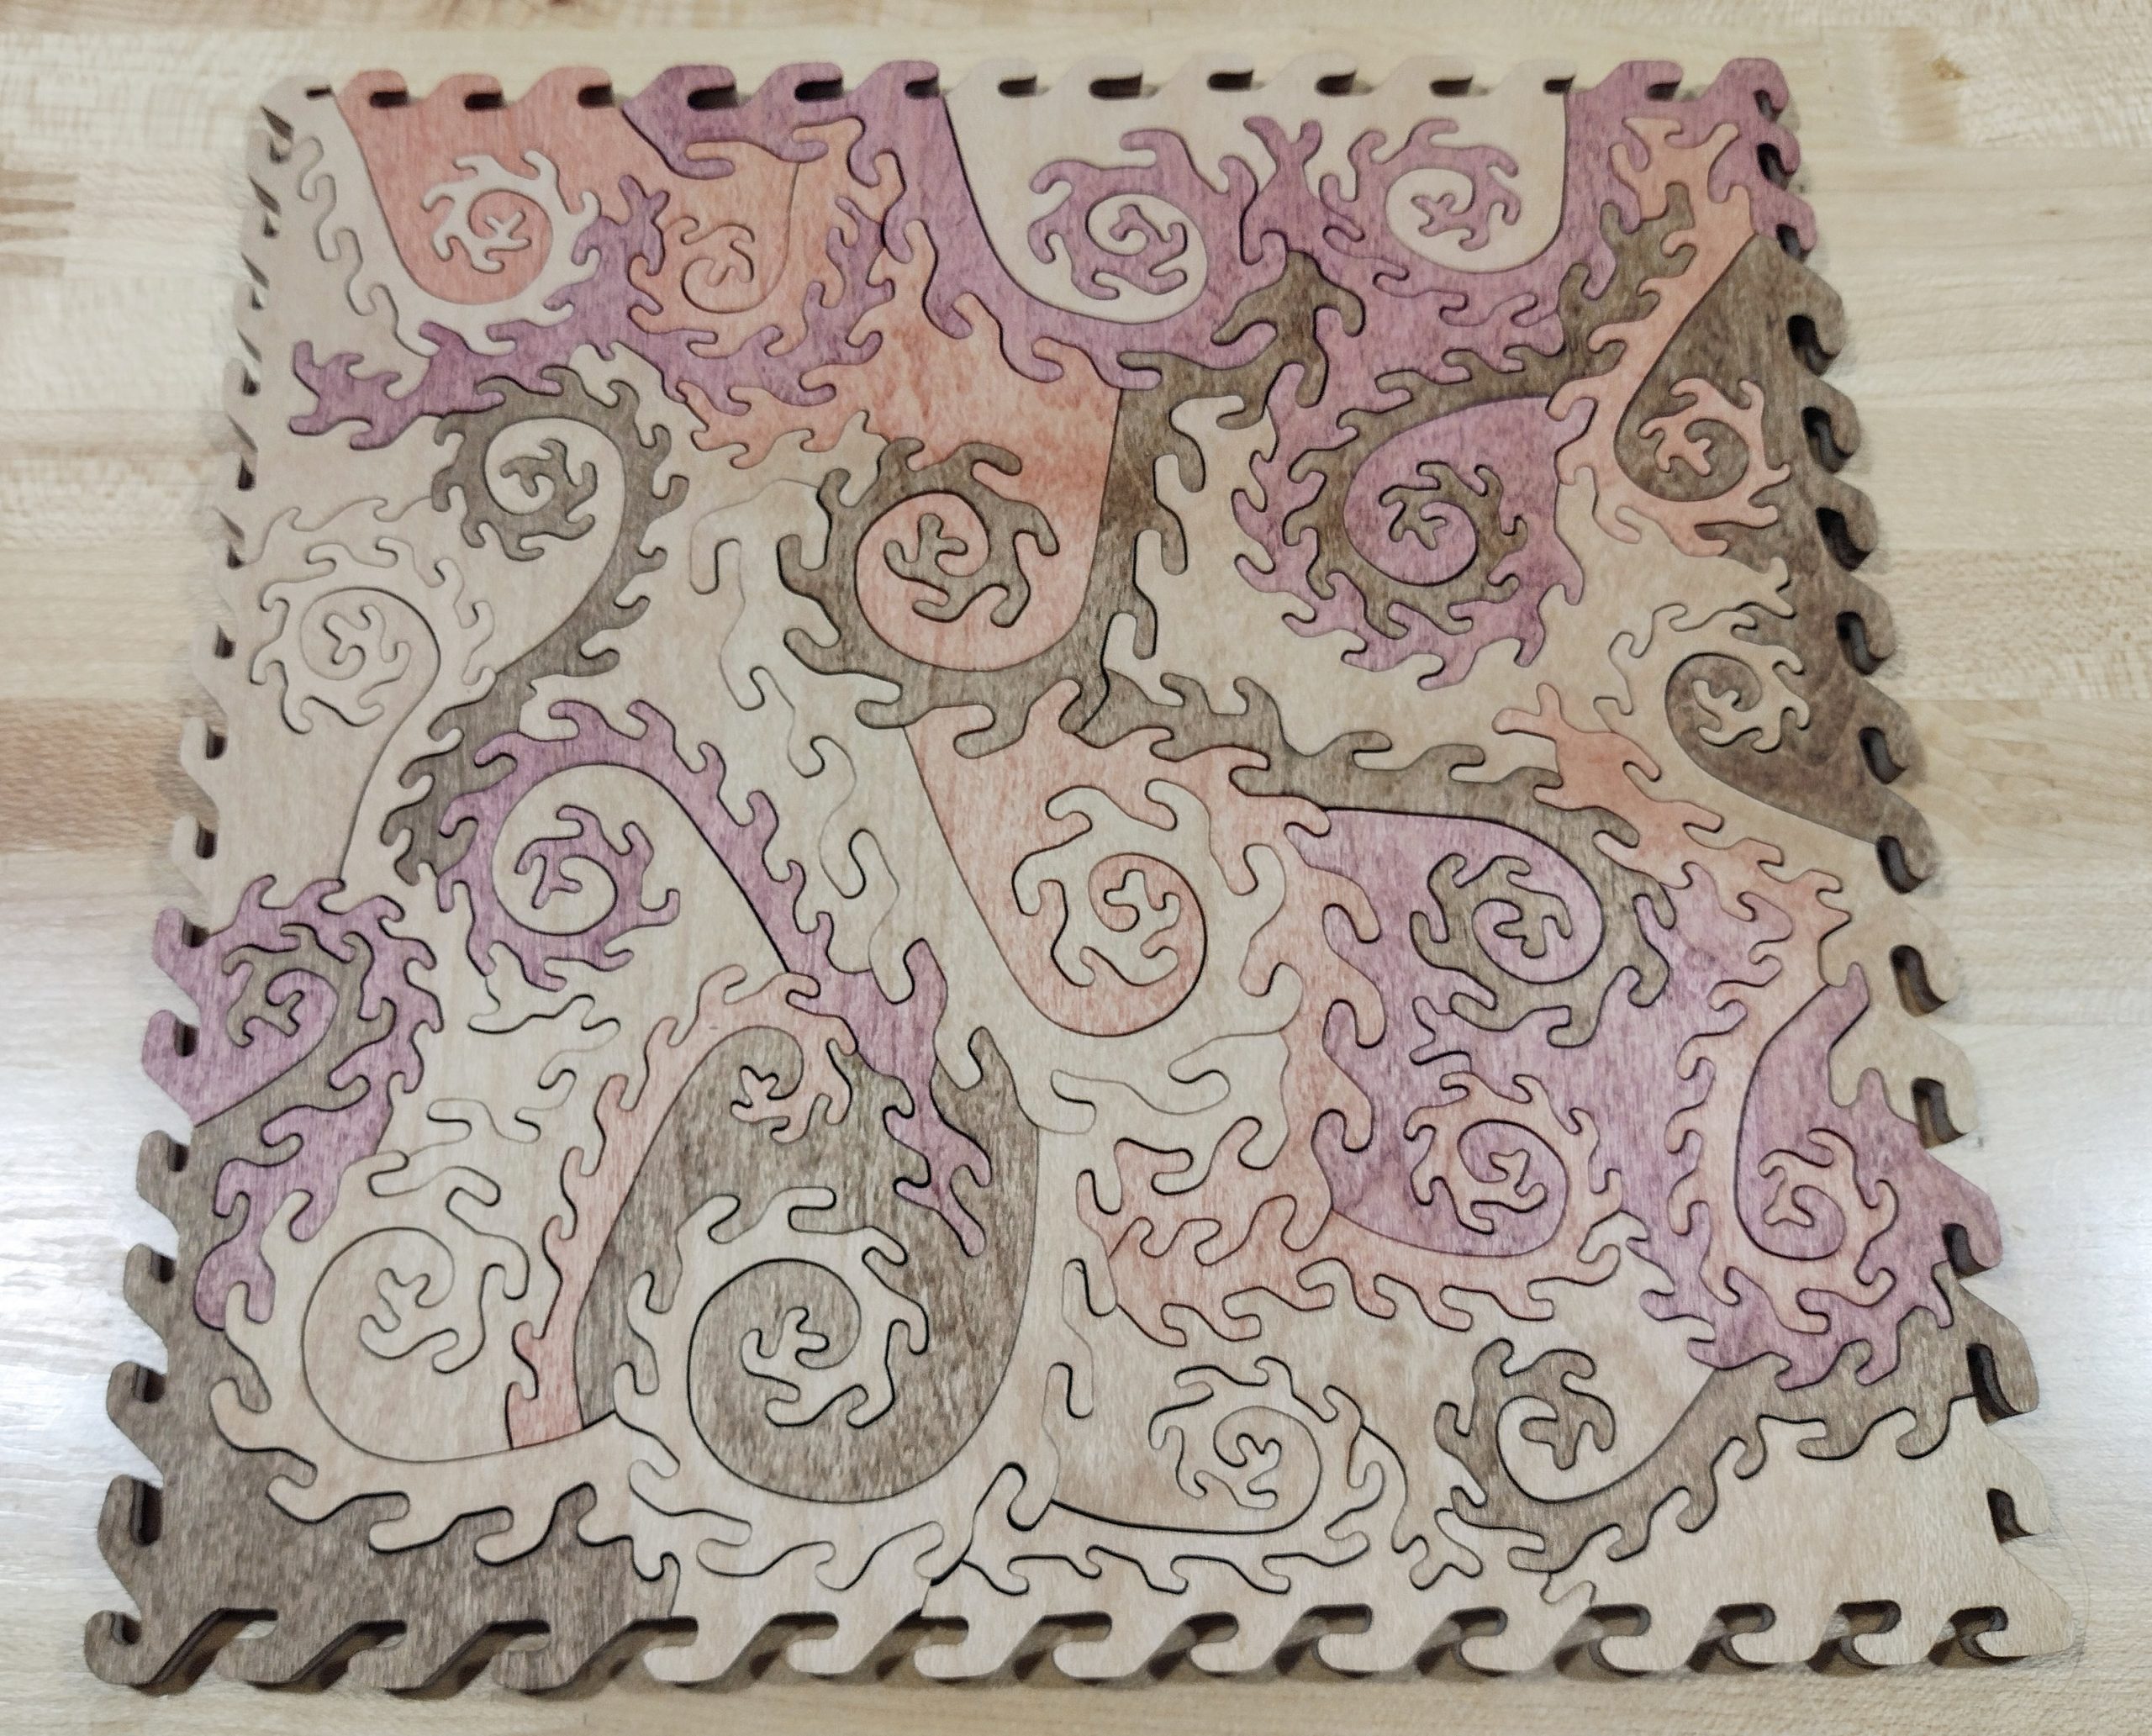
This puzzle I opted to finish with 5 different colors of Danish oil finish. This puzzle will be listed on Etsy.
I felt this was a decent plywood to work with for puzzle cutting. I have not found it locally, and I like the Appleply I have been using, so I probably will not be making many puzzles from it. If it was sourced locally, I would use it.
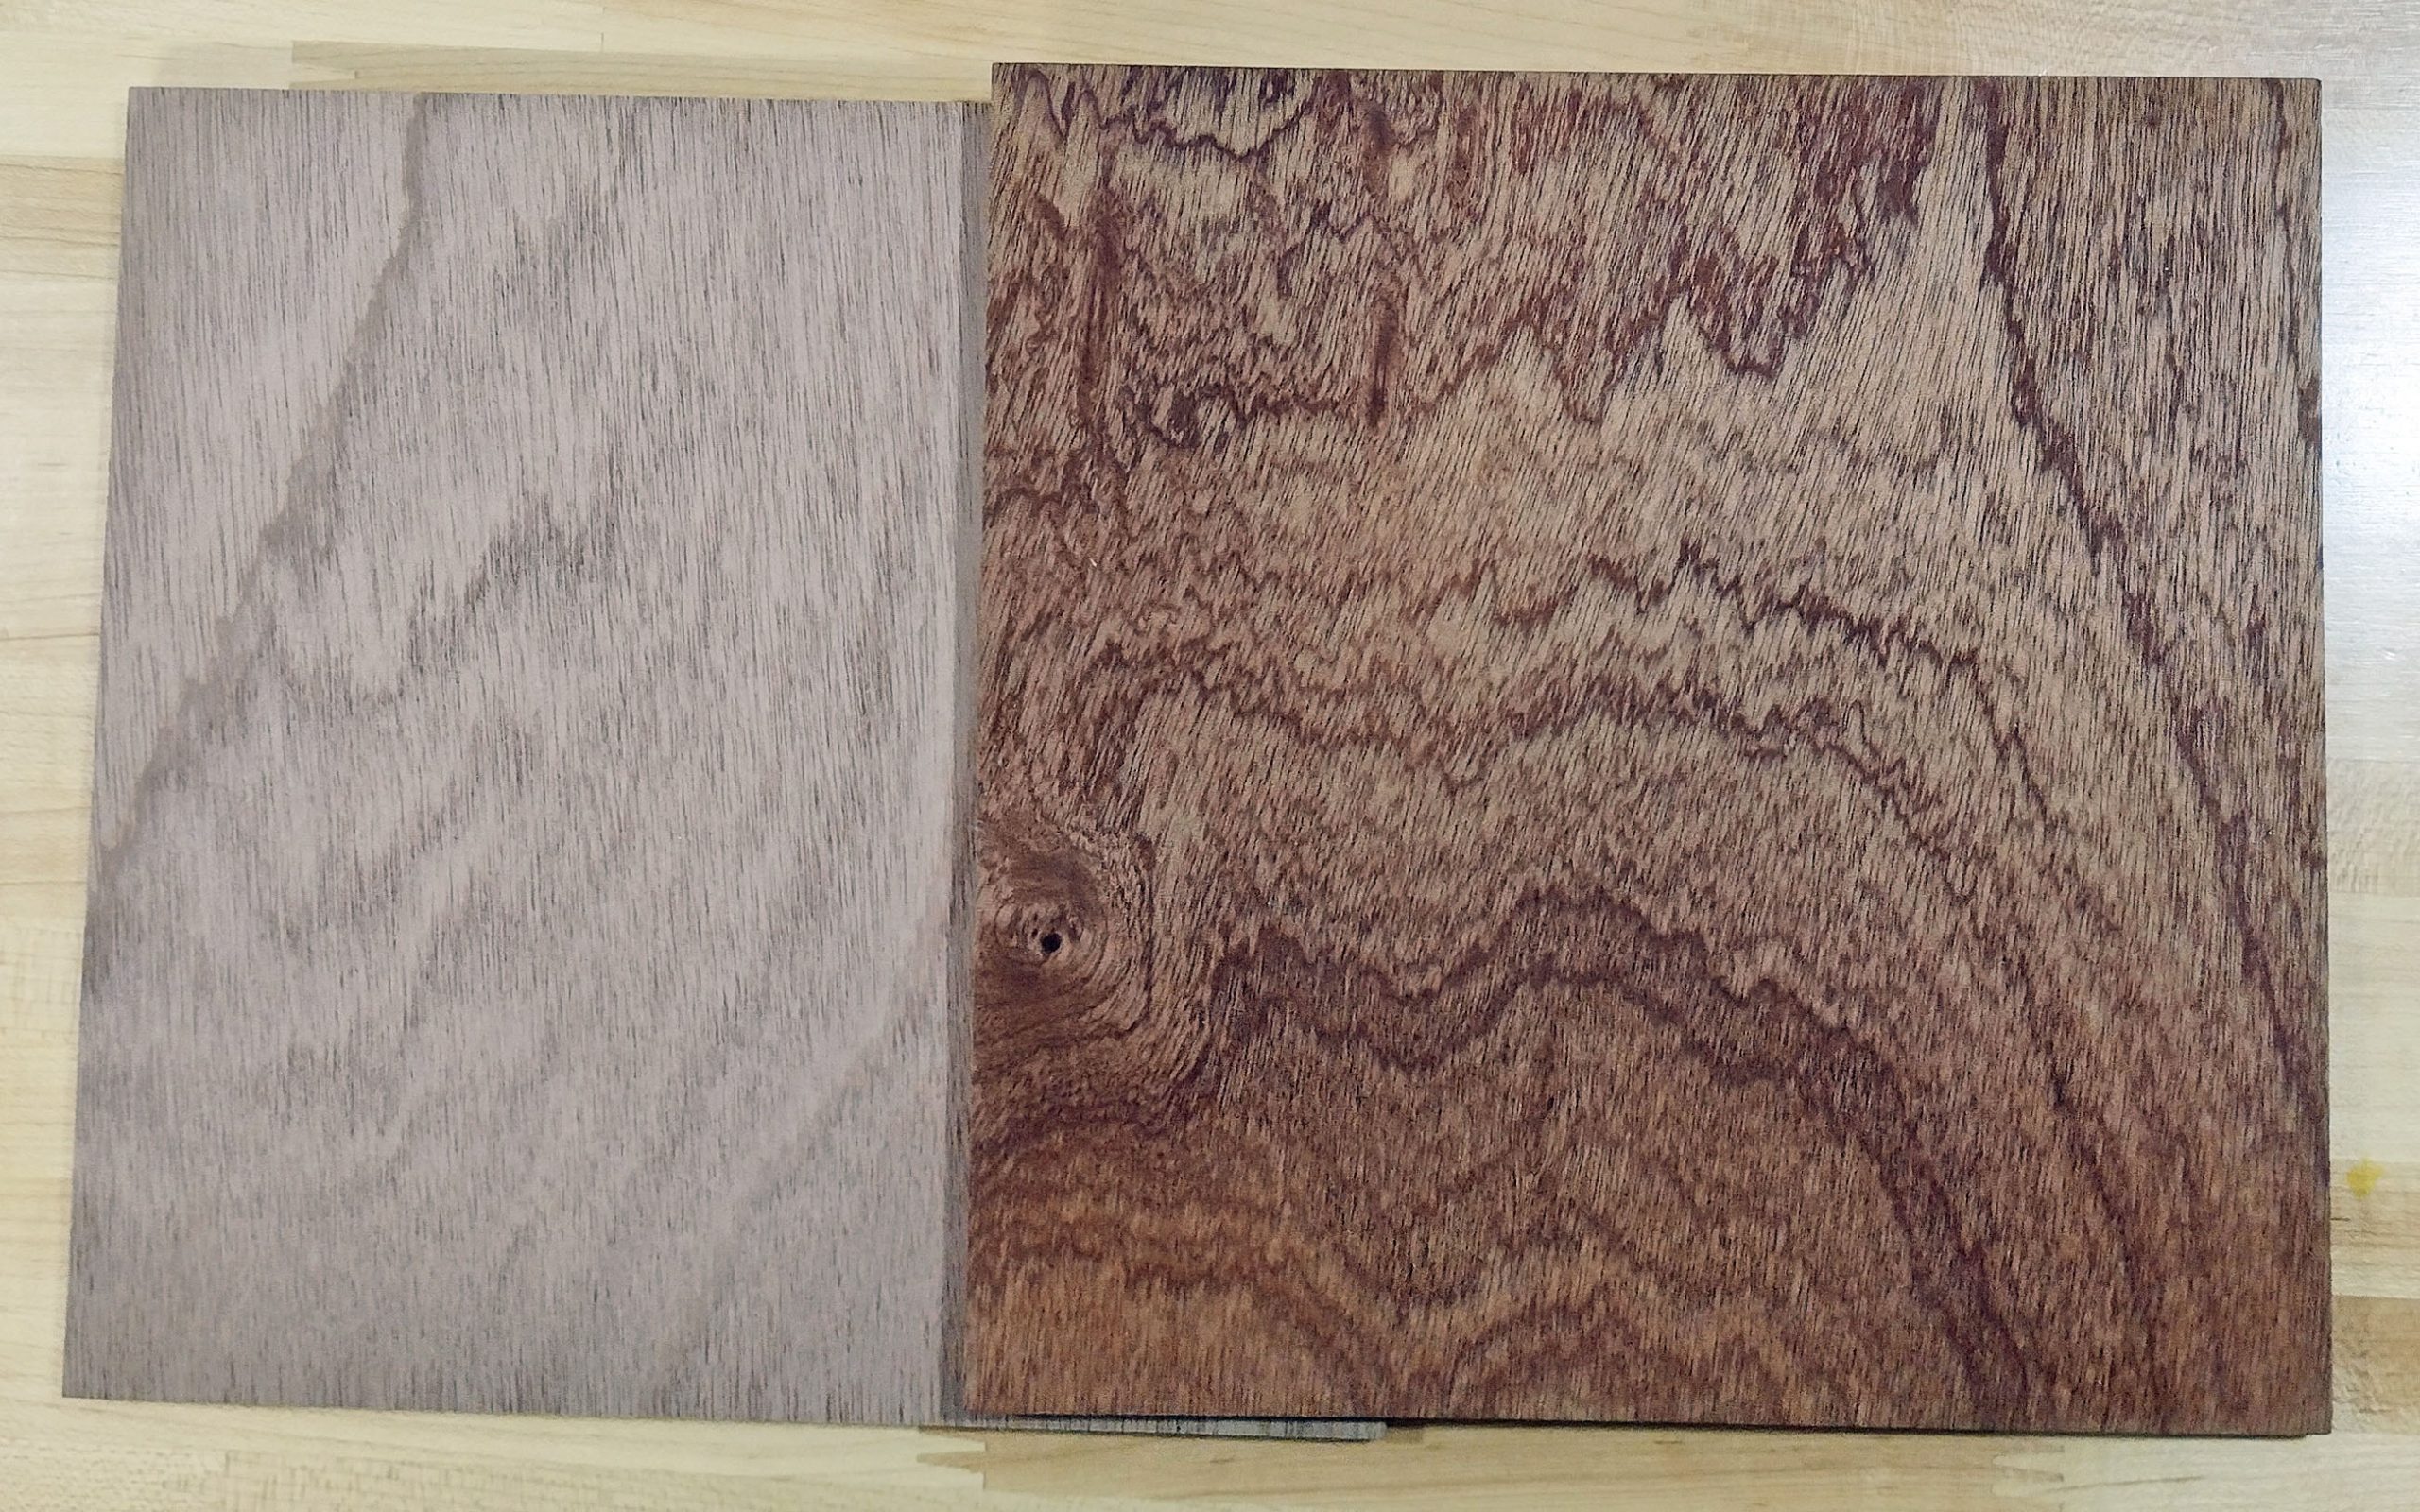
Sapelle
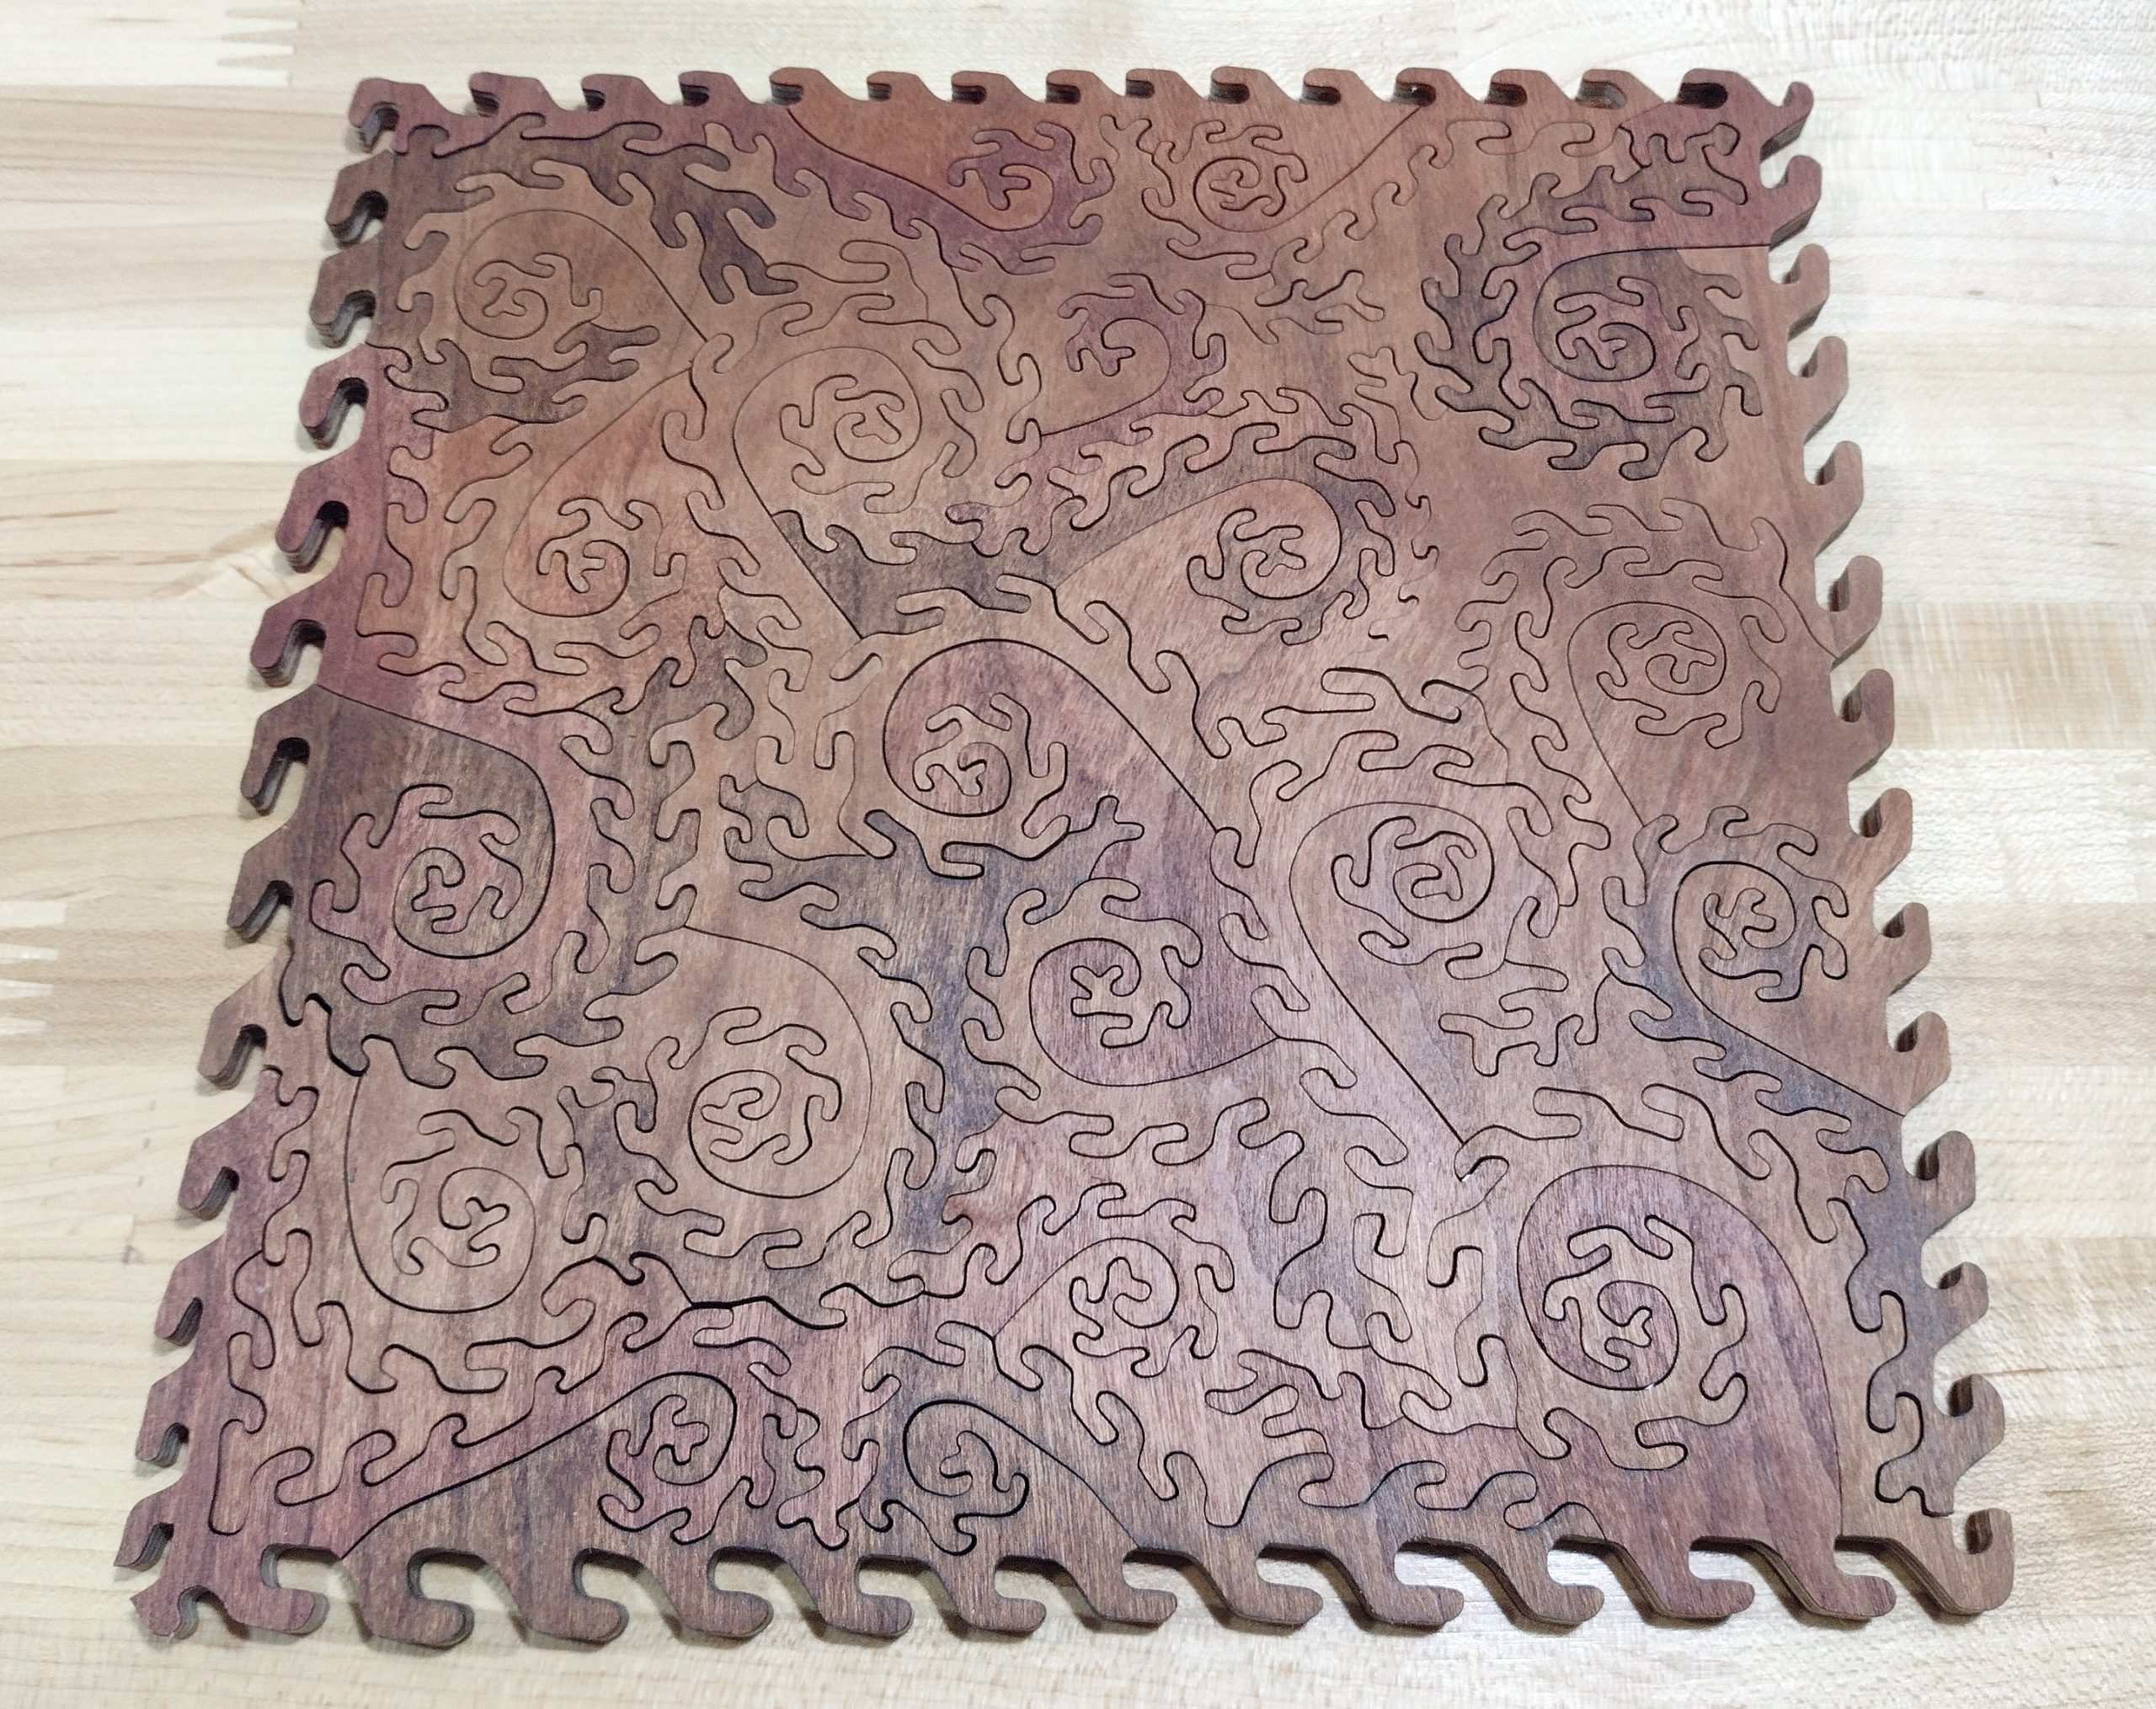
Next came the sapelle. The piece on top in the below picture has Danish oil finish applied to bring out the wood beauty.
This wood splintered on the top as it was cut, but nowhere nearly as bad as the meranti. The picture below shows one such location on the right by the .5mm pencil lead. It also shows a tip blow out on the left. Remember, this was taken with the zOrb device, and does not look bad to the naked eye.
The backside had some as well.
The finished puzzle is fine. You can see more grain structure than with the okoume, but less than the meranti.
Here is a close up.

The other panel, I cut differently and coated it with just a neutral Danish oil finish. I will probably list this on Etsy, but I am tempted to keep it for myself. I was unable to capture it with my photographic skills, but that piece shimmers in the light as you move it around. It is just flat out gorgeous in its iridescence.
I do notice with this wood that it is very difficult to pick this puzzle up to flip it over. There is almost no friction between the pieces and if you pick it up, it will fall apart. I have to use two pieces of cardboard to sandwich it to flip it over.
Like the okoume, I would not hesitate to use this in the future but would not go out of my way to obtain more.
Boulter provided cherry single ply core
This wood was extremely frustrating to me. I love cherry and had high hopes for this stuff. Like the previous wood selections, the top panel below has a coat of Danish oil finish on it.
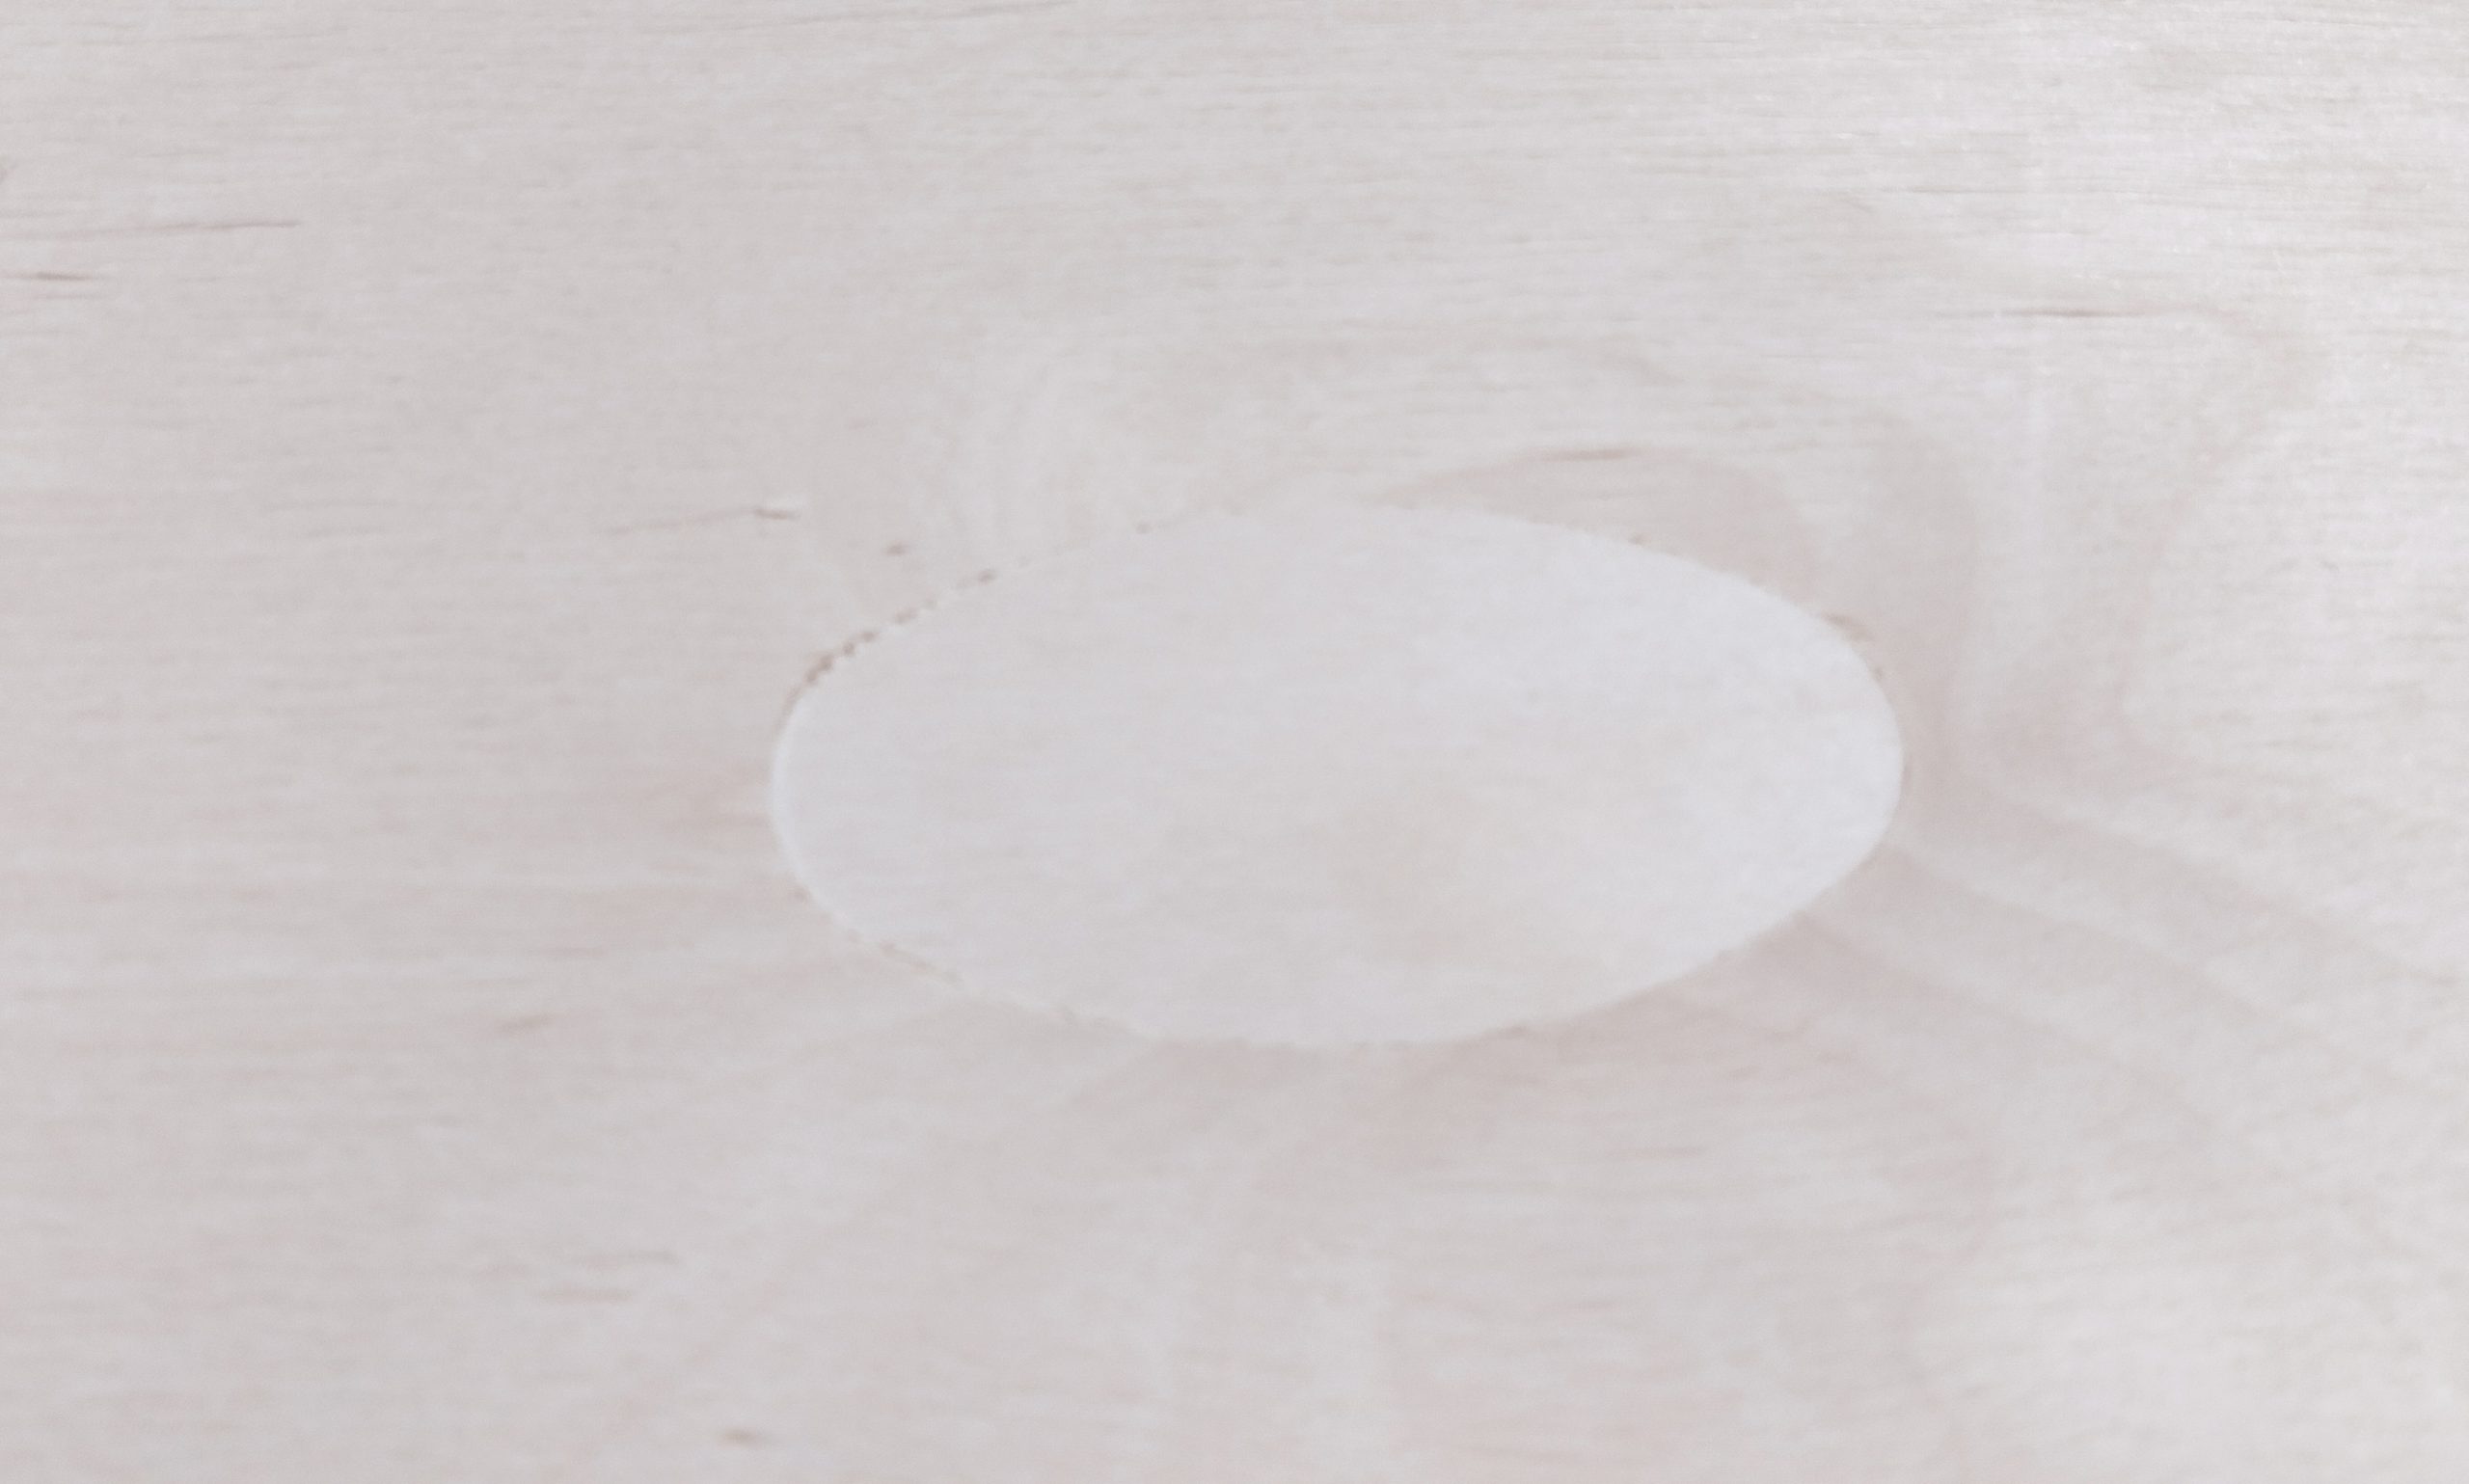
This wood is very thin, and very light. It offers almost no resistance to the blade as you are cutting. It was almost like pushing through water or something. I found it to be uncontrollable. I could not spin the wood around the blade without over running my target. I ruined the first panel and tossed it in the fire. I started the second panel and gave up early. I could not even cut the edge of the puzzle off, much less attempt to cut the more challenging dragon tail pieces. I ended up cutting a chunk off to remove the evidence of my efforts.
I moved on to the Baltic birch. As I was cutting the Baltic birch, I decided to give this cherry another shot by using a dull blade. I cut in the Baltic birch until the blade was bending quite a bit from pushing hard enough to get it to cut. I then switched to the cherry and cut the entire puzzle (now smaller than desired) with one extremely dull blade.
I found that it did not have any splintering problems. Here is a representative picture of the top side taken with the zOrb showing the quality of the cut.
The backside was typically fuzzy.
I finished this puzzle using Danish oil.
The puzzle looks great. However, I find the wood to be very weak. The strength test I described above showed the wood to break with almost no effort at all. In fact, one of the pieces broke while I was just rubbing a little finish on it.
Yes, I can glue it, but I think it is symptomatic of problems the entire puzzle will have. I do not think I will list this for sale. I think it will be a loaner demo puzzle until it is nothing but splinters and toothpicks.
I found this wood to be unacceptable for my puzzle purposes.
Baltic Birch
I have used a lot of Baltic birch in the past and will use more in the future. It seems to be easy to find locally and is usually of fairly good quality.
One of the issues with Baltic birch is that sometimes it has a surface patch on it. The picture below is an example of such a patch. It is not shown in the above photo, but one of those panels does have a surface patch.
This sample of Baltic birch splintered quite a bit more than I expected it to. I have noticed this is becoming more common with the Baltic birch I have been using. A couple of other puzzle cutters have commented on this issue in a Facebook puzzle group I am a member of. This is one of the reasons I have been looking for a different wood to use. In the picture below, you can see the splintered wood laying on the surface, and to the left and slightly below that you can see the divot it came out of.
Here is the cut puzzle.
Since this is pretty boring wood, I opted to spray paint this one as well. You can see the grain lines show through the paint with this wood as well.
Here is a close up of the painted wood. Some of the grooves are natural to the wood, and a couple are from the missing splinters.

Here is the surface patch.
I have no problem using Baltic birch but was really looking for something better.
Cherry Appleply
This brings us to the cherry Appleply sample. This was top of my list going into this, and it has pretty much stayed there.
This stuff is a joy to cut. There is really no splintering top or bottom while cutting. This is the worst spot I could find on the top of the panel. Remember, this is magnified something like 60 times by the zOrb.
This is the worst spot I could find on the bottom of the panel. All of those whiskers go away with a little bit of sanding when done cutting. No divots or grooves left behind.
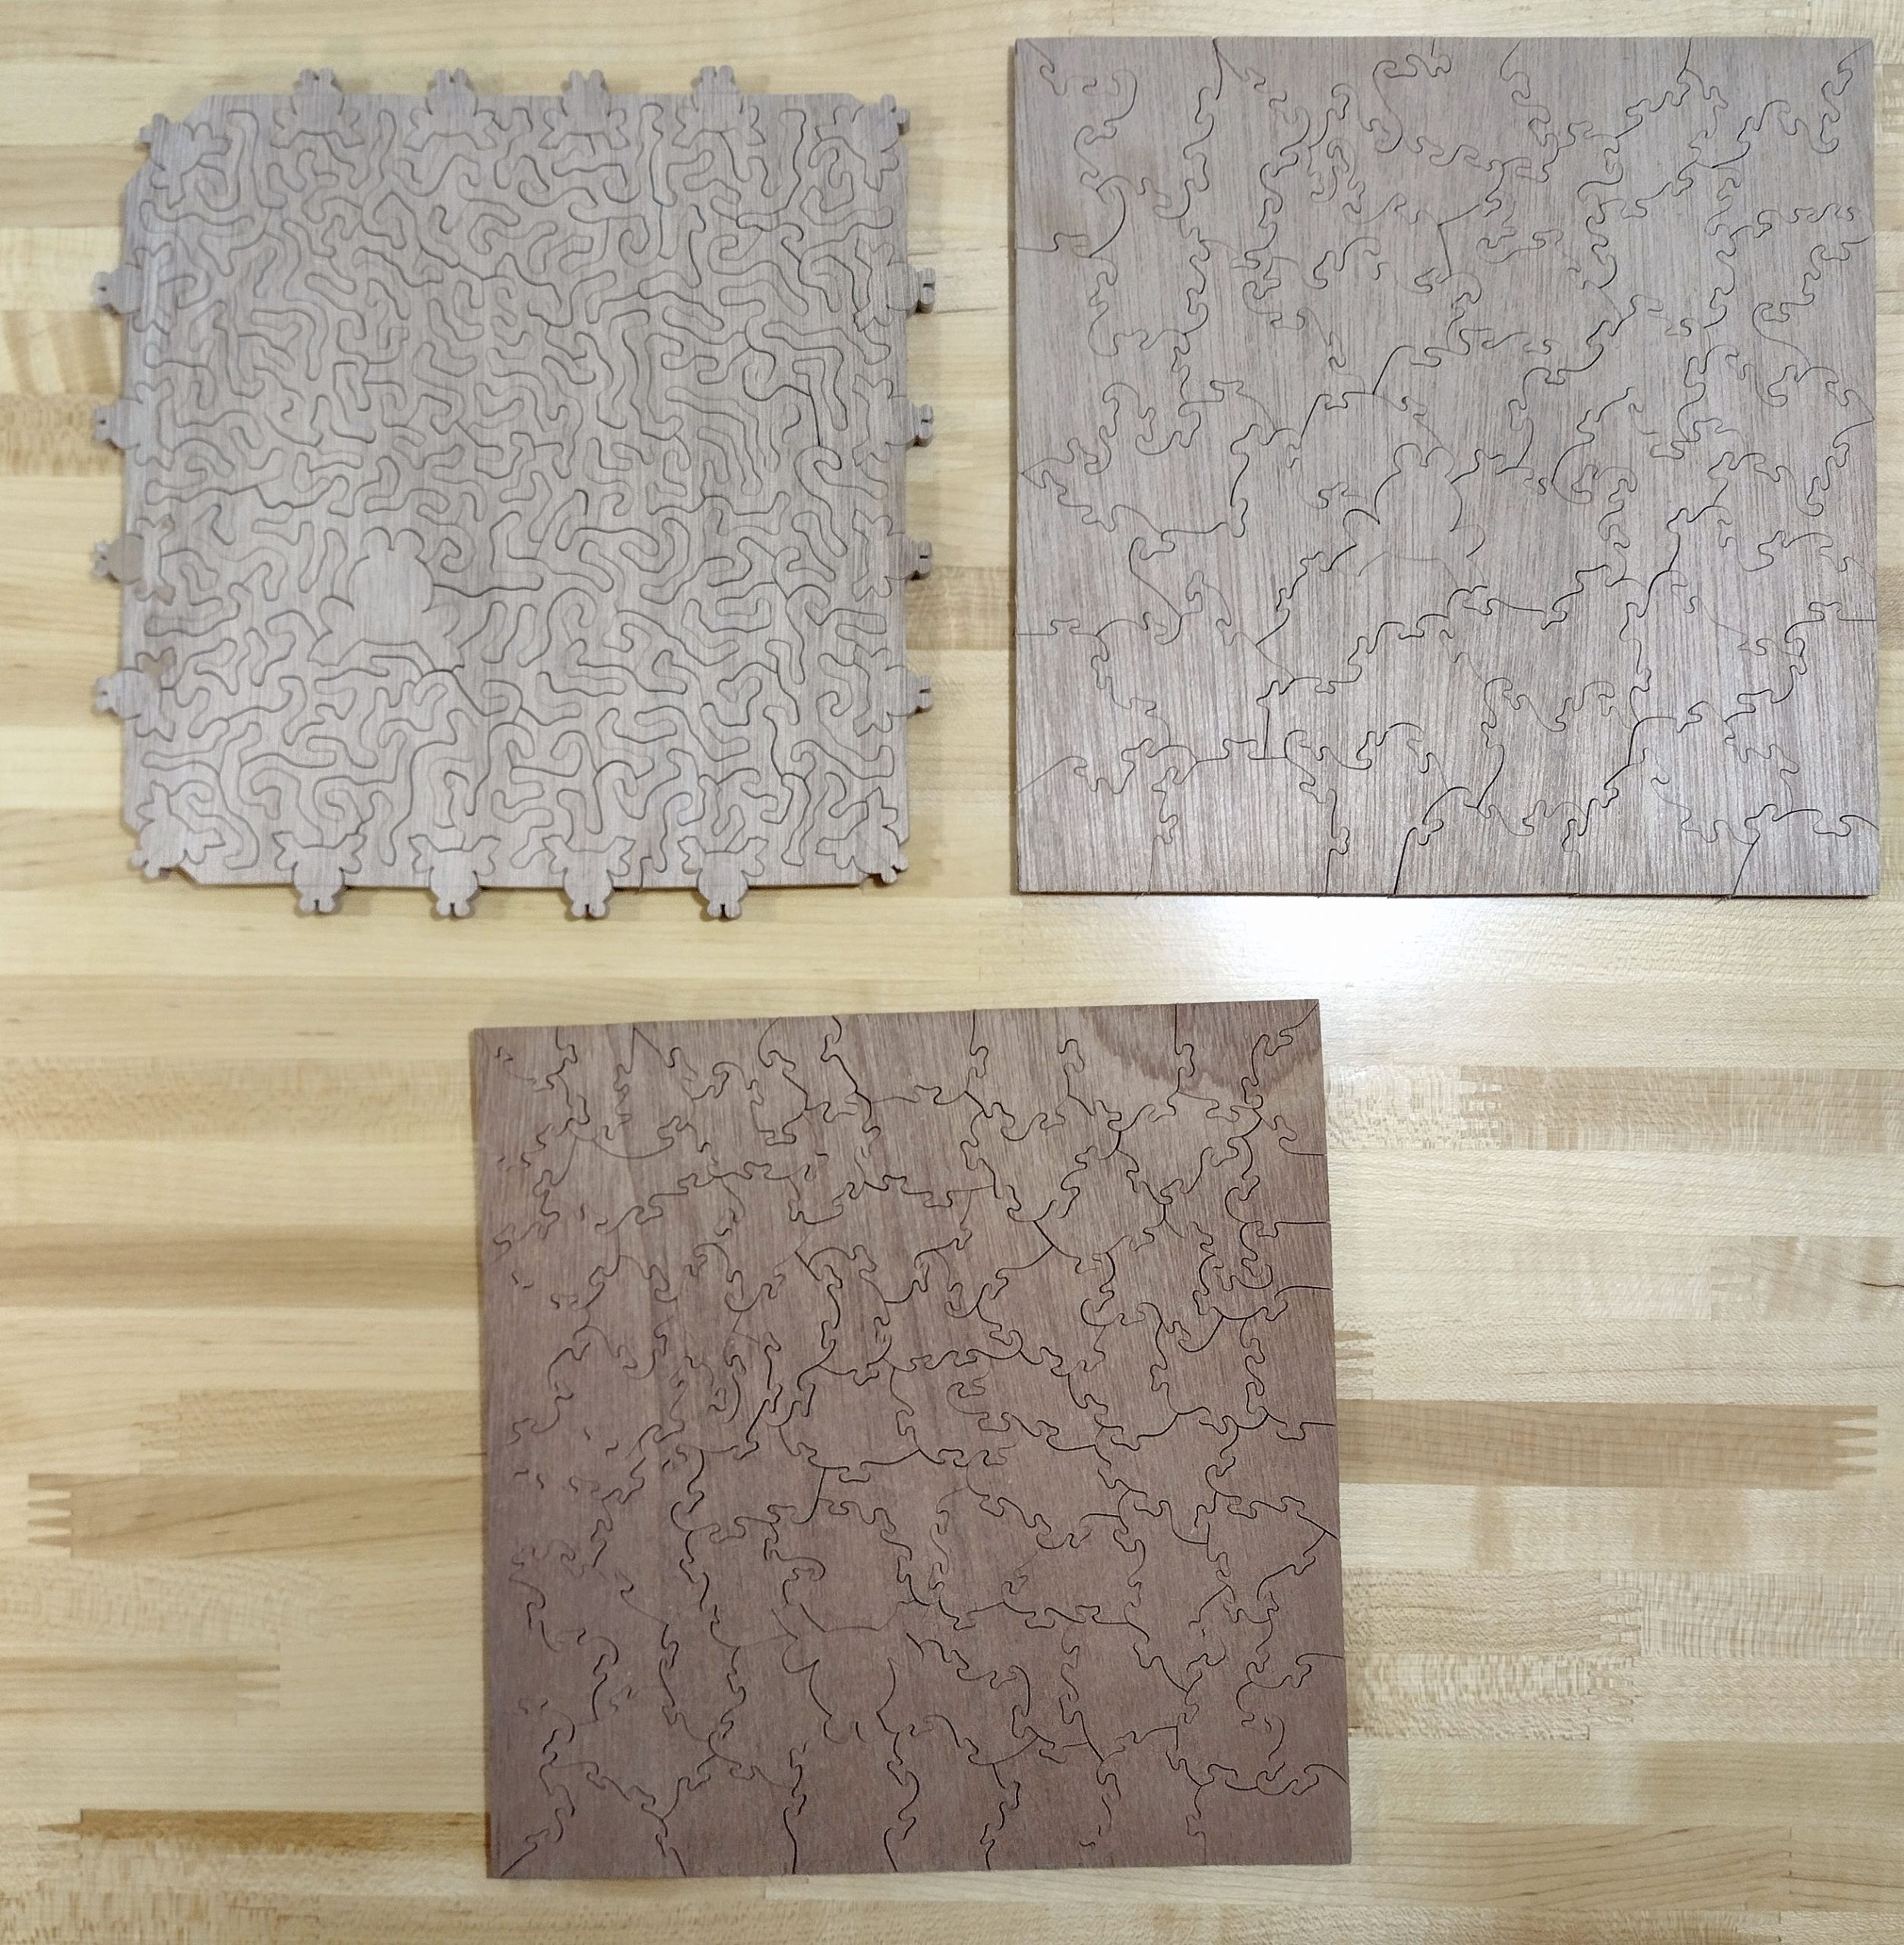
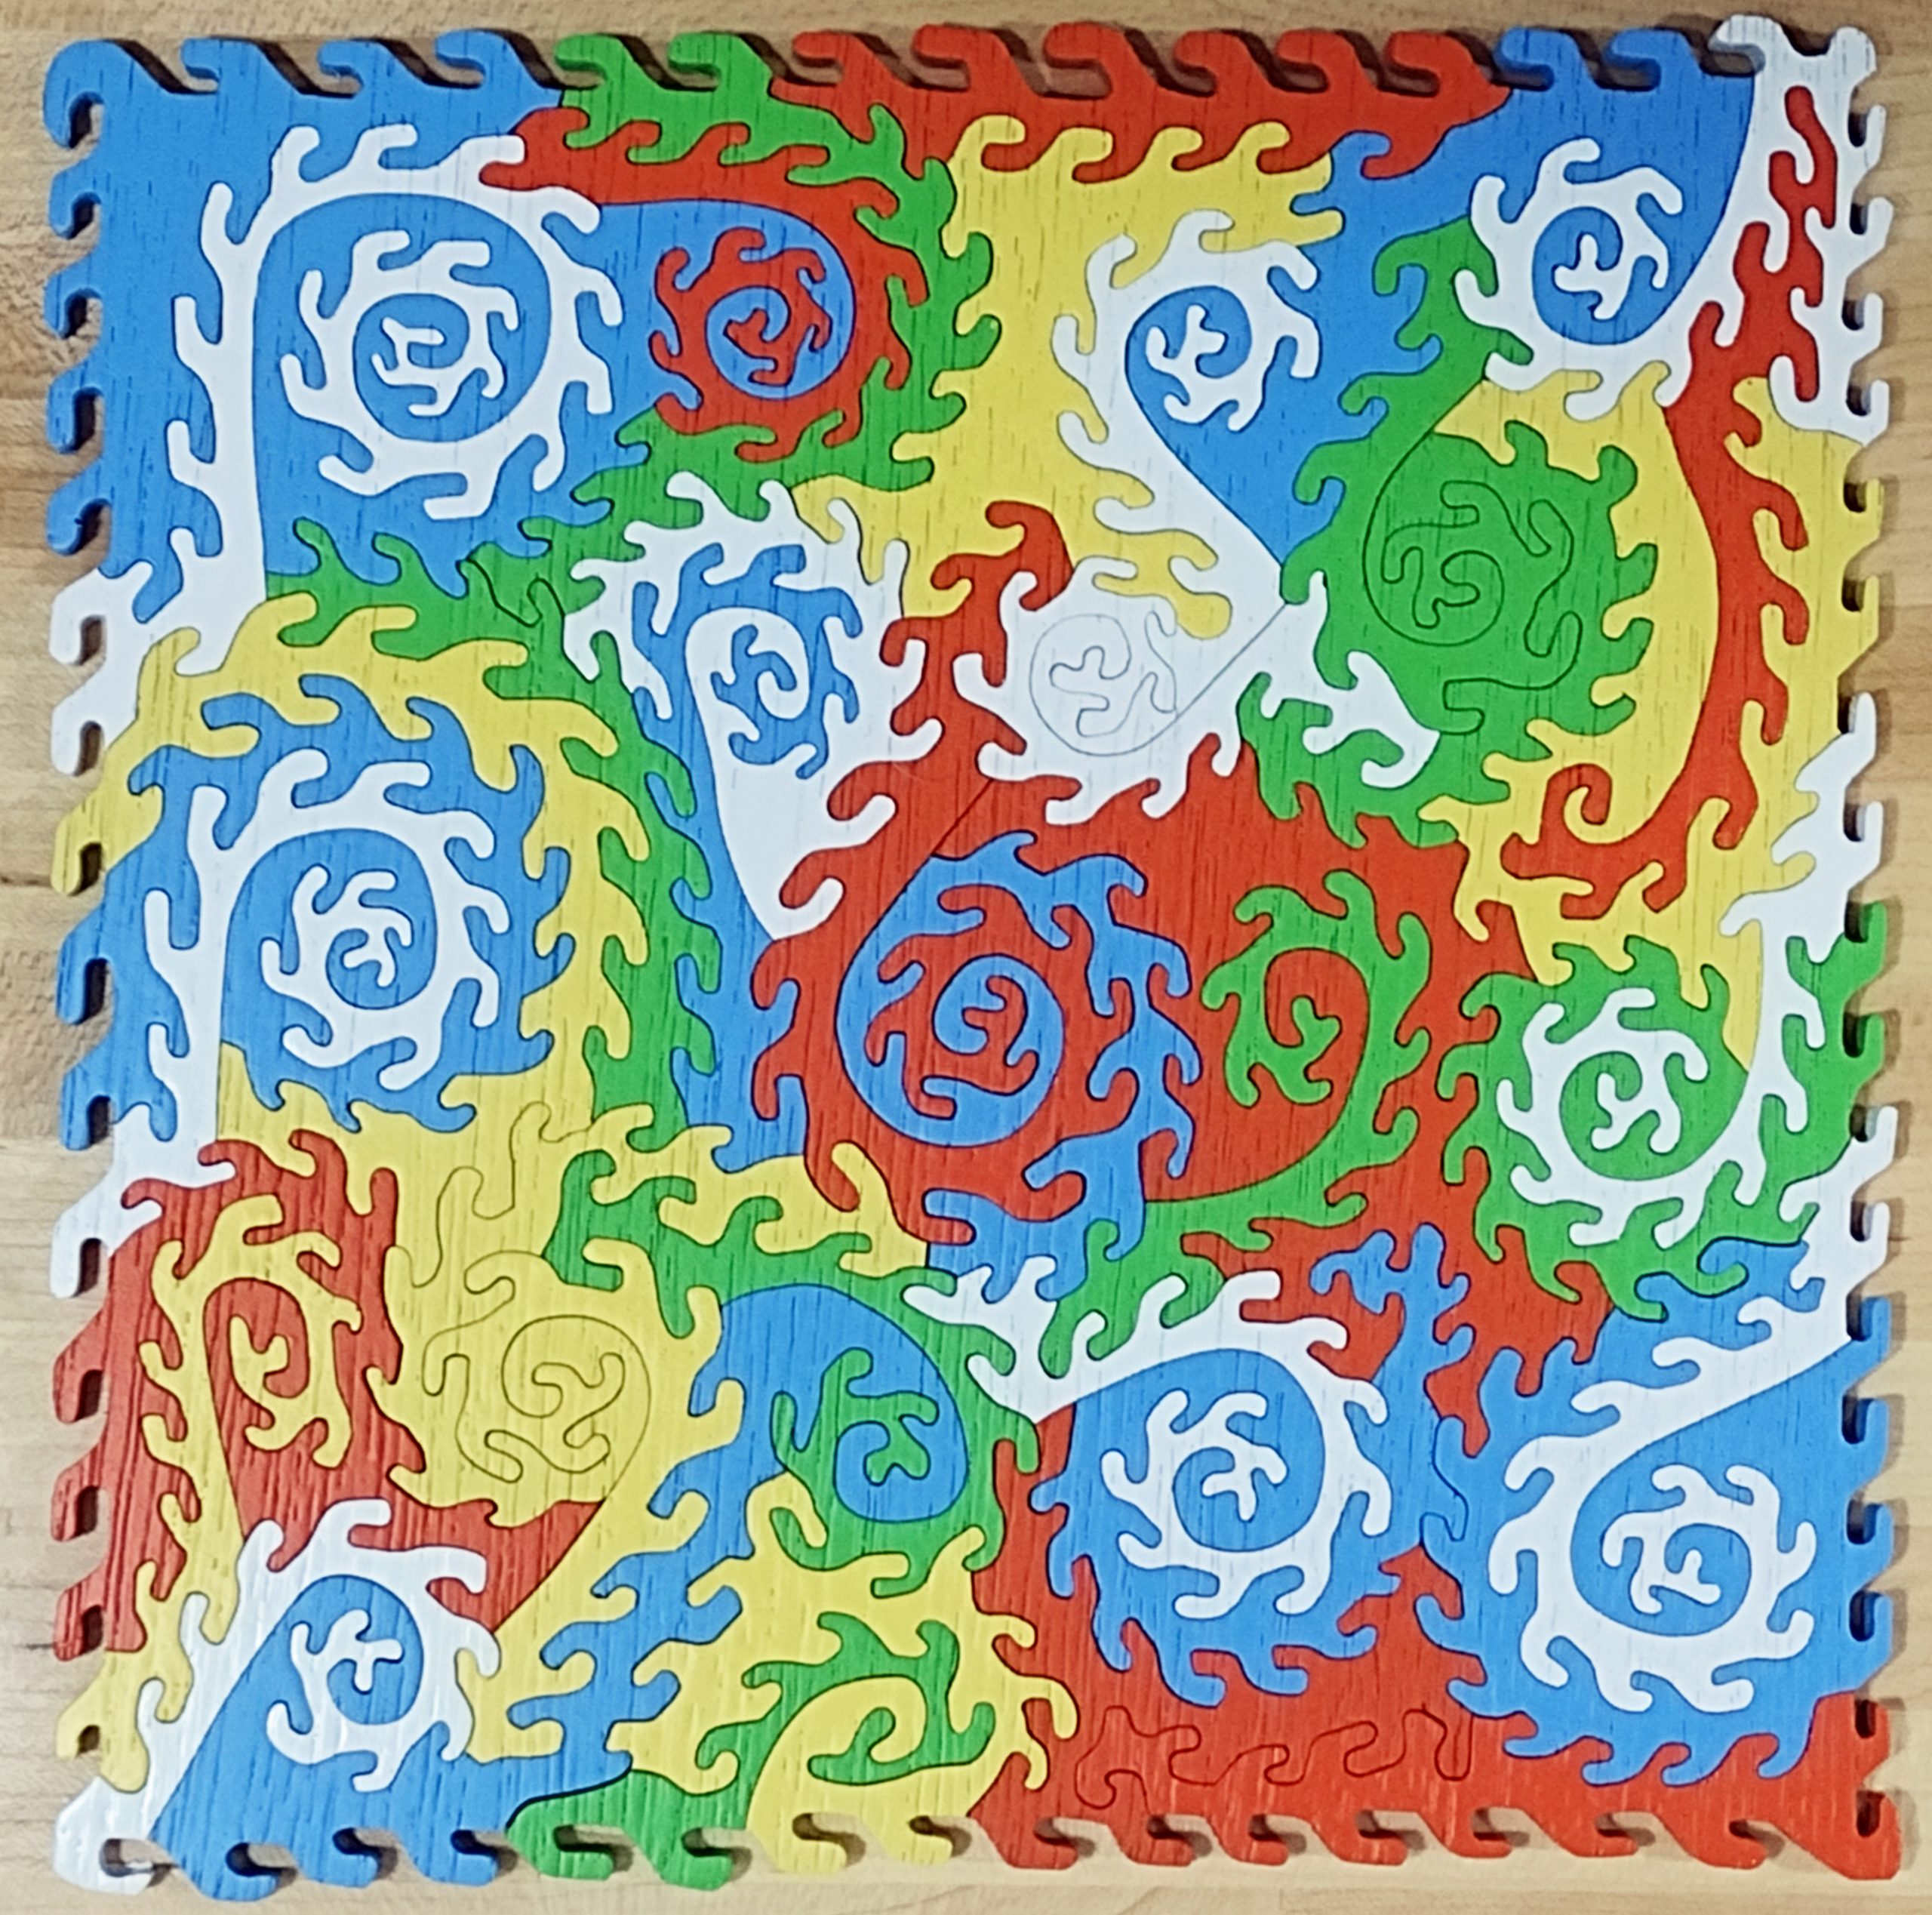
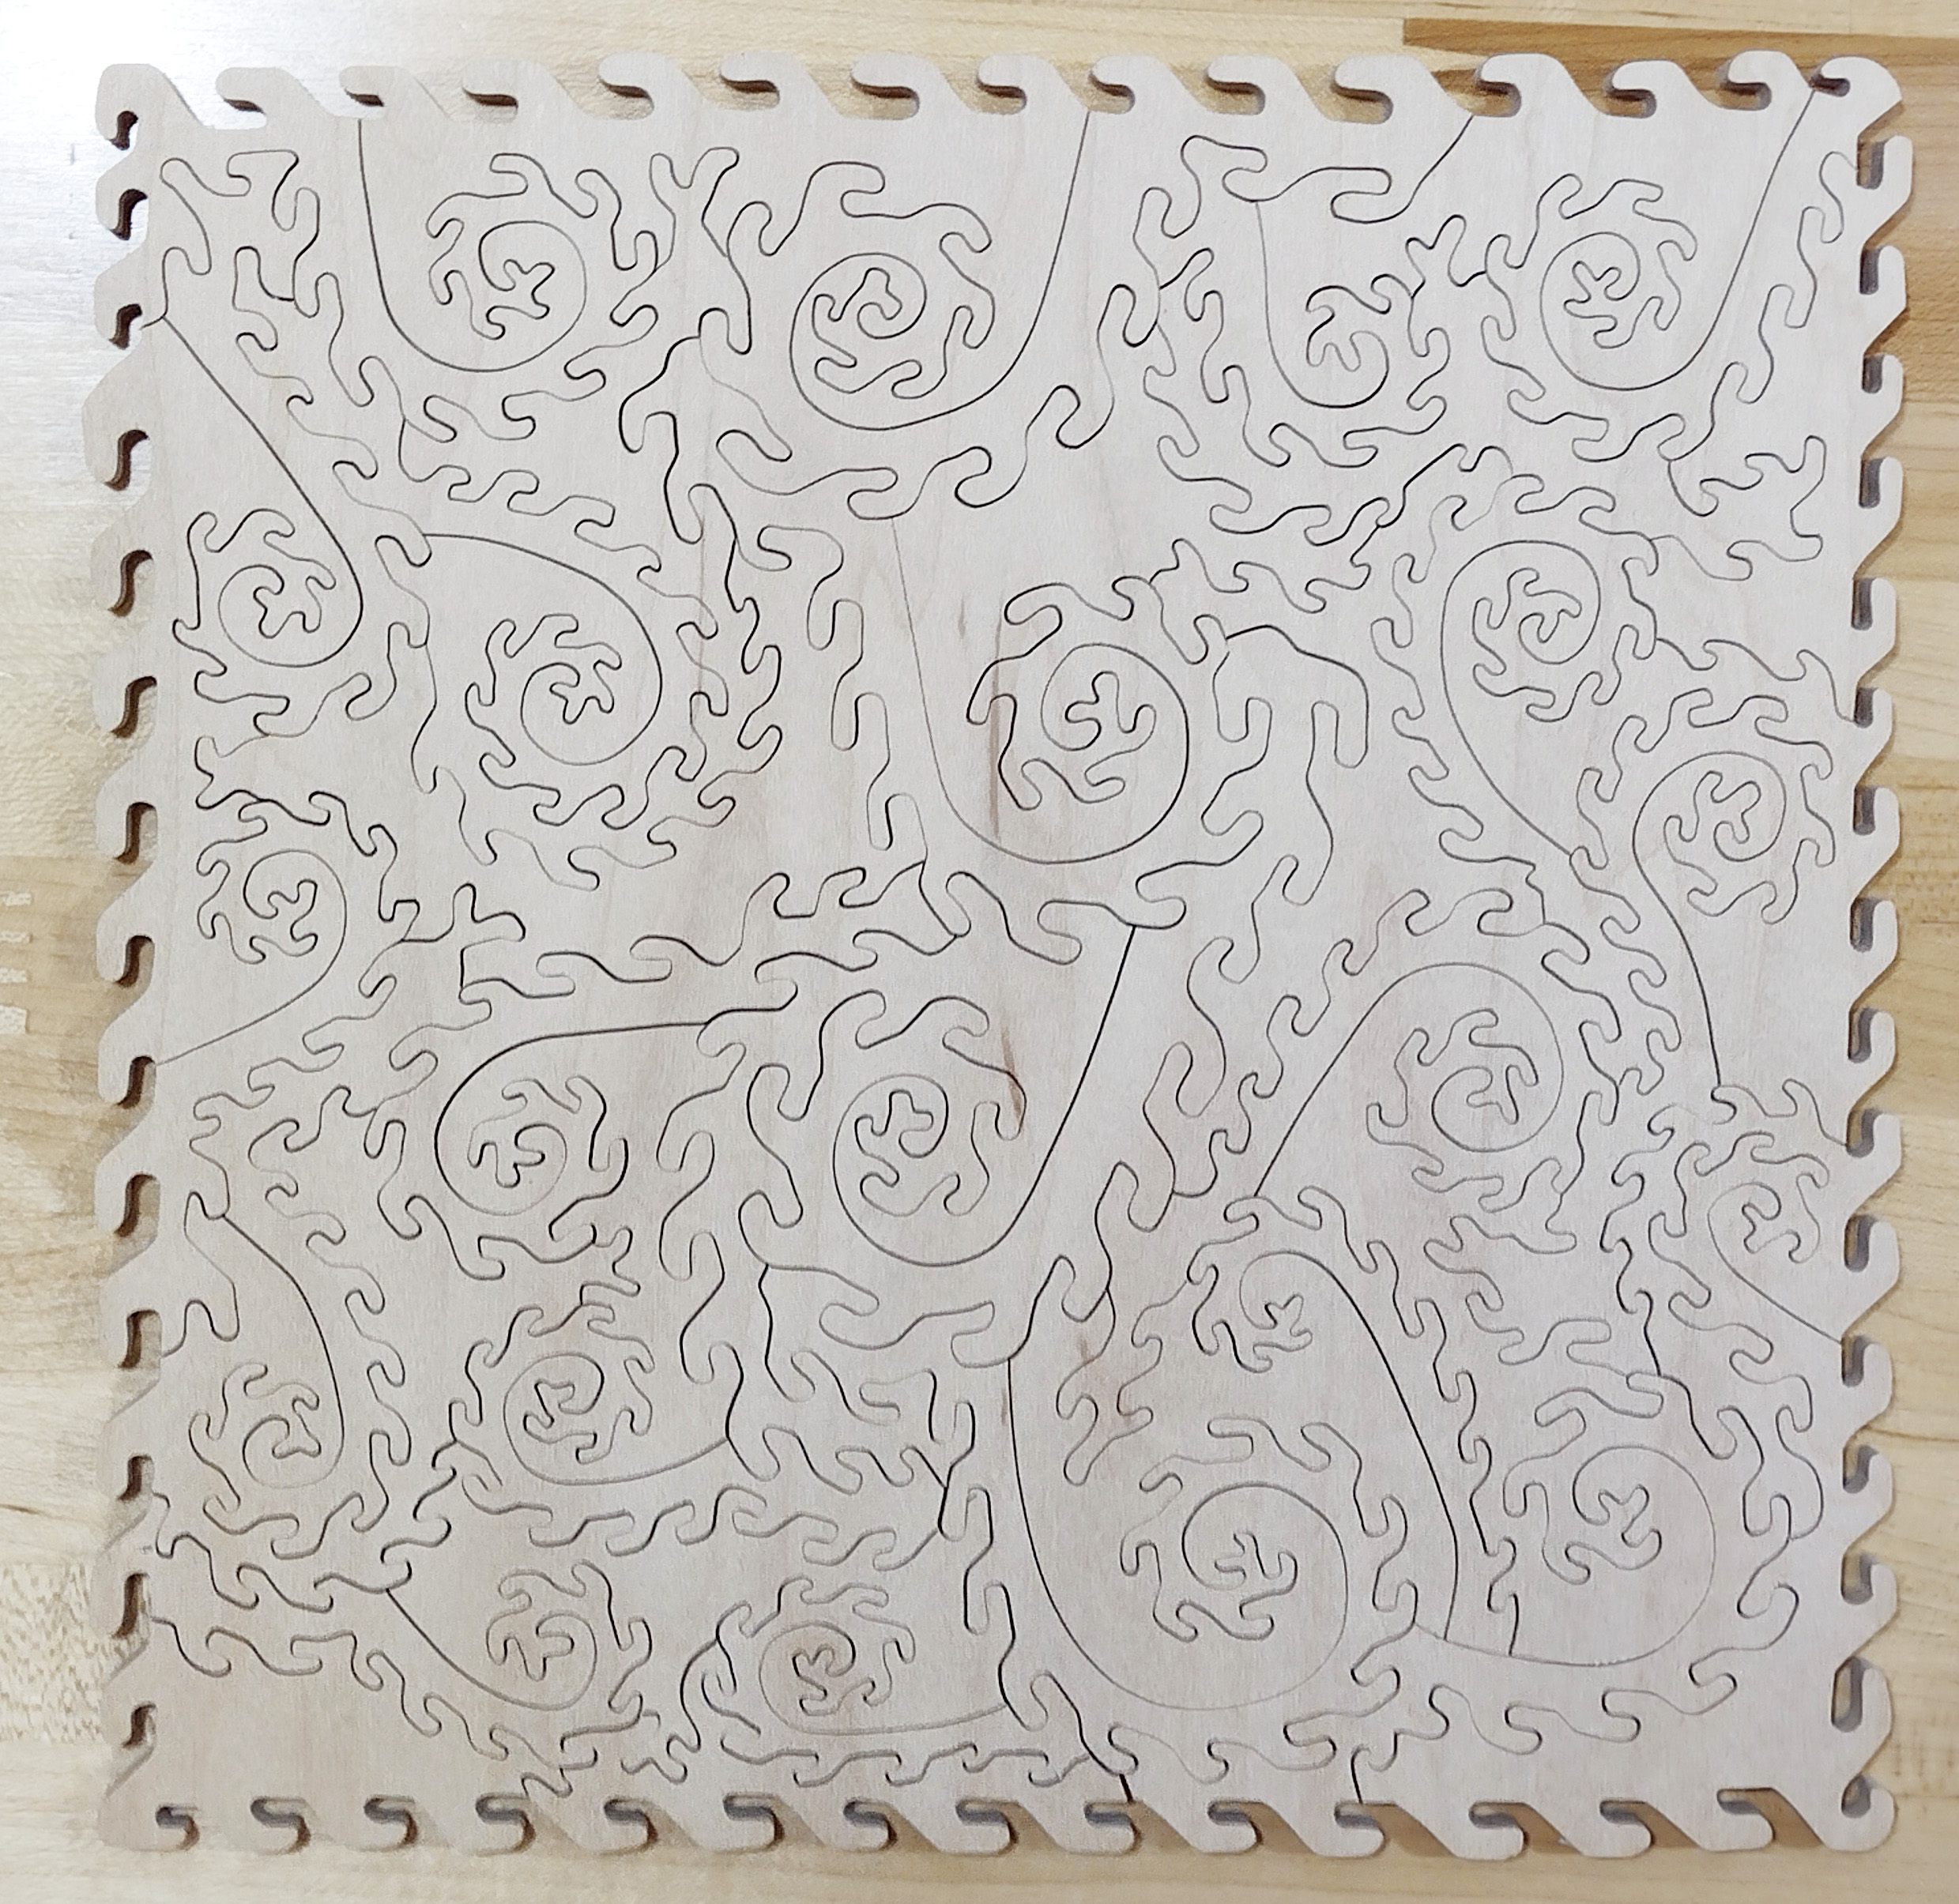
Here is the cut but unfinished puzzle.
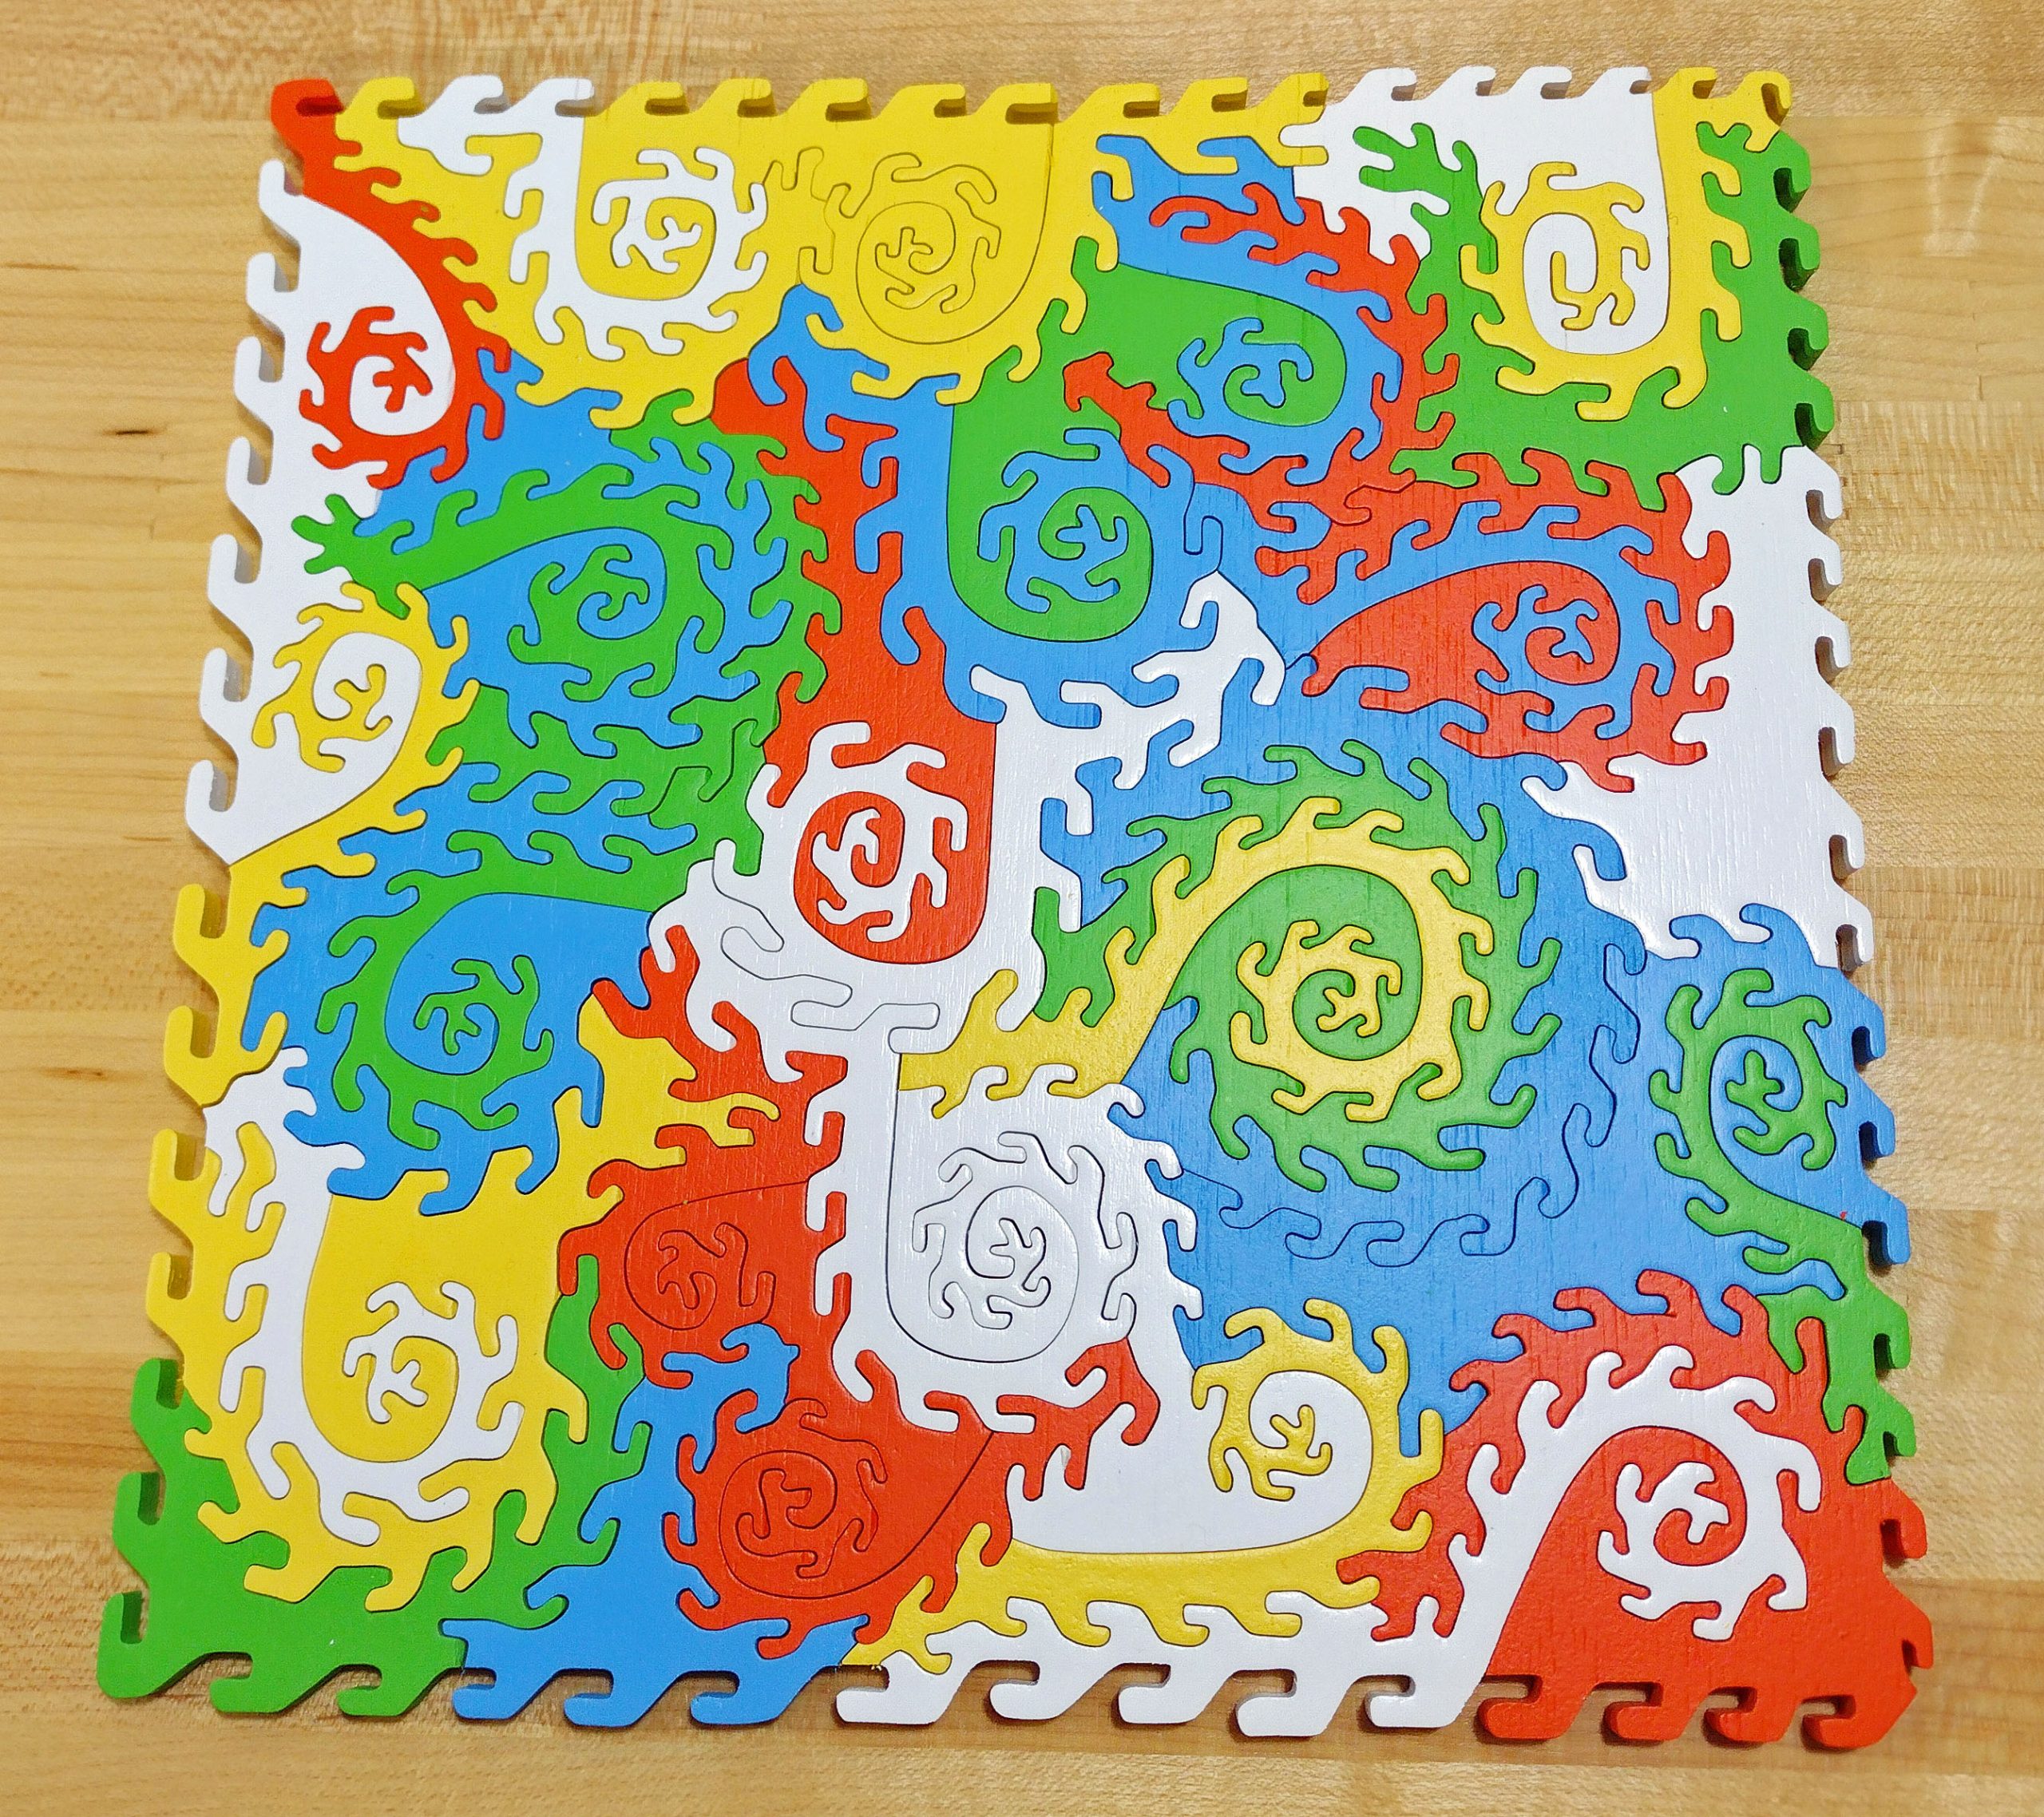
I opted to finish this with 5 different shades of Danish oil. This picture does not do it justice.
Once the Danish oil finish has cured, this will be listed on Etsy. It is cool in my workspace right now, so it is taking longer to cure than I planned for.
MDF core maple panel
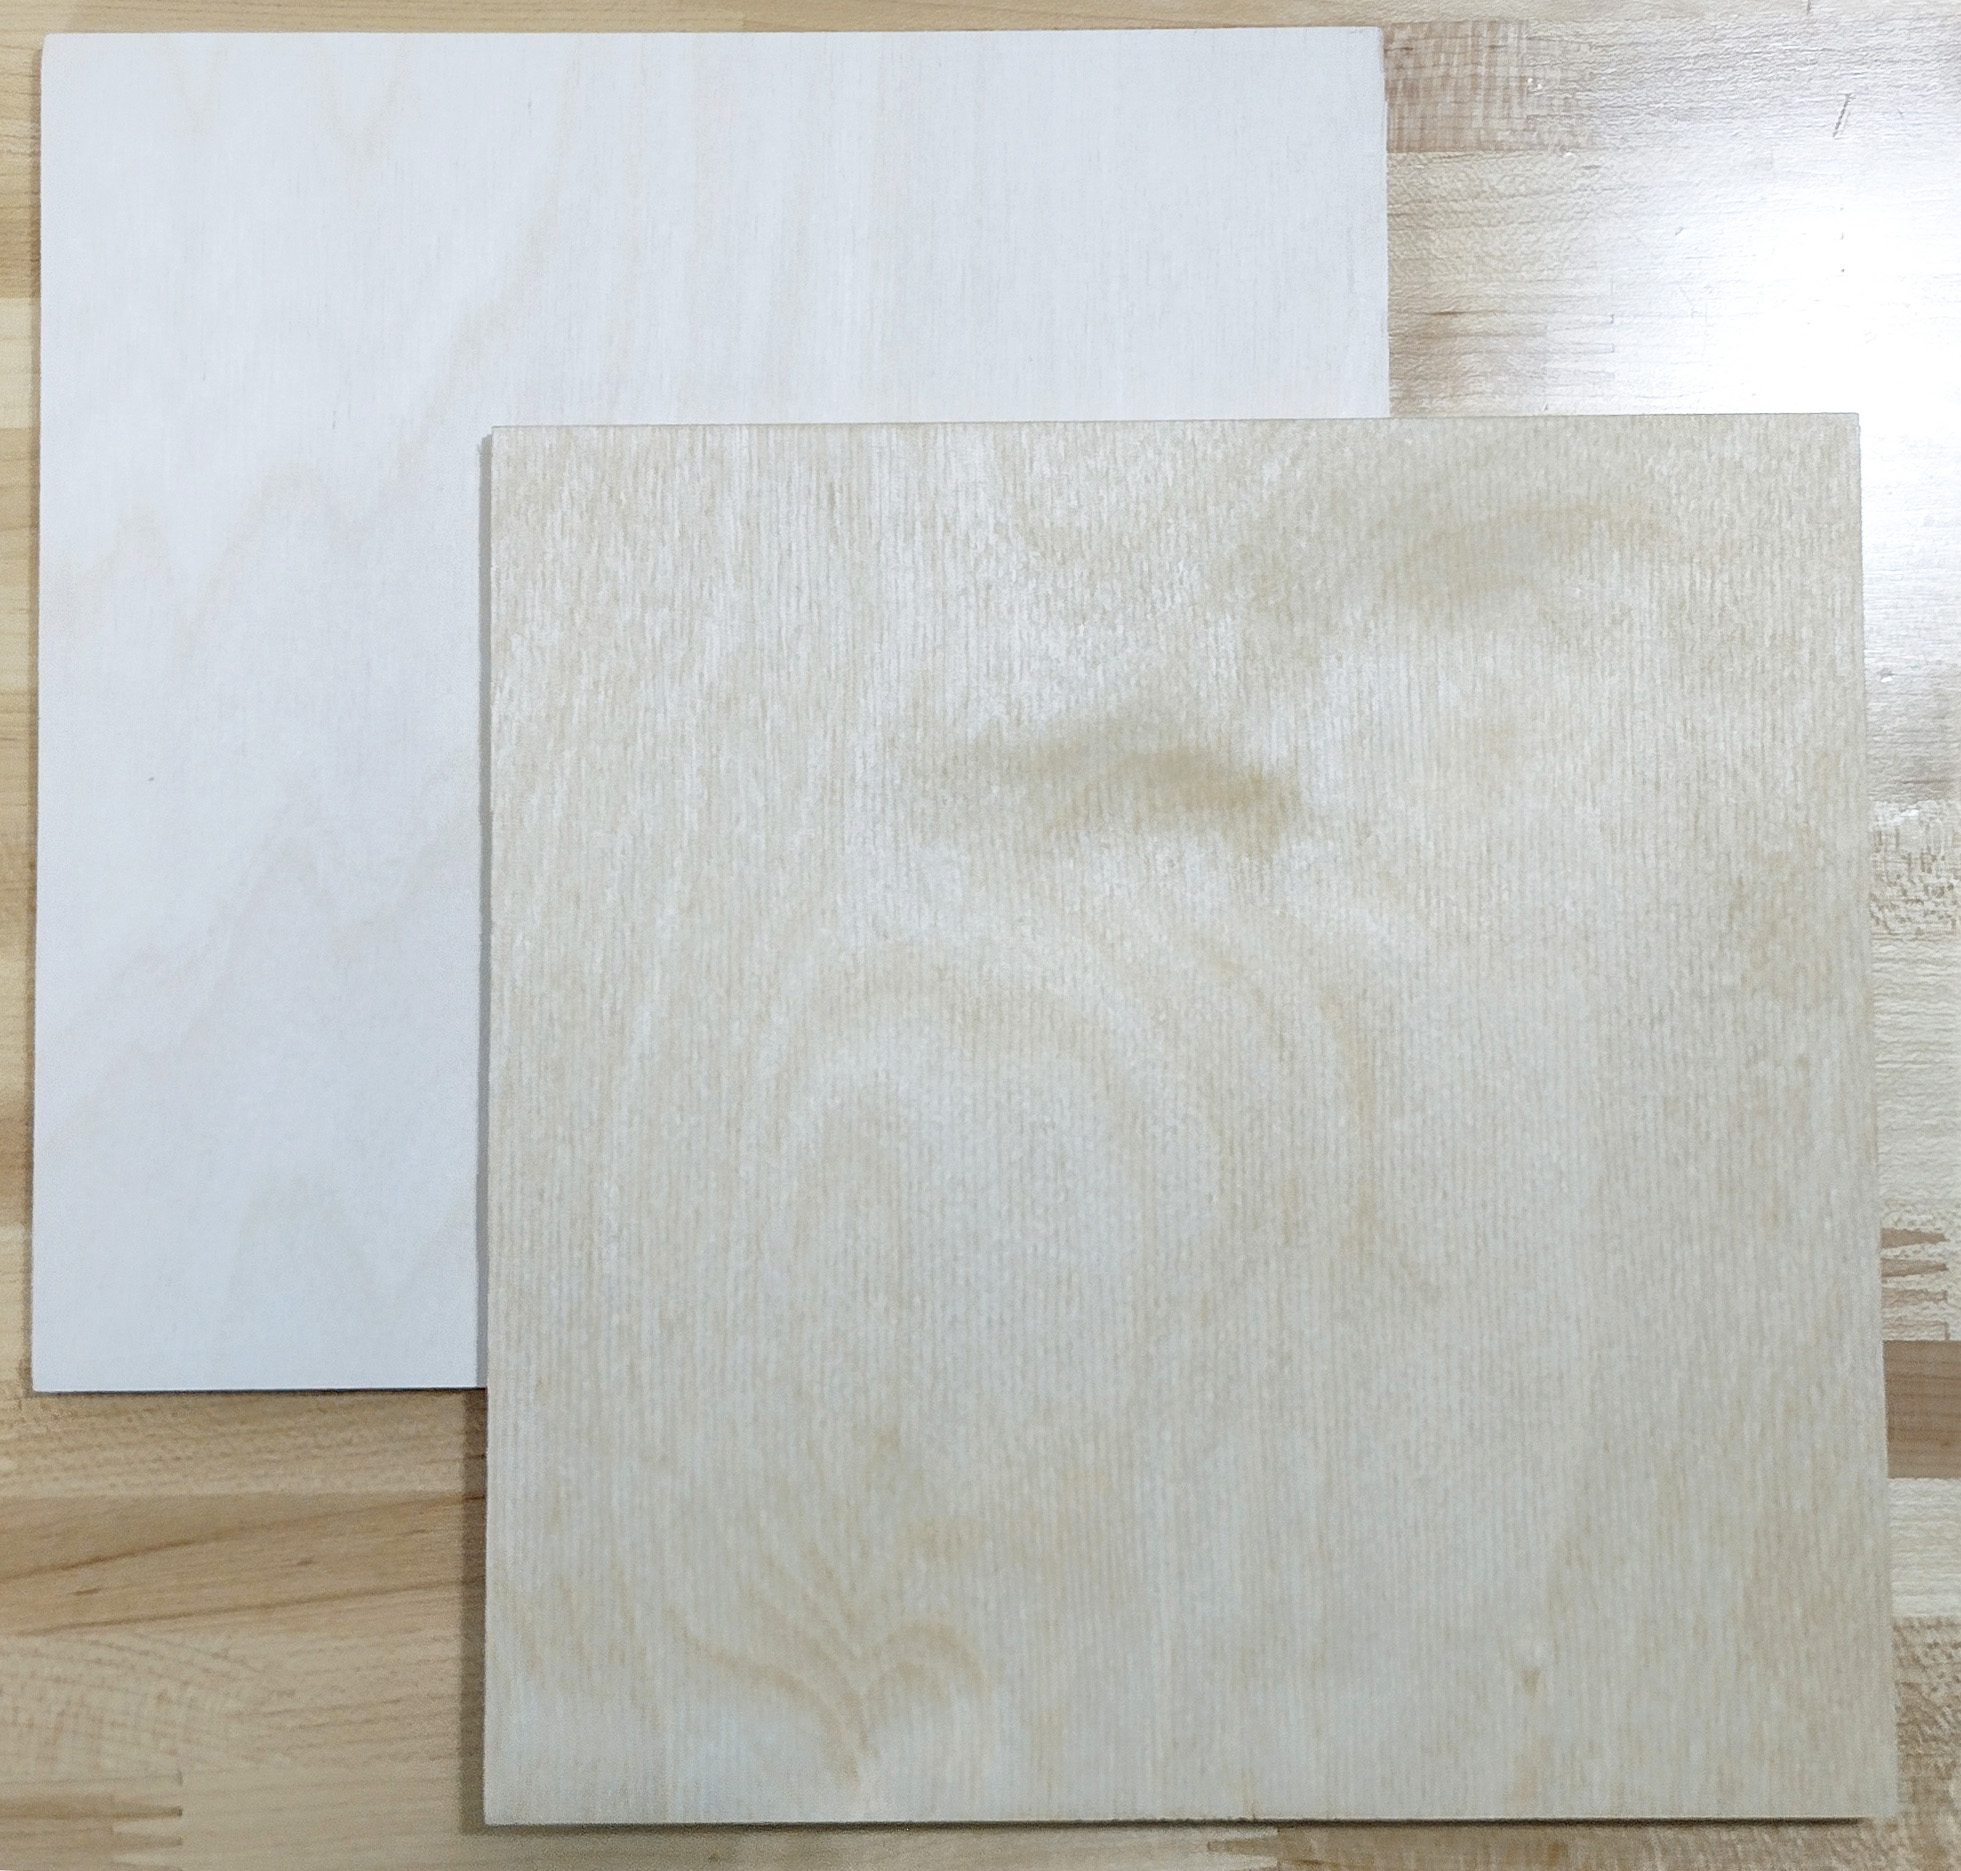
This was the big surprise for me. I tend to sneer at MDF for certain things, such as skinny puzzle pieces. This actually is a good product worth looking for more of. I apparently failed to get a standalone picture of the uncut panel, but here is the cut puzzle.
This stuff cut beautifully. It seems to be as strong as the majority of the plywood samples. It did produce much finer dust than the rest of them. Like the Appleply, splintering was basically non-existent. Here is a view of the top side.
And here is a view of the backside.
Light sanding after cutting removed all of the little whiskers.
Once again, I opted to finish this with five shades of Danish oil finish. This is a little bit different, as the previous examples finished with the Danish oil were on darker woods. This being maple, the same colors of finish produced wildly different results.
The difference is very subtle, but the light-colored pieces in the picture below are actually two different shades of finish.
This will also be listed on Etsy.
Summary
I still have more varieties of wood choices to cut. But from what I have done so far, the cherry Appleply is my wood of choice. Second to that would be the MDF core maple panel product. I think the Meranti and the single ply cherry core plywood are unacceptable for what I do.
As far as any hard analytical data, I kept records of the number of blades used and the amount of time spent on cutting each puzzle. They are listed in the table below. It is a pretty small sample size for real conclusions.
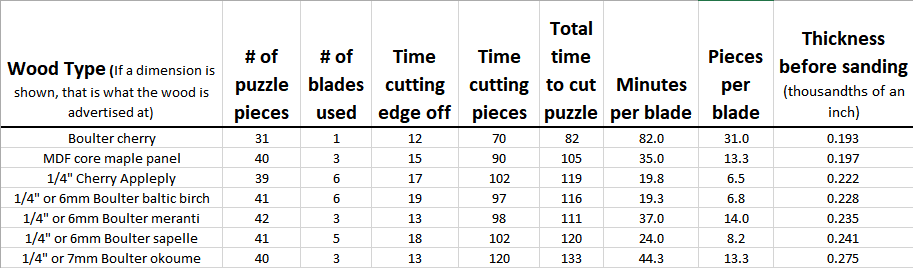
Note that the cutting time is not the vast majority of time spent on these overall. Applying finish, sanding, etc take up a considerable amount of time. Add in time for boxing, labeling, picture taking and editing for Etsy listings, creating the Etsy listing, etc, come close to doubling the time in some cases. The smaller the puzzle, the more relative “admin” time involved.
Some of these are already listed on my Etsy website at FiveFrogsWoodworking, and more will be as time moves on. I was hoping to get these listed earlier in the month to allow for more time before Christmas, but life sometimes interferes in manmade plans.
Happy Puzzling!
Bob