There have been numerous postings about boxes on several puzzle related Facebook groups. Some people insist that custom puzzles deserve a wooden box, others detest wooden boxes. One fellow indicated that if the puzzle comes in a wooden box, he throws the box away and puts the puzzle in a box of his choosing. Some people indicate they do not like puzzles to come in a bag of any sort. Most people agree that the puzzles should not be in airtight plastic containers to prevent mold growth. Some people do not like cheap boxes, which I can truly understand. (I guess I use somewhat cheap boxes.) But, for every person who expresses an opinion one way, there is someone else who likes the opposite. As a puzzle cutter, I read these discussions with interest. I do need to keep my customers satisfied, after all. I had toyed with the idea of making wooden boxes until I saw how many negative comments there were about wooden puzzle boxes.
One set of Facebook comments concentrated on what the puzzle box should be able to withstand. One criterion was to be able to support 75 pounds of weight. I cannot argue for or against this seemingly arbitrary number. I shudder to think of a shelf of puzzles that have 75 pounds of weight on the puzzle boxes. My puzzles are usually under 2 pounds in weight, so that would be a stack of more than 38 puzzles piled towards the ceiling. Alternatively, I would hope that no one is keeping their dumbbells or curl bar on top of expensive puzzles!
The comments also indicated the lid should be firmly attached in a manner that is easy to get off but does not fall off easily if the box tumbles on the ground. Who wants to play 336-piece pickup keep away with a puzzle while there are two dogs in the room?
This particular discussion really piqued my interest. How much weight could one of my boxes endure? Would the puzzle box fly open when dropped? Are my boxes horrible? I set out to find some answers, which has led to this blog posting.
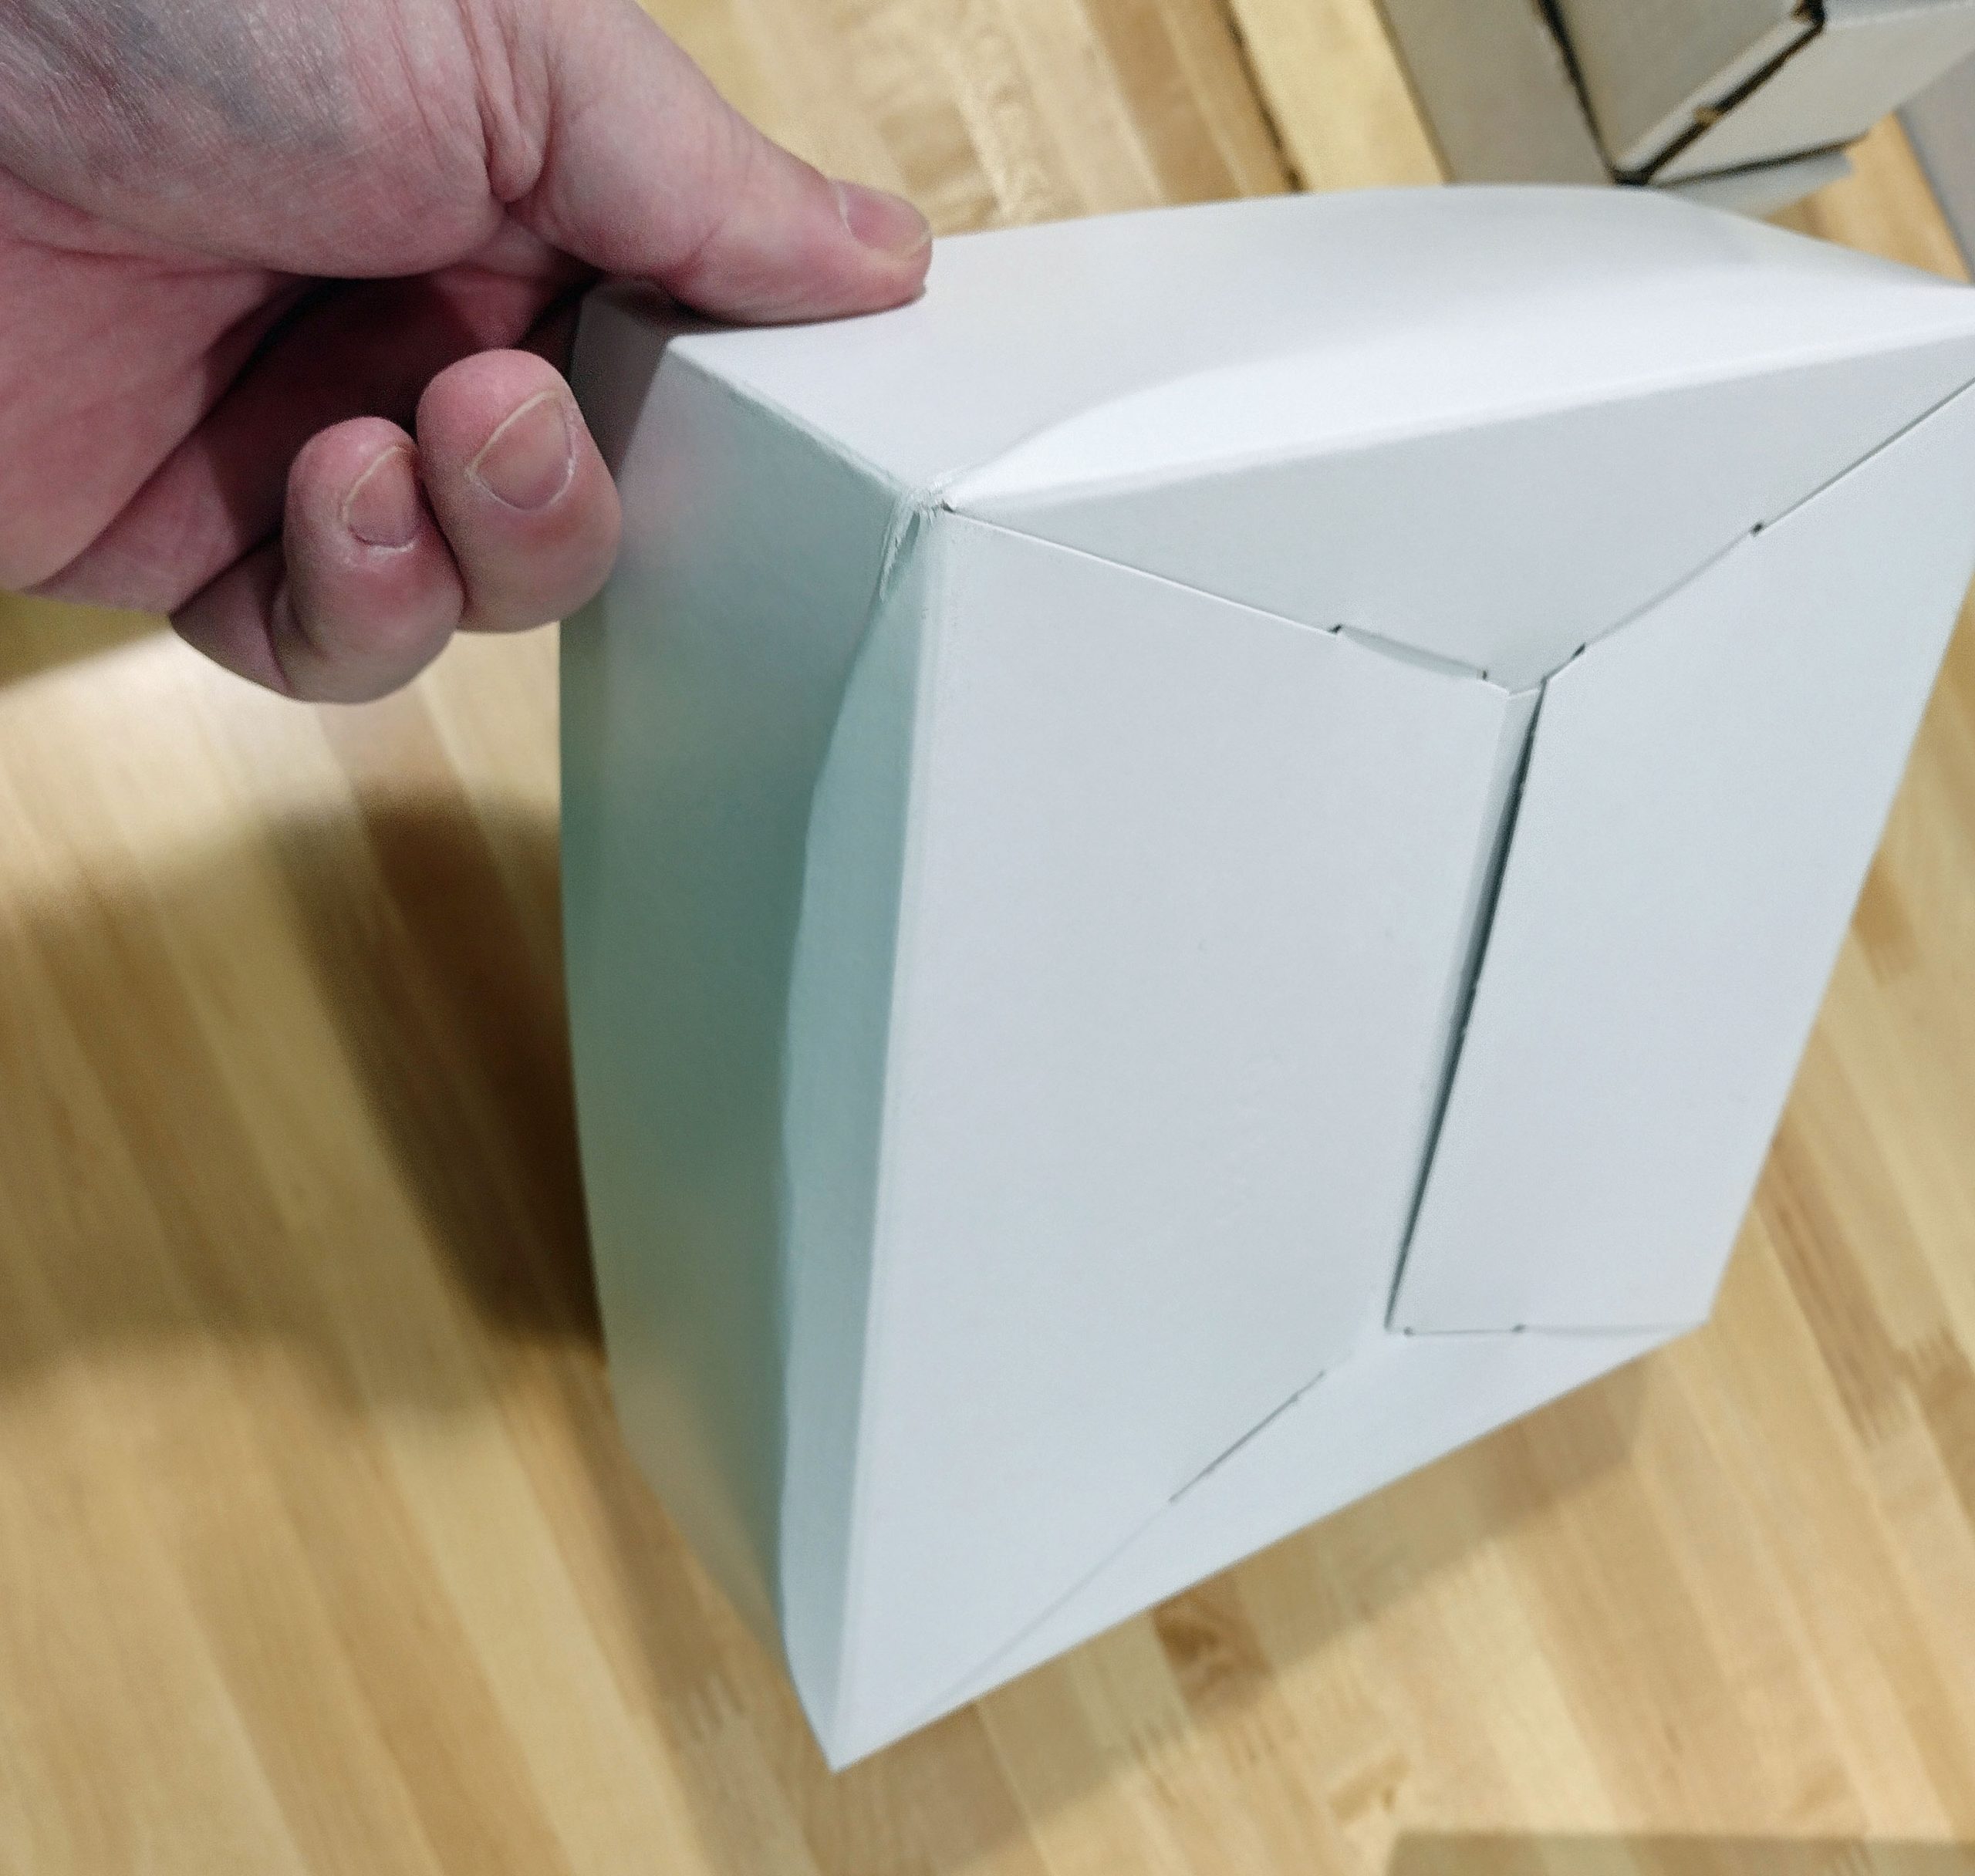
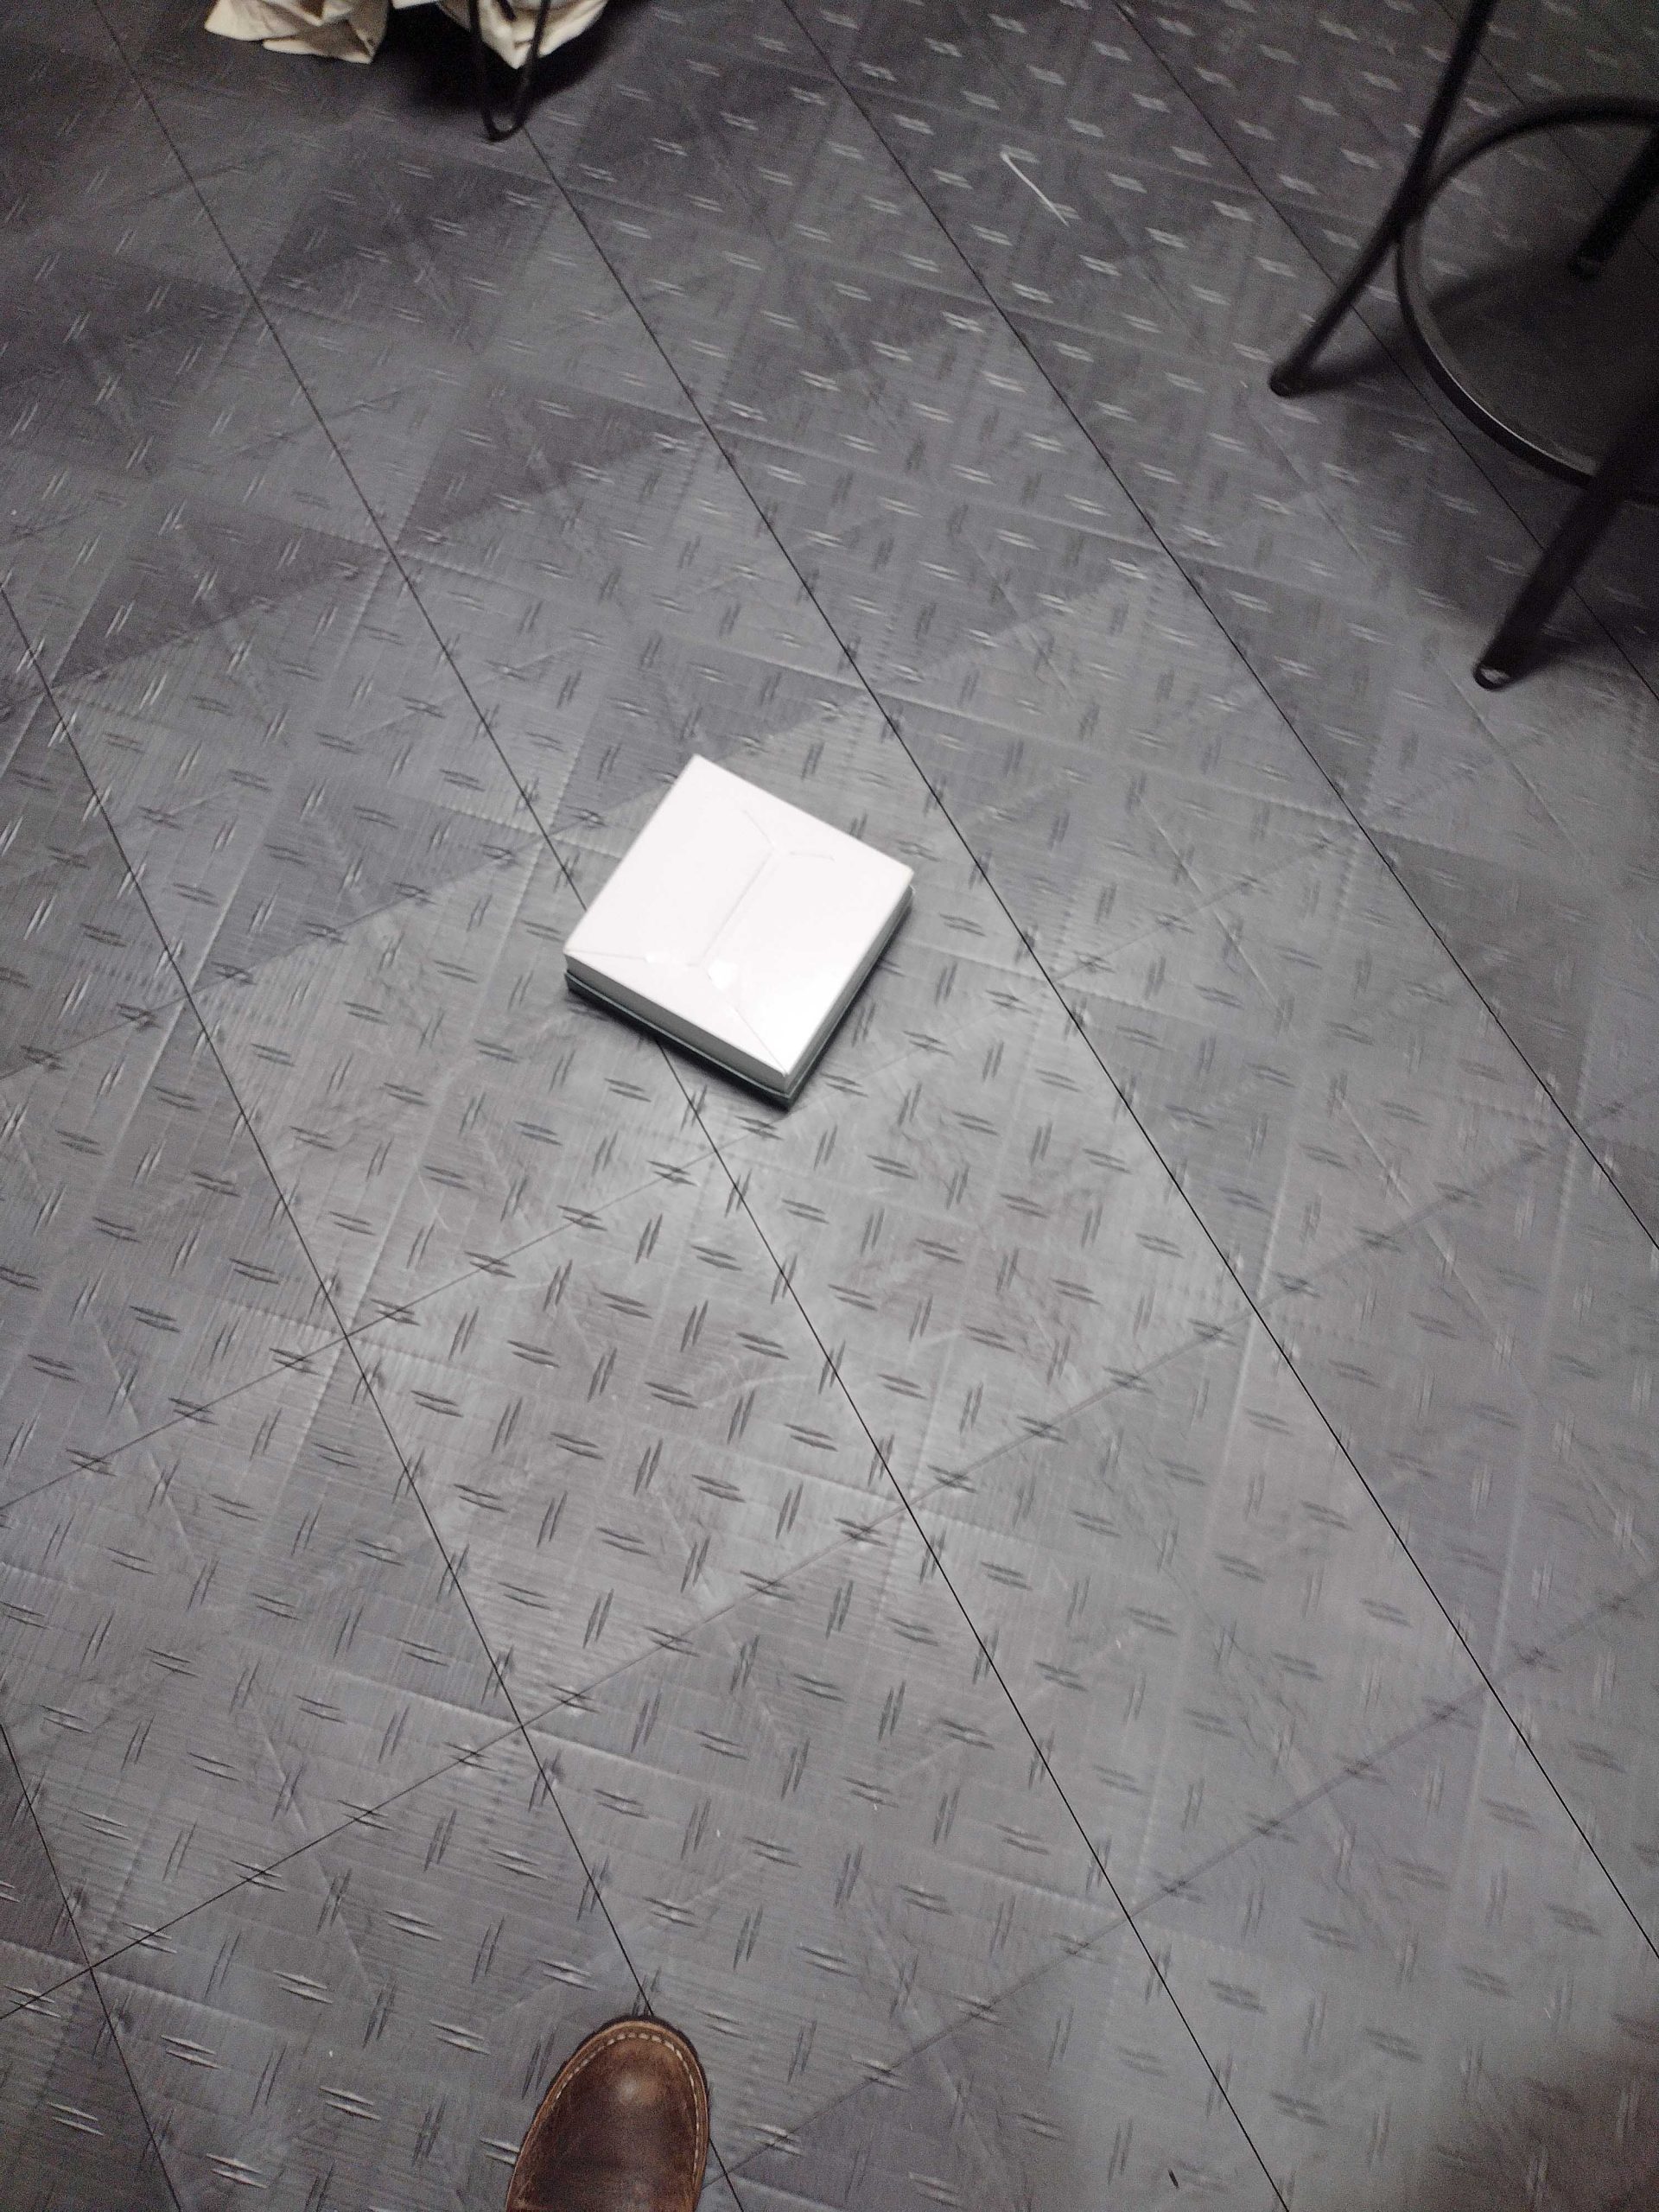
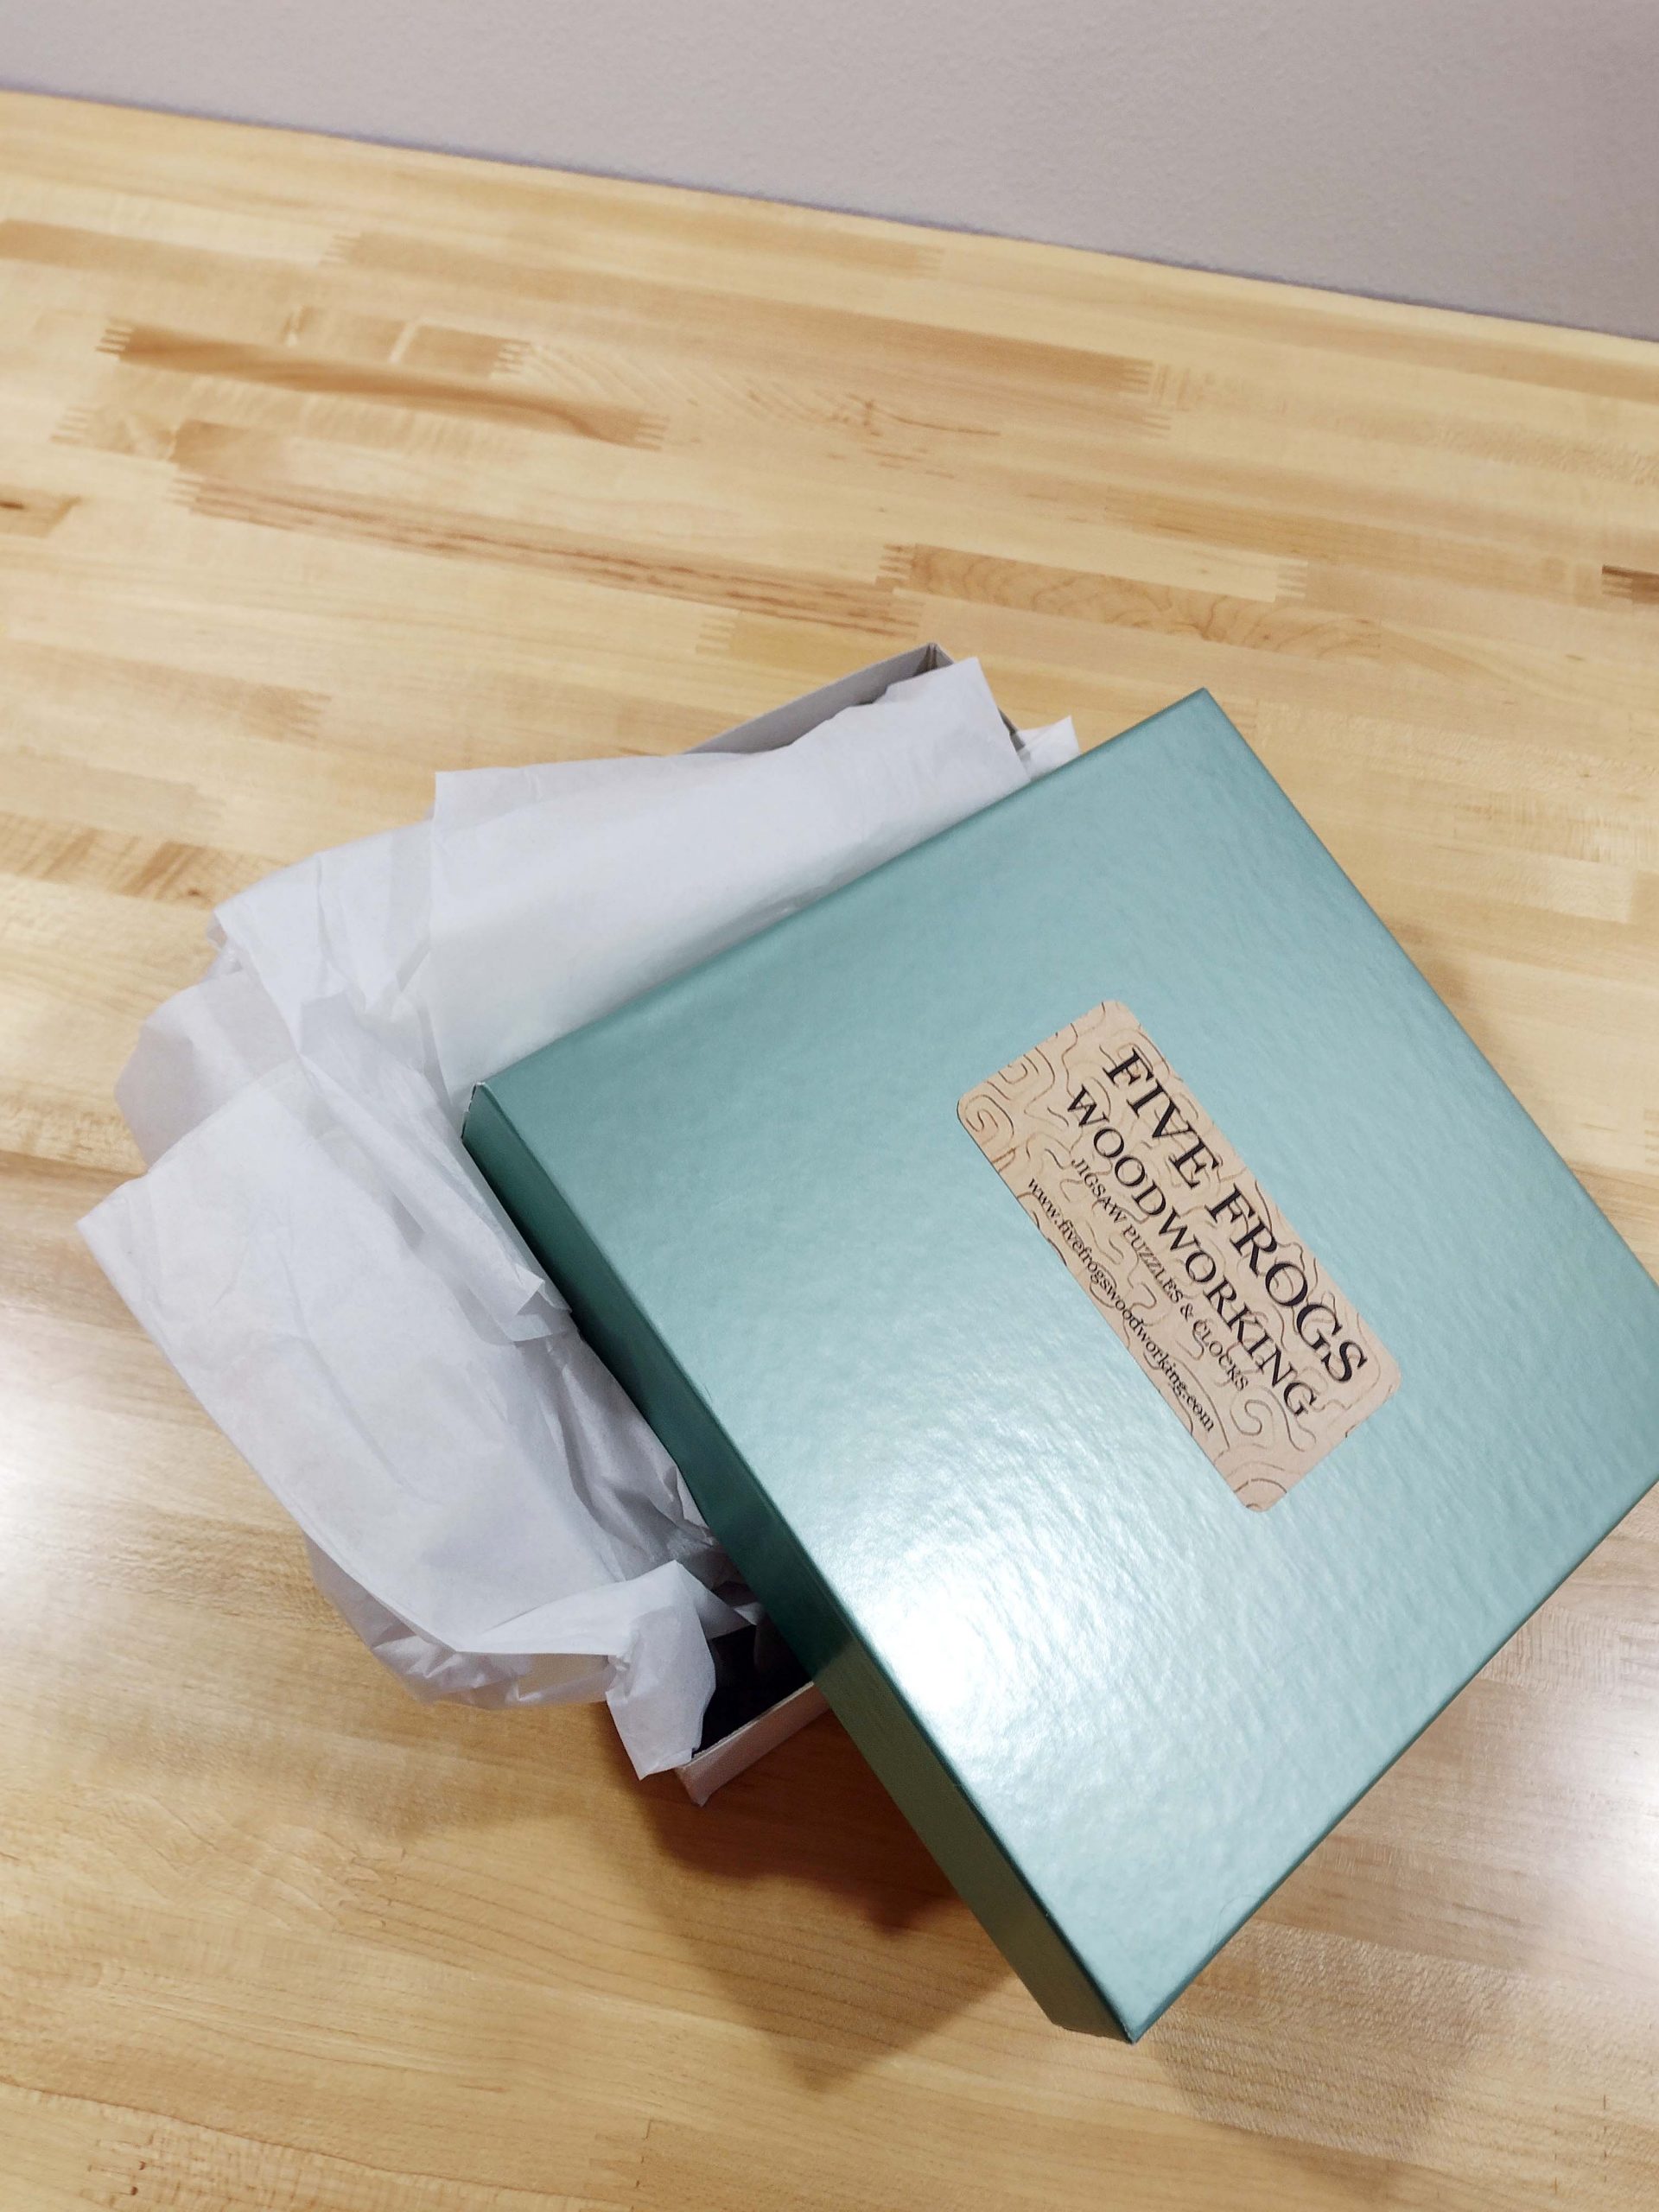
I use folding boxes that I buy through US Box. Here is an example of a box as it is received. The size of this particular box is 8″ x 8″ x 3″, which is my medium sized box. I also use 6″ x 6″ x 3″ and 10″ x 10″ x 6″ boxes of this same style.
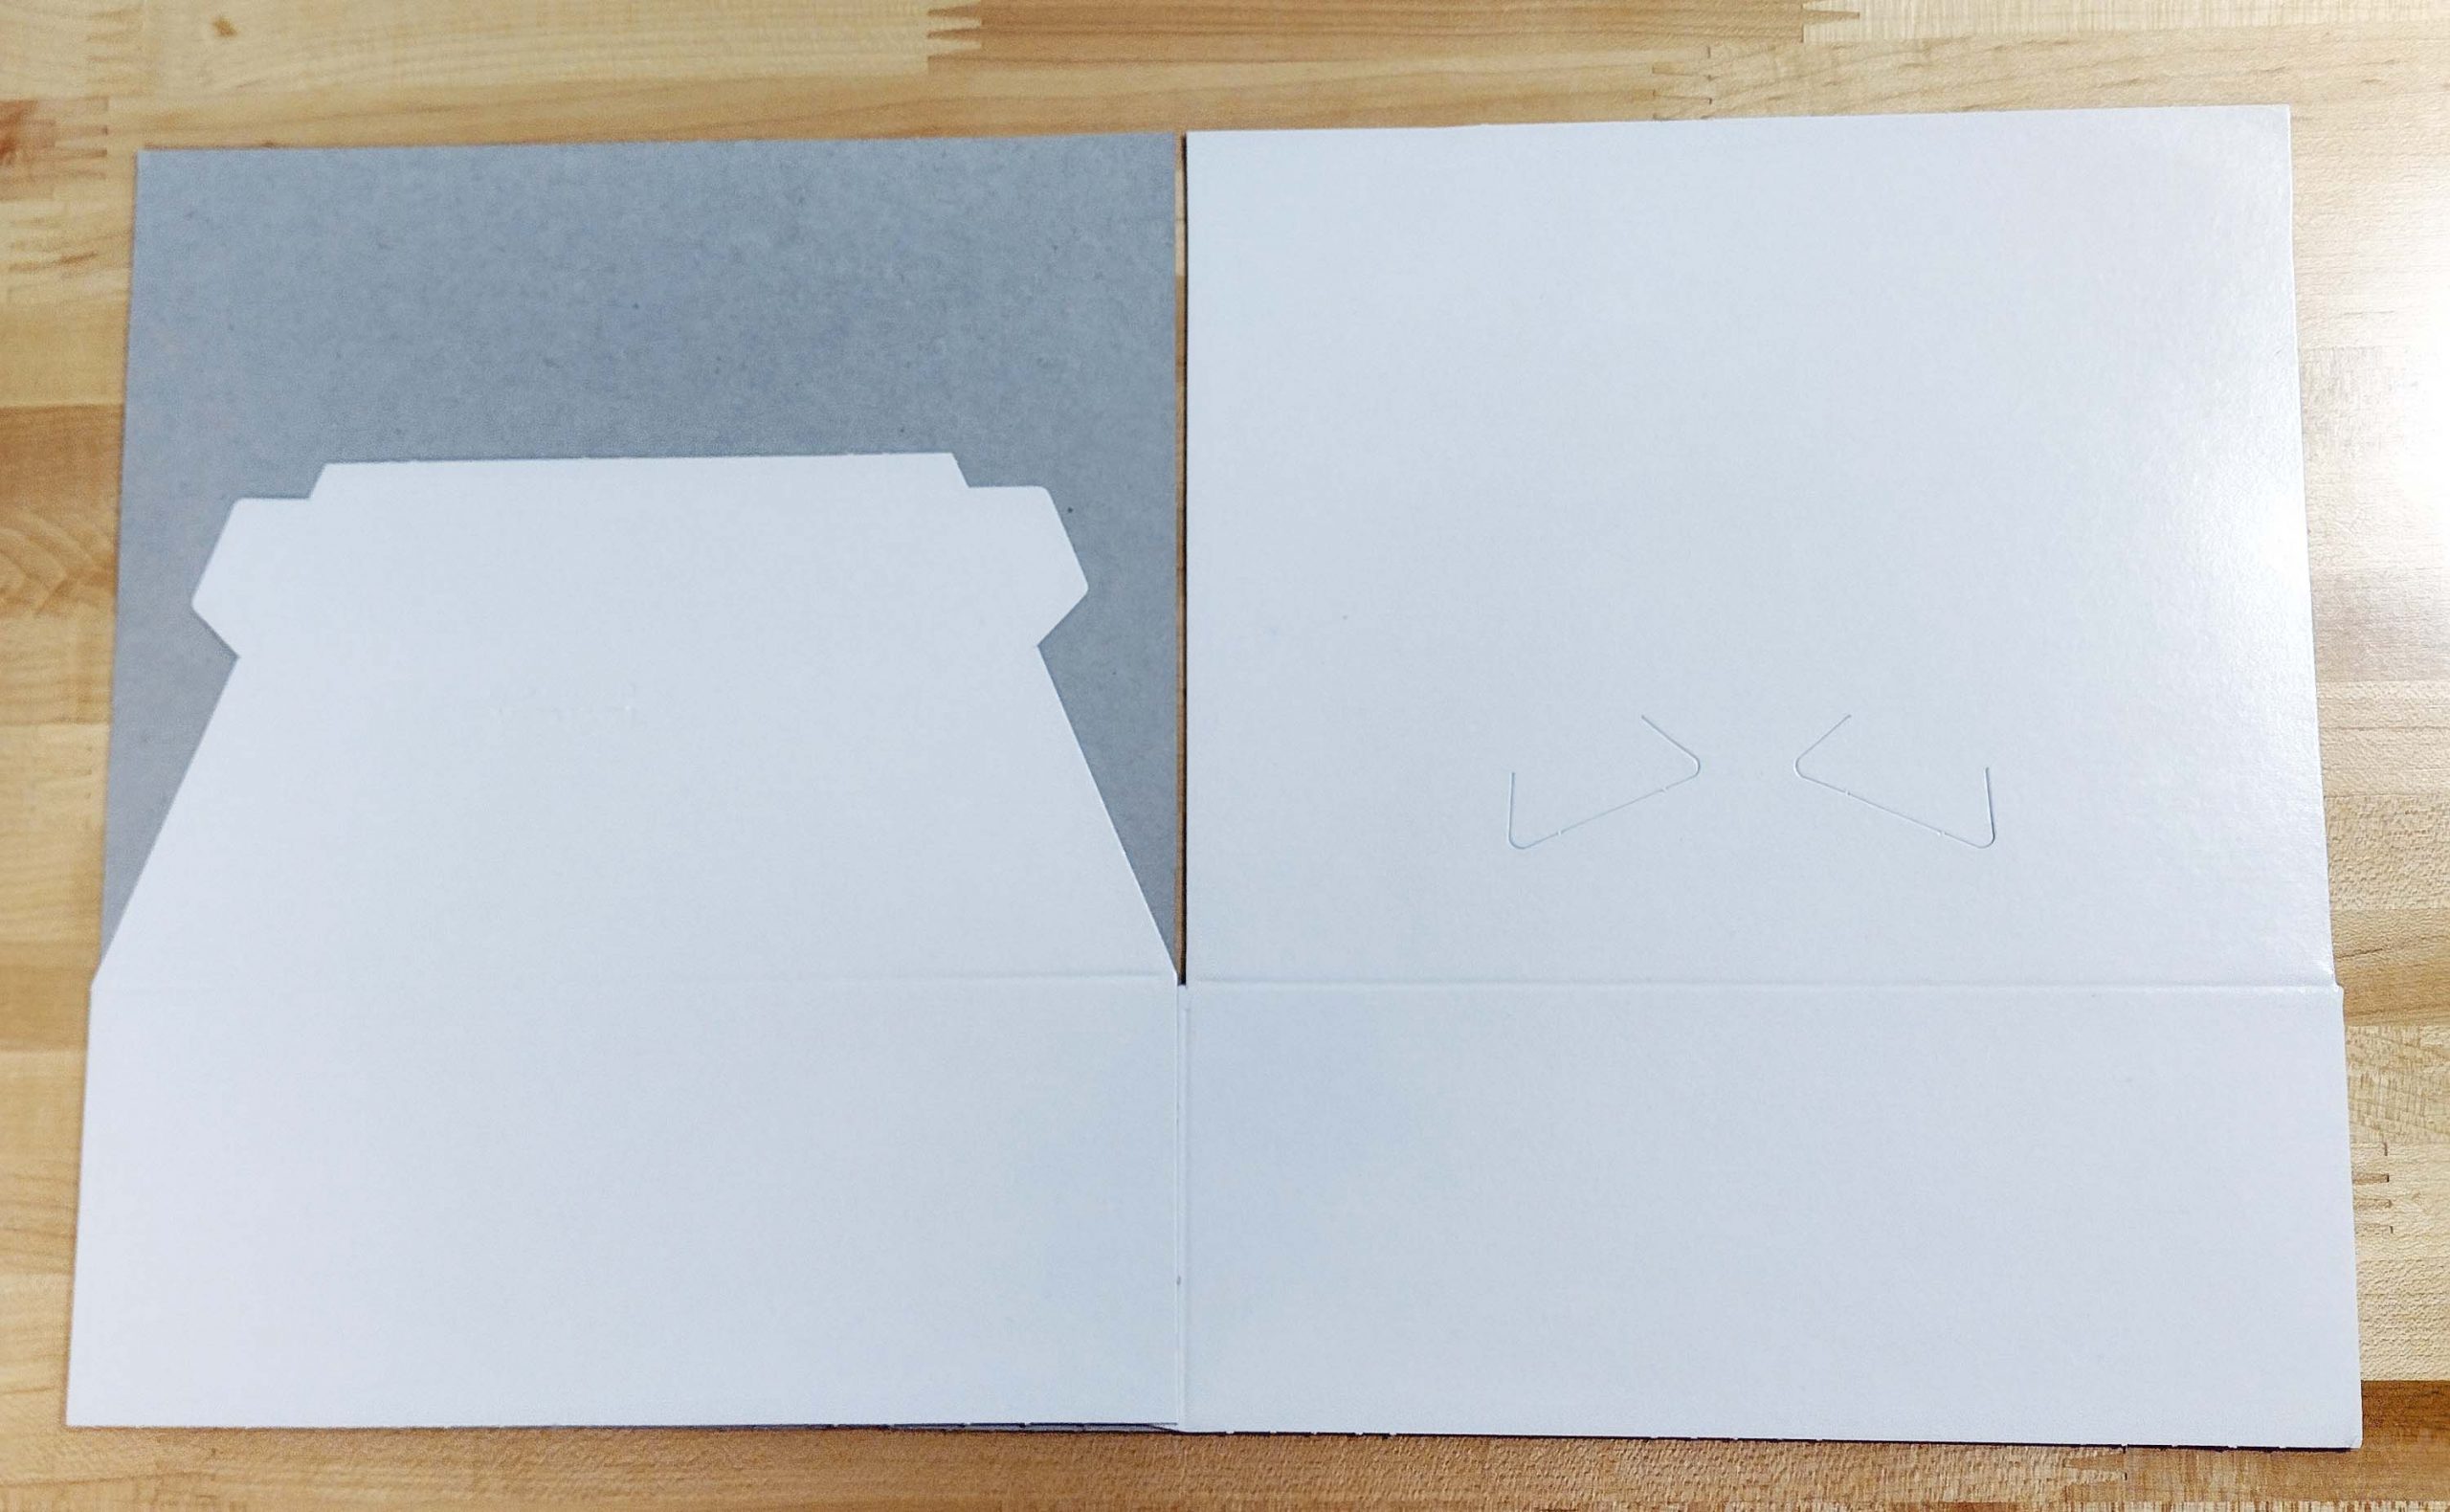
These boxes are easy to assemble. First, you open them up.
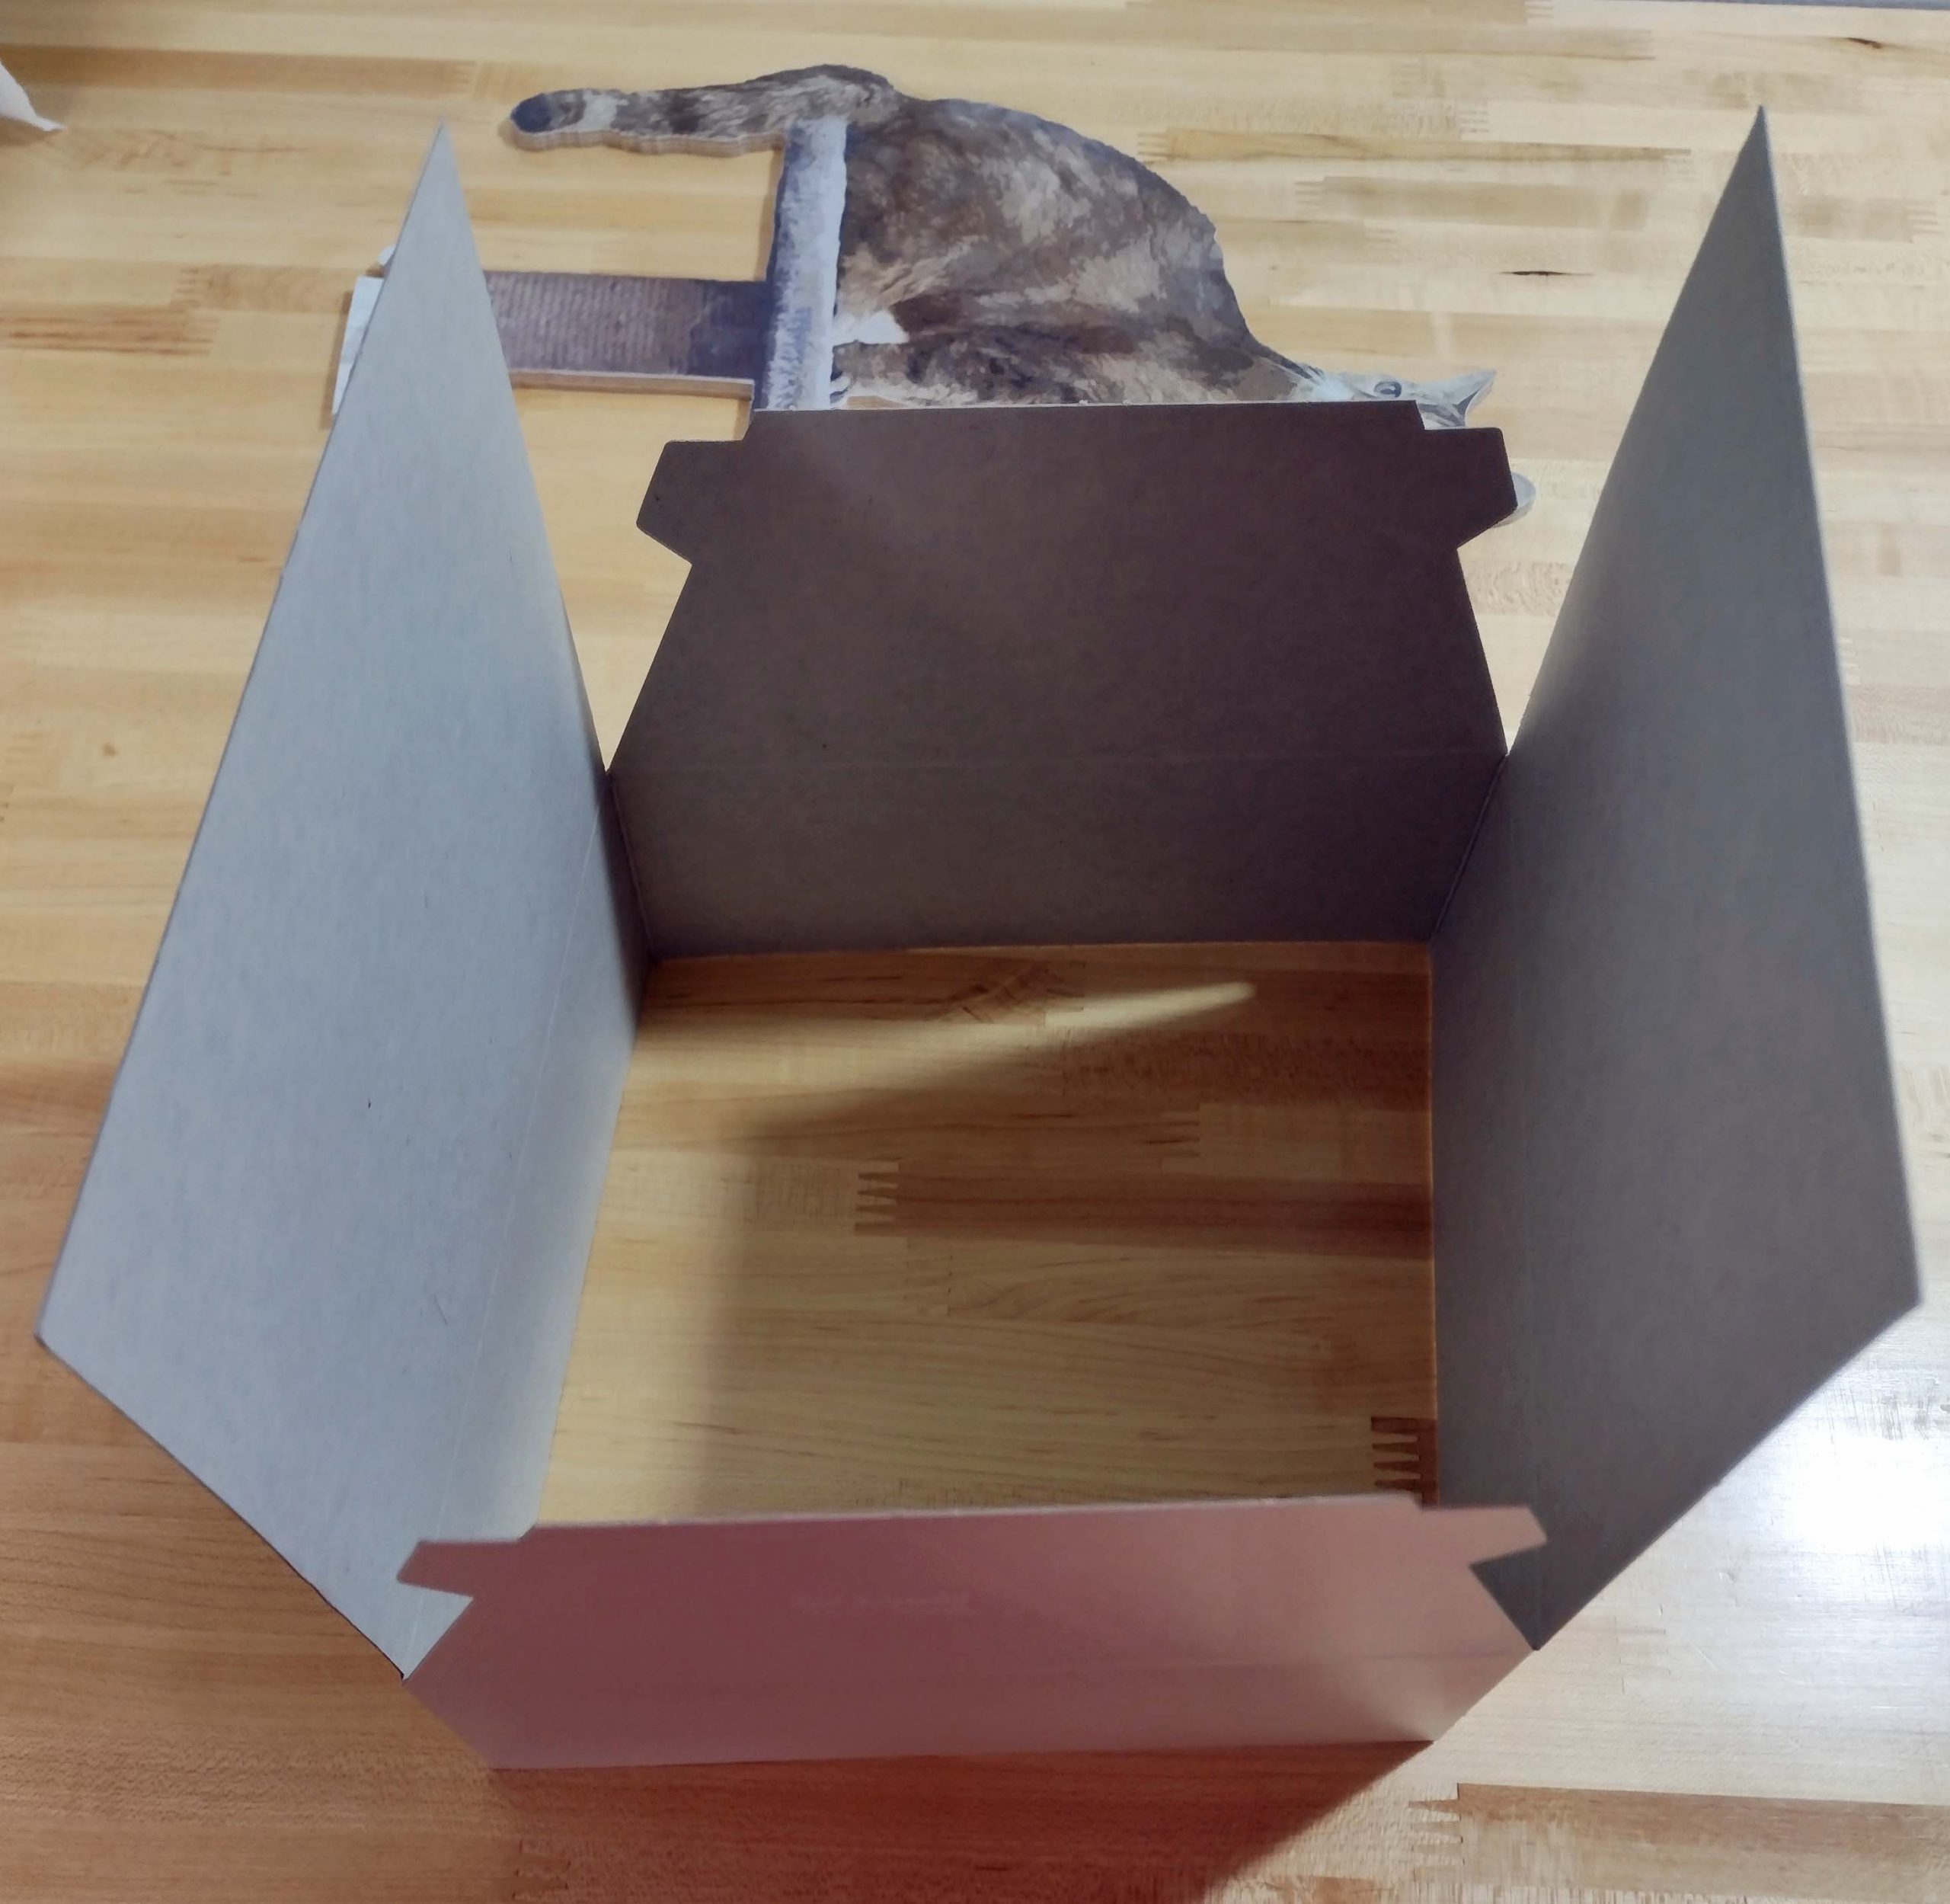
Next, you start folding the bottom flaps down.

I have not done so before now, but I am going to start using a hot melt glue gun to glue these flaps together as I build the boxes. I have been applying a piece of packing tape to the inside flap. I will keep doing that as well.
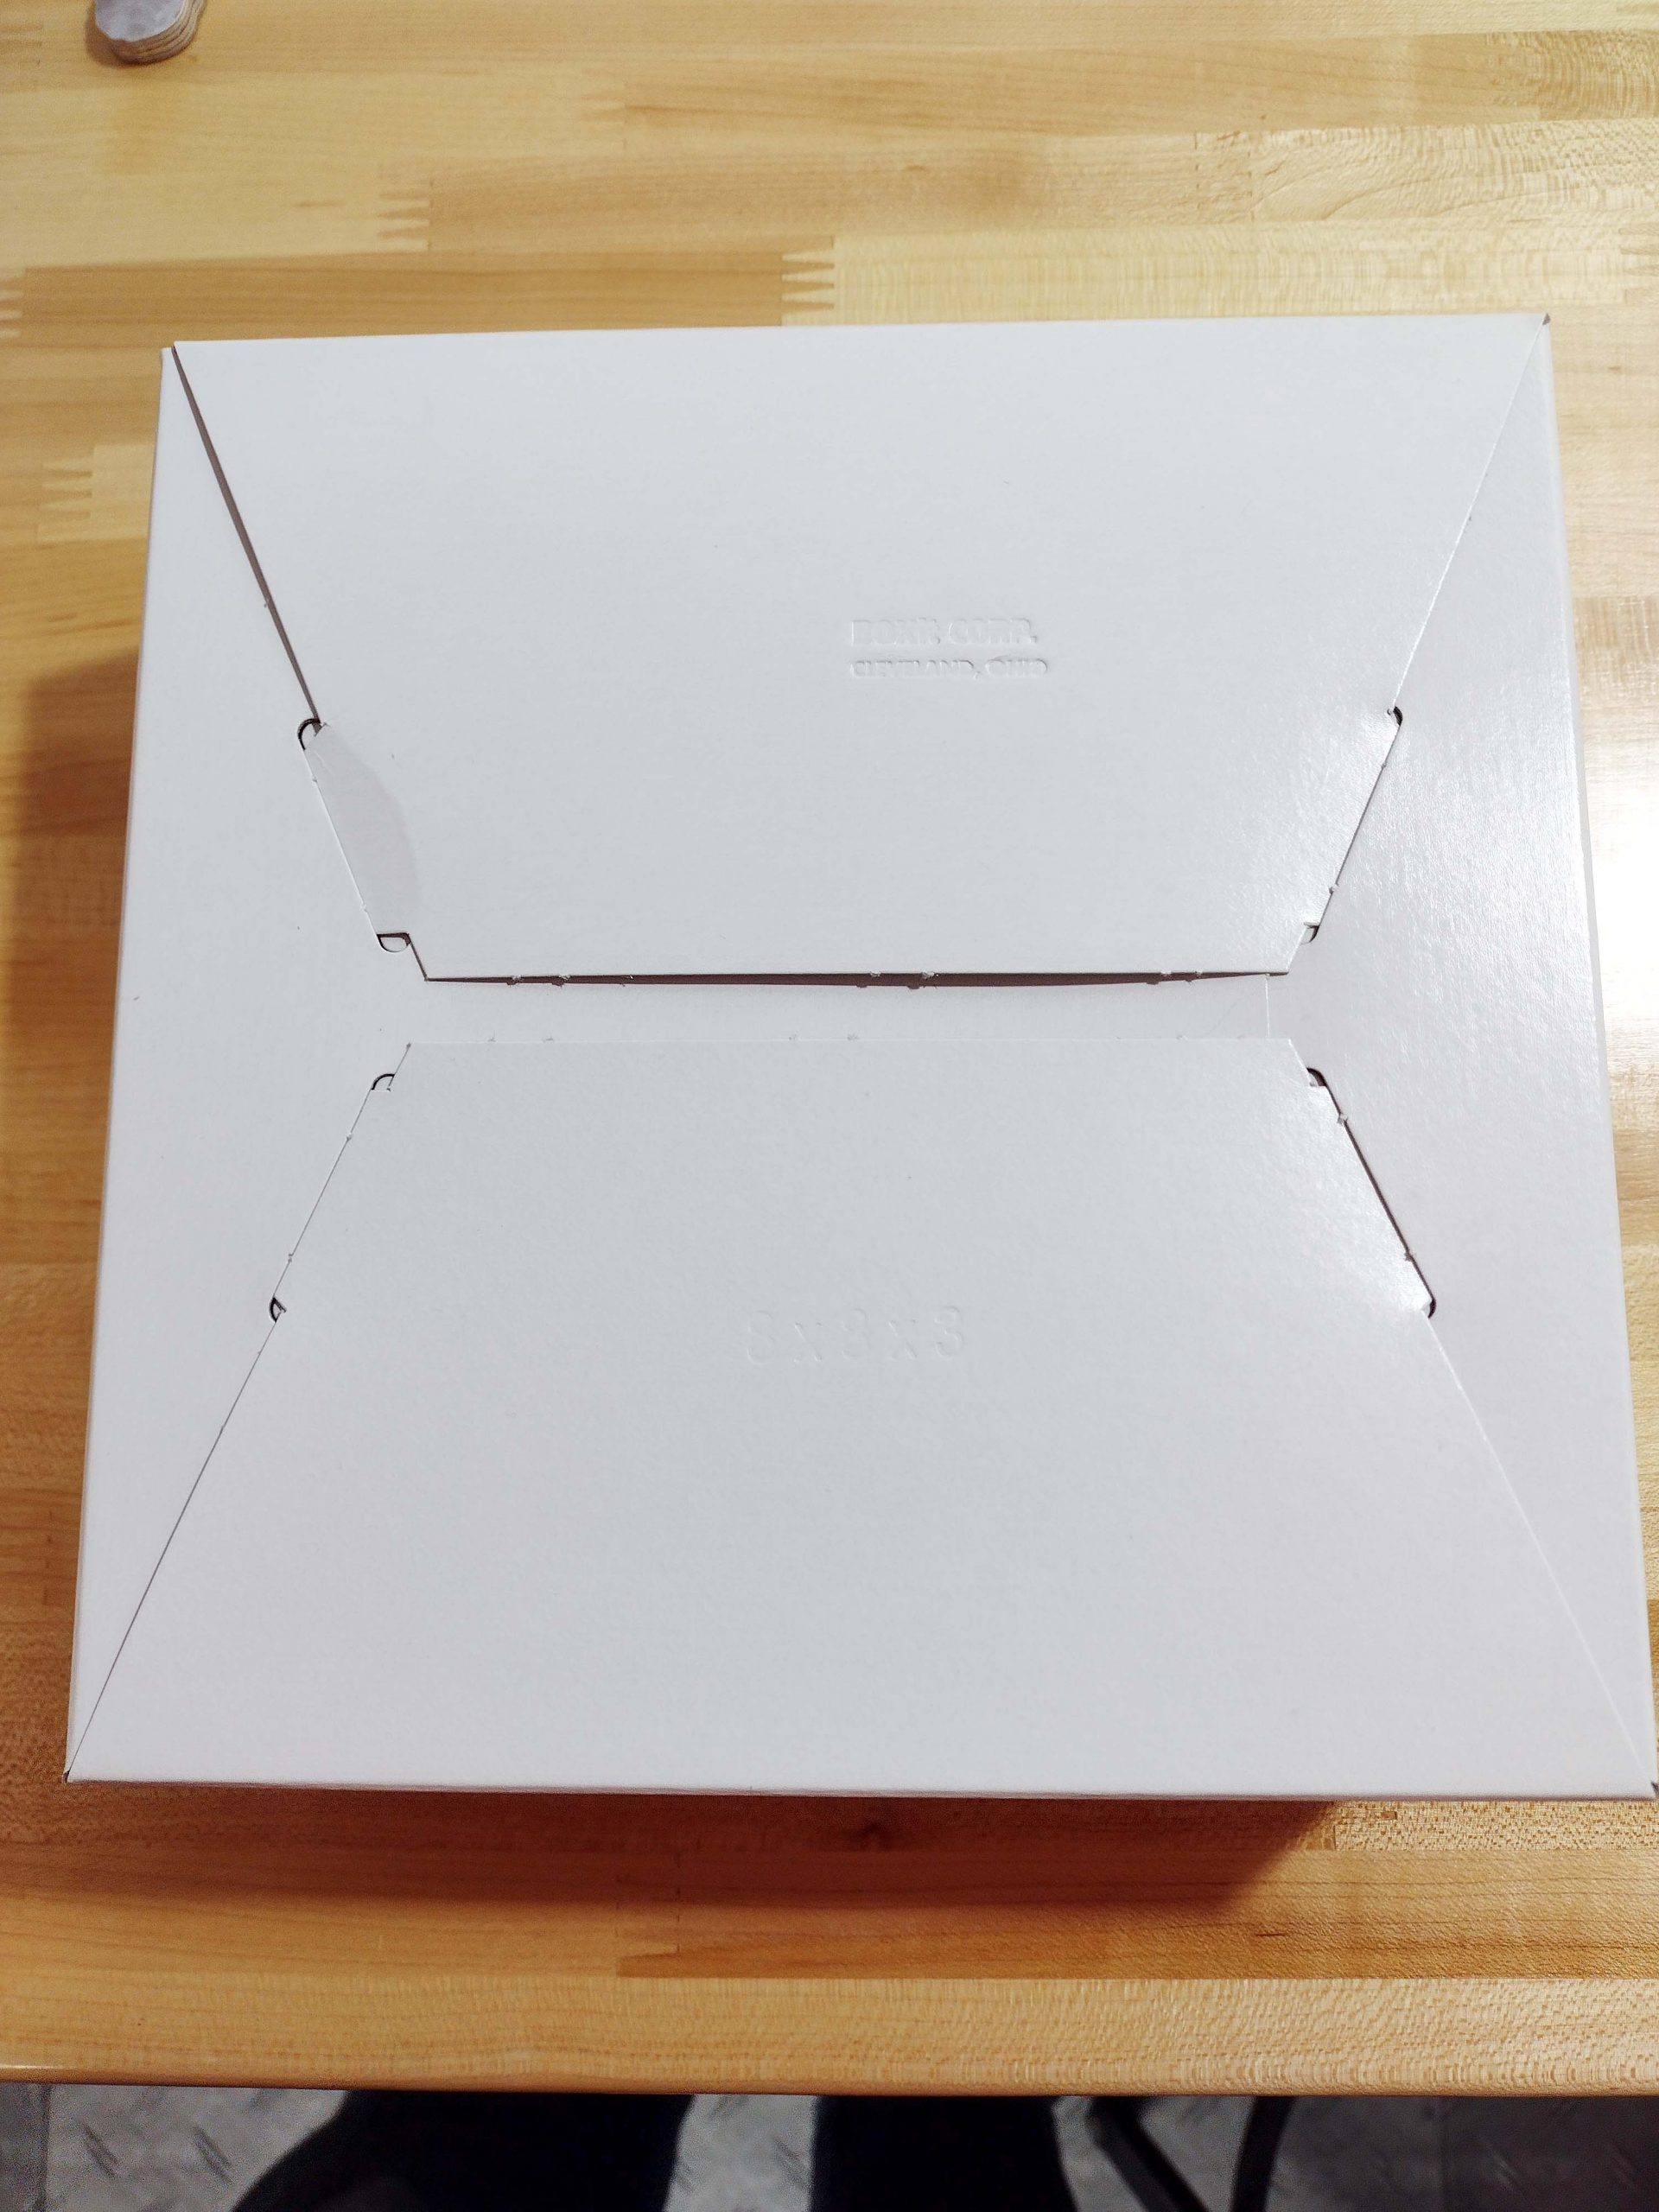
For my first test, I am going to use this newly assembled 8 x 8 x 3 box. I am not going to tape it or glue it together, just put the lid on it. I am going to leave it empty, so the contents do not provide any structural support. And then I am going to start stacking known weights on top of it until it starts to deform or collapse.
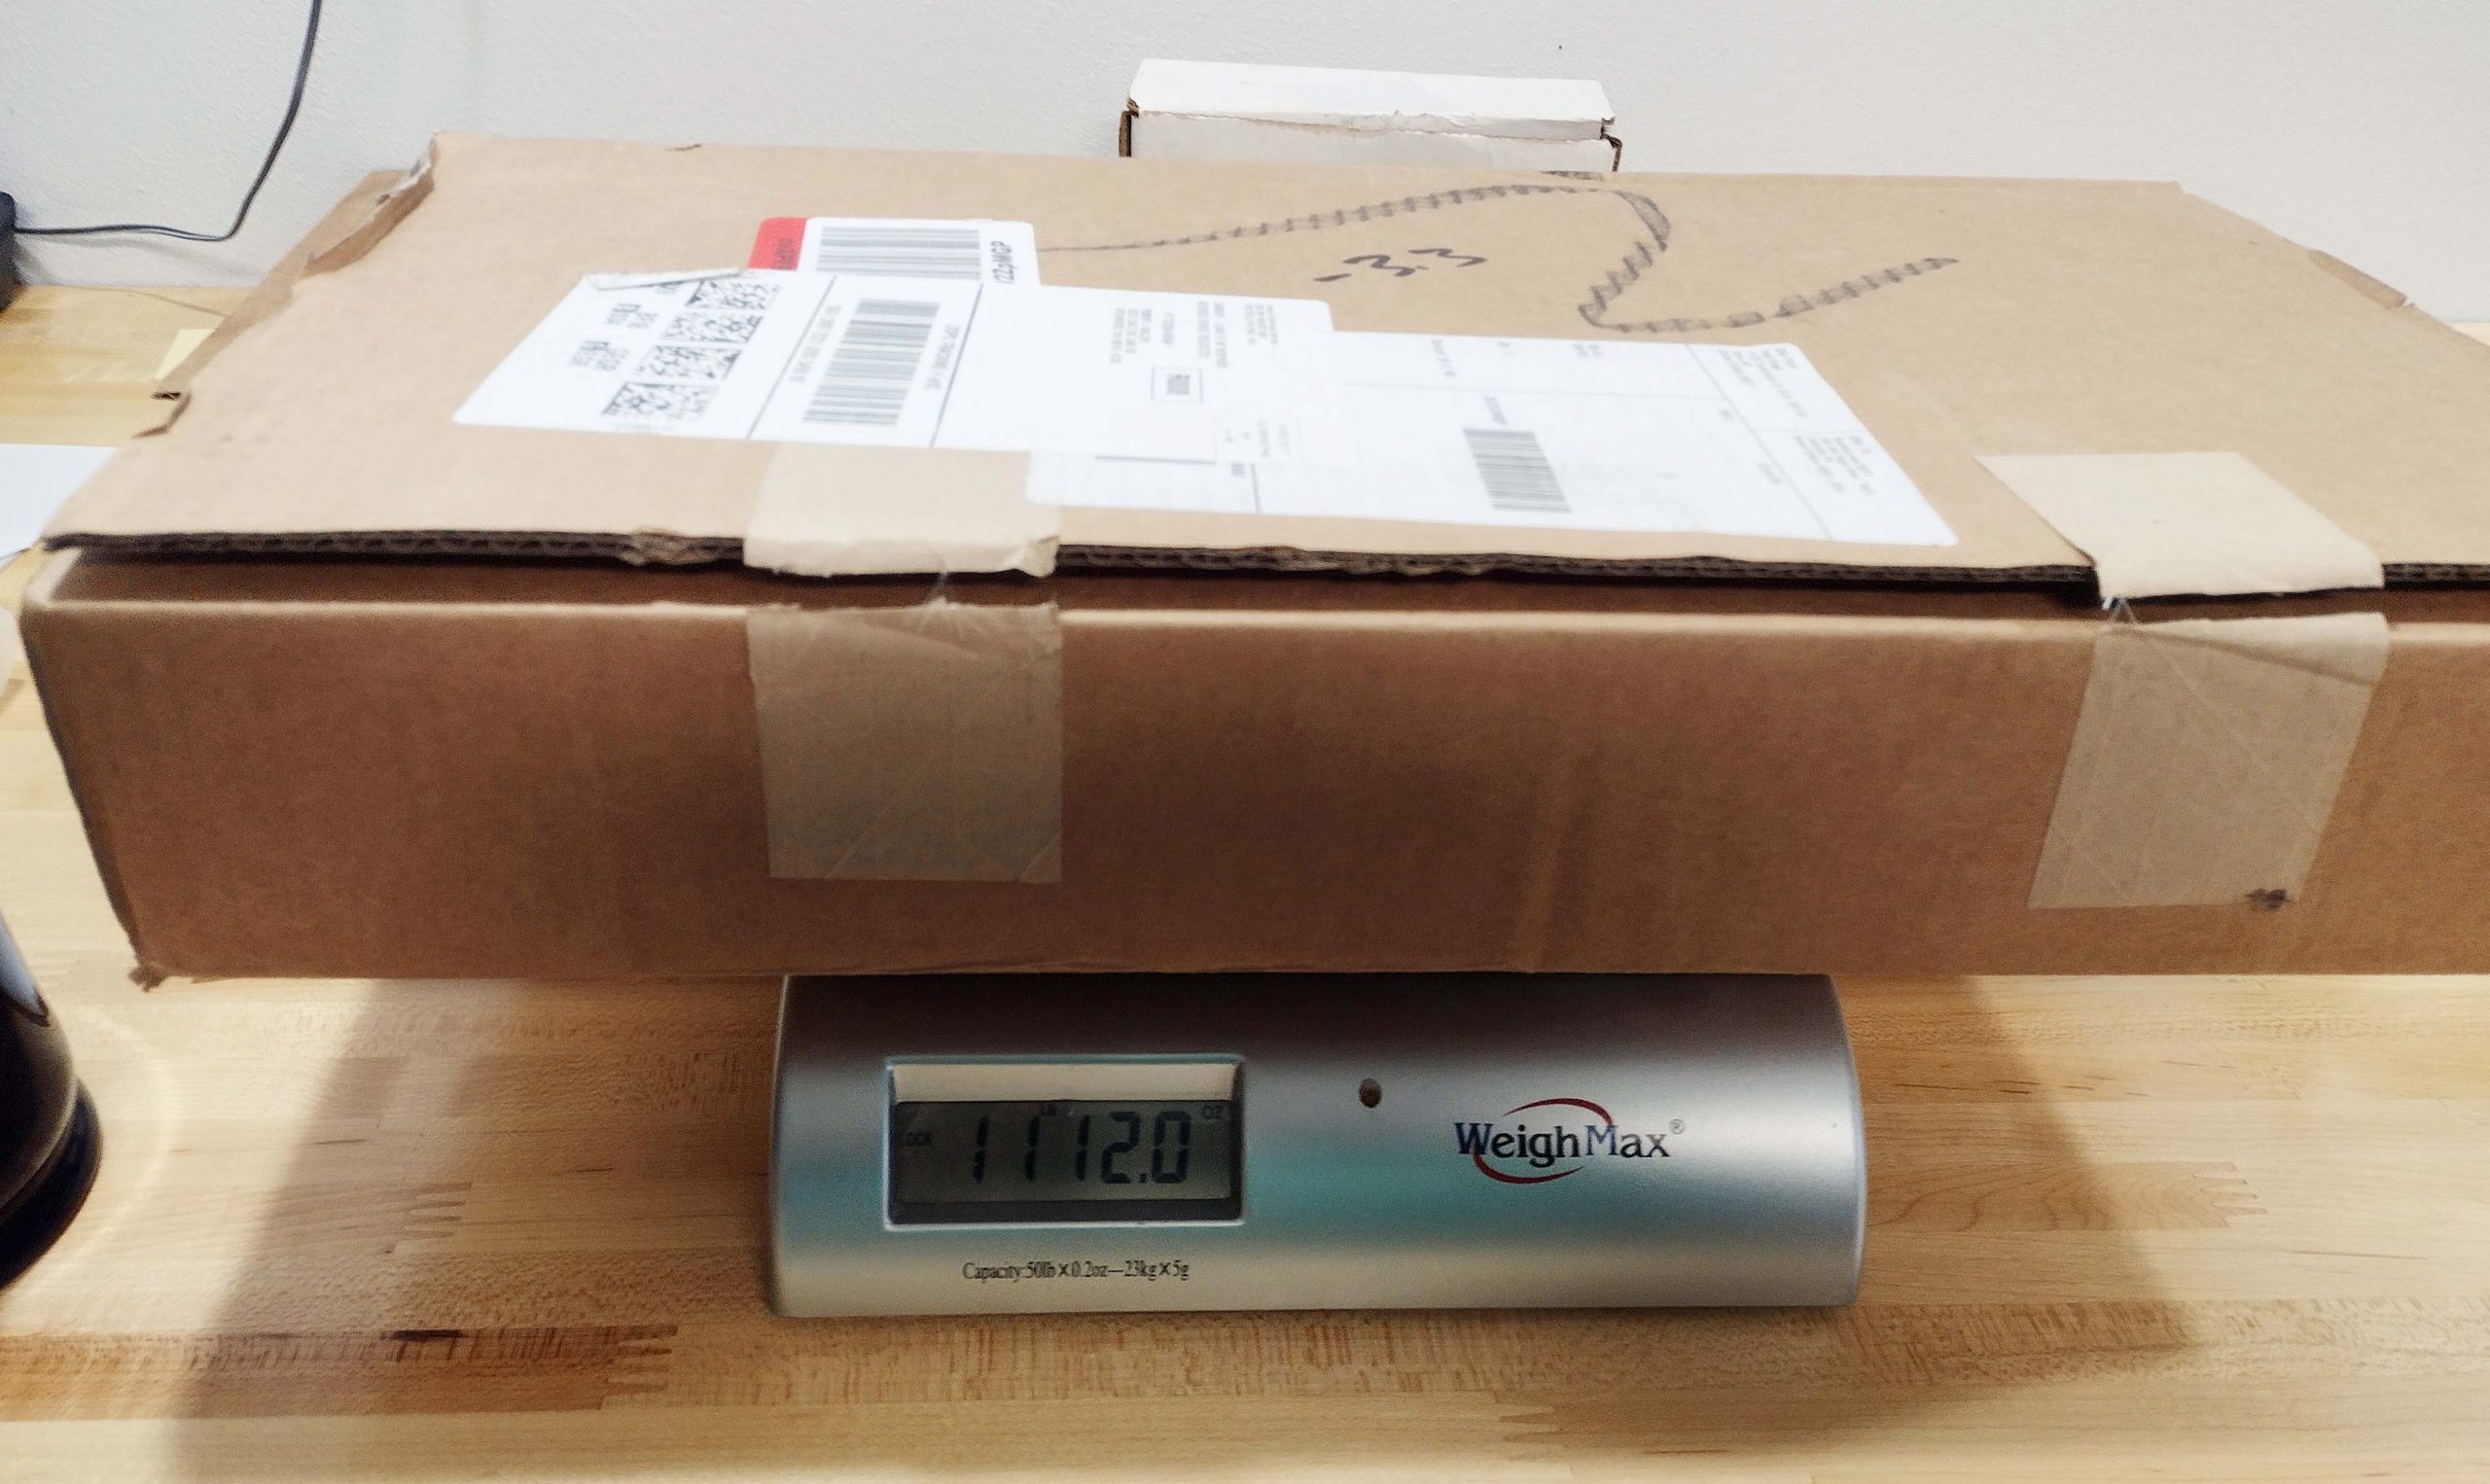
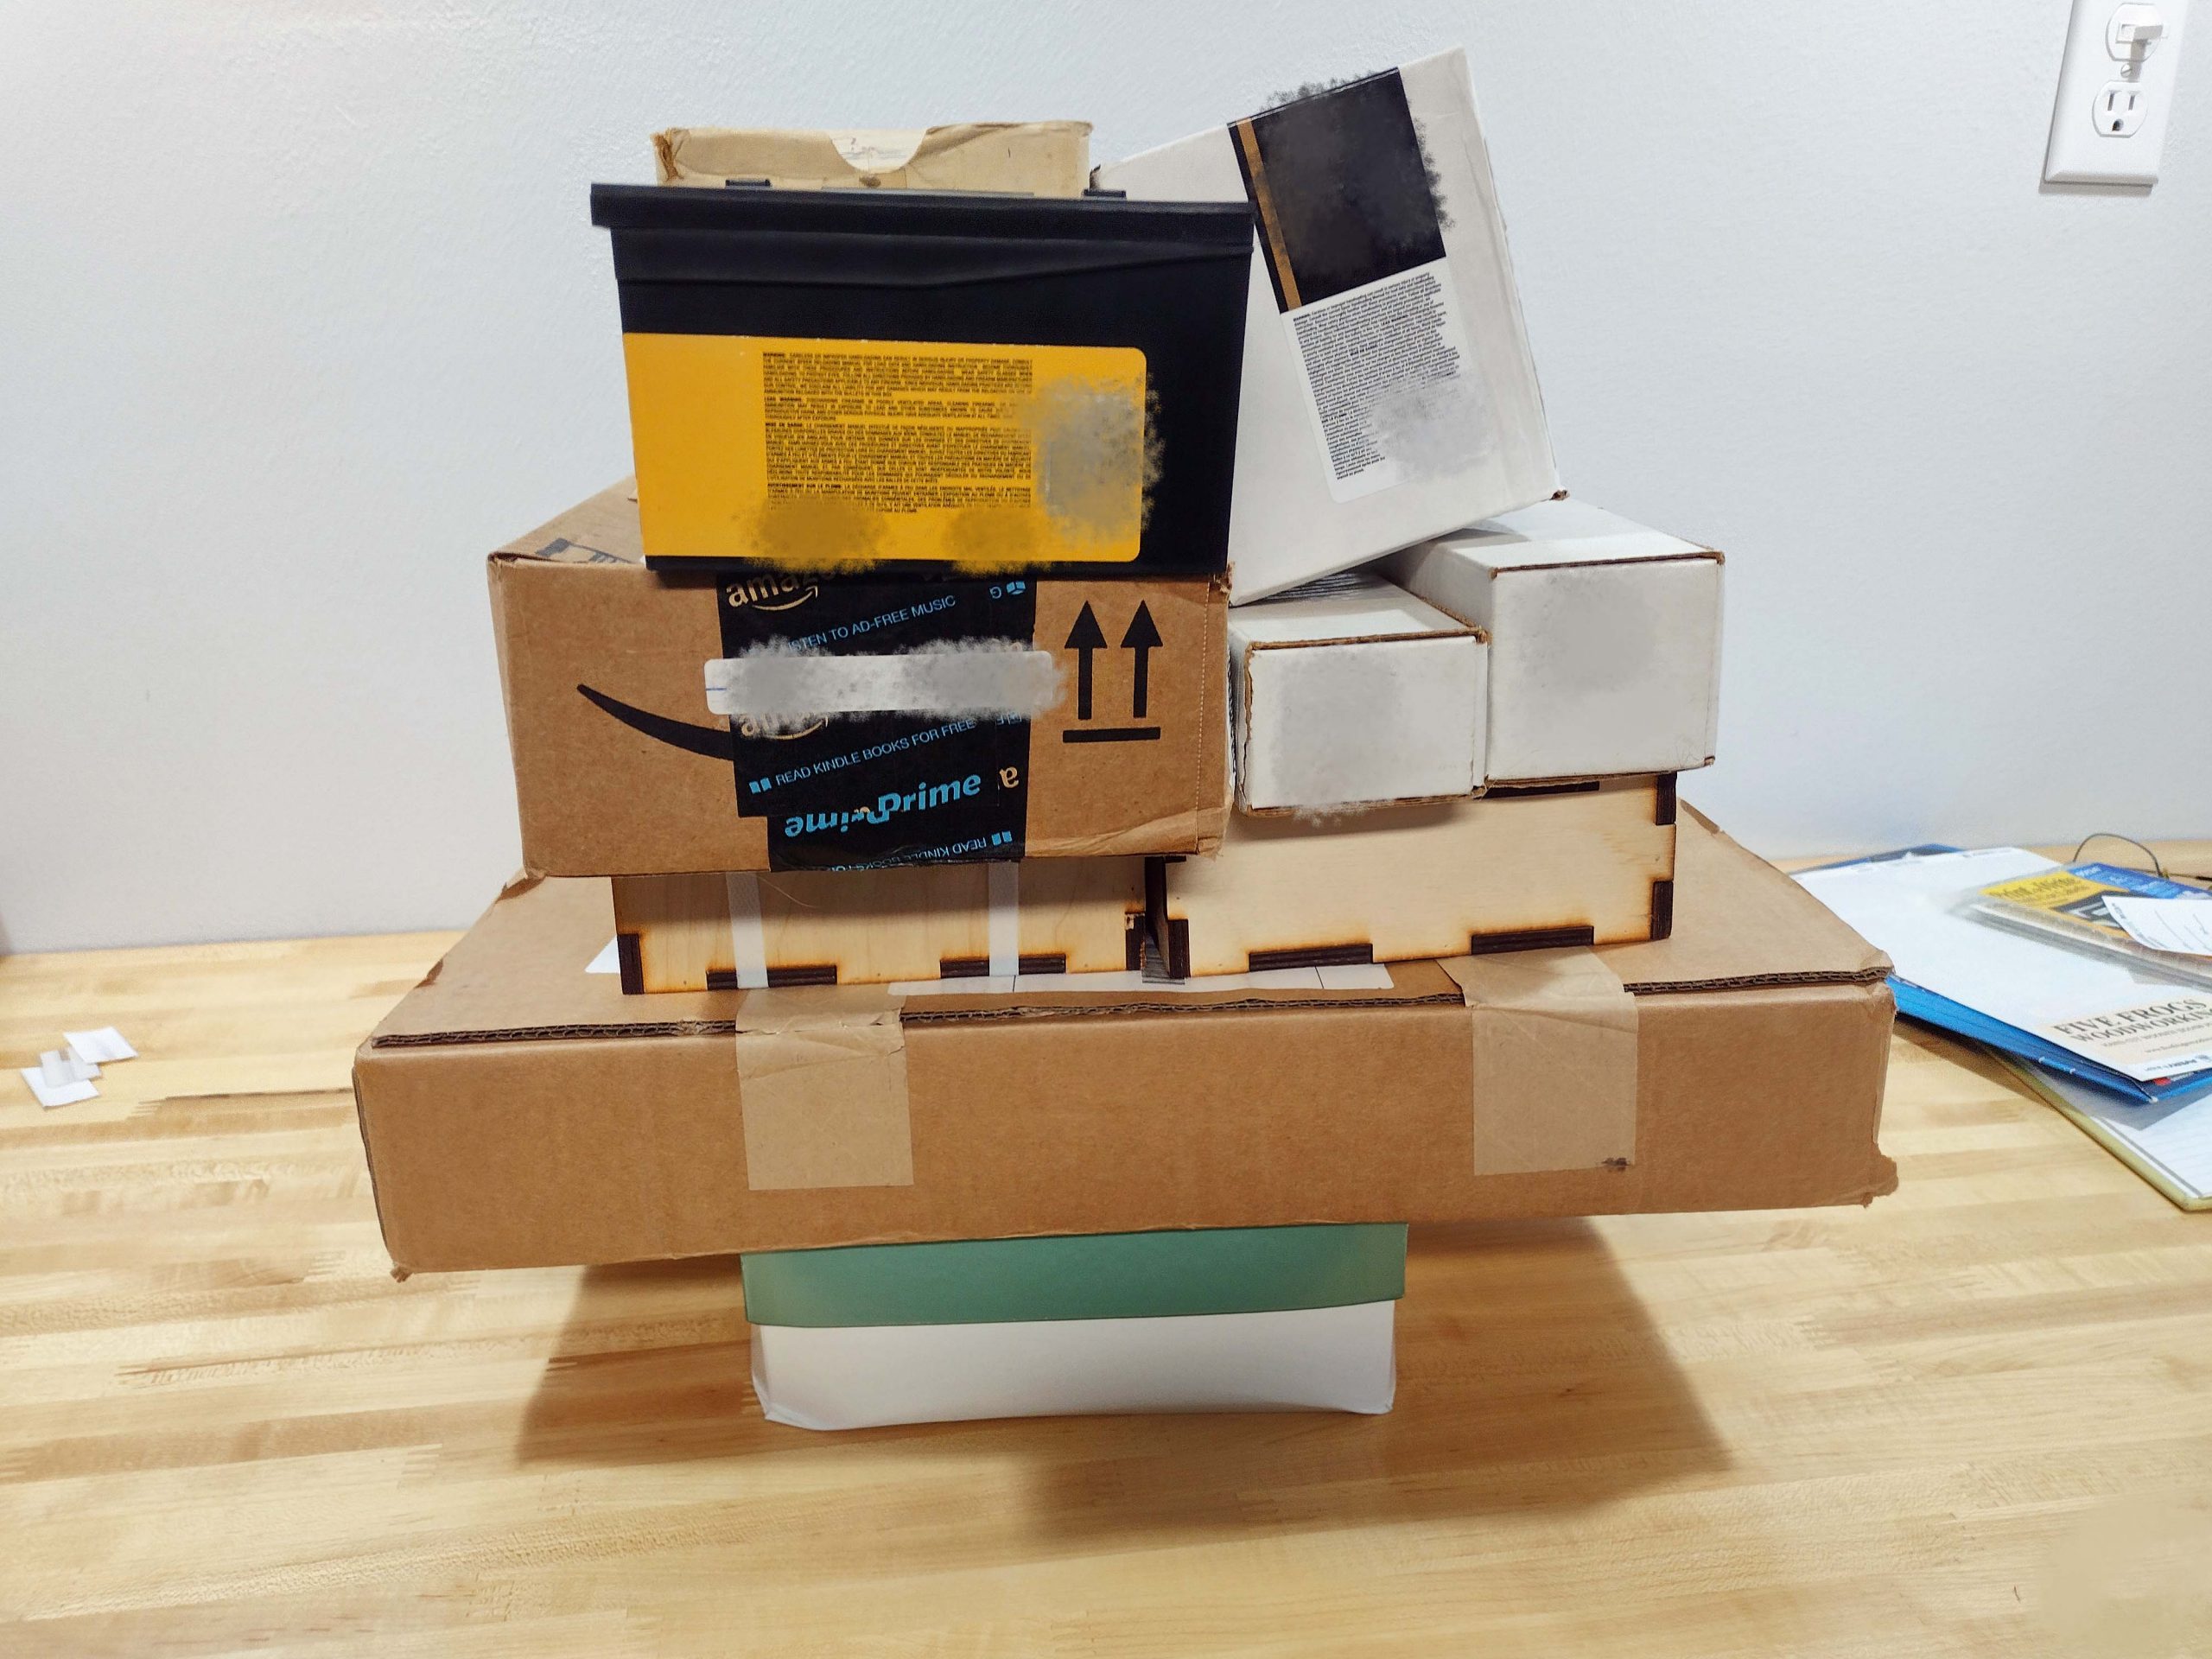
I have a number of heavy boxes full of cast iron and lead. I use these to apply force to newly mounted puzzles while they are cooling down from the dry mount press. I weighed these individual boxes with a postal scale and then started stacking them on my empty puzzle box. This was the first box. This one is a cast iron vise that will be installed on my in-house work bench when I finish building it.
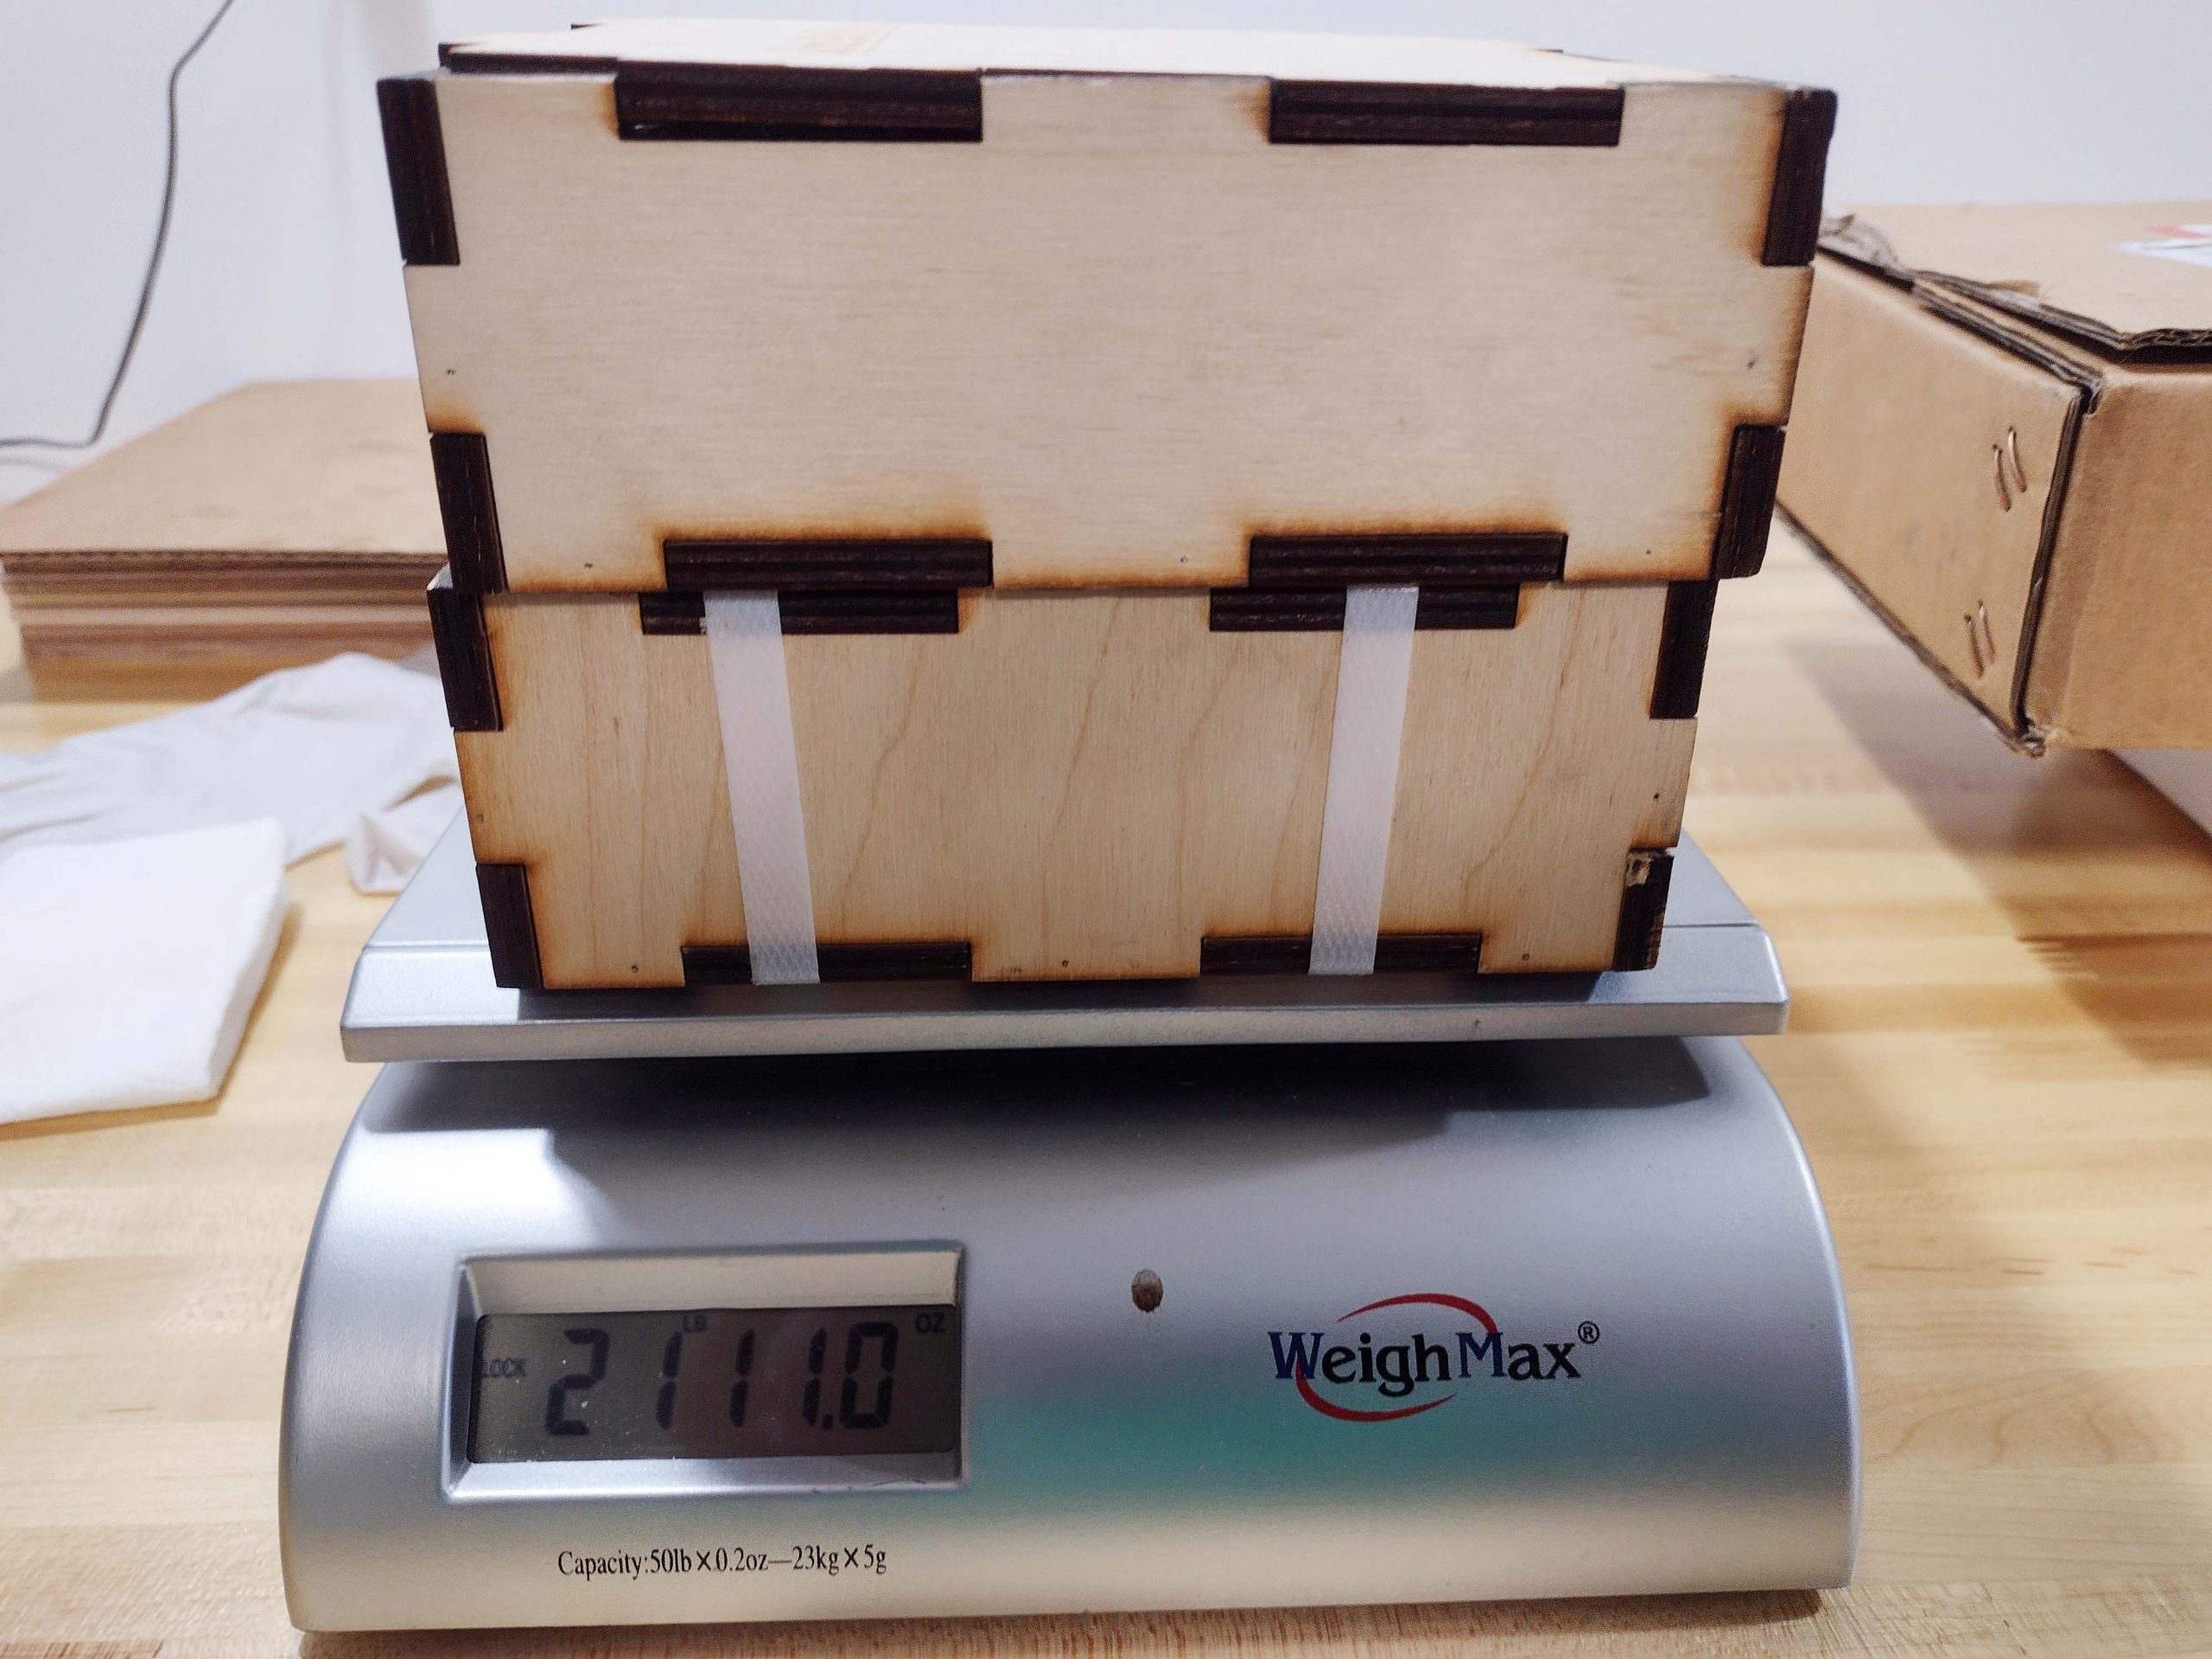
This next set of boxes weighs 21 pounds and 11 ounces. On the right side of the picture, you can see the first box above is stacked on the puzzle box.
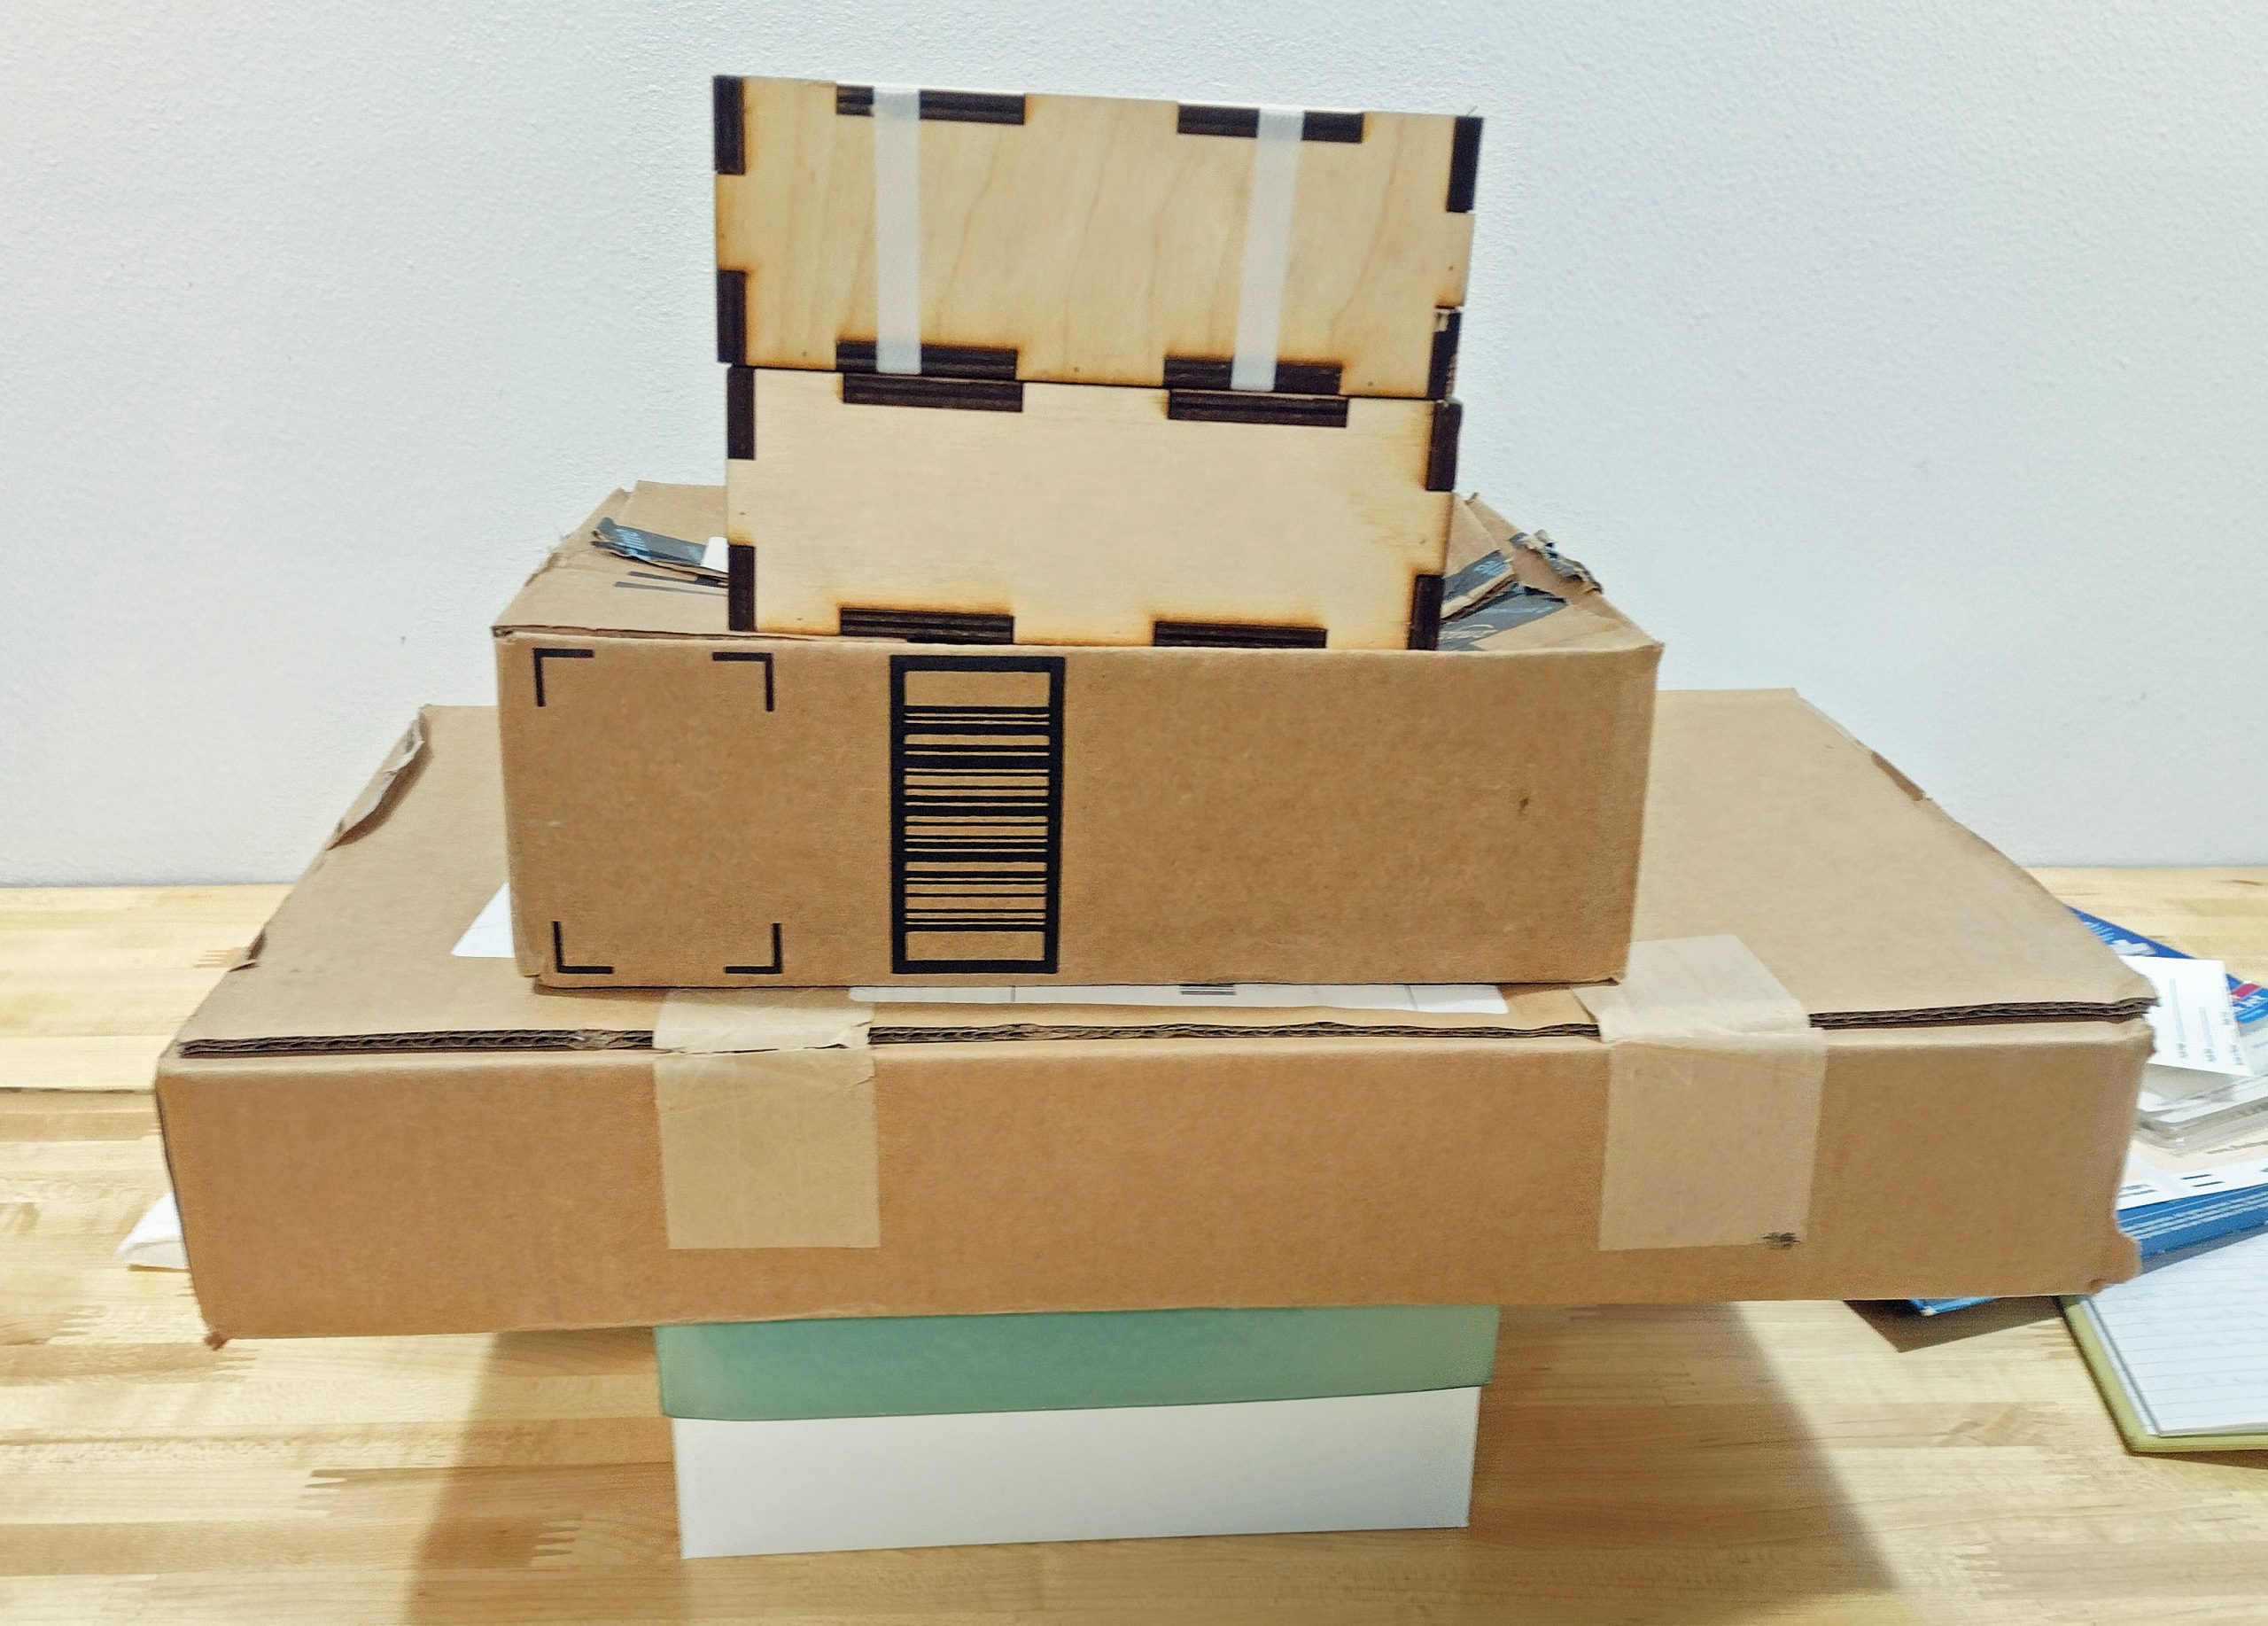
This continued until I noticed deformation of the box. This was the last picture I remembered to take before it started to collapse, but it does not stop here. At this point, it has 67 pounds and 11 ounces piled on it. The box still looks nice and straight and square all around.
I continued stacking more boxes until the puzzle box started to fail. At this point, the box is supporting 124 pounds and 10 ounces of cast iron and lead. The stage before this one was 113 pounds and 2 ounces. So, these boxes do meet that arbitrary criterion of supporting 75 pounds.
Here is a side view of the collapsing box.
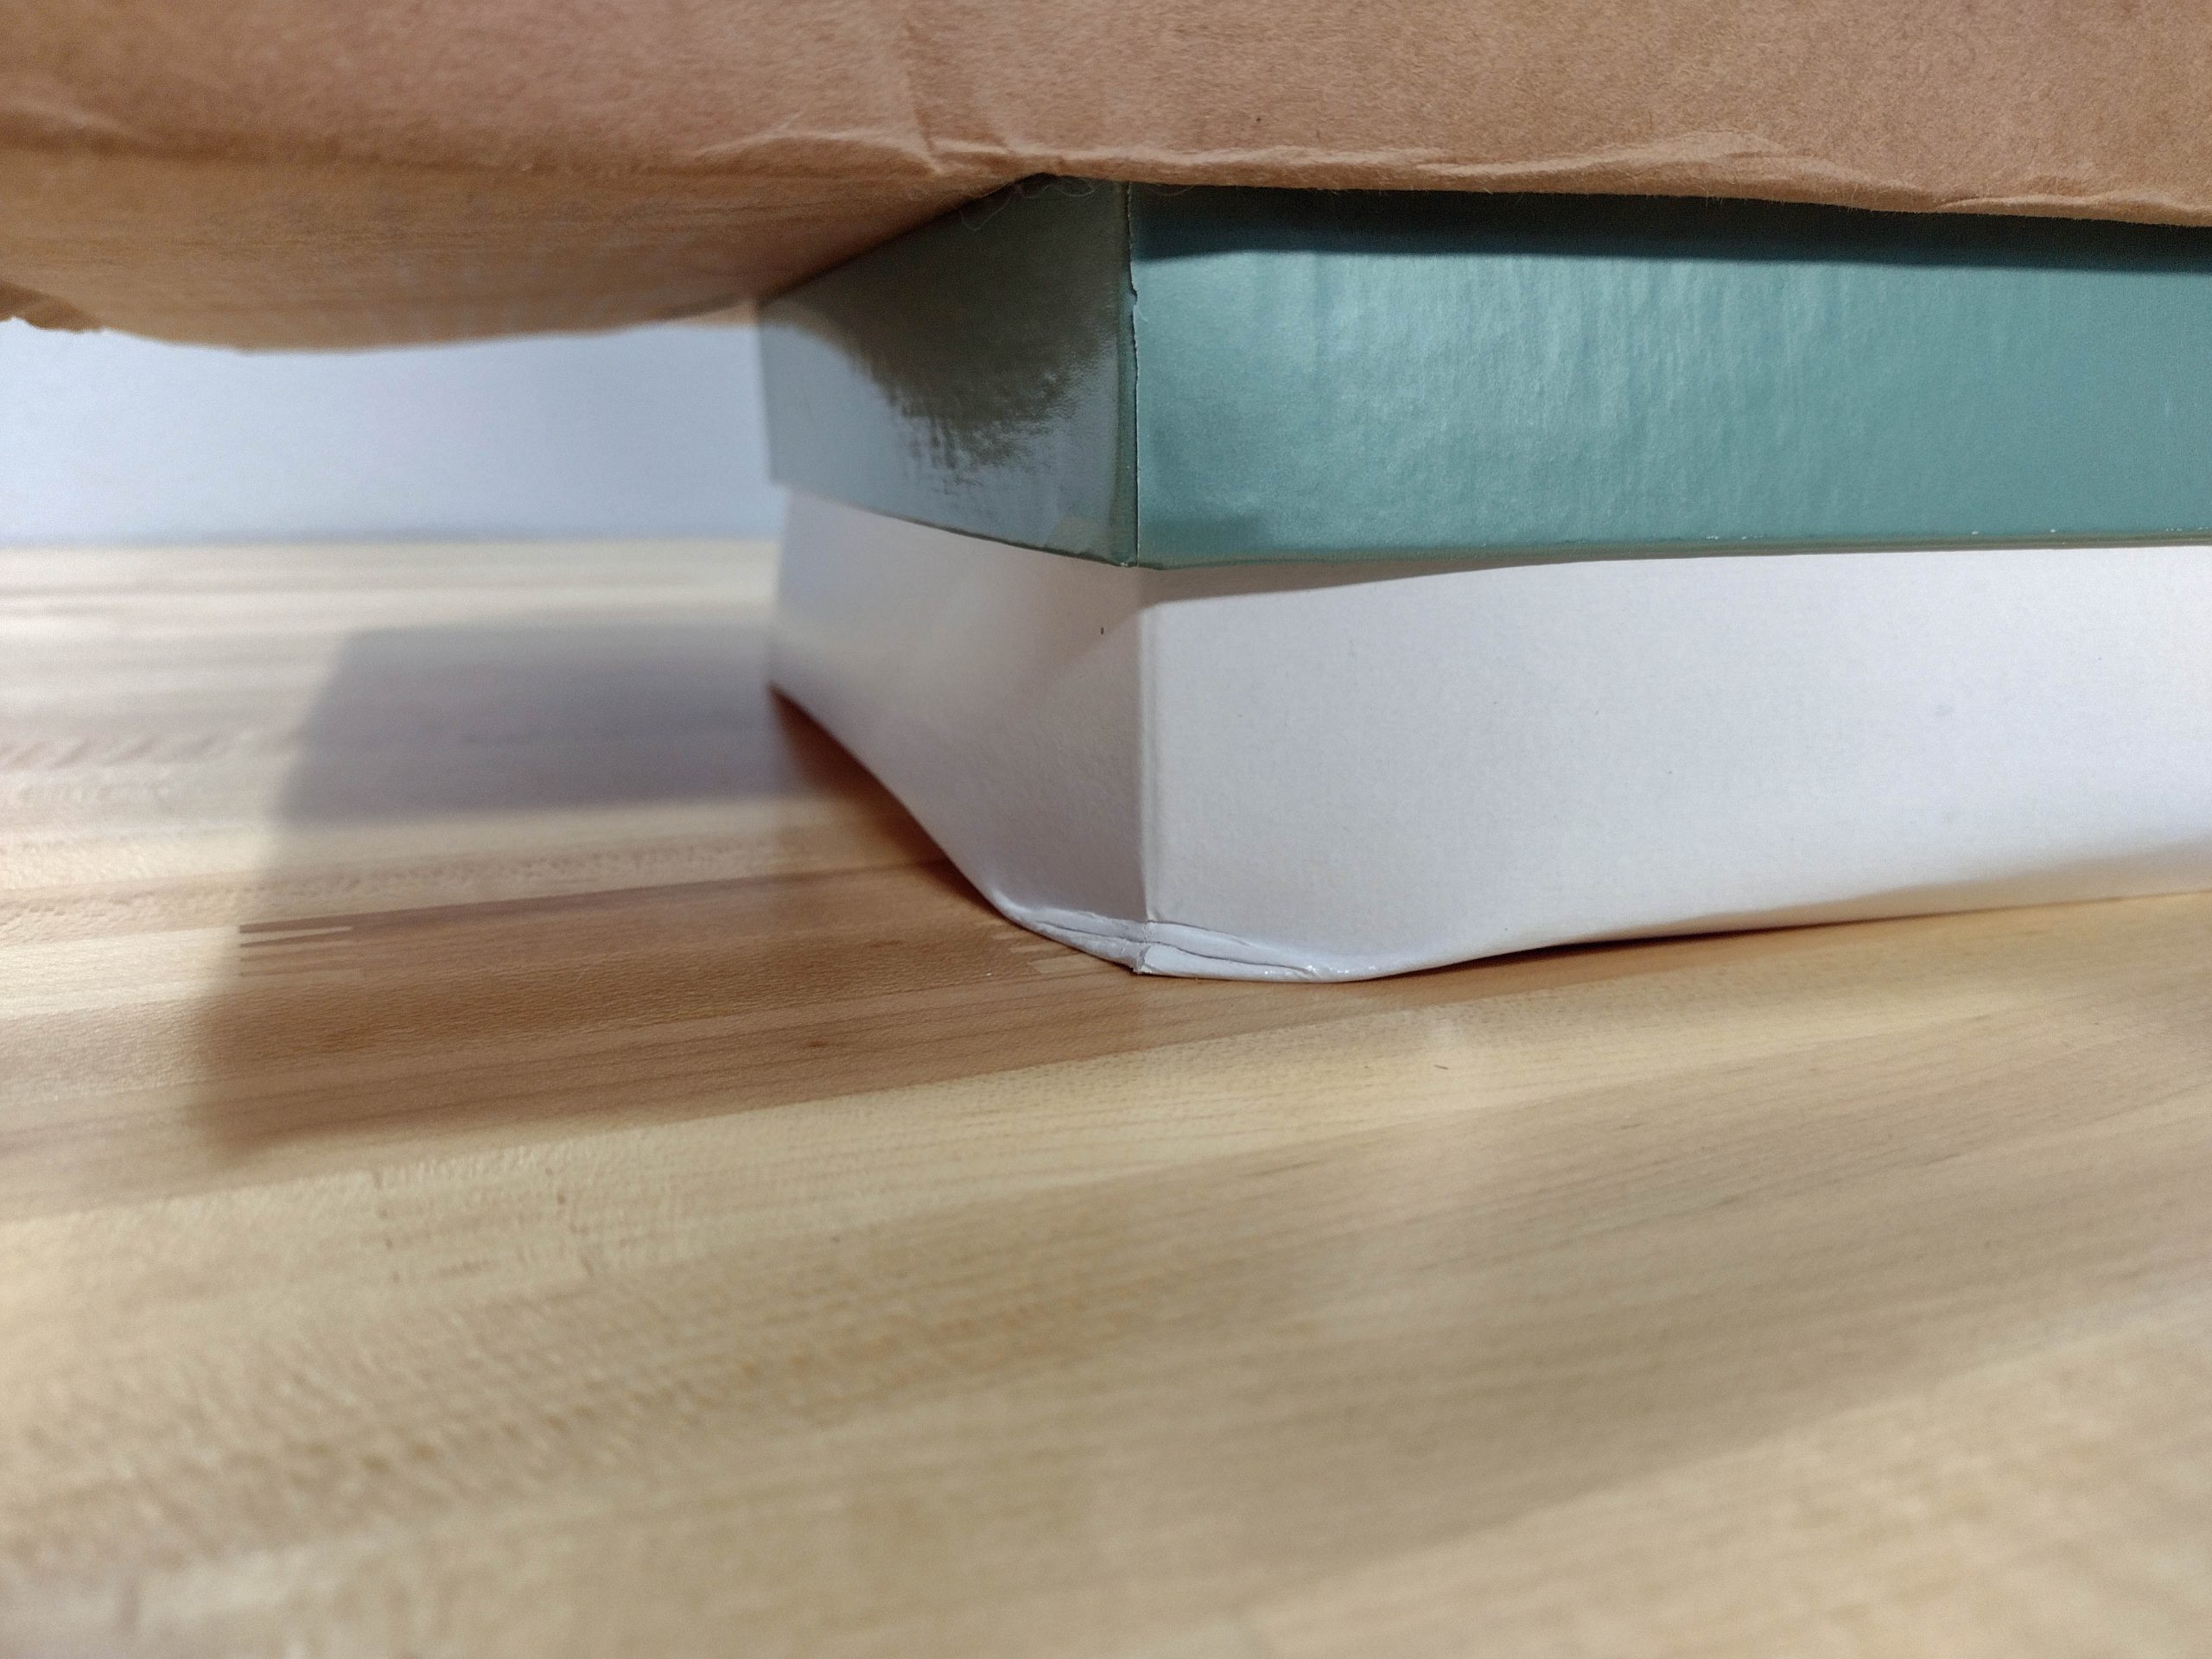
Another view.
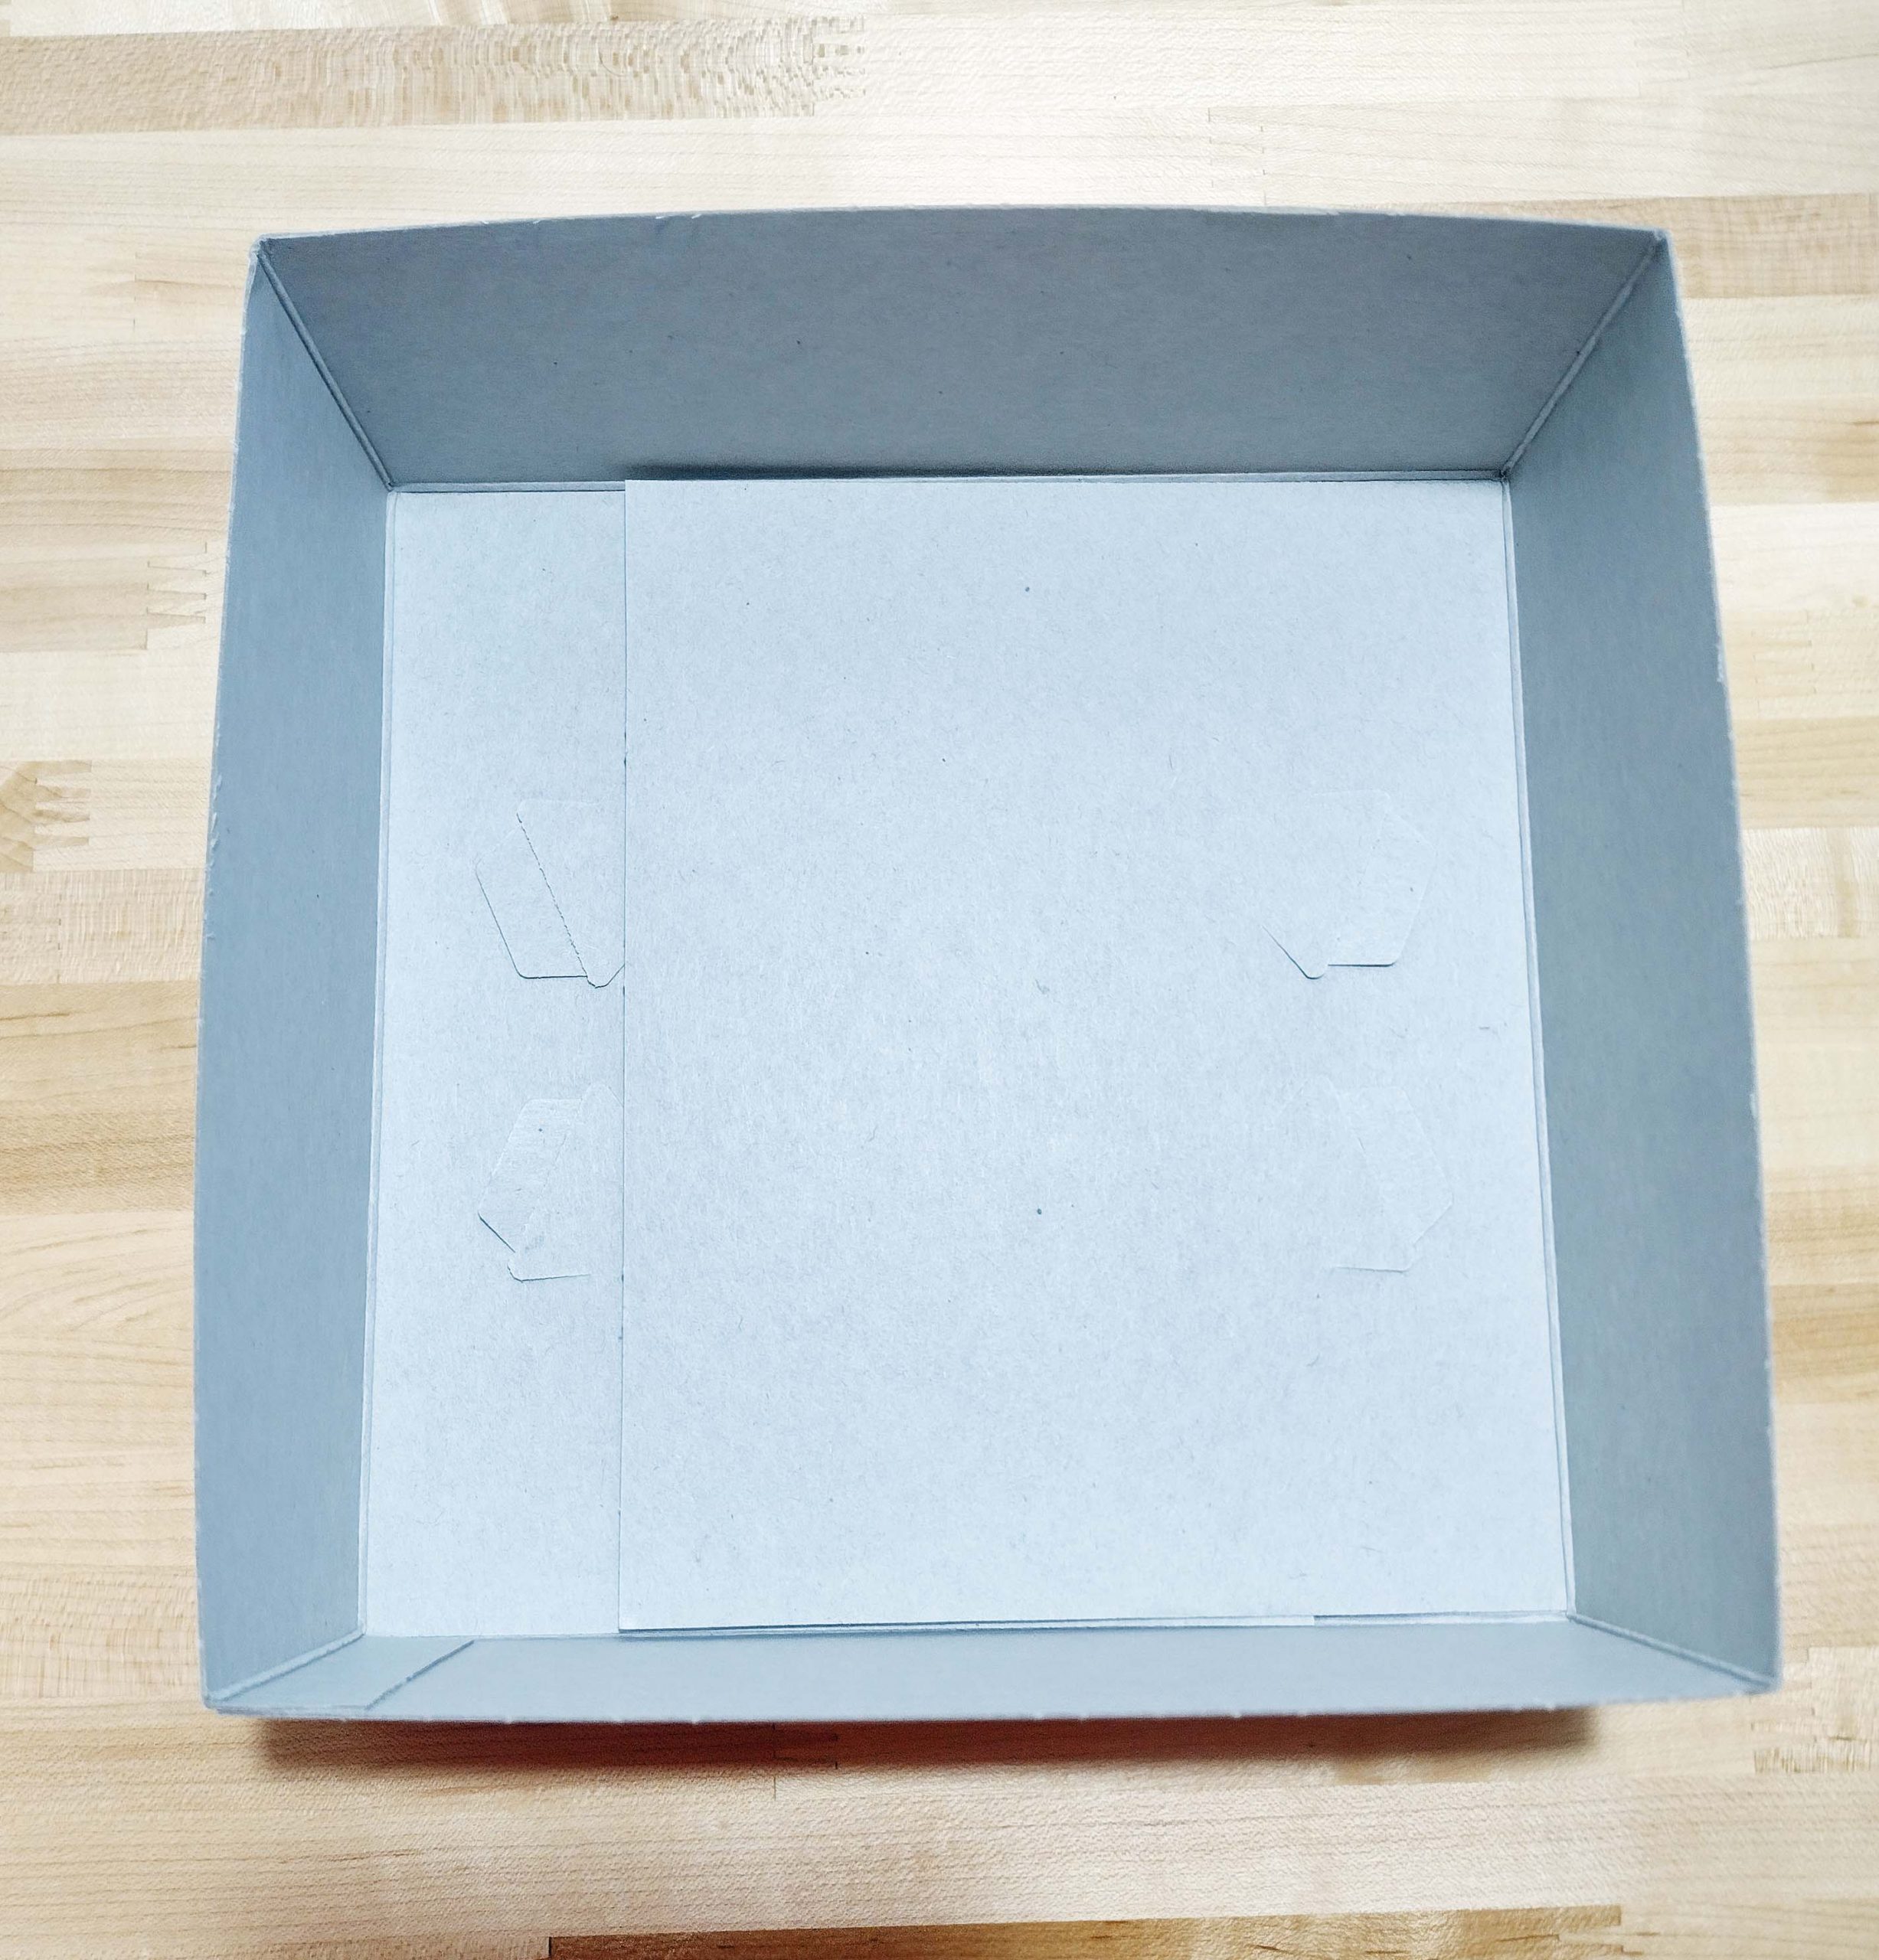
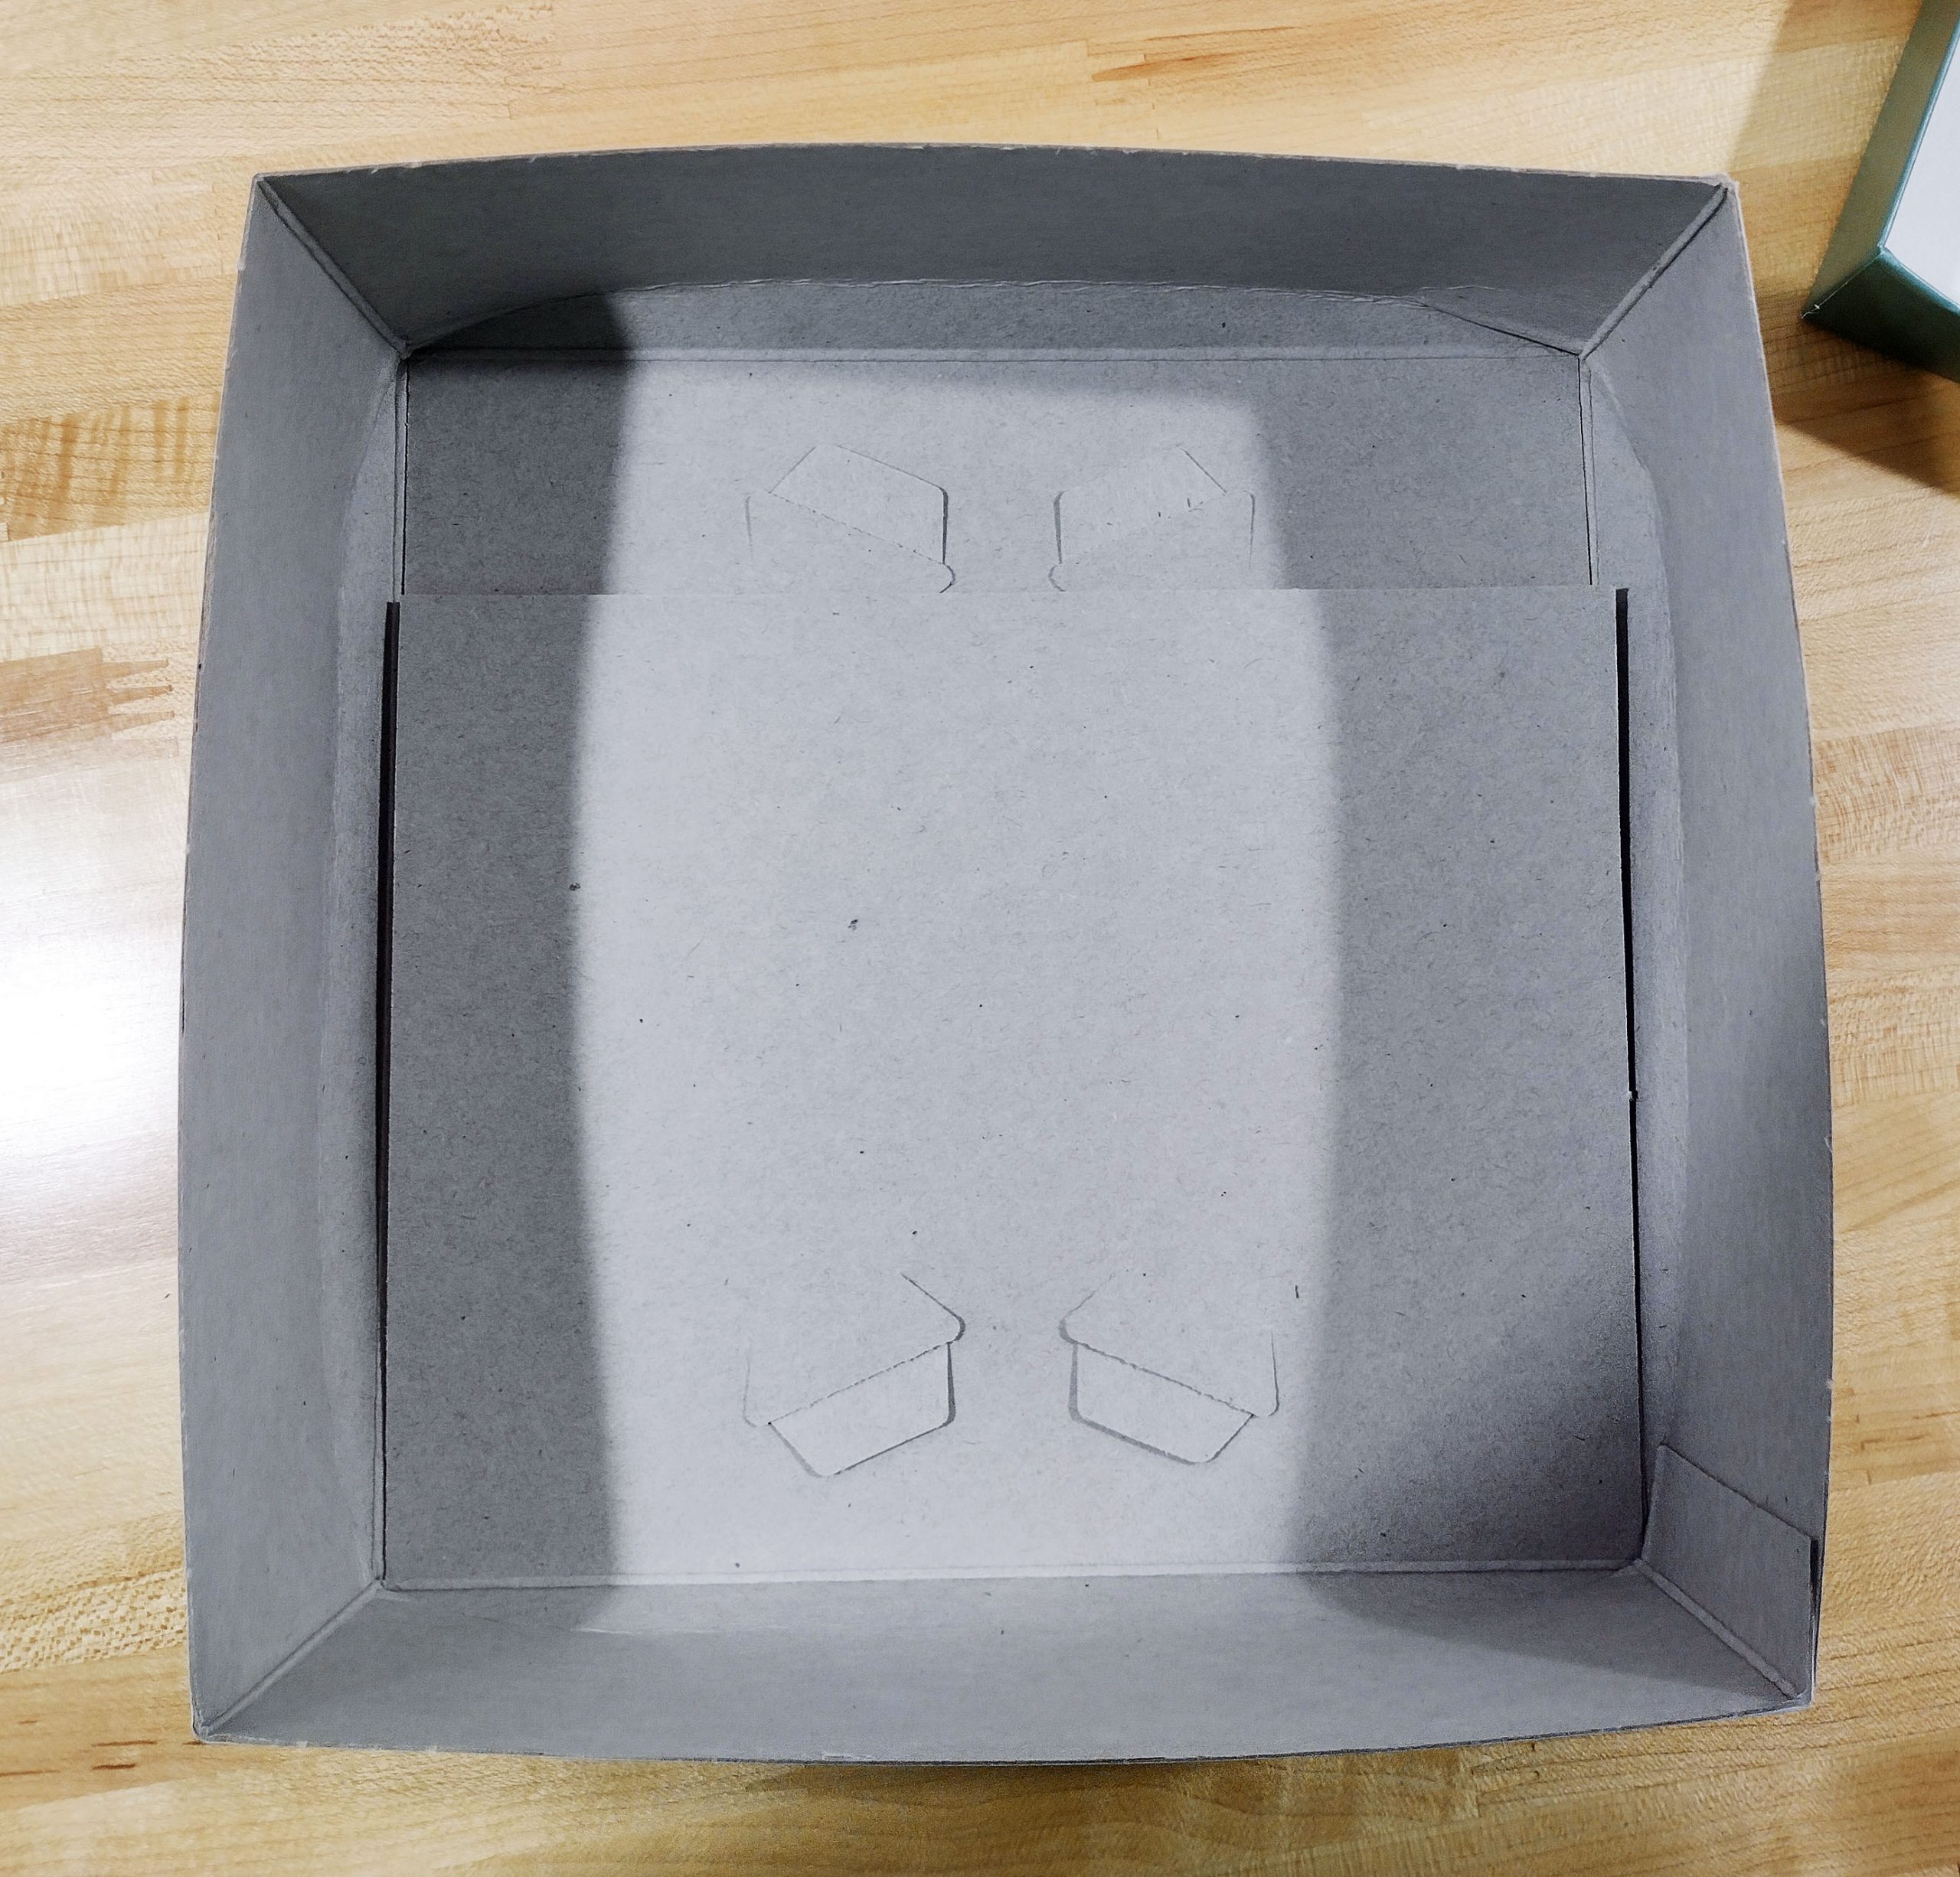
With everything removed and the lid off, here is the inside of the box.
The next criterion was to not fall open and spill its contents when knocked off the counter. I took another new 8″ x 8″ x 3″ box for this test. I filled it with the multi-age unicorn puzzle from my last blog entry. It had been previously stored in a little plastic rubber maid container and needed an upgraded home. I decided it could be a potentially sacrificial test subject. It was already missing one piece, so….
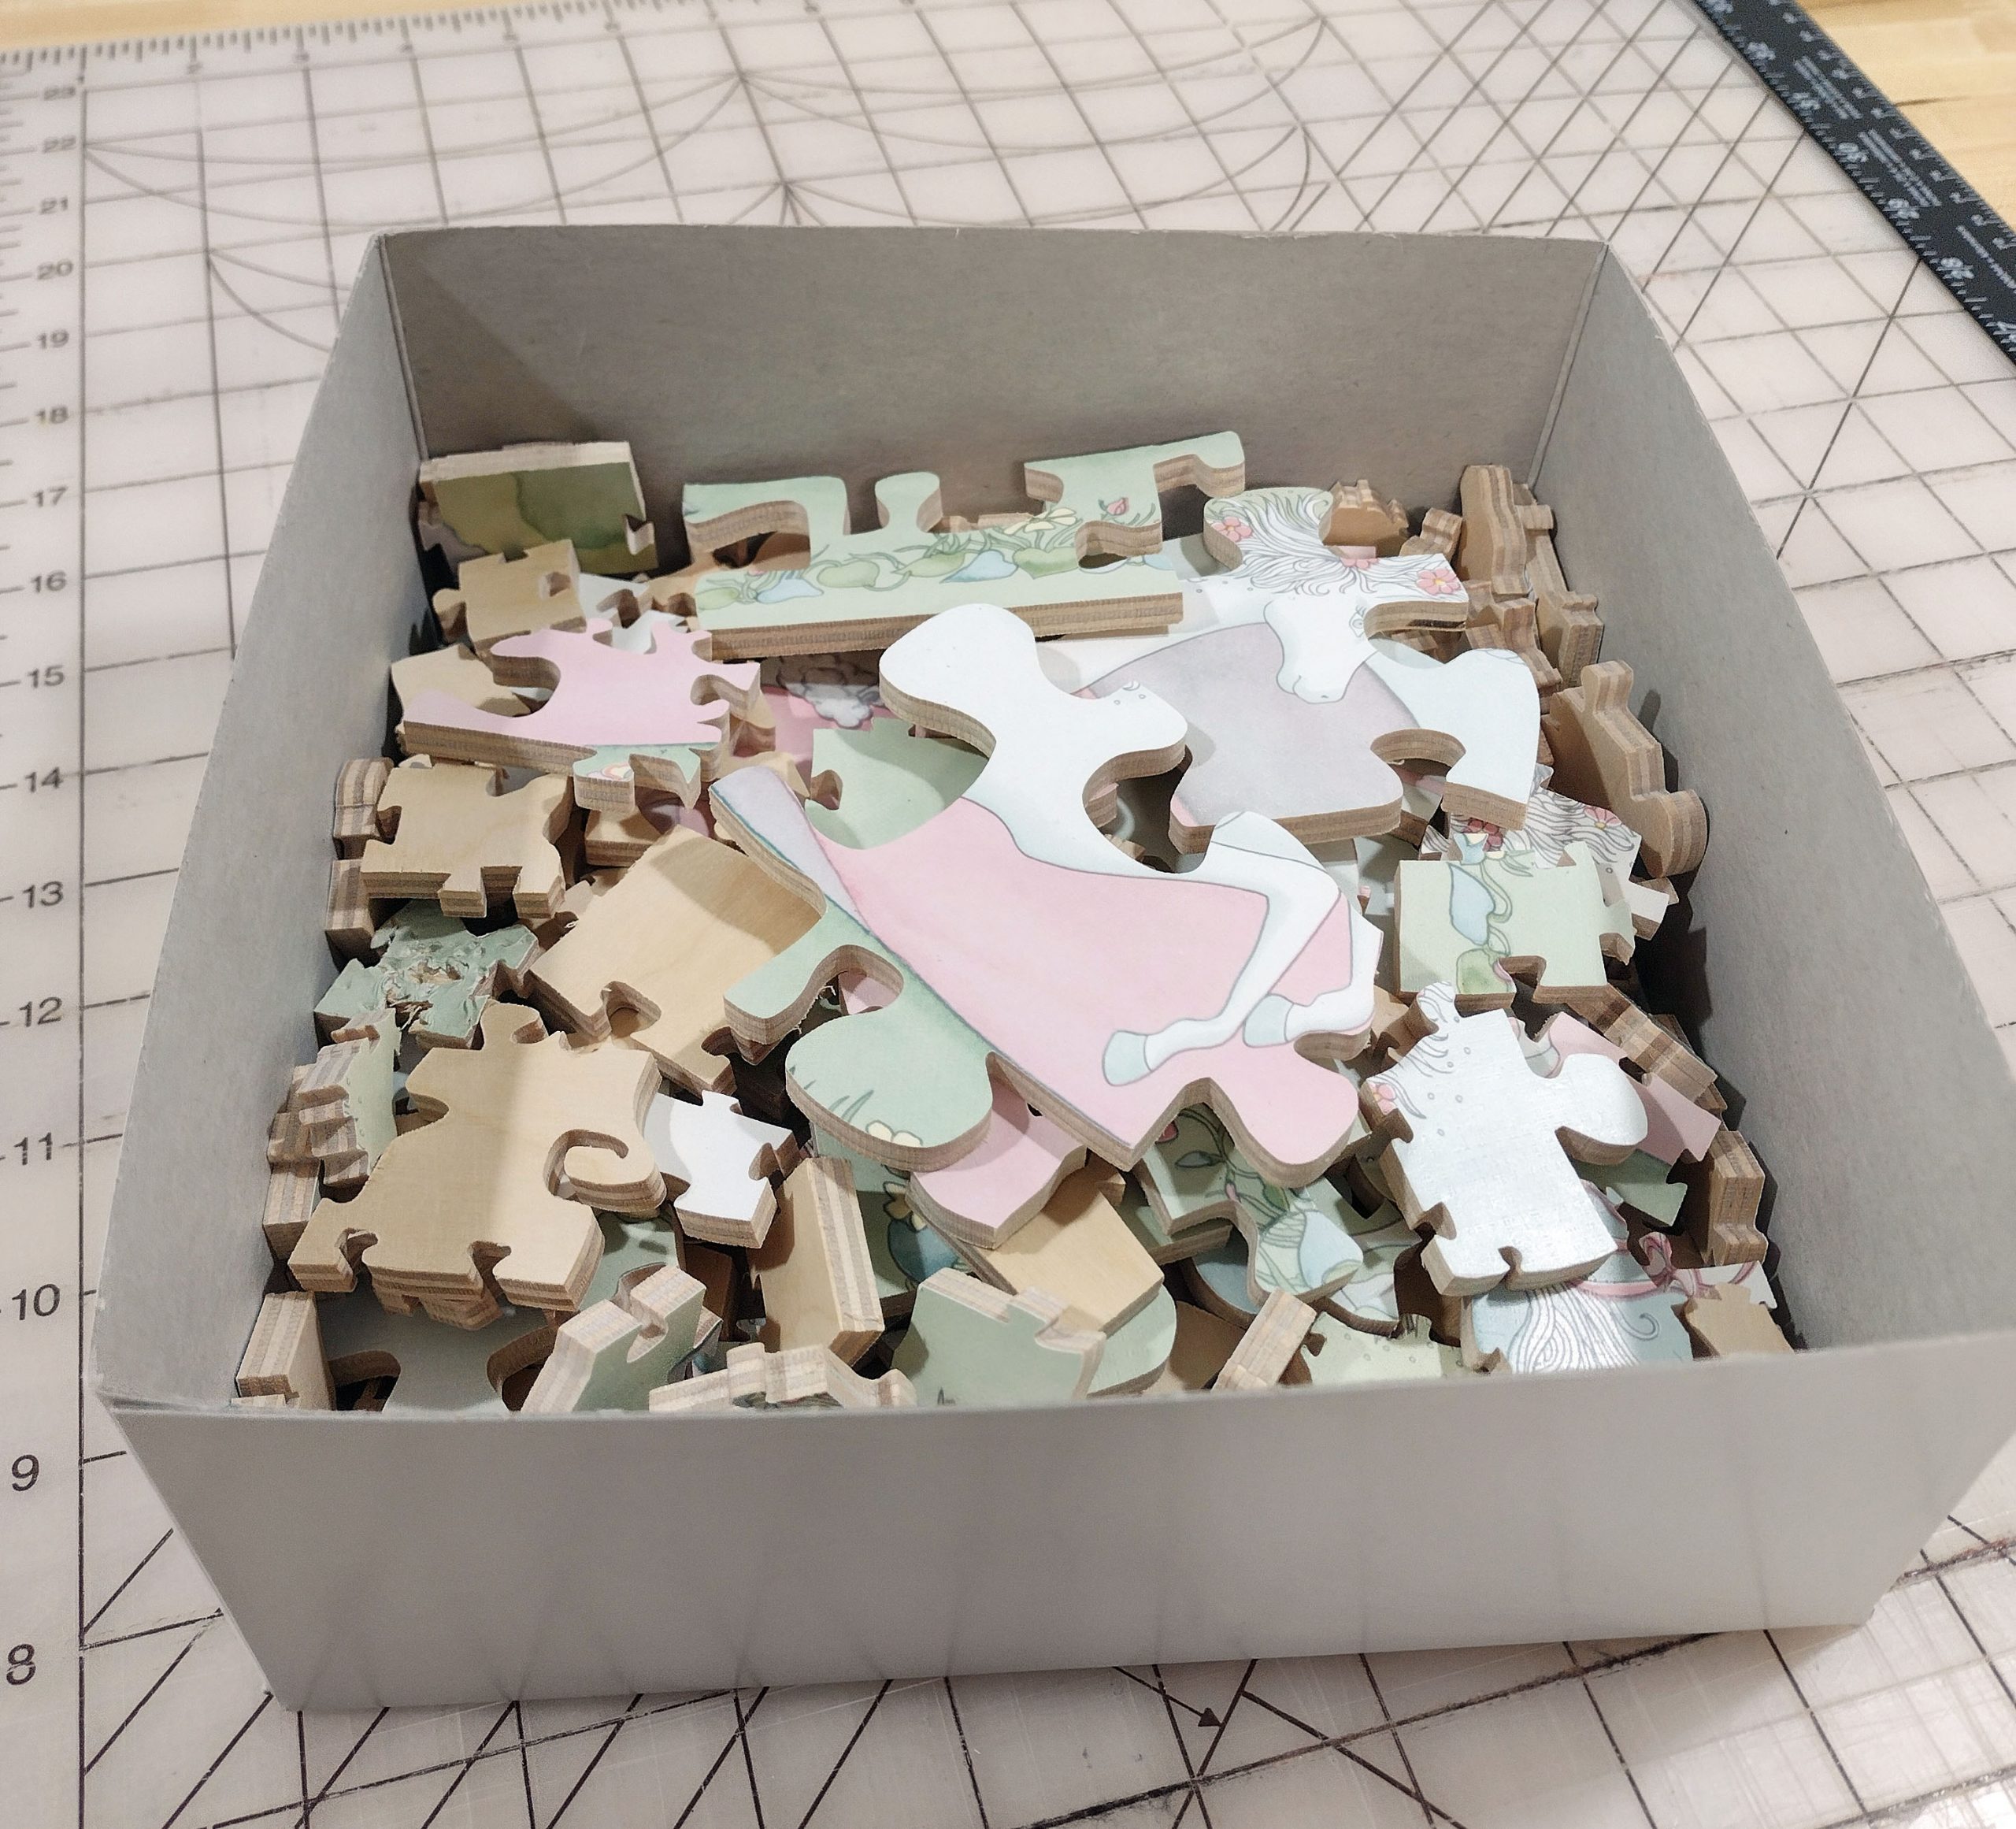
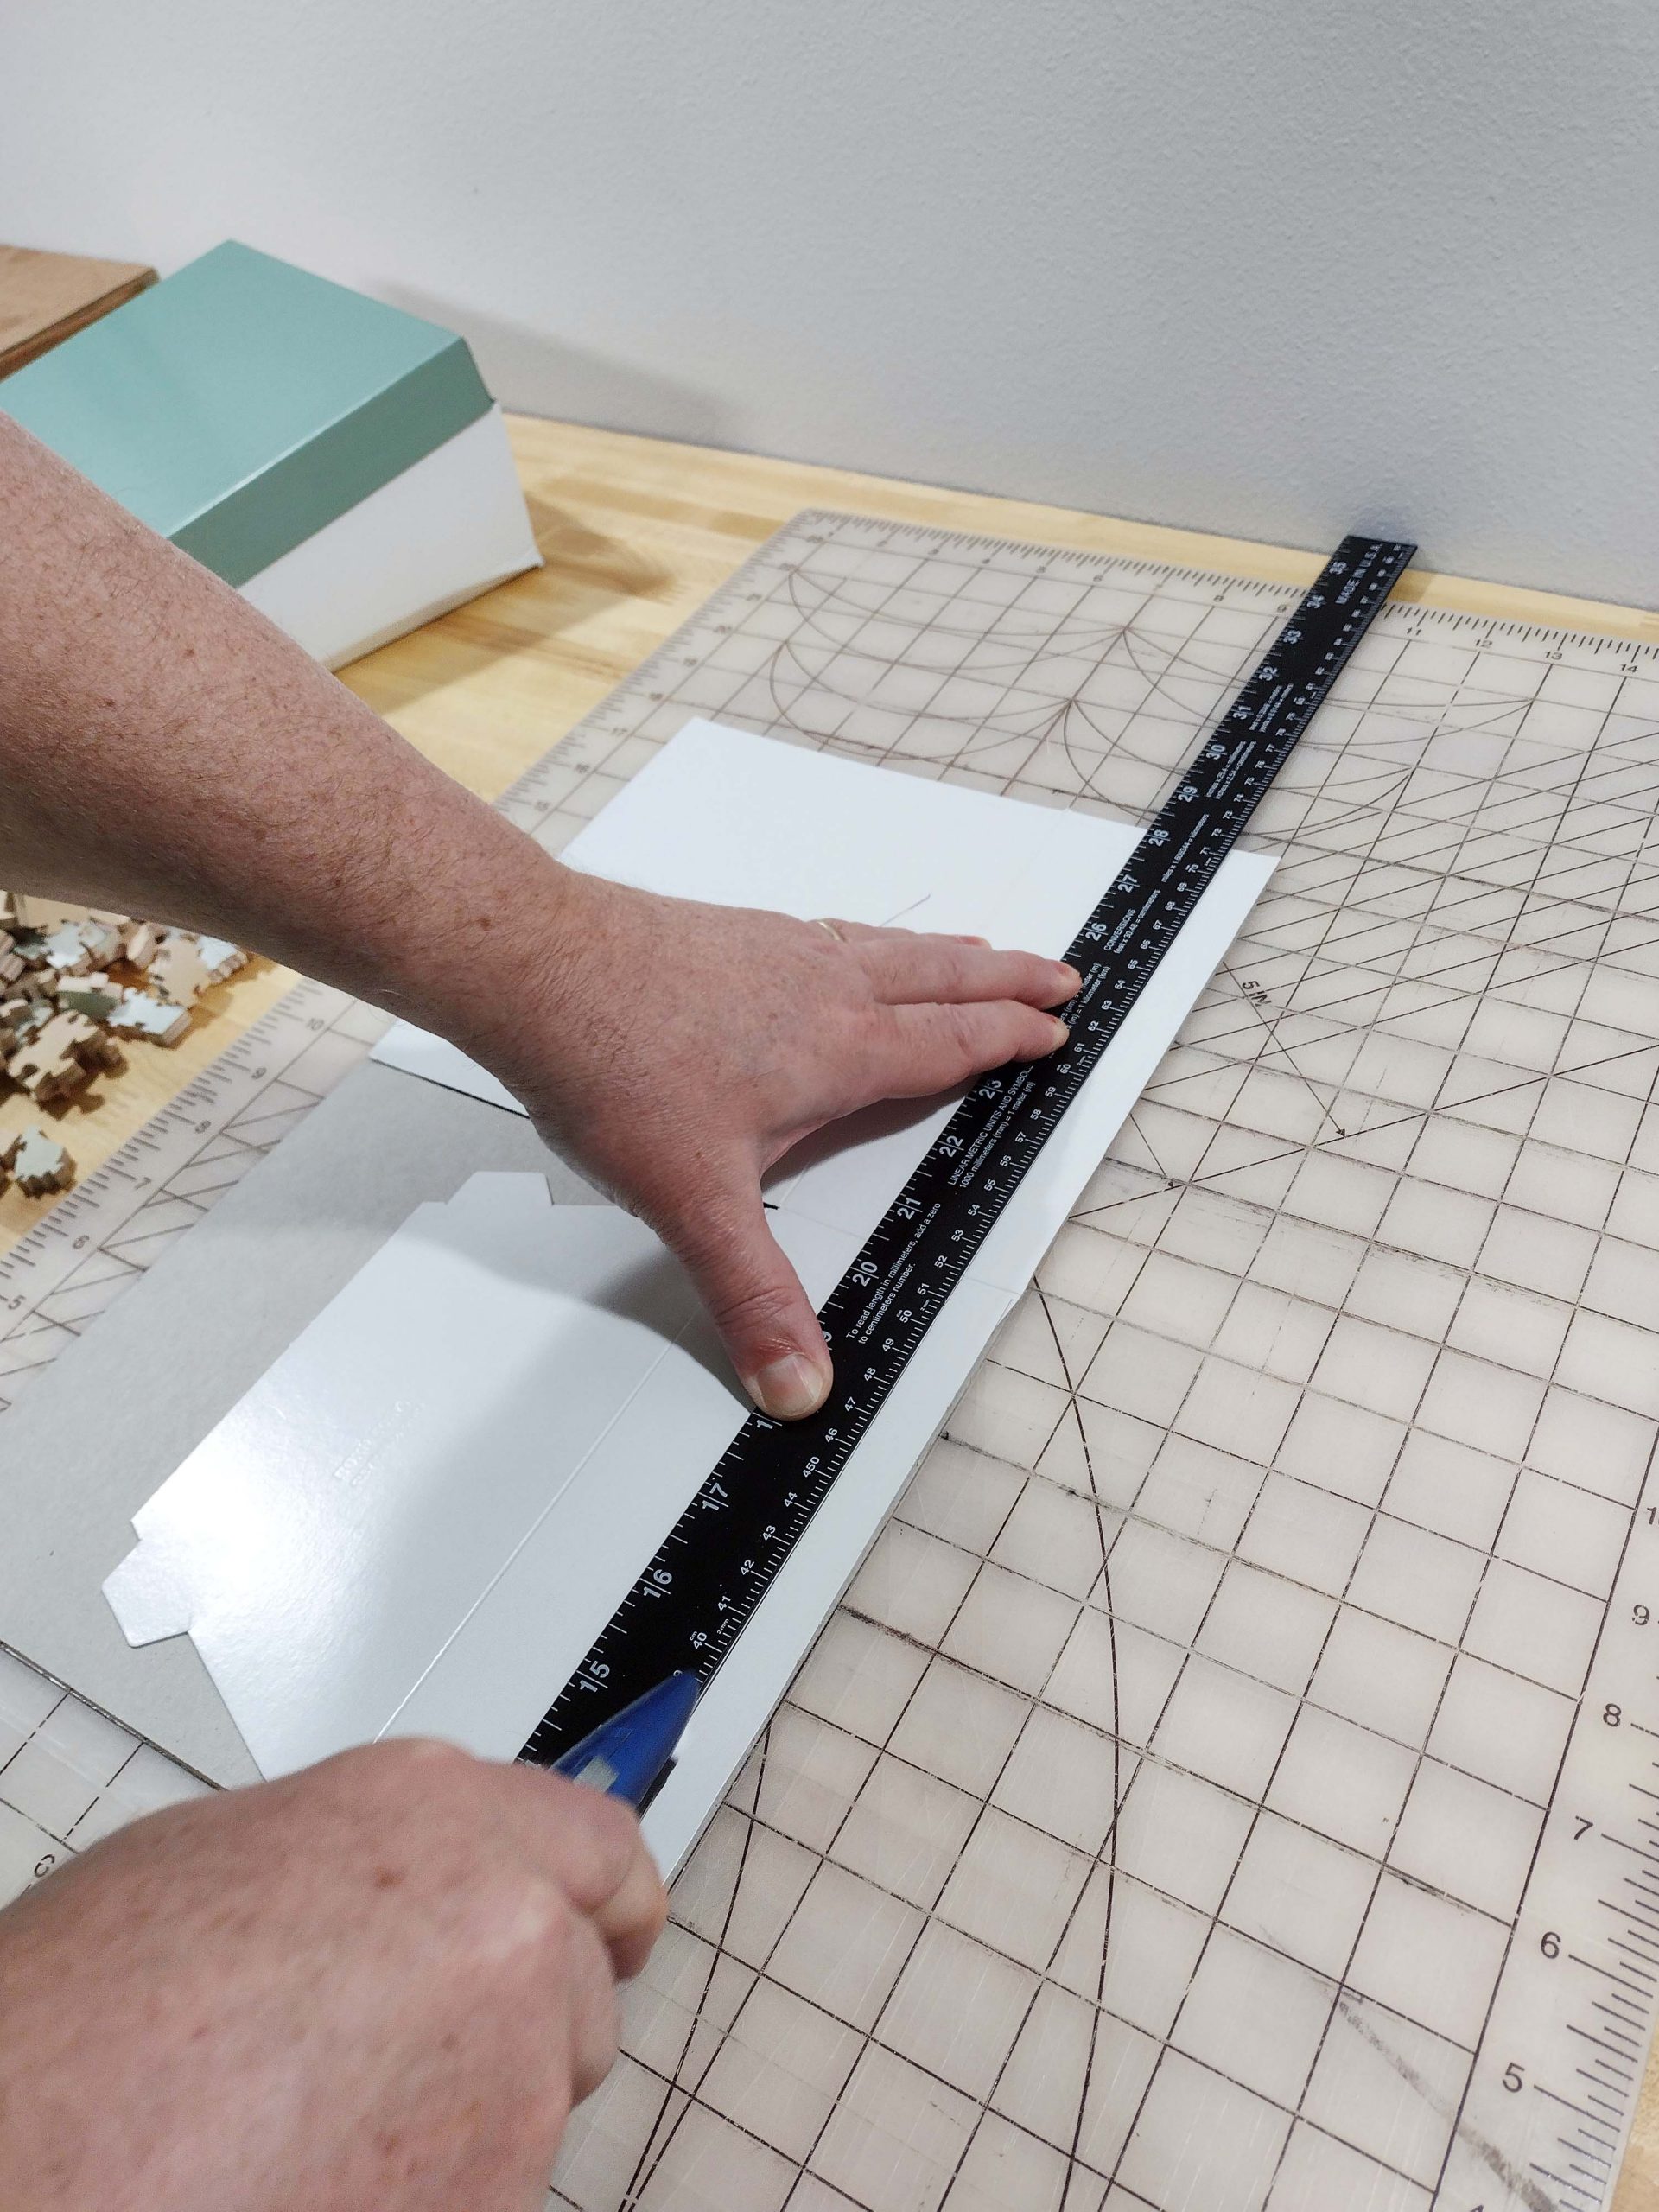
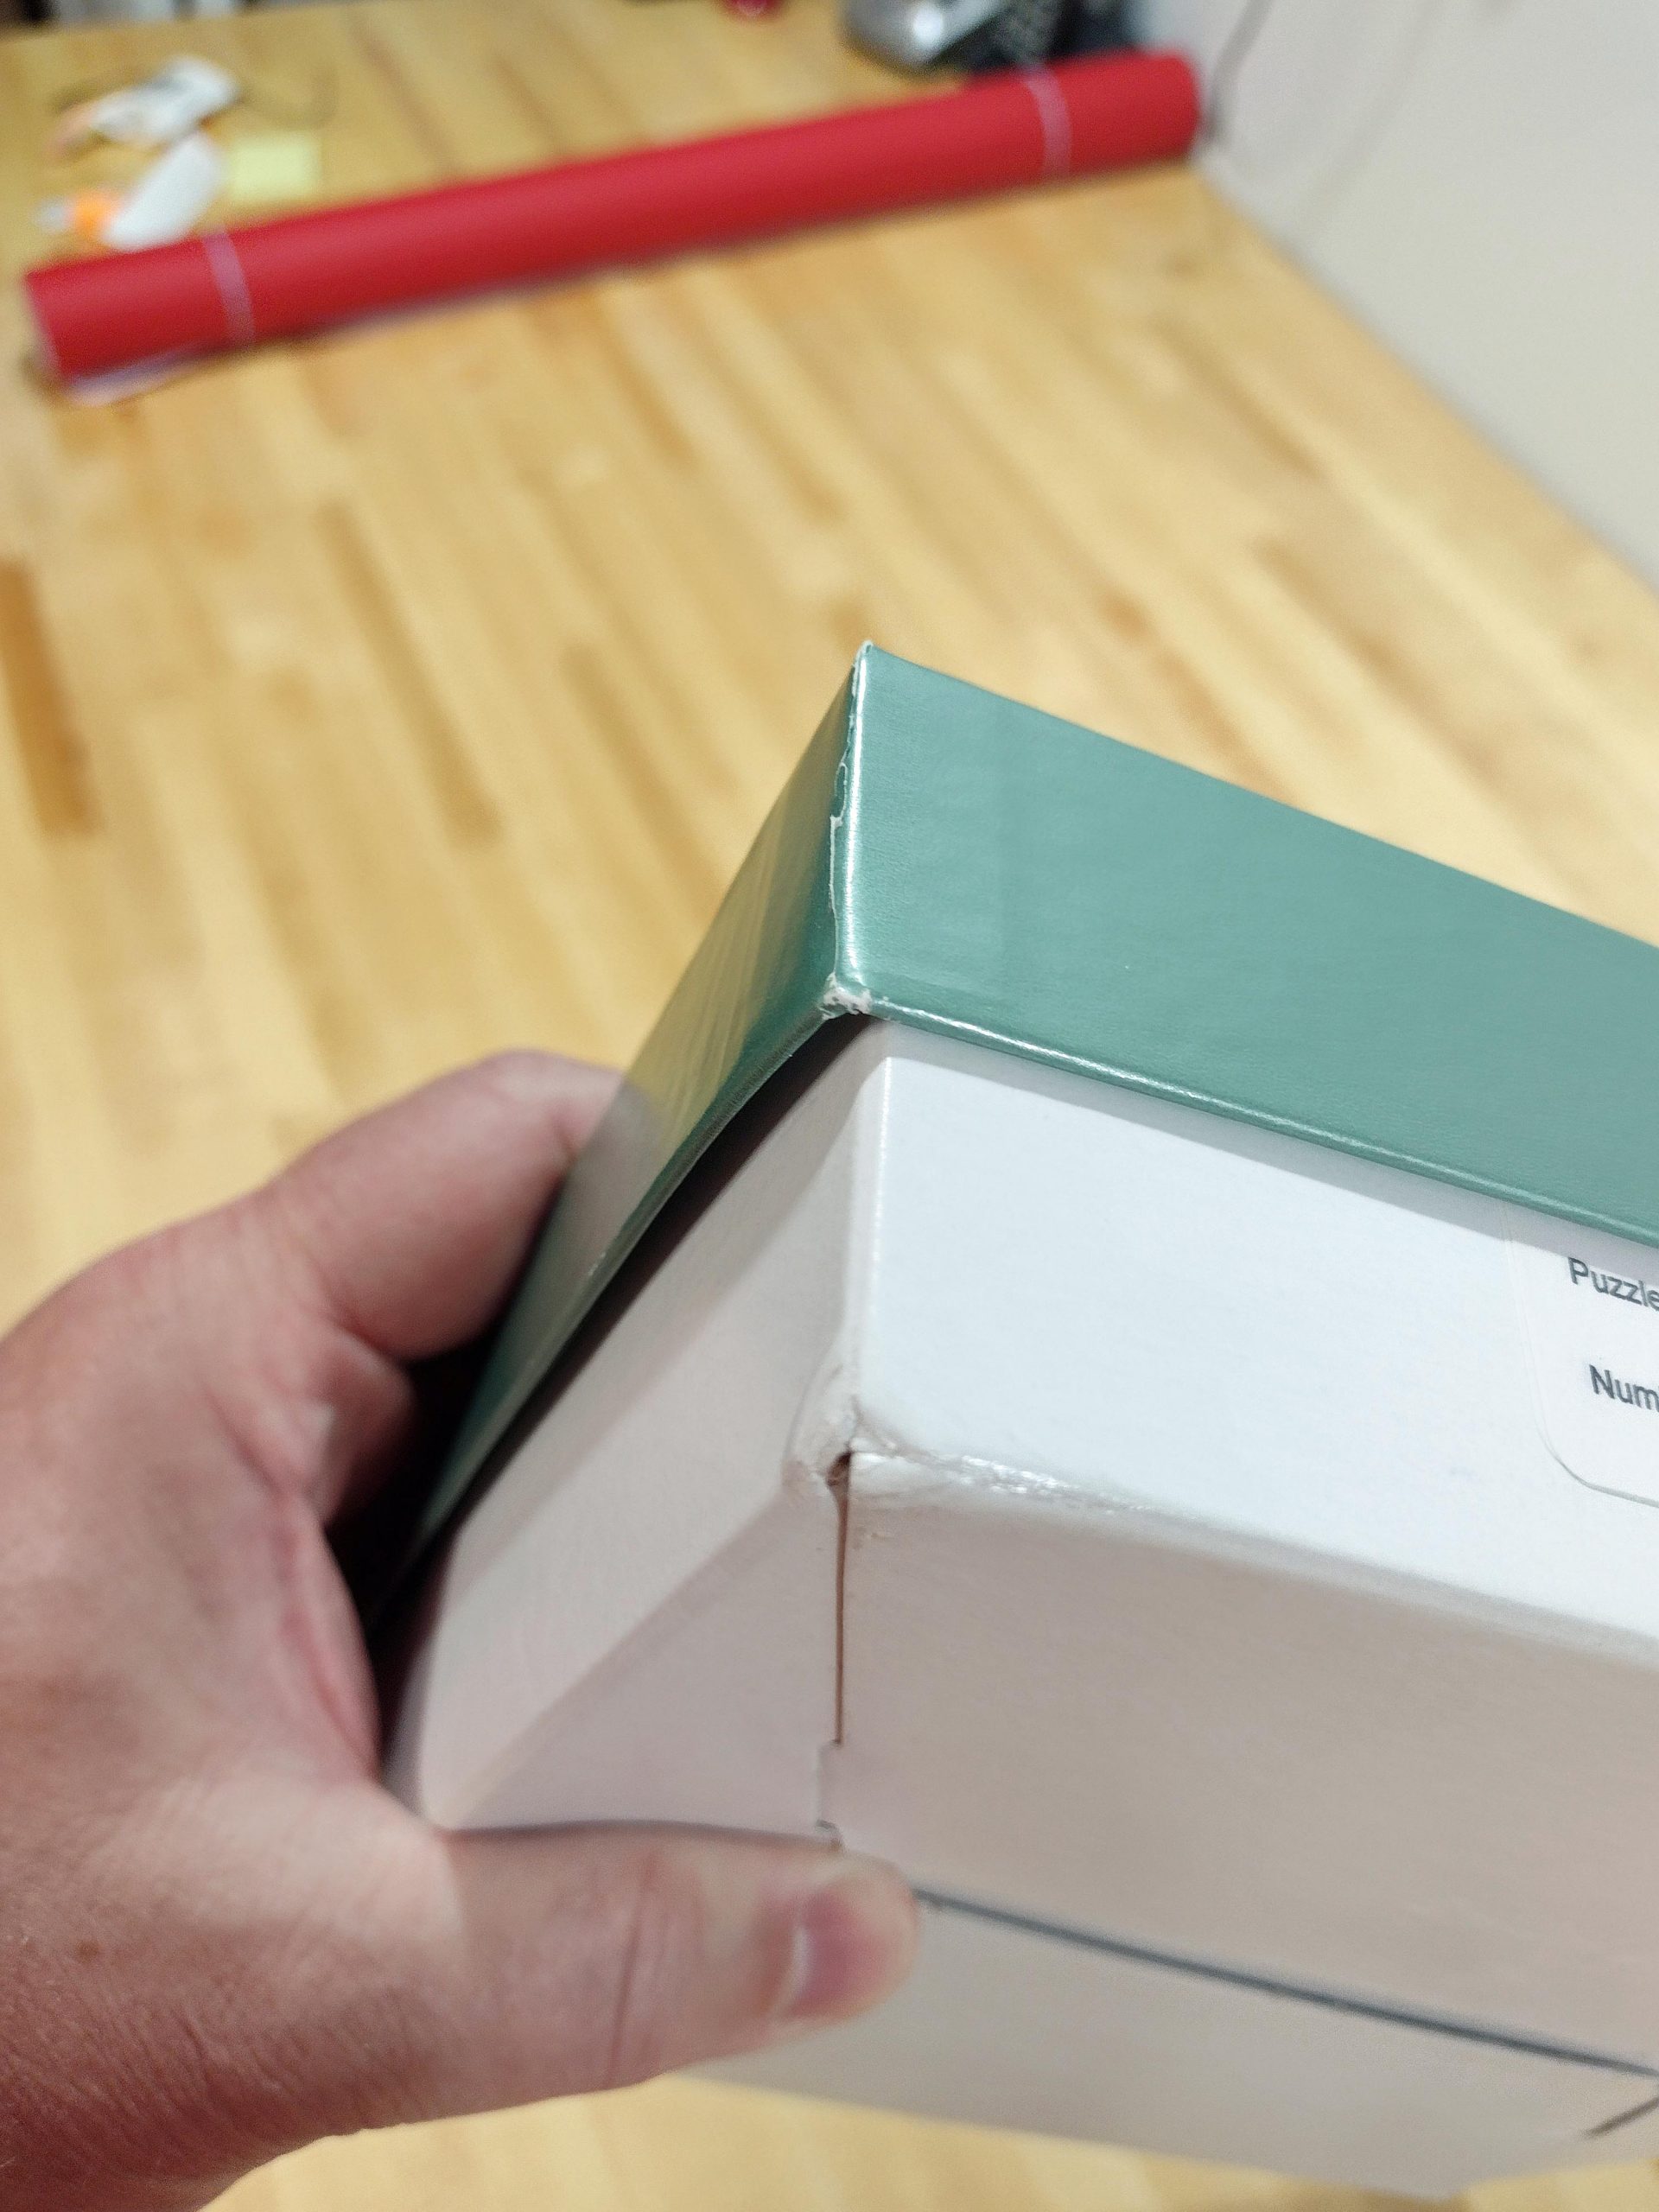
As you can see, the box is only about one half full. That is a complaint I have noticed in the Facebook groups. People do not like it if the puzzle rattles around too much in the box. That is one of the nice things about these folding boxes. You can custom fit them to the size of the actual puzzle it is being used for. In this next picture, I am trimming the box to fit with a straight edge and a razor. (You can see the bent box from earlier, too.) When doing this, you do need to remember to leave room for tissue paper padding and whatever brochure or other paraphernalia you might enclose in the box with the puzzle.
I taped the bottom flap of the box like I have been doing with my puzzles up to this point.

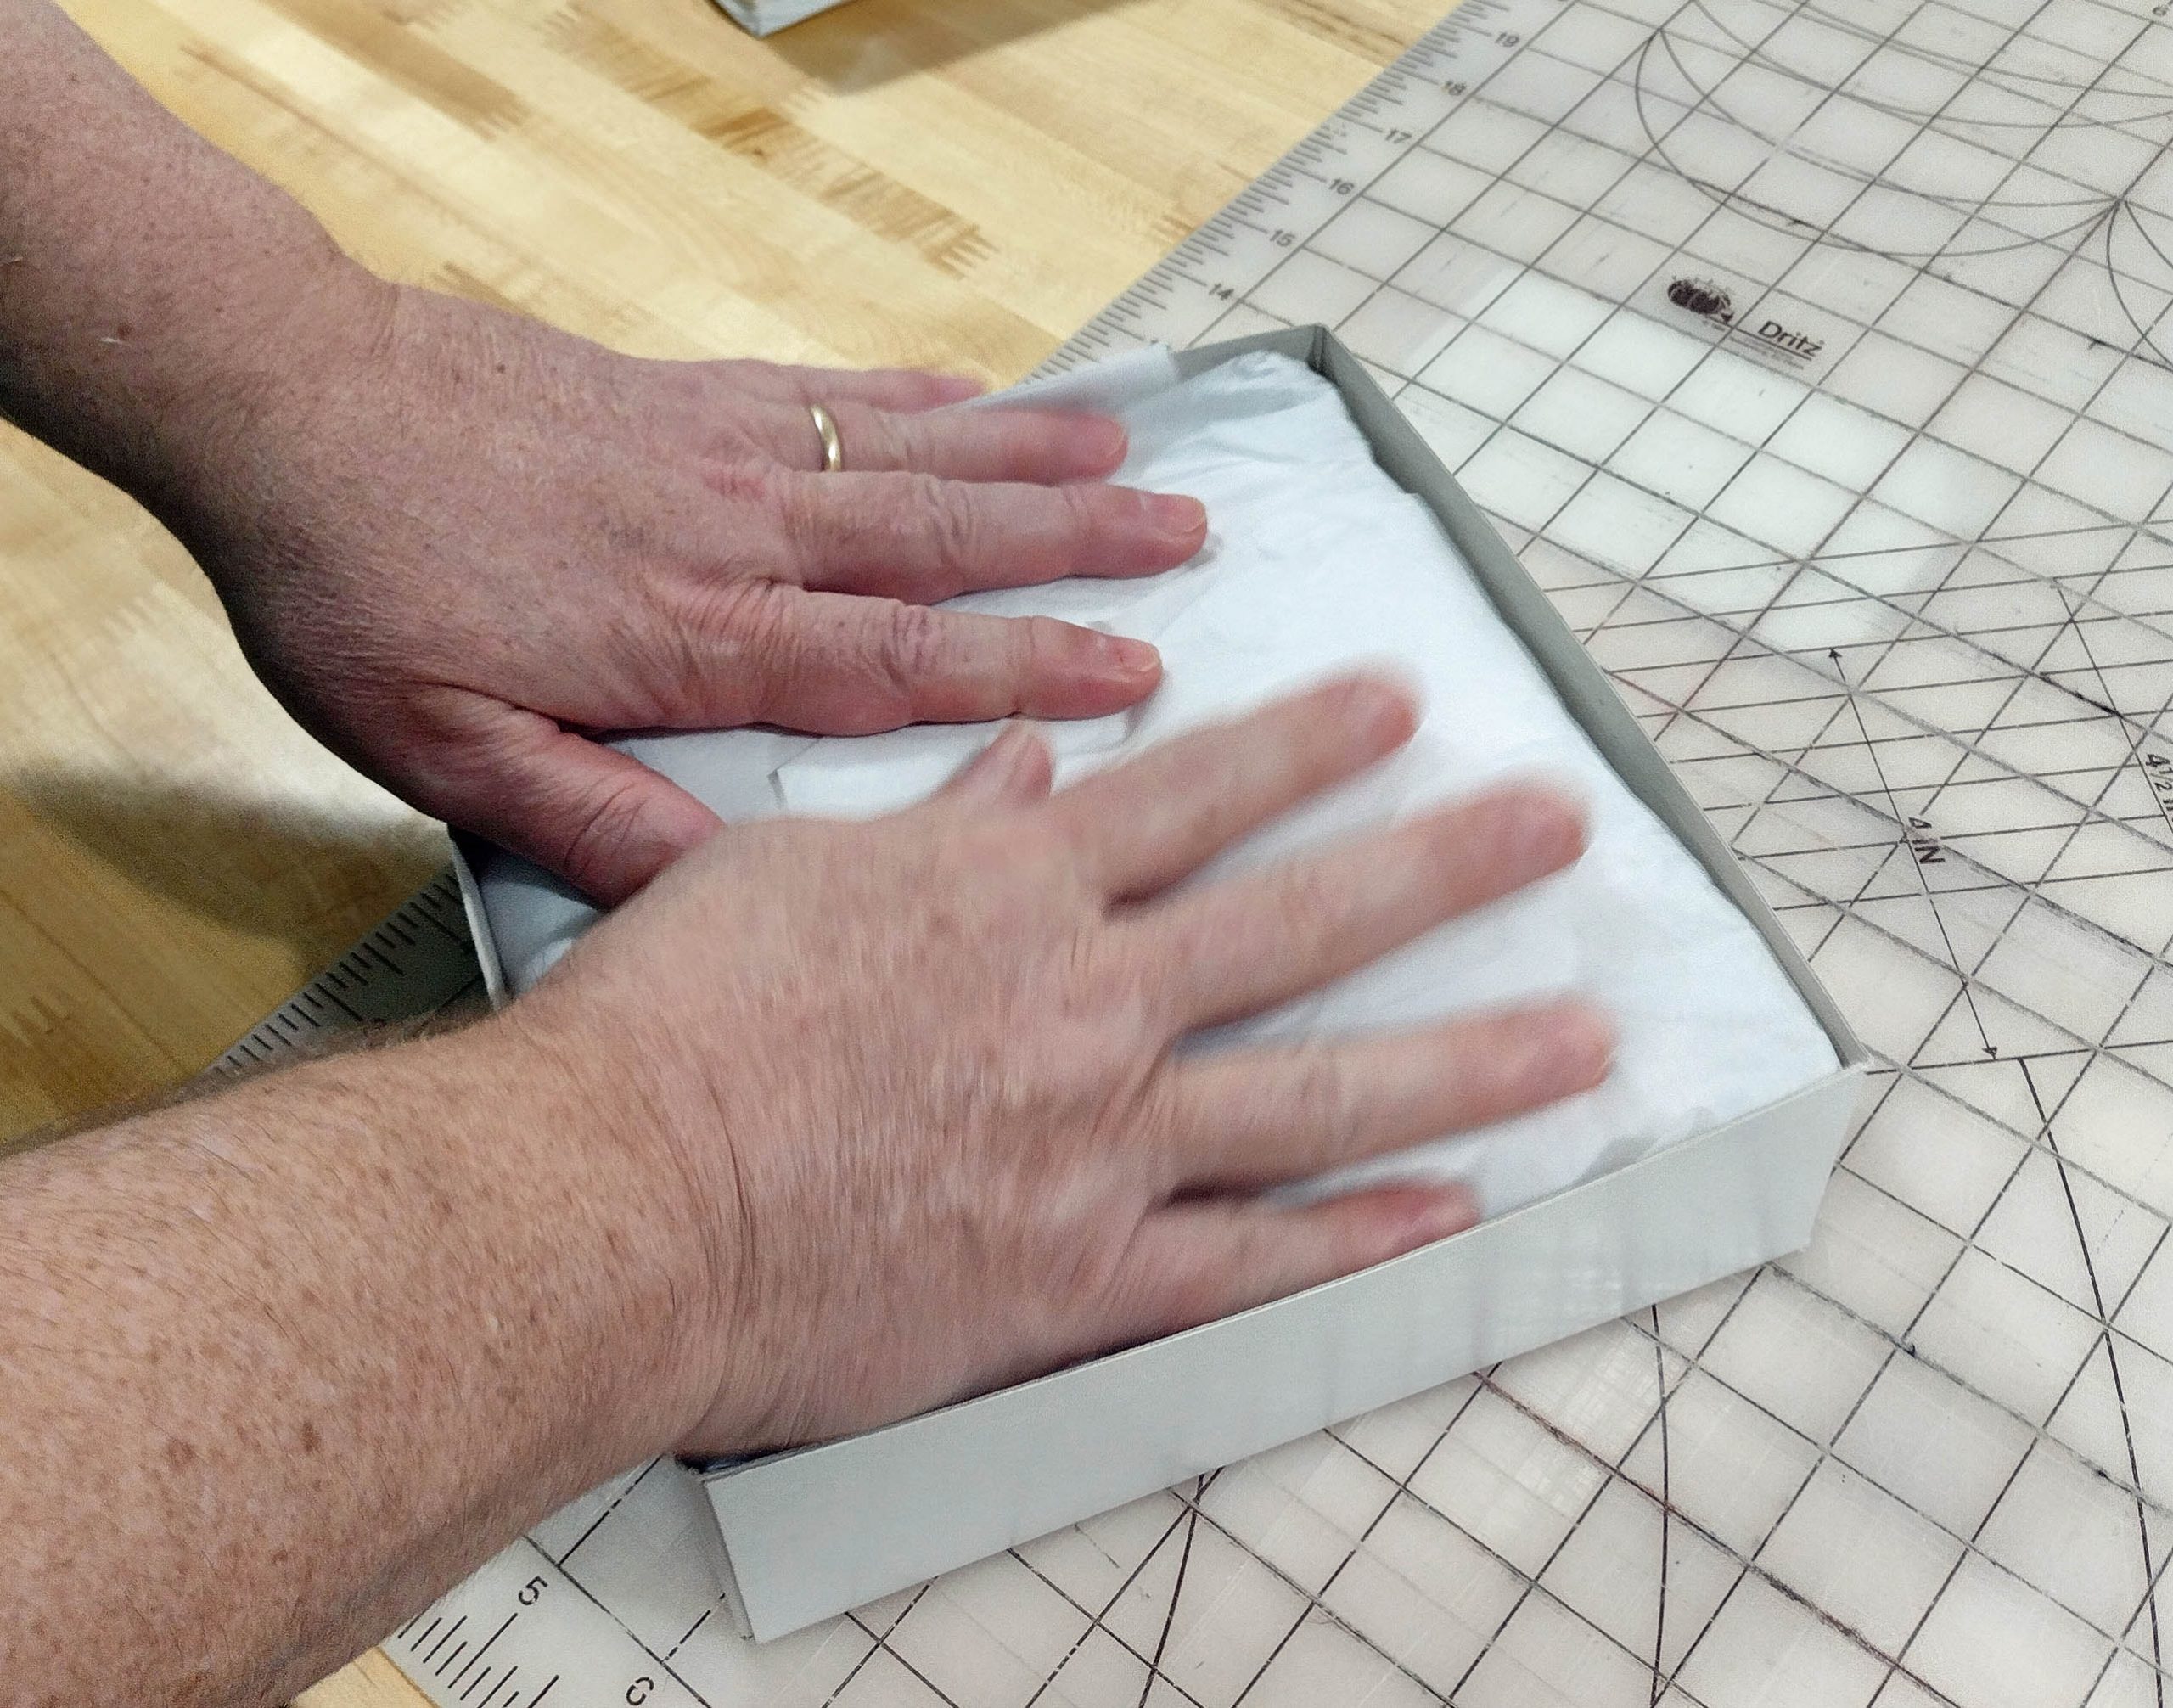
I like to use a couple of sheets of tissue paper to line the box.
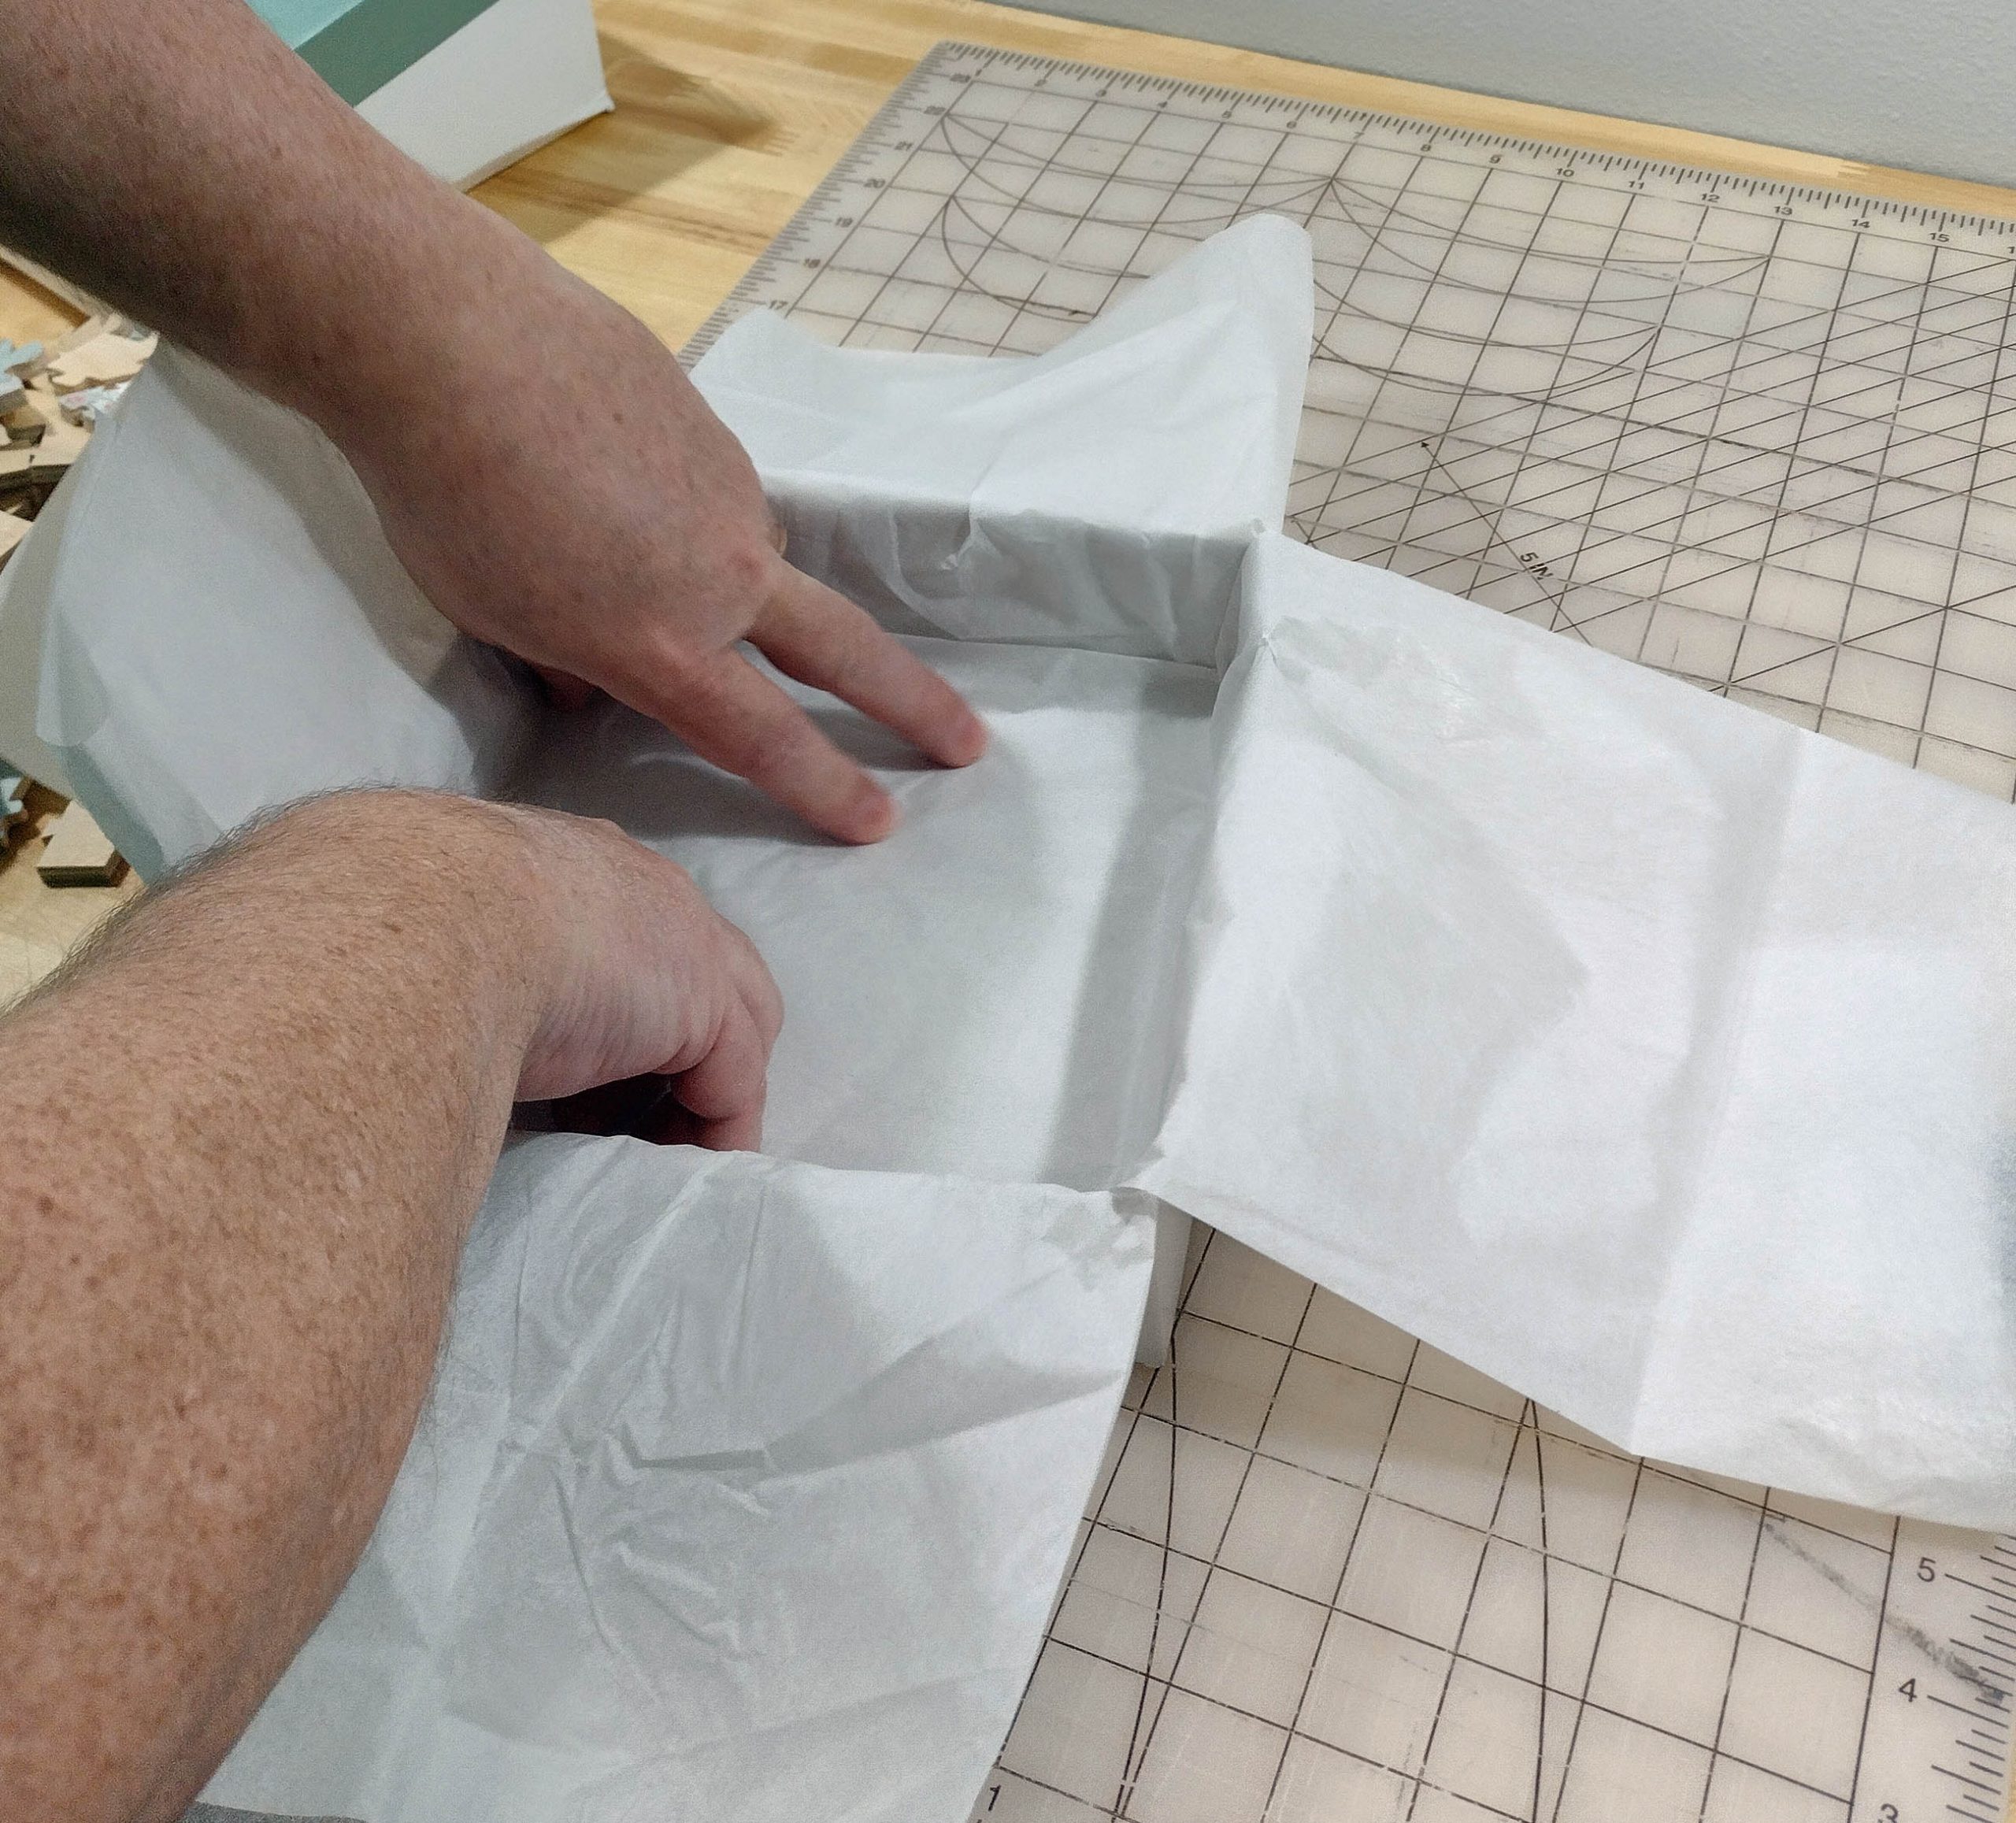
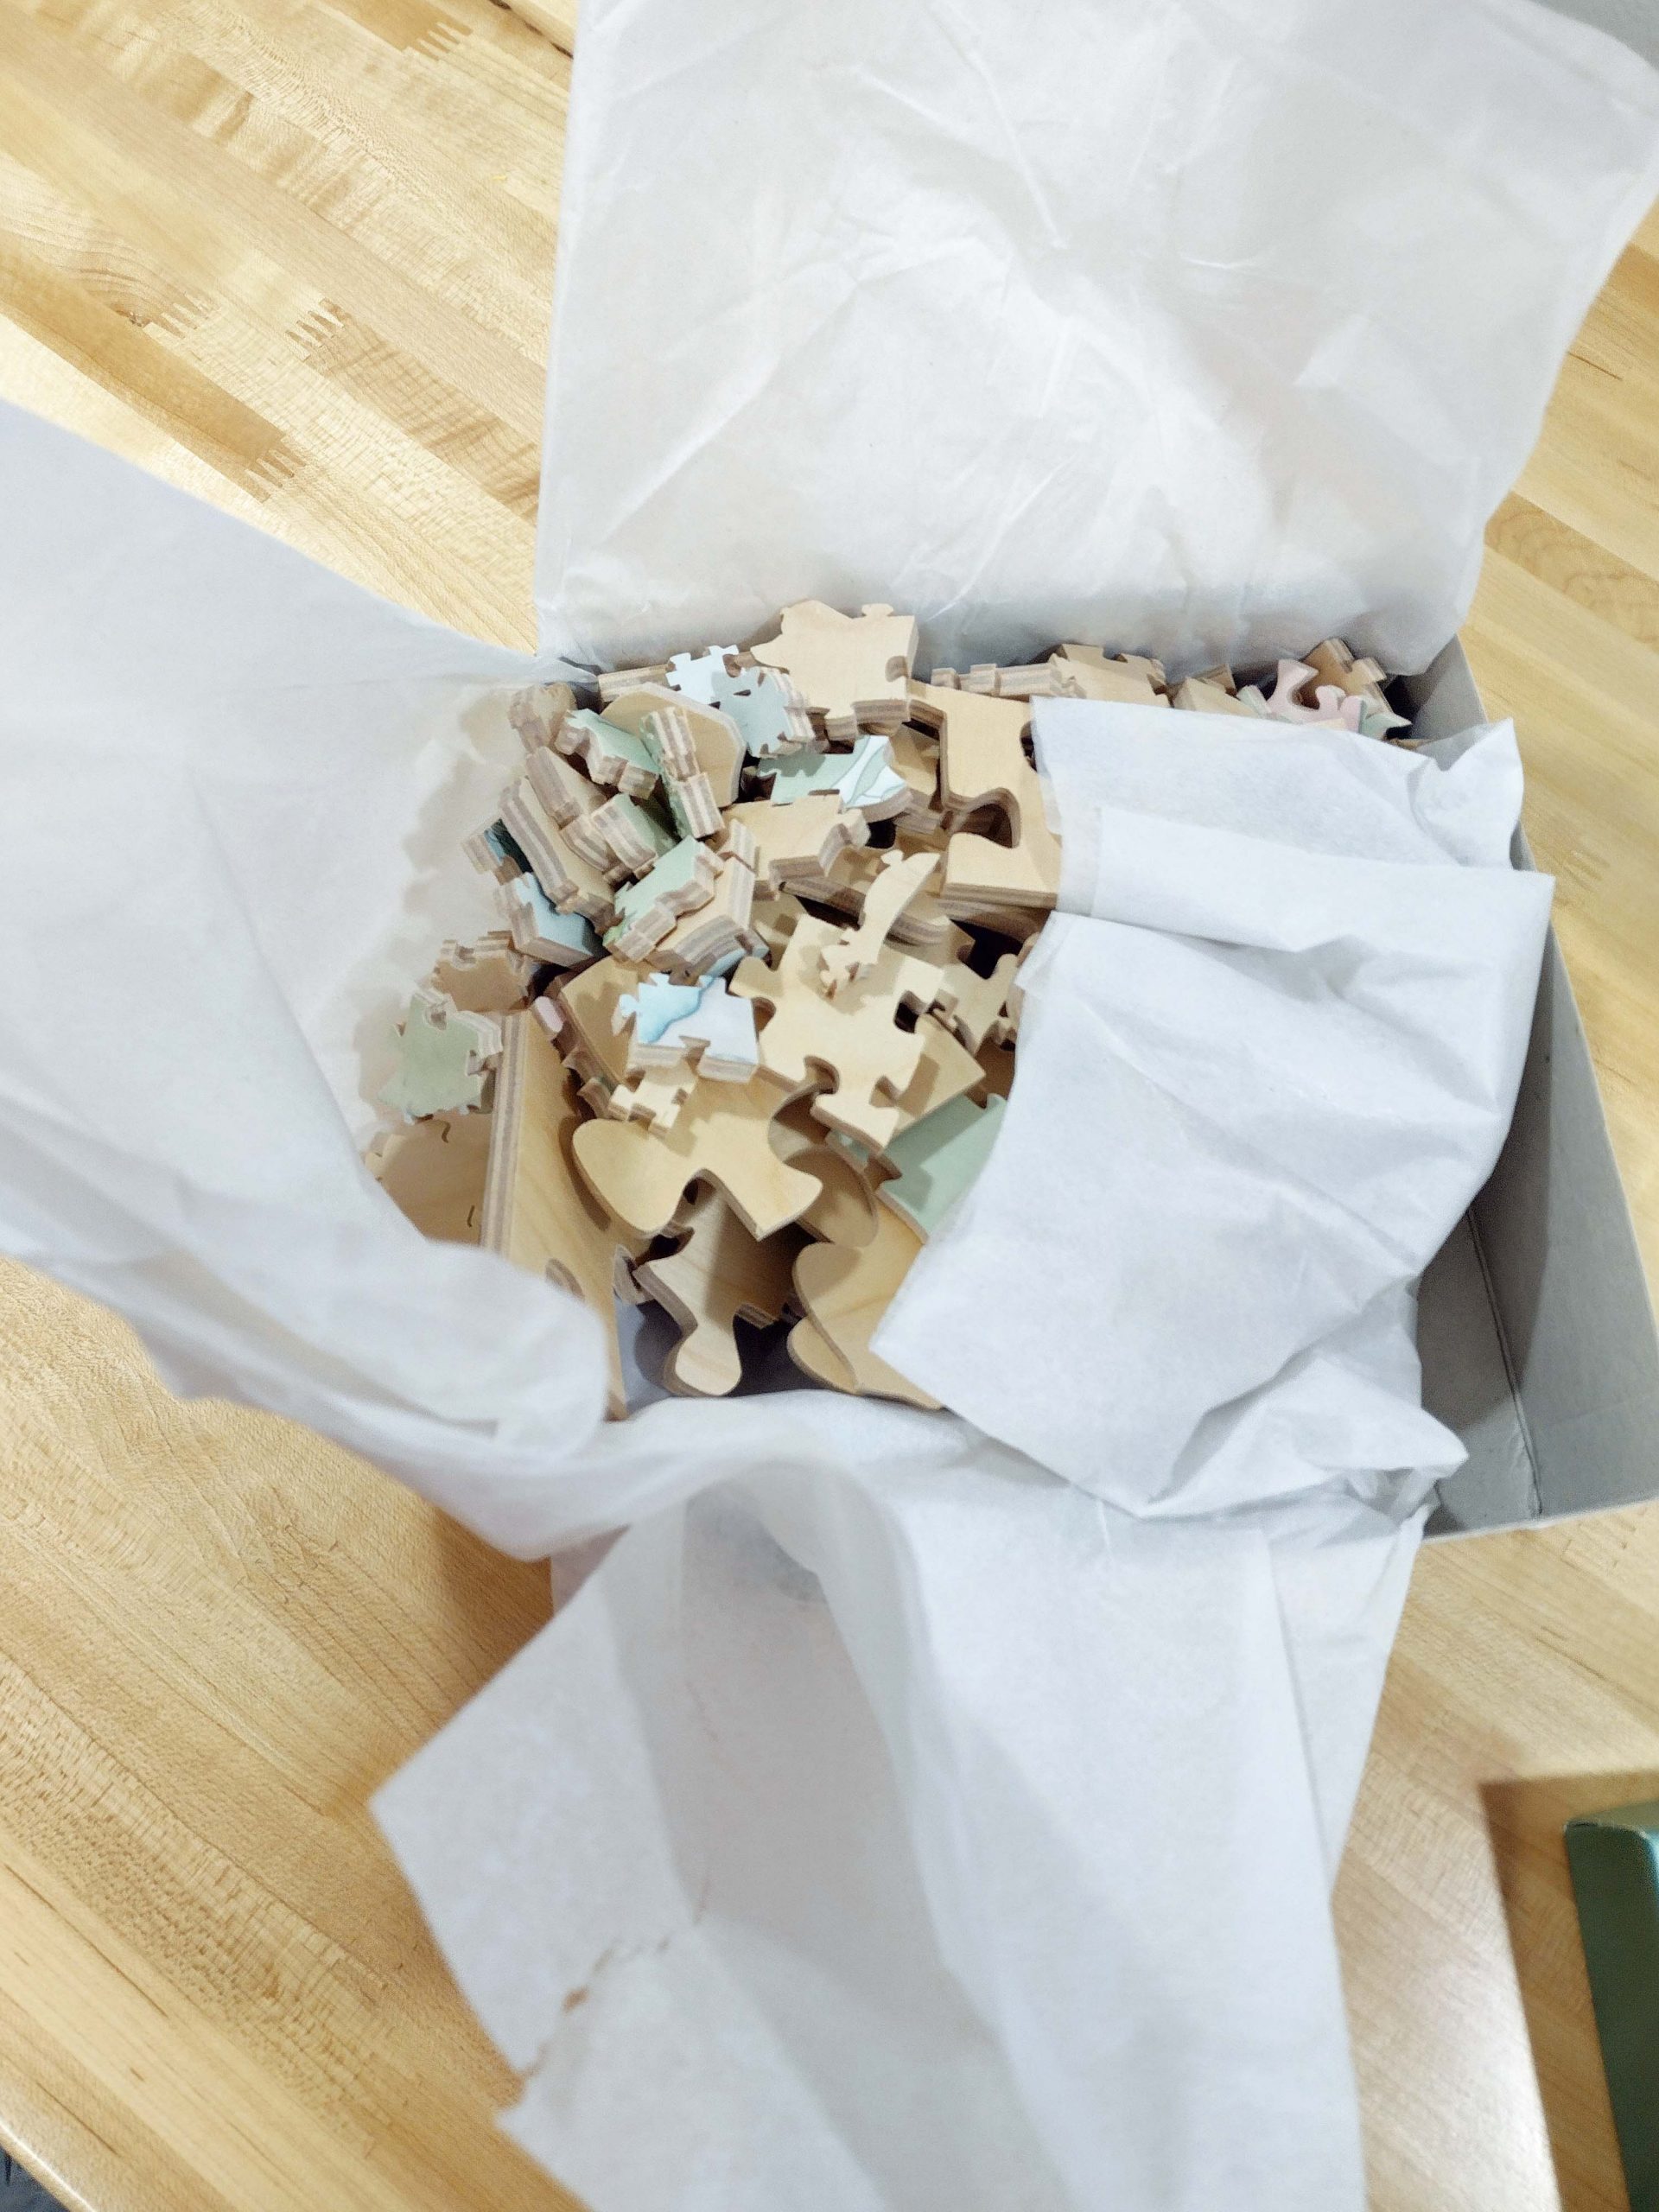
Next is to fill the box.
Fold the tissue paper over.
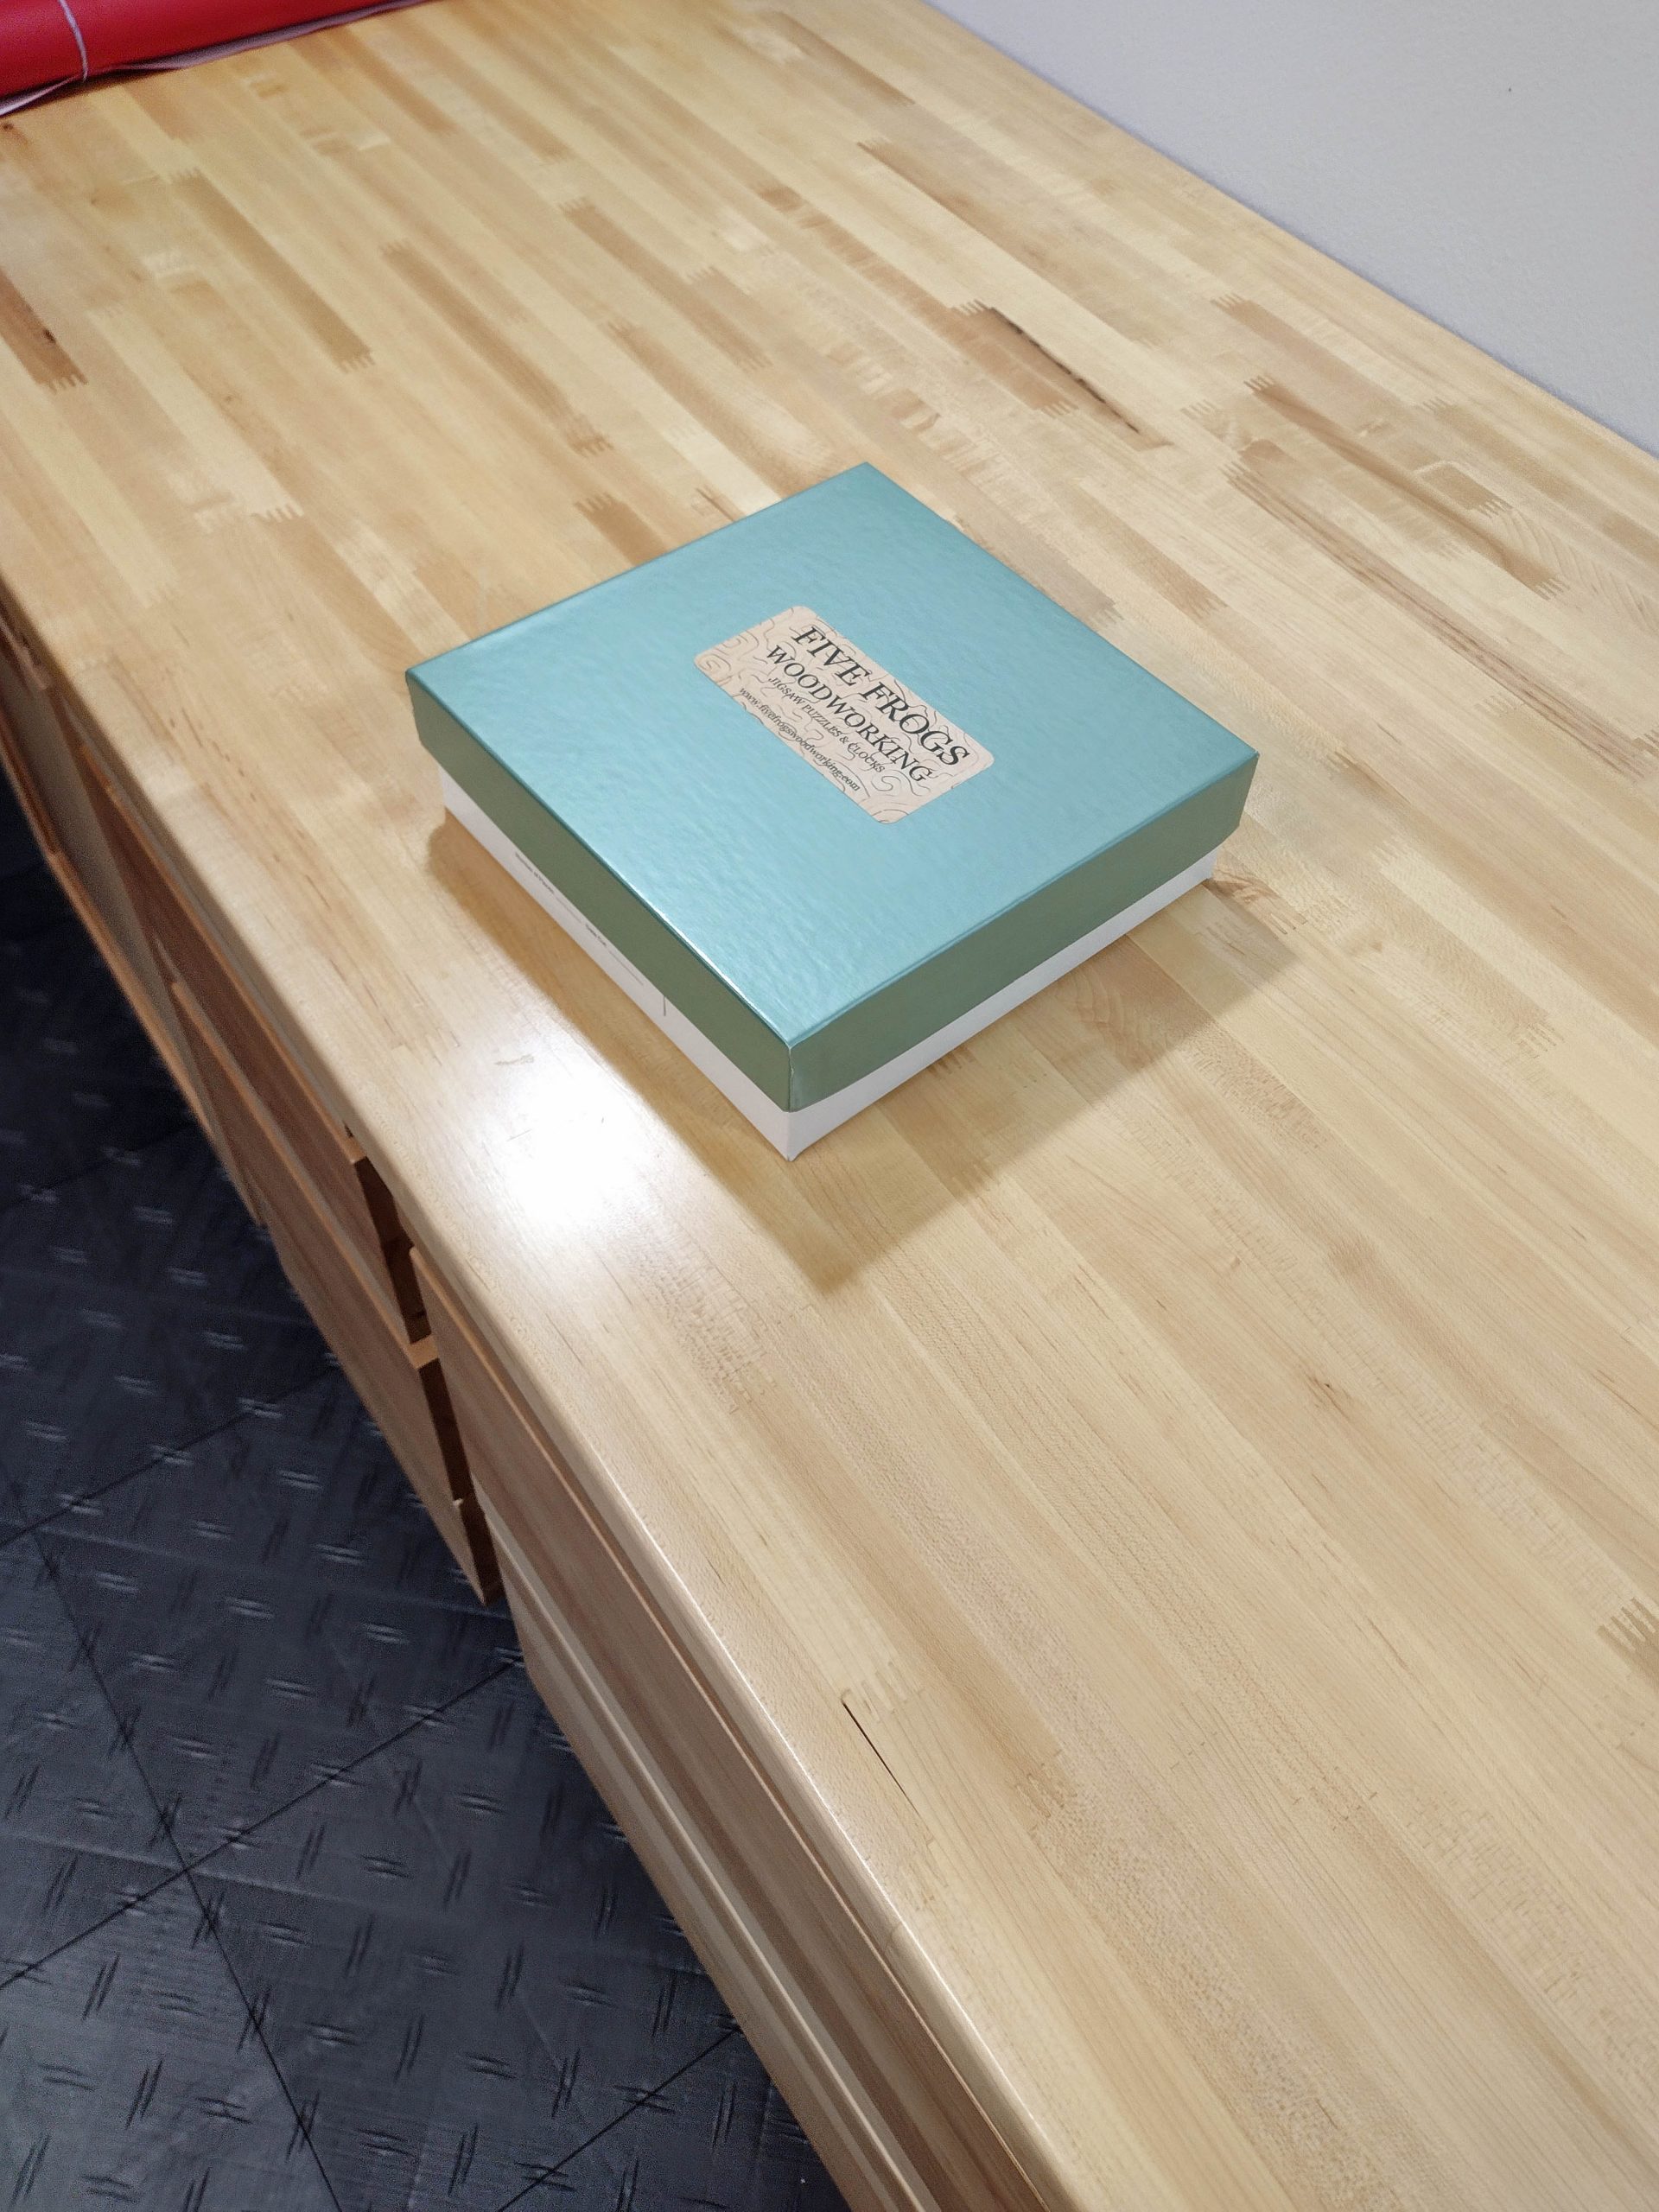
Next was to put a lid on it and smack it off the counter!
The first hit was not very hard. It only flew a couple of feet.
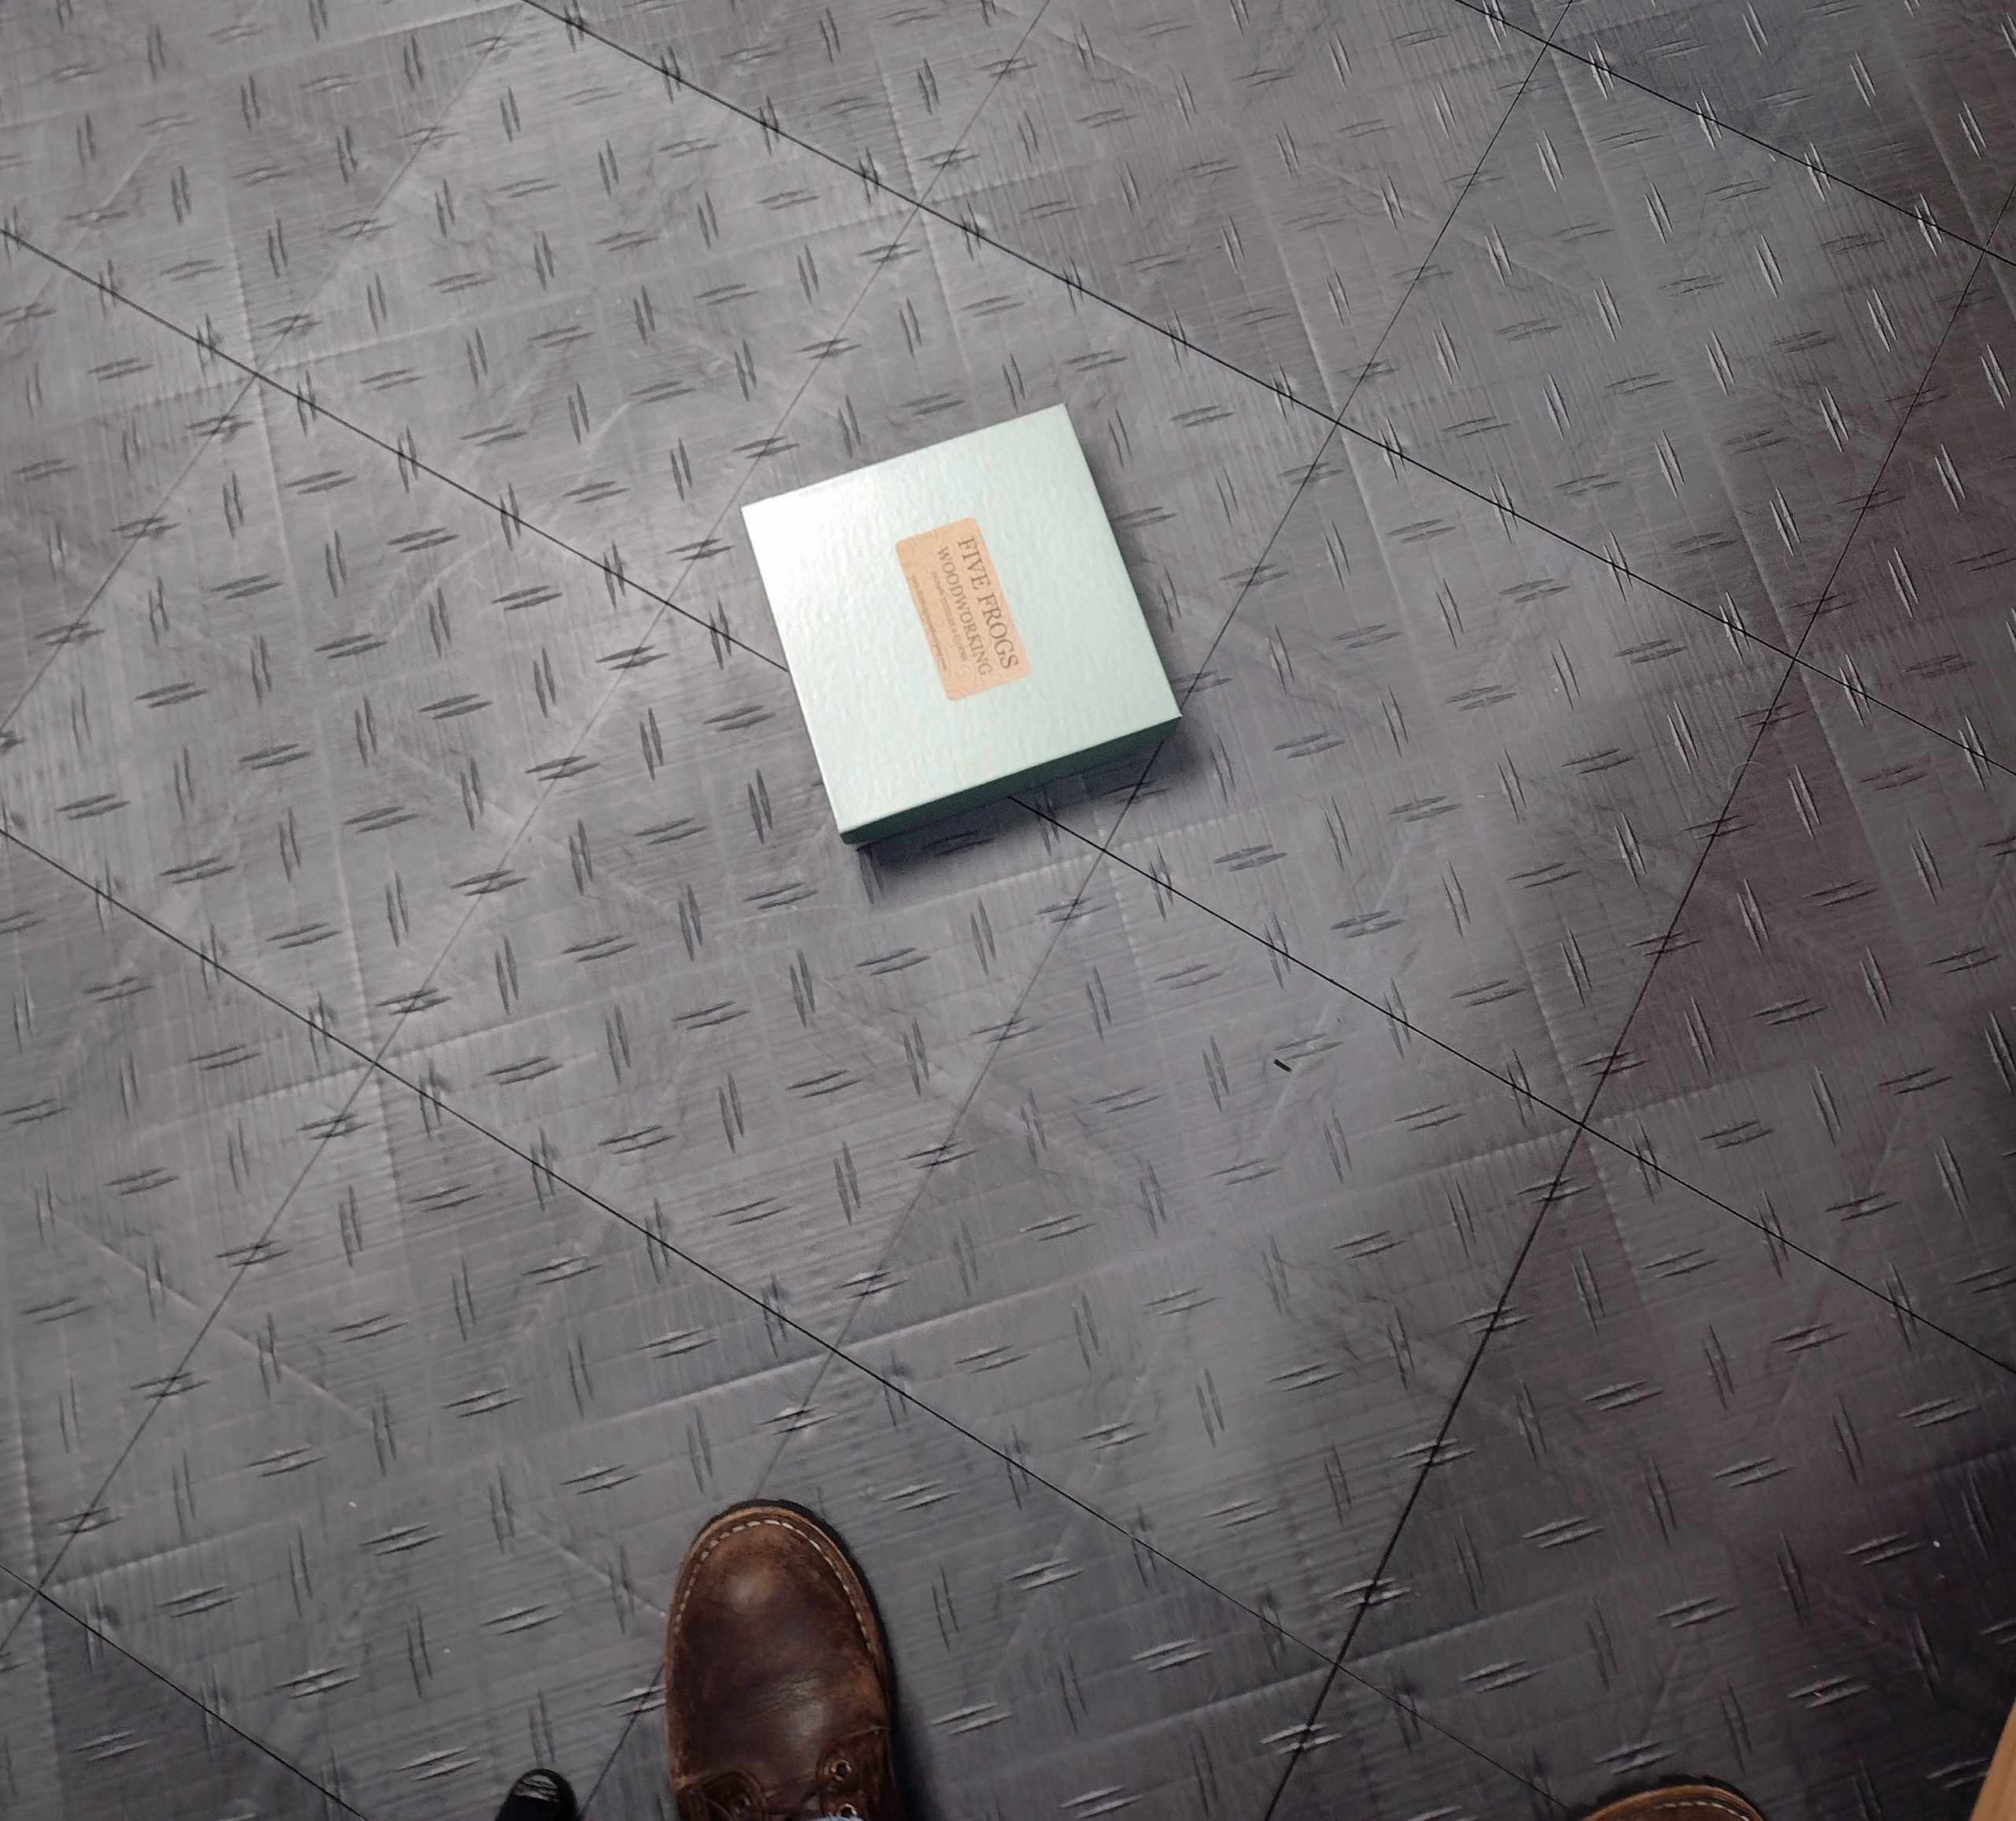
Not very exciting. I then smacked it harder, and it flew about 6 feet across the room. It would have gone farther, but it hit a metal stand that was in the way and fell to the floor early.

I tried it upside down as well.
It still stayed together. Pretty boring test.
How about if we put it on its side and make sure it tumbles as it falls?
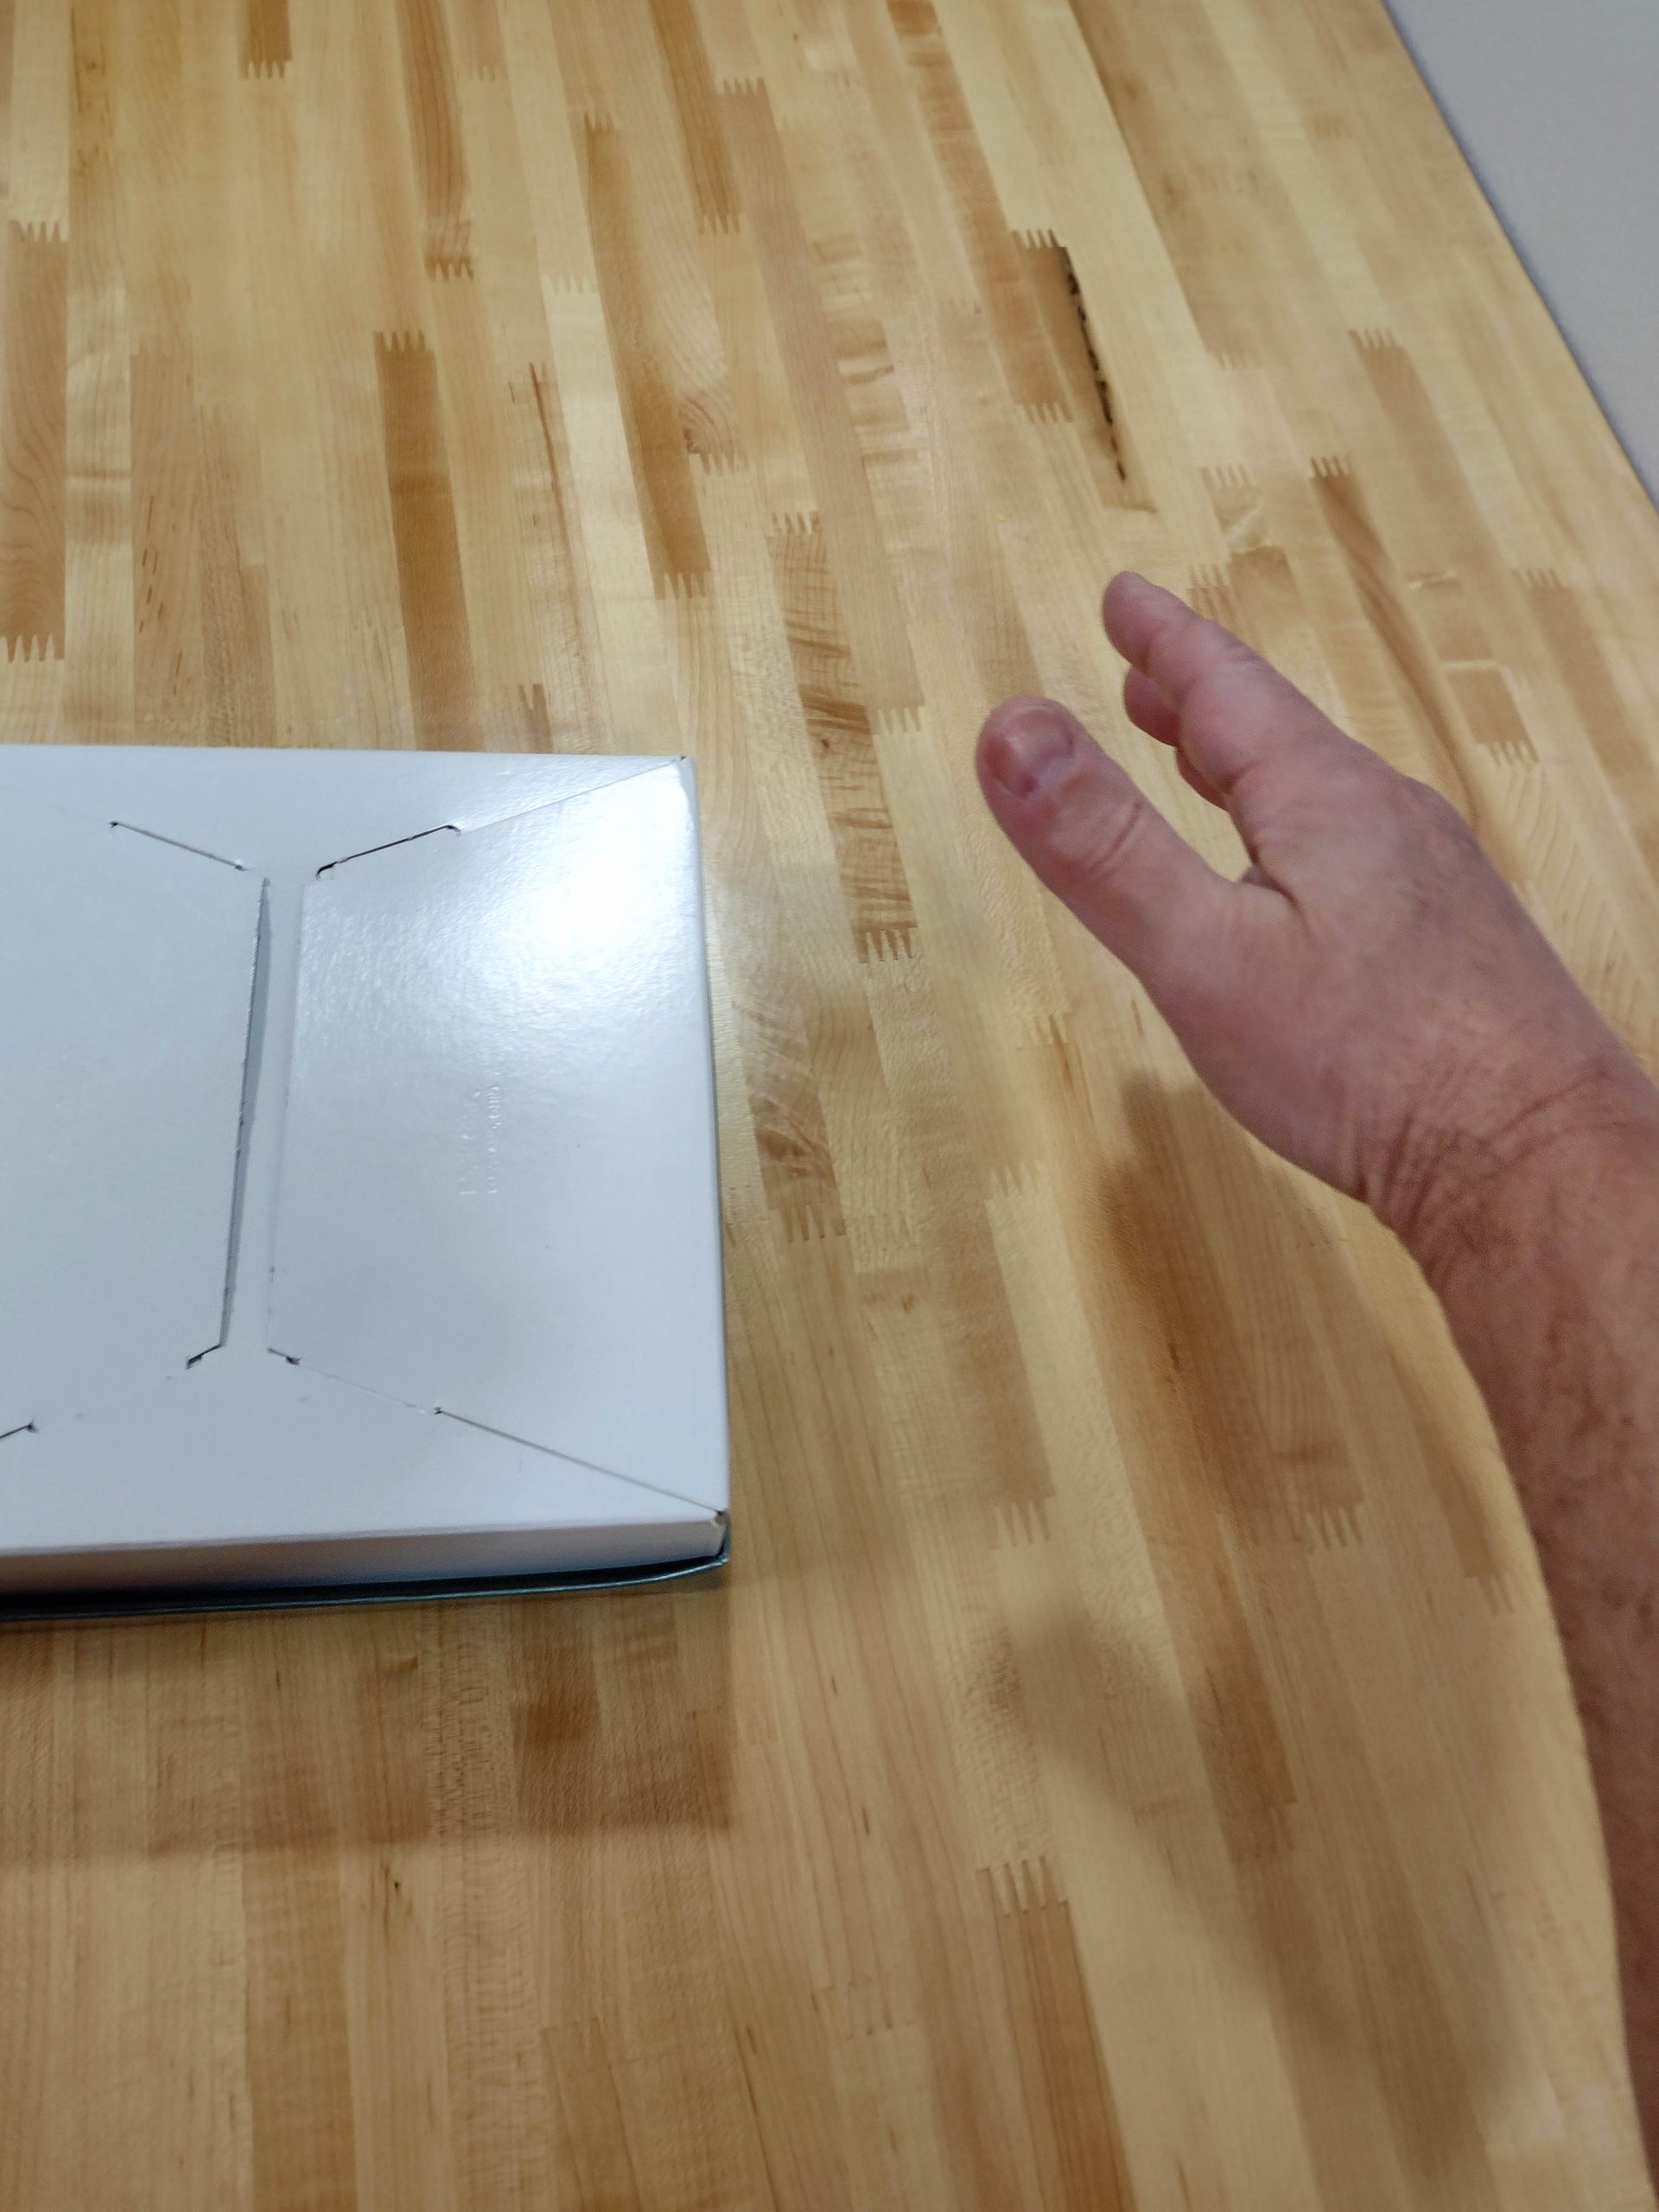
This one had some different results! The lid came off the box.
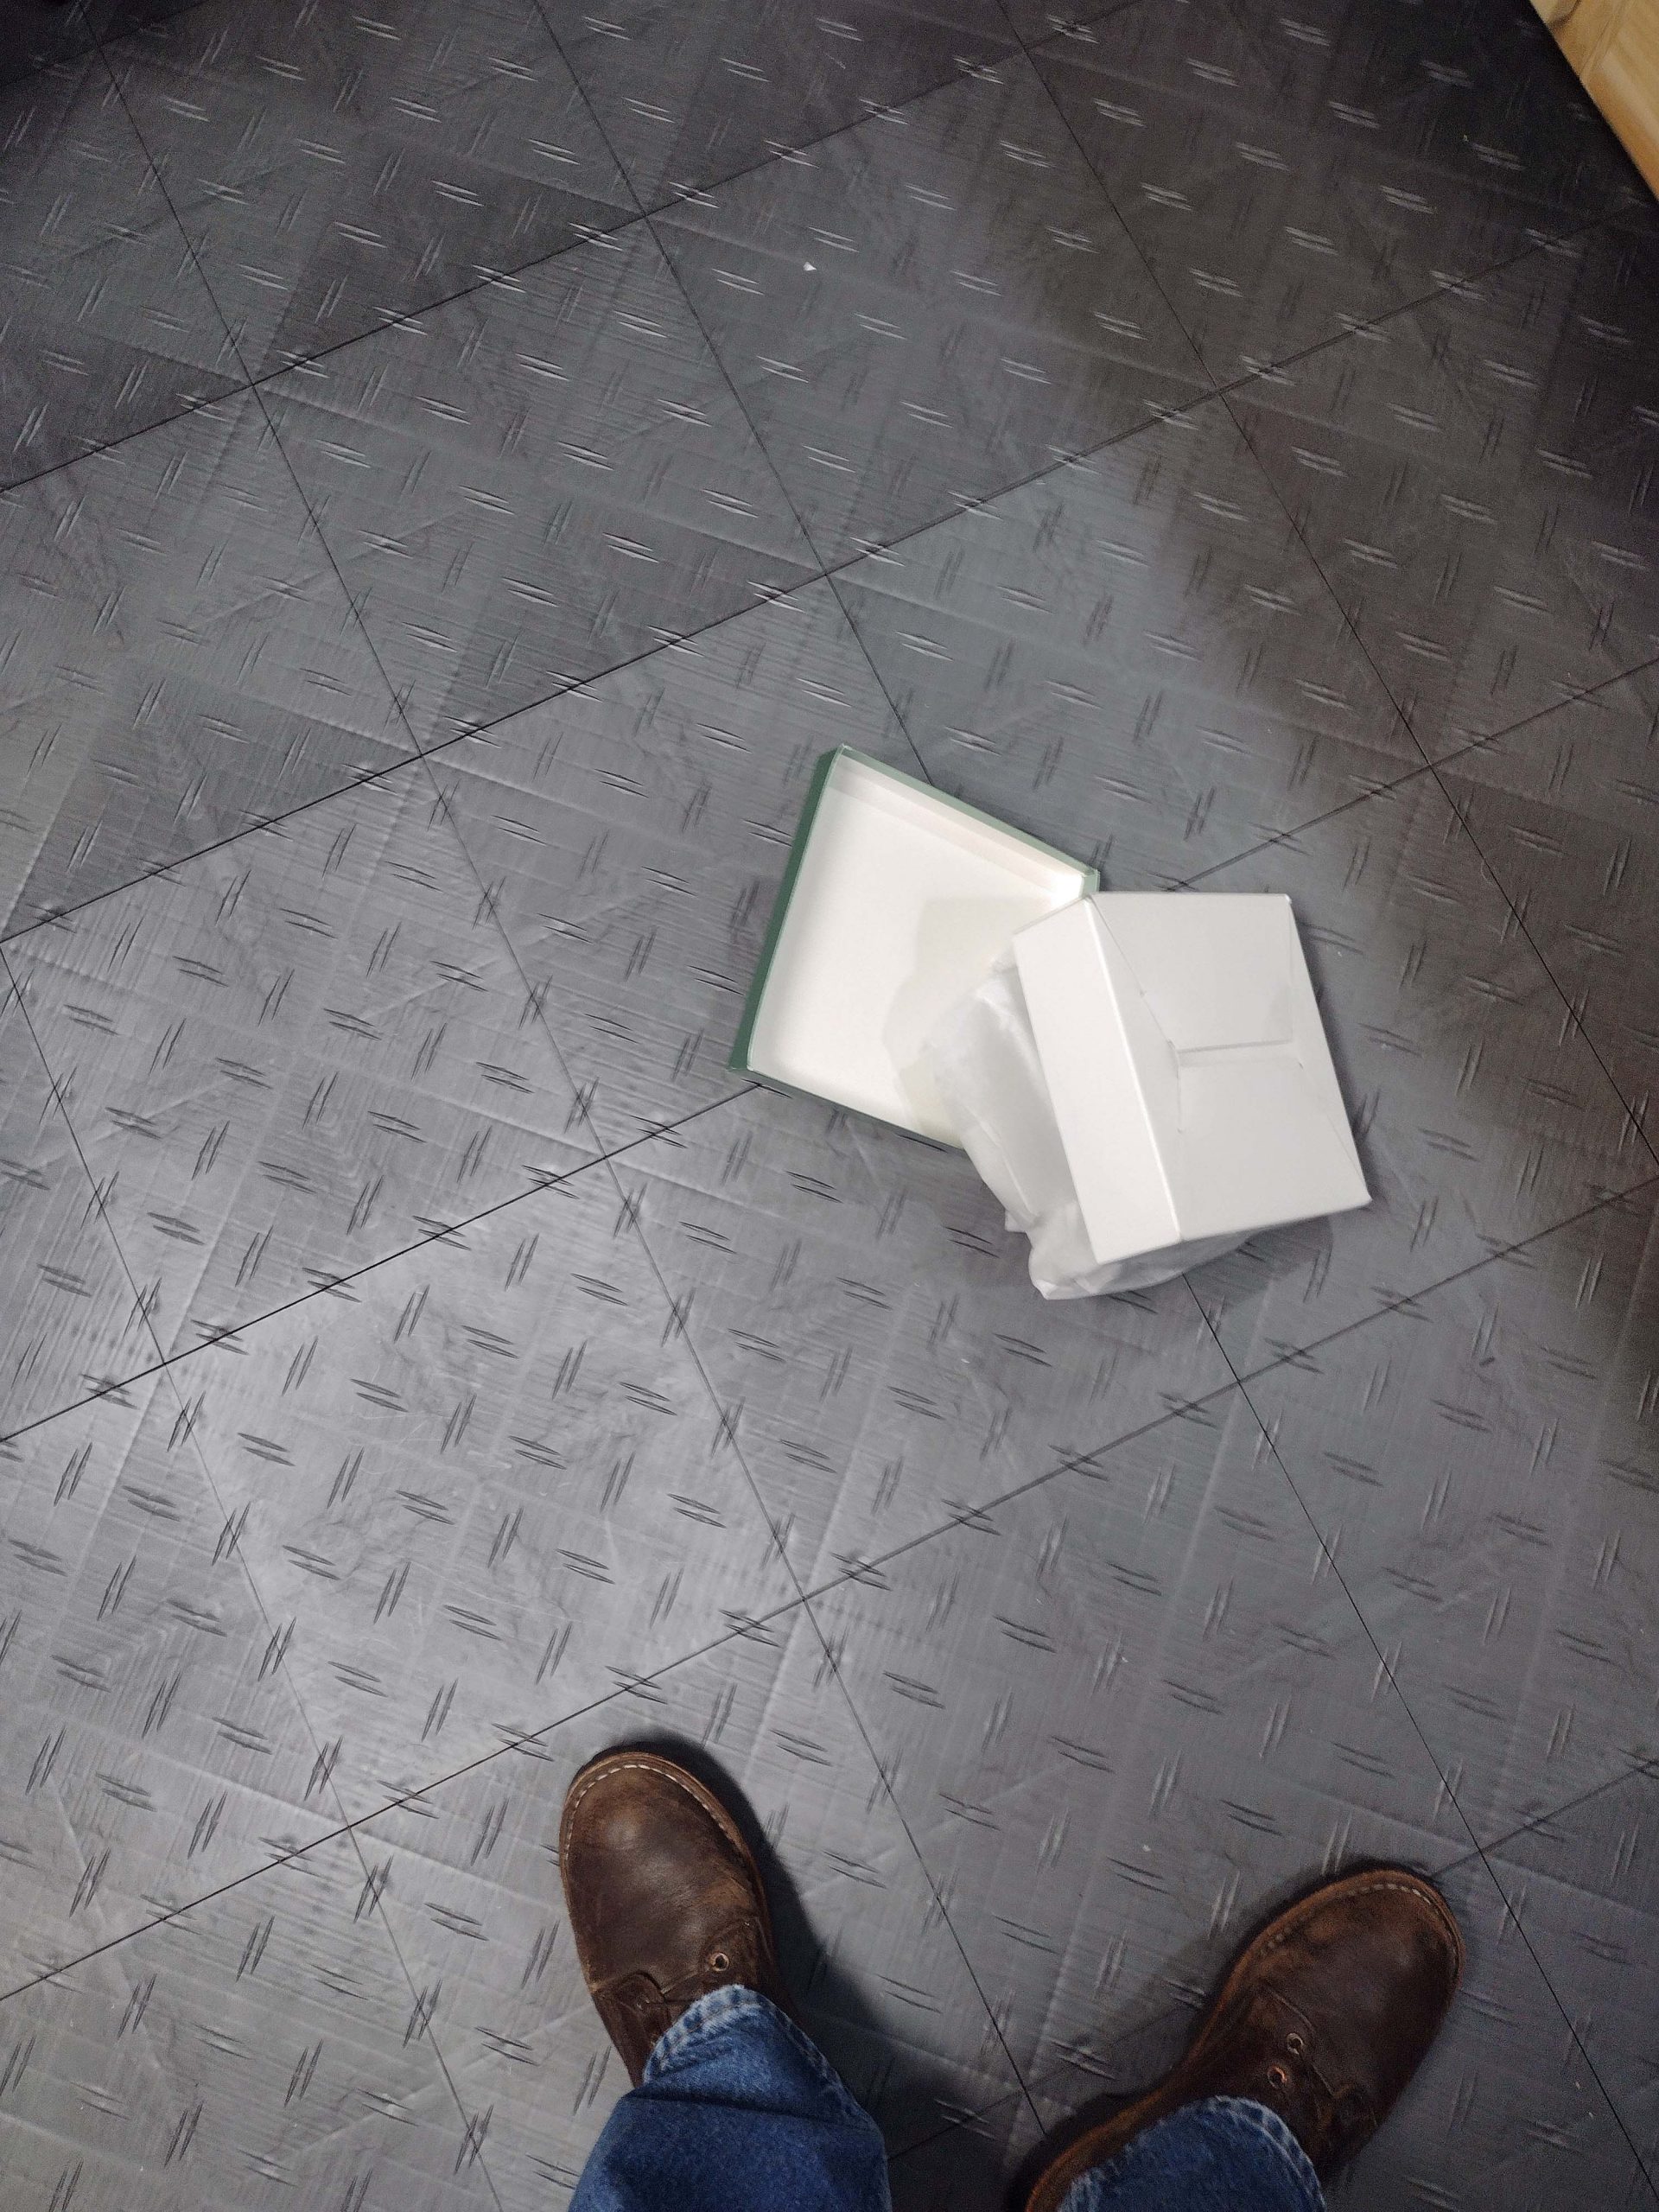
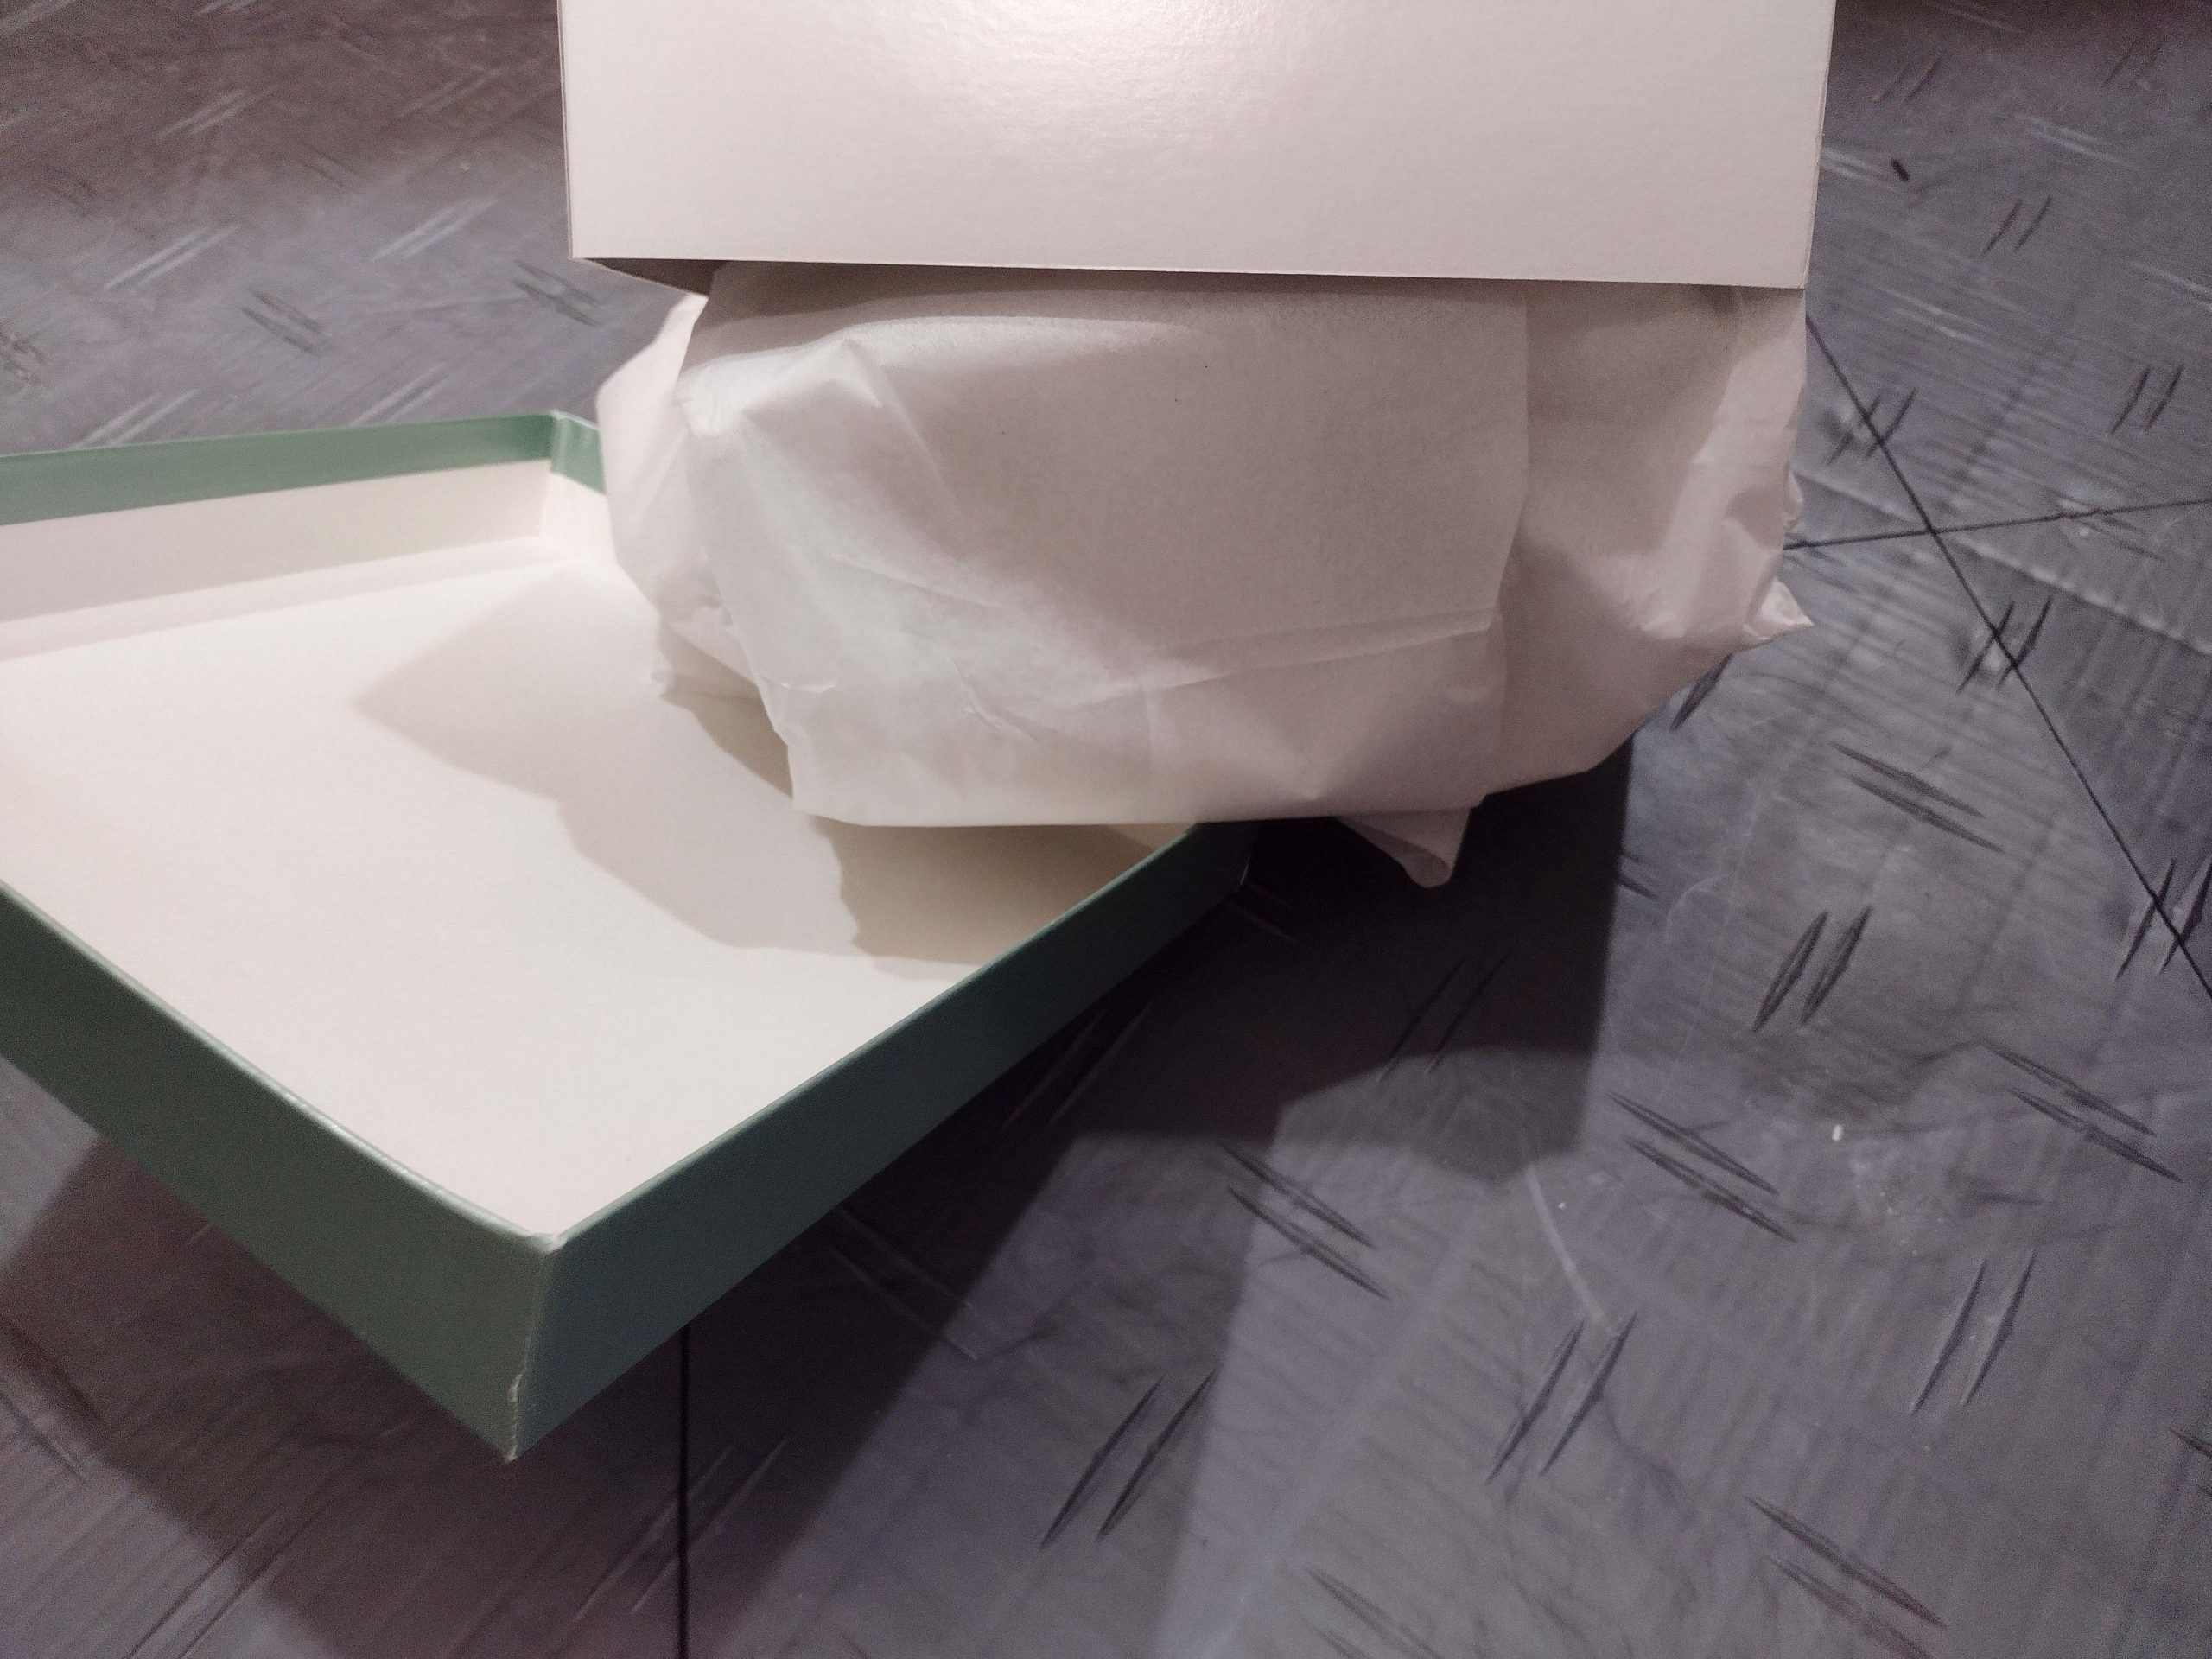
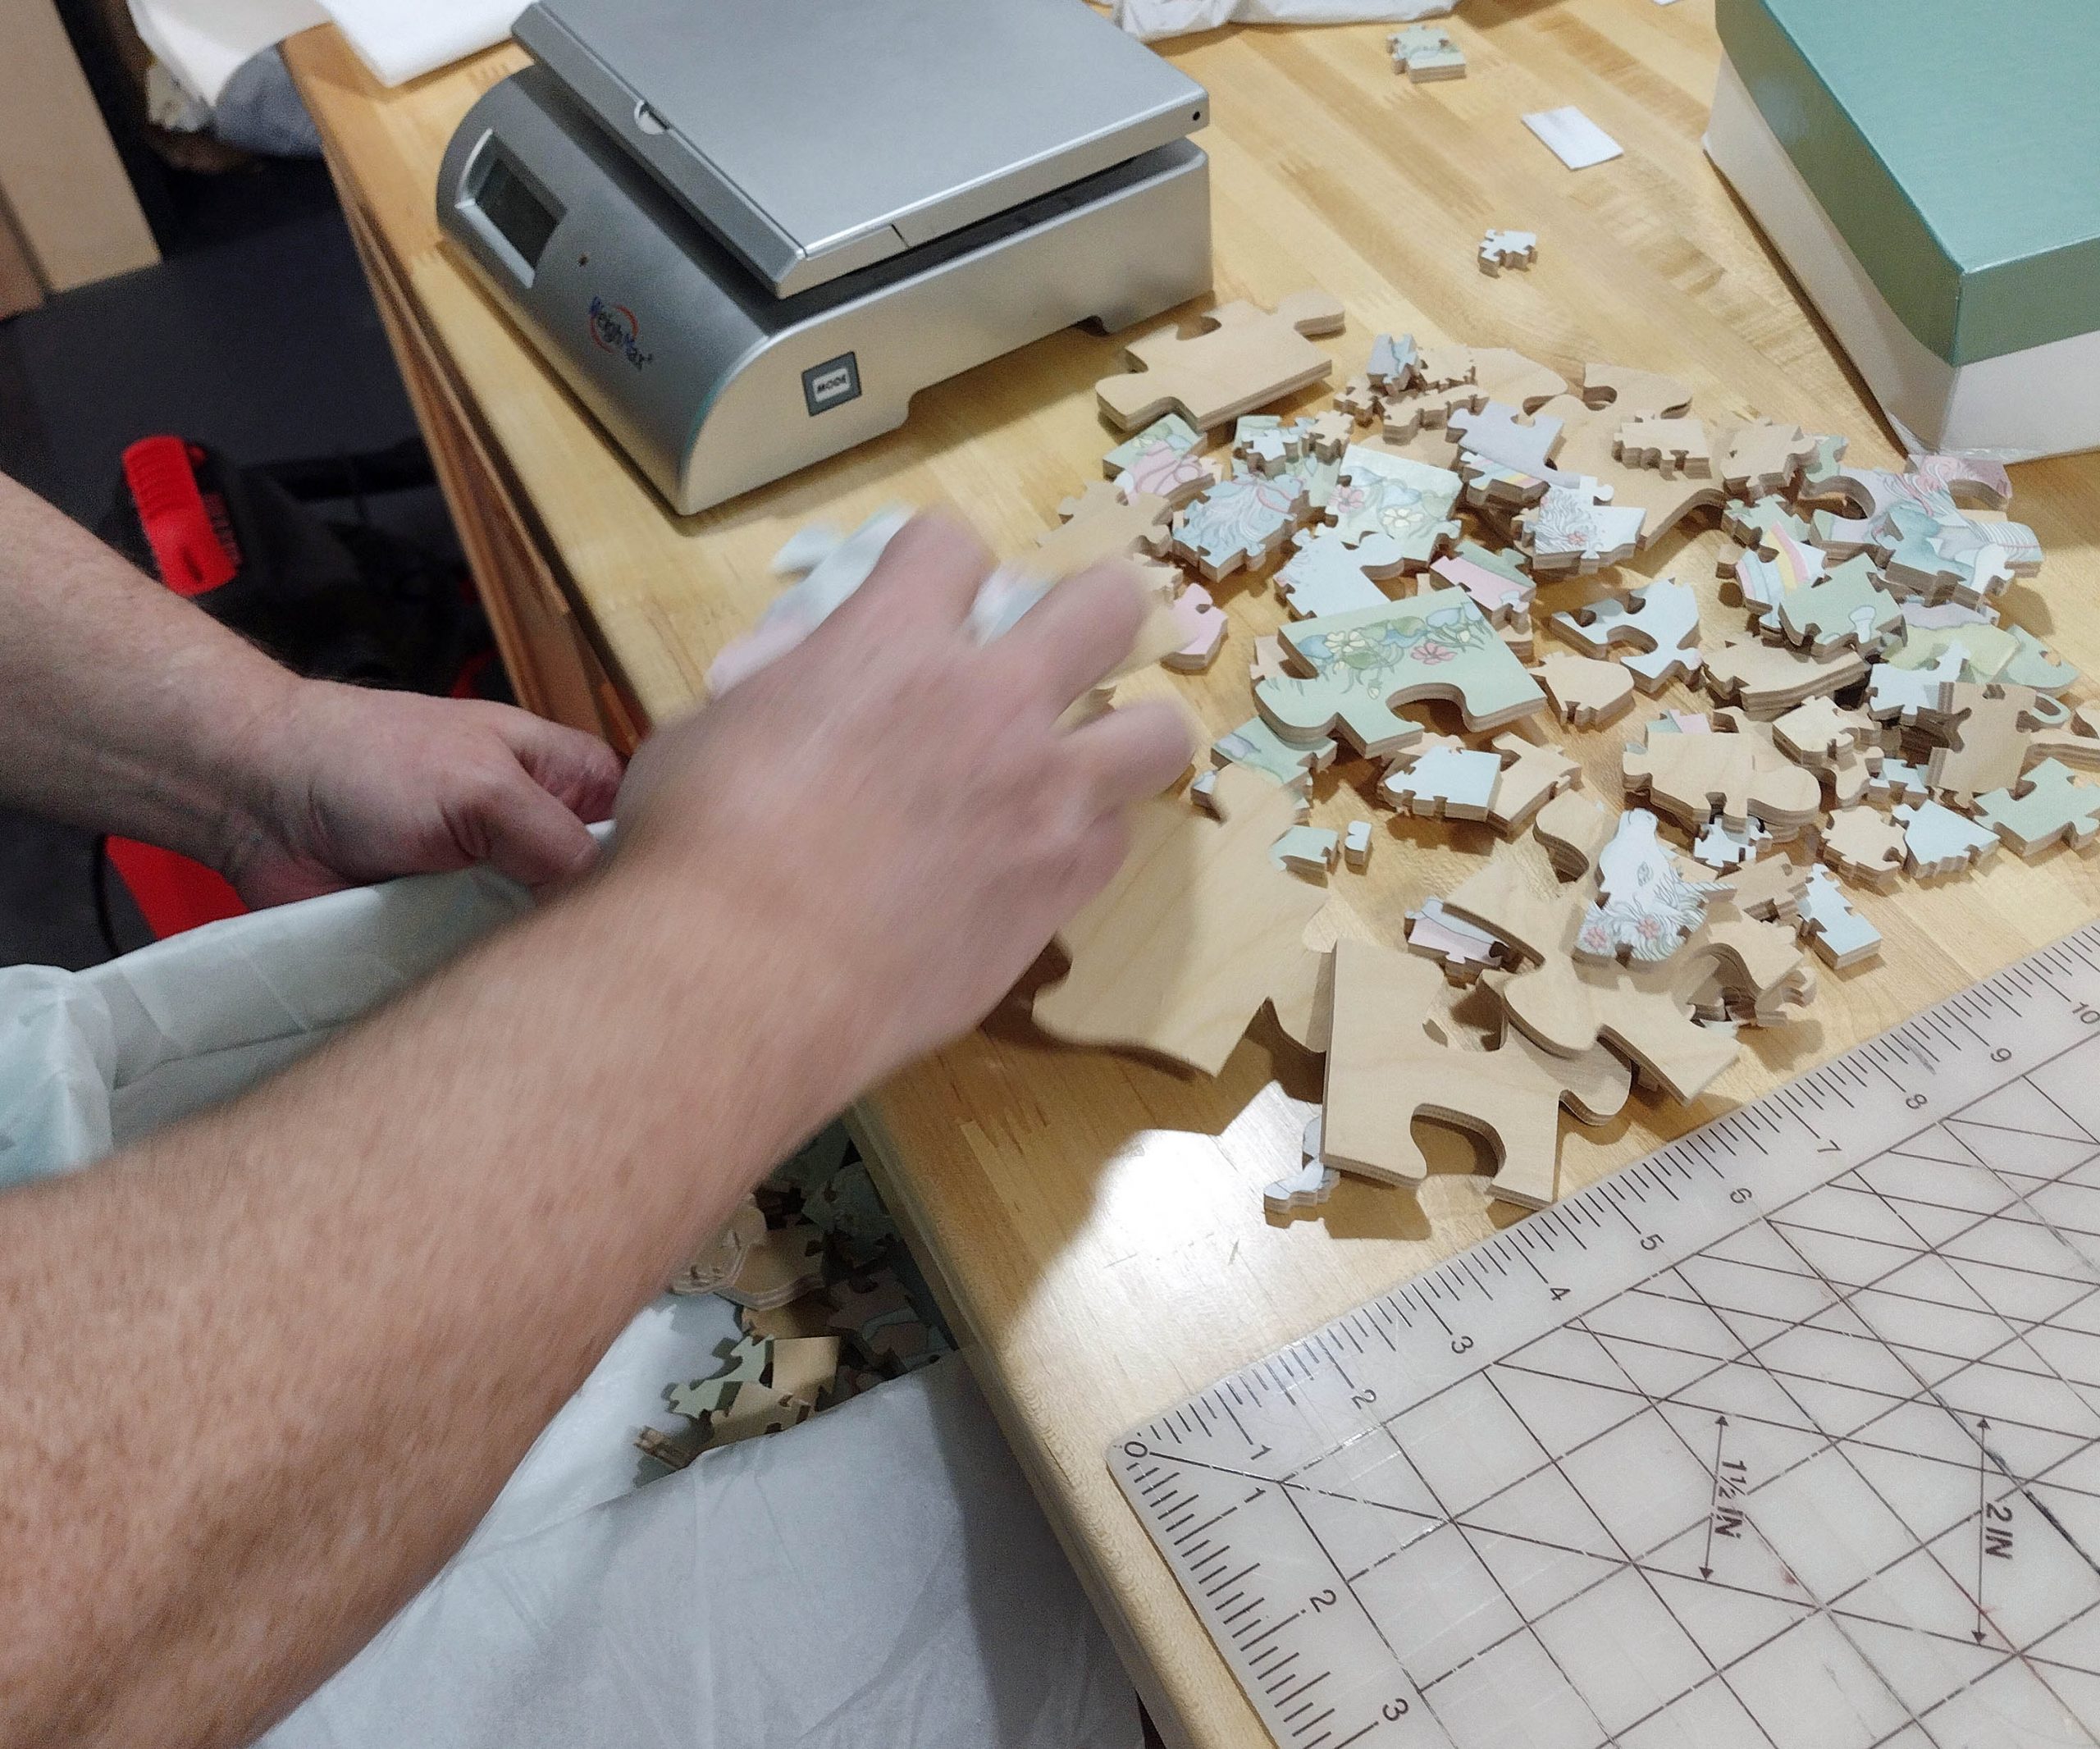
I kind of pinched everything together and lifted it all up onto the counter. No pieces fell out onto the floor as I did this.
I gently opened the tissue paper, and shook everything, and the pieces all fell back into place in the box! Put the lid back on, and it is good to go! Wrapping it with the tissue paper helps to contain the pieces if the lid comes off. Some people put their pieces in a nice velvet/felt bag, which would be nice as well.
I ended up knocking the box on the floor 10 times while doing all this, so the box was starting to look a little rough at the end.
So, my cheap little boxes stand up pretty well. Are they the best thing? Of course not! I would love to use some nice sturdy boxes. On several occasions over the last 10 years, I have spent hours searching for a source of rigid stand up boxes that does not break my bank account or fill my space with empty boxes. Unfortunately, most box vendors want you to make a minimum order of 500 boxes. If you cut different sizes of puzzles, you would then need to order and stock maybe 3 sizes of boxes. 1500 boxes stored in my basement workshop! Or the guest room? Not happening! As one person has noted, I am not a prolific cutter of puzzles. I think the greatest number of puzzles I have cut in one year is on the order of 25 or so. With that many boxes and my low production rate, my future heirs would be dealing with stacks and stacks of empty boxes.
Furthermore, buying 500 boxes does not really make the empty box affordable to me. I have been quoted up to $20 a box, plus shipping! $10,000 (or $30,000 if you get three sizes) in boxes that my heirs can fight over! And, if it is a $200 puzzle, you just added 10% to the price of the puzzle.
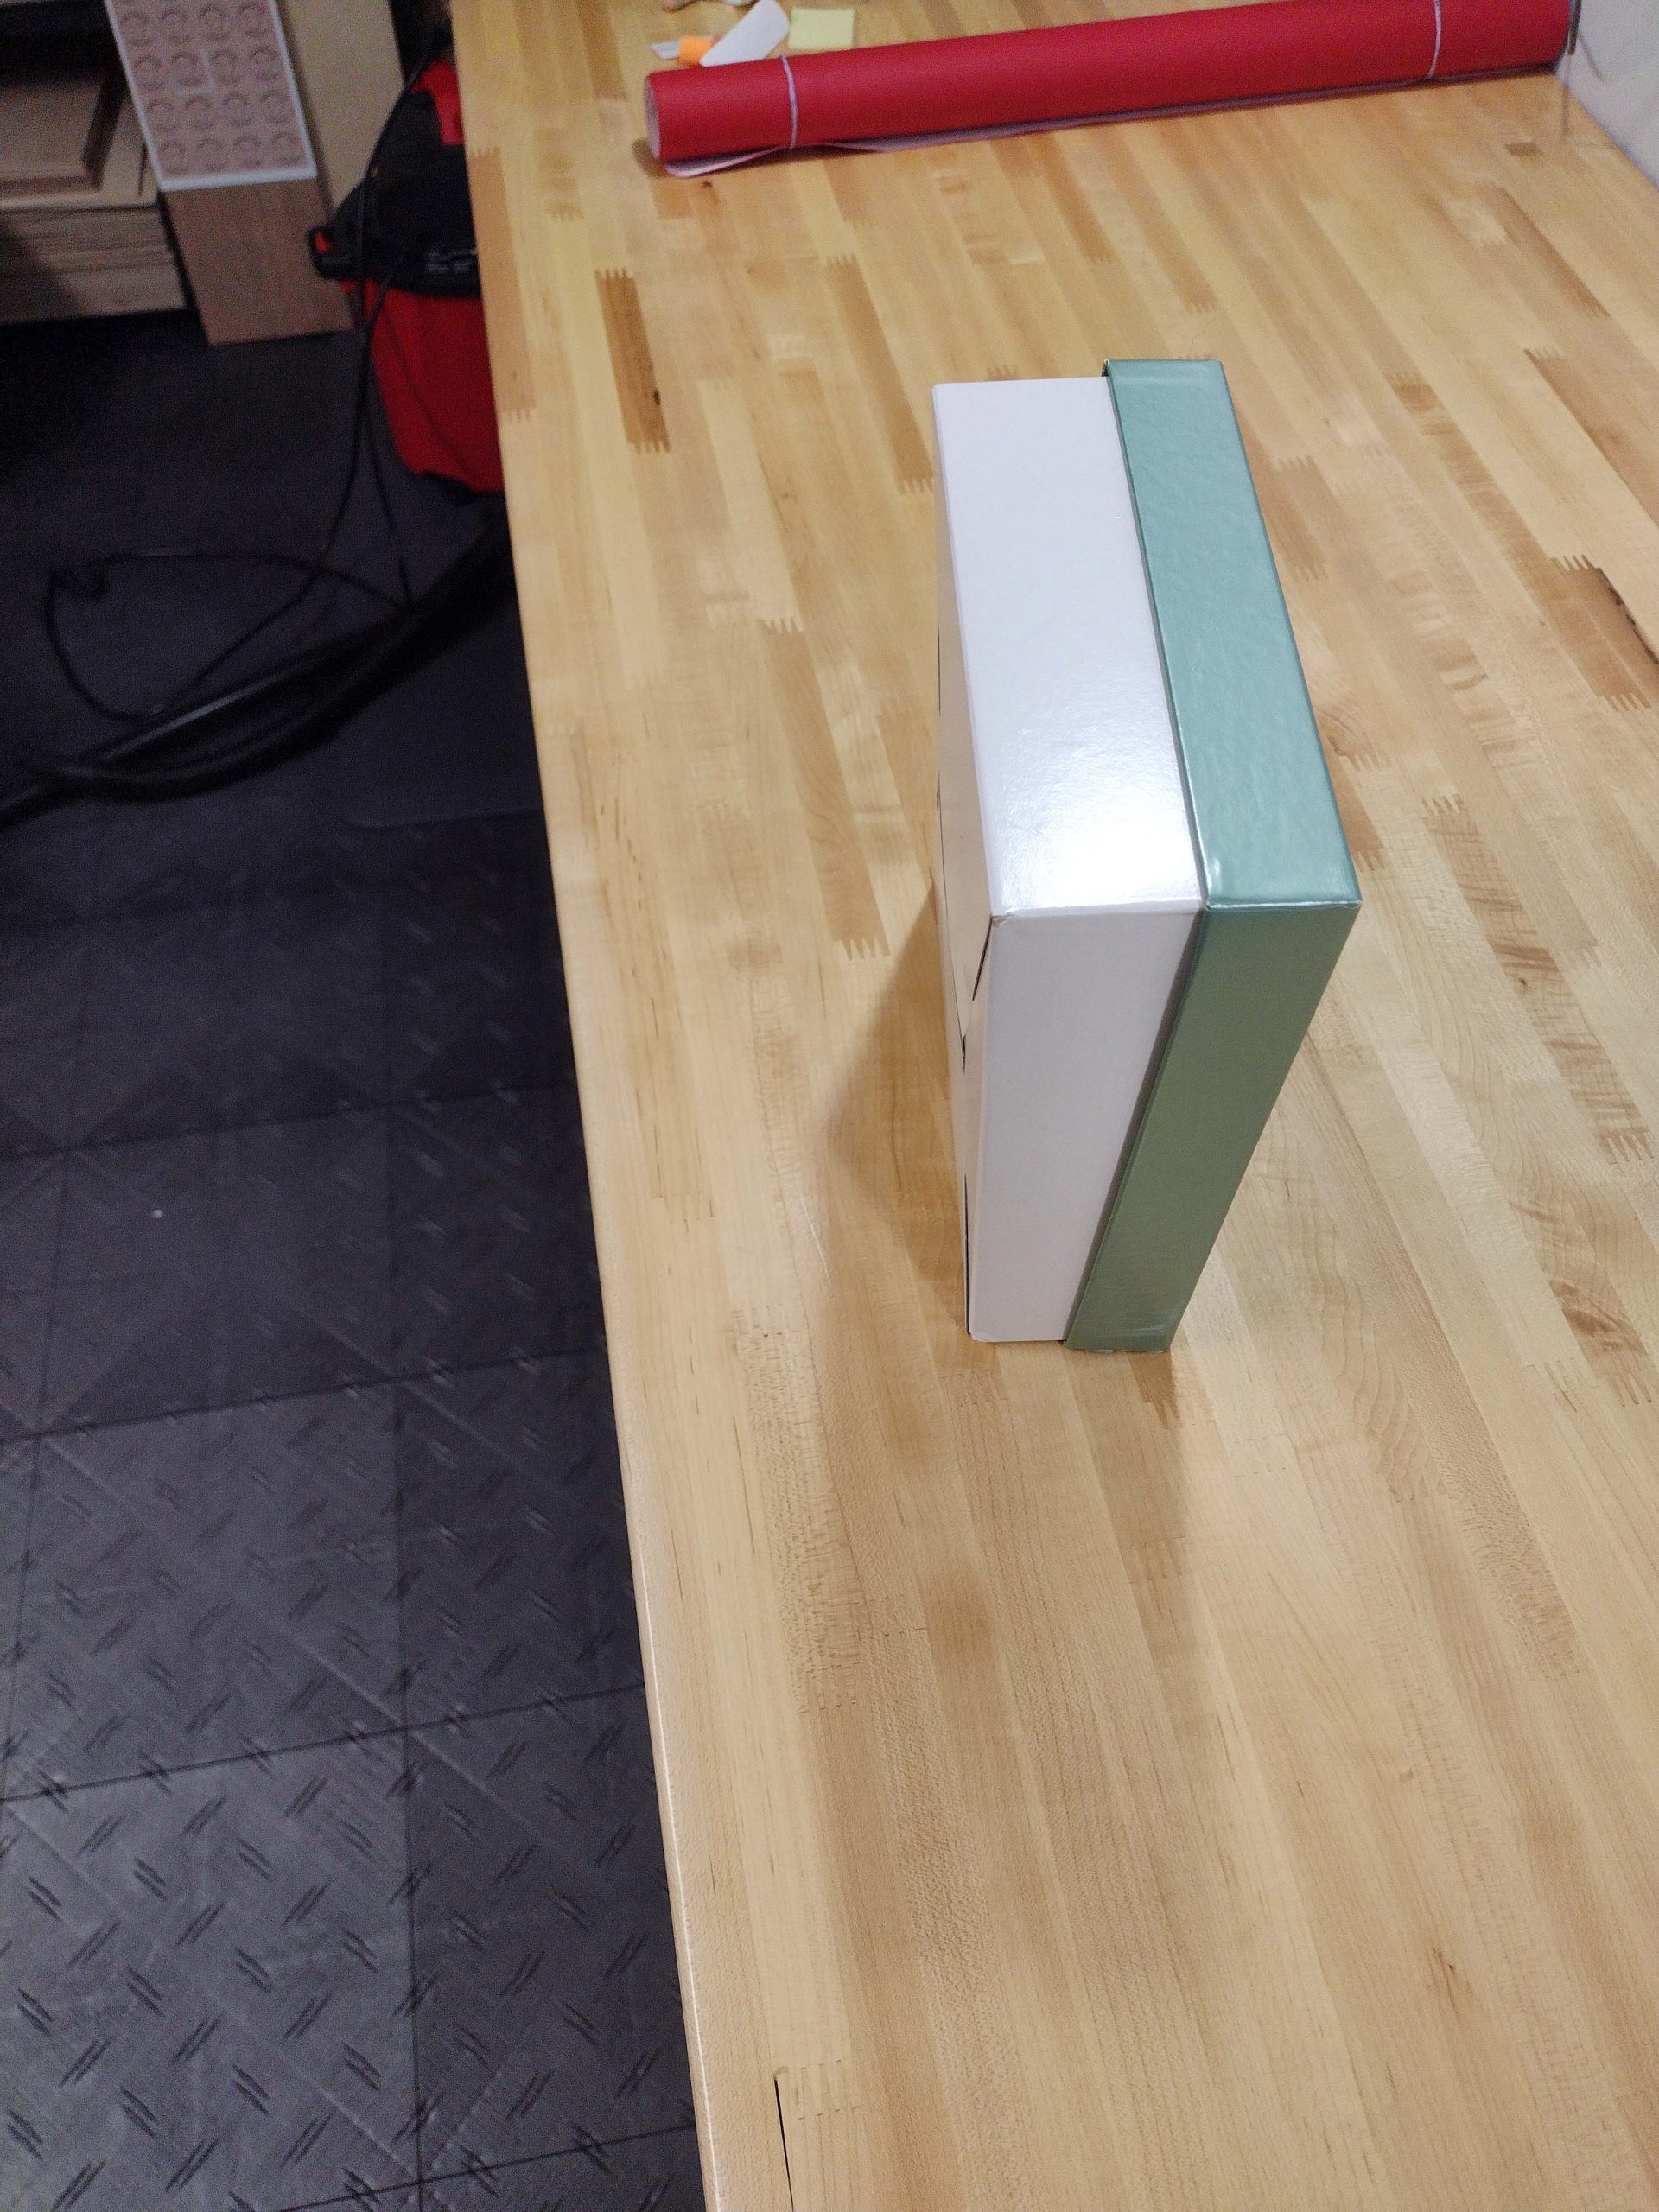
I can buy a fairly decent box at the local Hobby Lobby for around $6, but they usually only have a couple of them in stock. If you need one for a small puzzle, the box will be a cube shape, which I do not care for. And, when I go back to get more, the box has somehow changed its shape. Or it now has polka dots and stripes. I really would like my boxes to be consistently colored and shaped. I think the white box with green lid is fairly recognizable to a few people.
I buy these boxes in three sizes, 50 at a time. They store flat other than the lids. The lids do take up space, but they can kind of accordion together and fit in a relatively small space. The ones I have been working my way through had green lids, but those are no longer available from this vendor. Future lids will be the same color of white as the boxes themselves.

I could rattle on about boxes. I have played with making wooden boxes. I have used little jewelry boxes for small puzzles. But this blog article was really about the boxes I do use and how they stand up to some torture tests. It has gone too long as it is.
Checkout the puzzles I may have listed on my Etsy store. FiveFrogsWoodworking – Etsy
Happy Puzzling!
Bob