Custom hand cut wooden jigsaw puzzles are the primary focus of Five Frogs Woodworking. Each puzzle is unique. Even if the same image is used again, the puzzle will have a different number of pieces, and the pieces will have different shapes. Other than figurals, no two pieces are ever the same. Well, unless you have a puzzle with trick pieces in it, but that is another story!
There is something satisfying about the feel of a wooden jigsaw piece in your hand. People with stiff fingers find it easier to pick up the thicker pieces than a skinny cardboard puzzle piece. The puzzle can include special pieces called figurals, which are related to the puzzle image or have significance to the person who ordered the puzzle.
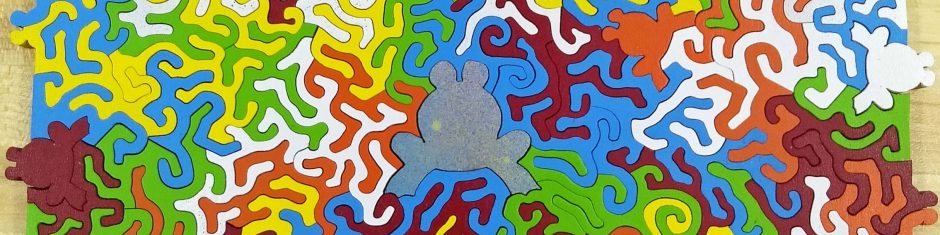
An internet search will show that there are a small handful of puzzle cutters providing hand crafted wooden puzzles. Each artist has their own cutting style, including their signature pieces. My signature figural piece is a frog. I initial the frog, date it, and annotate how many pieces are in the puzzle.
