A customer asked for a custom puzzle, but it is not a standard sized puzzle. The image is in the public domain and is available on Wiki Media Commons. The artist is Kano Eino and he lived in the last half of the 17th century. The original piece is roughly 60″ tall and 142″ wide. It was painted on six panels that are connected together. When you translate those dimensions to standard printer paper sizes, it would be a oddball sized puzzle. For example, on an 8 x 10, it would only be 4.2″ tall. On a 13 x 19 print, it would be 8″ tall and 19″ wide.
So, my challenge is to print it on two sheets of paper and merge the two pieces together in the puzzle cutting process. I decided to print it on 2 sheets of 13 x 19 paper, with a goal of a finished puzzle being roughly 13″ tall and 30″ wide. The left three panels would be on one image, and the right three panels would be on a second image.

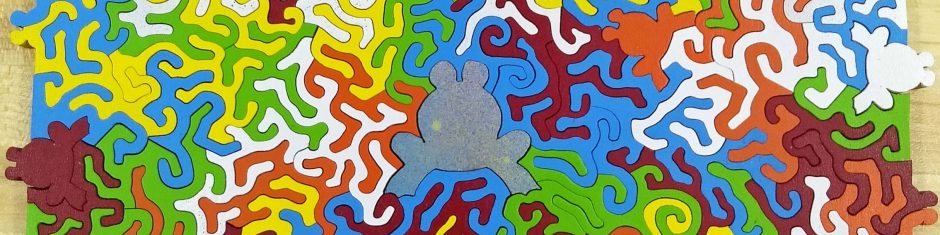
Unusual sized jigsaw puzzle

The two prints stacked up
When I printed the pictures, I added “truth marks” where I wanted the images to be joined. These are to help me position the images when I double stack cut them to ensure perfect alignment.

Top truth mark

Bottom truth mark
I first cut my two mounted images into two pieces to make them more manageable.

The Two Prints Cut in Halves

Pieces stacked for visualizing end product
I next made cutouts in the piece that was to be placed on top. The cutouts were to allow me to see my “truth marks” to align the pieces for cutting.

Bottom Cutout

Top Cutout
I stacked the two pieces, looking at 6 locations for perfect alignment: the two truth marks and the four corners:

Top truth mark alignment

Bottom truth mark alignment

Corner alignment

Another corner alignment
Now it is time to carefully glue the edges with a hot melt glue gun while maintaining the 6 alignment points in exact position:

Glue gun warming up

Edge glued, ready for cutting
The point we have been building up to: cutting the double stack to merge the two images together:

Cutting on the saw

Another view of cutting
Once the assembly is cut in two pieces, it is time to trim all the edges and get rid of the glue and excess borders. I like to use a straight piece of scrap wood as a guide when cutting straight lines. Cutting straight lines freehand can be a little difficult. It leads to wavy edges instead of straight edges.

Trimming the edges
Now we have one large puzzle, ready for cutting!

Merged panels ready for cutting
Using the truth marks and the four corners made for perfect alignment of the merged images! Unfortunately, my Epson printer did not manage to maintain a perfect color match from image to image. These photos show a little bit of color variation. The pictures make the variation look worse than it actually is. I did not even initially notice it, but my daughter pointed it out to me. Must be a difference in the age of our eyes!

Perfect alignment, but some color variation

Another view of color variation
An added bonus is that the two pieces of waste material also fit together, and can be used to make a smaller puzzle!

Waste pieces are the center two panels of the painting.
The final size of the combined images after trimming is 27 3/4″ wide by 12 1/4″ tall. The goal is to have about 650 pieces.
I will post more on this puzzle as I move forward. I need to contact the customer about the color shade variation.


